Do you have a video with cool music that you want to use in other projects? You may need to dub the audio into another language or convert it to a more convenient format. Then you should find out how to extract audio from video in Premiere Pro. This software allows you to separate tracks from a whole clip or some part of it. It supports multiple formats you can work with.
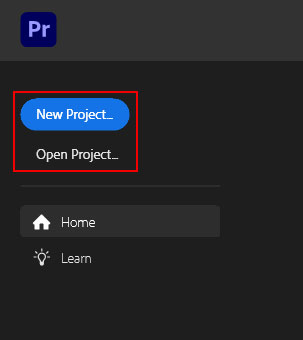
First, open Adobe Premiere Pro. When the Start screen appears, you should click New Project. Alternatively, you can follow this path in the main menu: File › New › Project. Enter your project name in the opened New Project dialog box. Then click Browse to indicate the place to save it. Click OK.
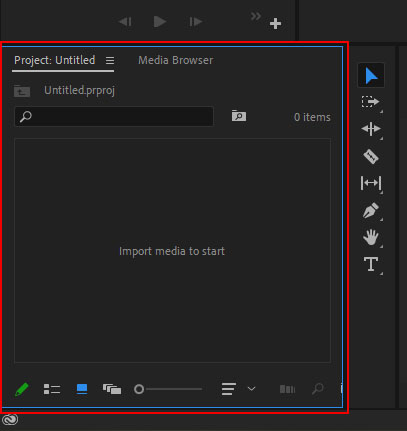
Add the required files to Adobe Premiere Pro. You can do this by choosing Select File › Import from Media Browser. You can also go to the Media Browser, right-click the file and select Import. Another way is to drag the video from the Media Browser into a timeline or into the Project panel.
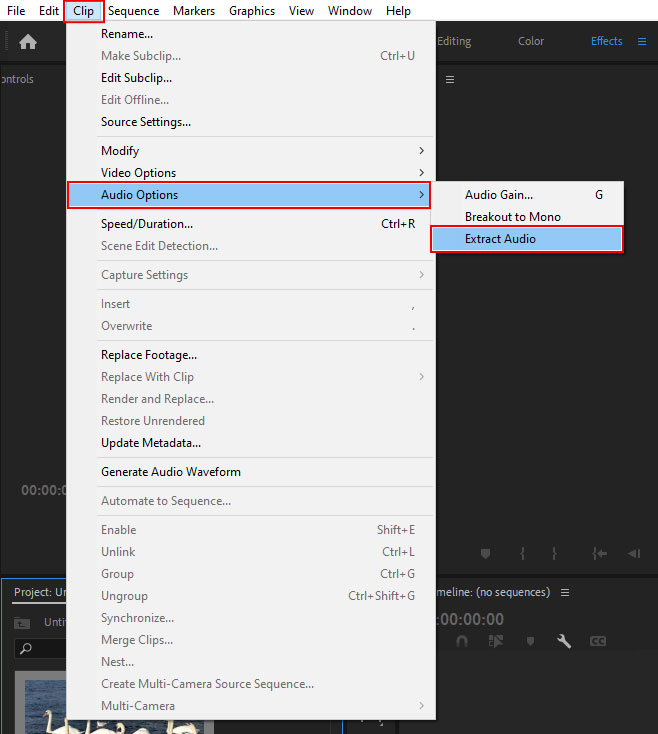
Once your clip is in your workspace, you can use one of the two methods to separate audio from video Premiere. The first one is to extract the audio as a whole. It is very simple and takes only a few clicks. Select the Extract Audio option. It will allow you to get new audio master clips for your needs. It applies all preset speed, source channel mappings, duration, gain, and interpret footage adjustments to new files.
Go to the Project panel and find a video with audio. You can choose one or more files. Select Clip › Audio Options › Extract Audio.
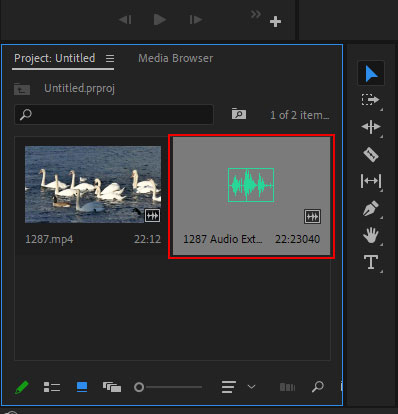
According to the Adobe Premiere Pro tutorial, at this stage, the program creates new audio files based on the extracted track. The resulting files contain "Extracted" at the end of the name.

The program allows you to separate both the entire audio track and its part. For example, you are not interested in the artist's comments during a concert and you only want to get the music. To do this, you will have to edit the track before saving it.
When you add a clip to the program, you will see two separate tracks - video and audio. The latter will be linked. As soon as you add some edits to the audio, they will reflect on the video and vice versa. To break this link, you need to select the clip, shift-click, and choose Unlink from the list.
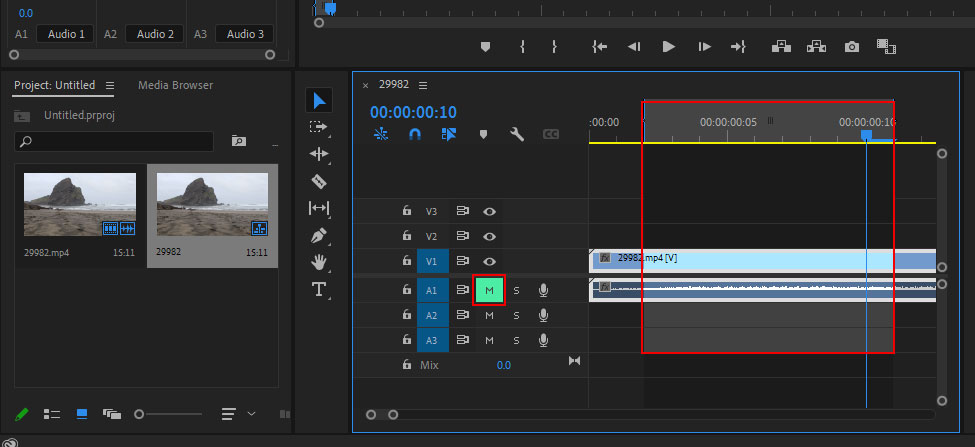
Go to the Timeline panel and switch your time ruler to audio samples. You must do this because the source video is divided into frames and not into samples. After that, set In and Out points using the playhead. Check if audio tracks are enabled. Then click on the M icon.
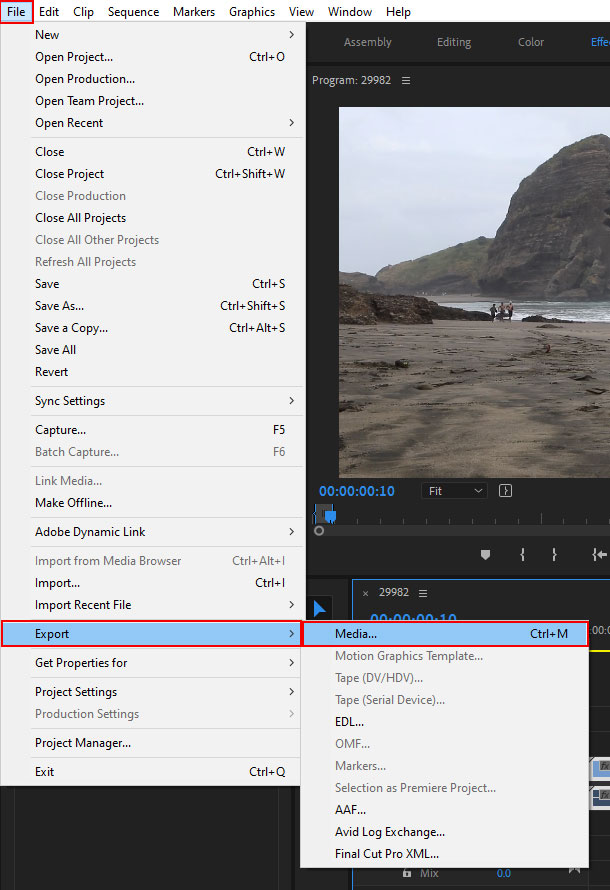
Follow this path: File › Export › Media. Select the format for the exported audio file. You can choose WAV, AAC, or MP3.
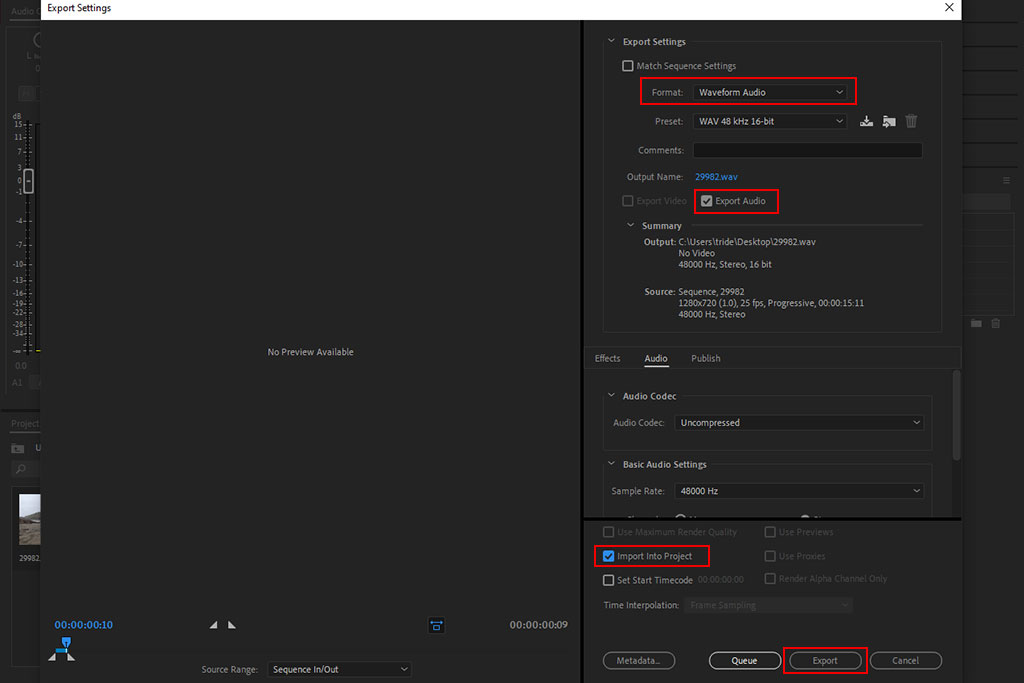
The dropdown list contains several options for output audio quality. If you are extracting a track from a part of the video, Sequence In/Out will be your source range. The Entire Sequence is recommended for the whole piece.
Before you click Export, you need to choose a location to save the new file. After that, the program will separate audio from video Premiere and convert it to the selected format.
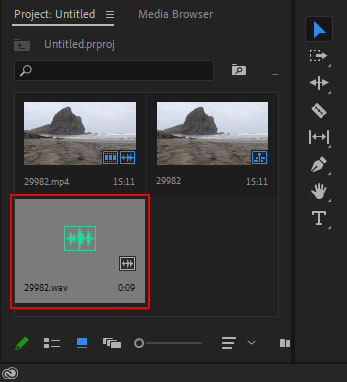
After that, your separate audio file will appear in the selected folder. You can get back to editing audio or video following the Adobe Premiere Pro tips.

After extracting the audio, you can add it to another clip after you edit the movie. To do this you need LUTs. The collection contains 20 filters to work with different styles of videos such as wedding, nature documentaries, travel, etc. You can do color correction, fix exposure and the white balance, add special effects, and more. All the LUTs are in .CUBE format.
Yes, you can. You have the same tools as the full version includes.
Go to the official website. Find the Free Trial button and click it. Use your Adobe ID to get access to the program and download it. You can test the software for 7 days. You should cancel your Creative Cloud membership before the free trial ends if you don’t want to continue.
The program is rather demanding. Windows users must have: Microsoft Windows 10 (64-bit) version 1909 or later; Intel 7th Gen or newer processor with Quick Sync. AMD Ryzen 3000 Series / Threadripper 2000 series or newer CPU are also suitable; 16 GB of RAM for HD media; 4 GB of GPU memory for HD and some 4K media. For Mac users: macOS v10.15 (Catalina) or later, Intel 7thGen or newer CPU or Apple silicon M1 or newer, 16 GB of RAM for HD media, 4 GB of GPU Memory for HD and some 4K workflows. Read more on the official Adobe website.
You can use the program on a subscription basis for $20.99 per month. It is also available with a Creative Cloud All Apps 100GB subscription for $54.99 per month.


