Do you need to fix a shaky video? Stabilizing footage in Premiere Pro might be one of the most optimal and fastest solutions in this case. Check this comprehensive tutorial to learn each step you need to fulfill to deshake any video in a matter of minutes. Besides, the article contains a few tips and tricks to help you make things right.

Launch Adobe Premiere Pro and press the New Project button to create a new project or choose the existing one on your PC.
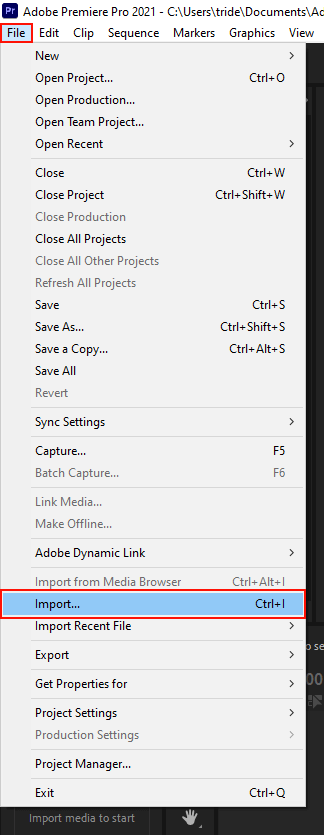
To start fixing a shaky video, you need to export it in Premier Pro first. There are several possible options to do this. Choose Select File › Import from Media Browser, or find the clip in Media Browser, right-click it and select Import. Dragging a video from Media Browser to the Project panel or into a timeline is also convenient.
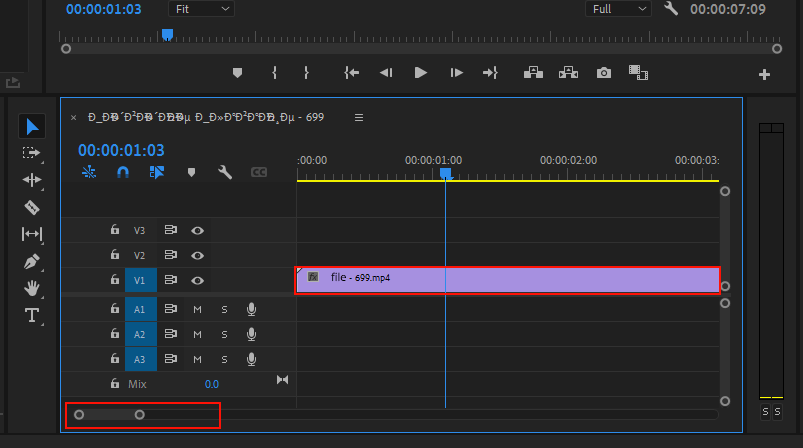
Applying the Warp Stabilizer effect to your clip requires a large amount of memory and takes up much time. However, it does not interfere with the functioning of the editor, so you can continue working on your projects but at a bit slower pace.
Once Adobe Premiere stabilization is over, the program goes on functioning in the standard mode. To achieve better results, define the shaky video fragments and split the clip to separate them.
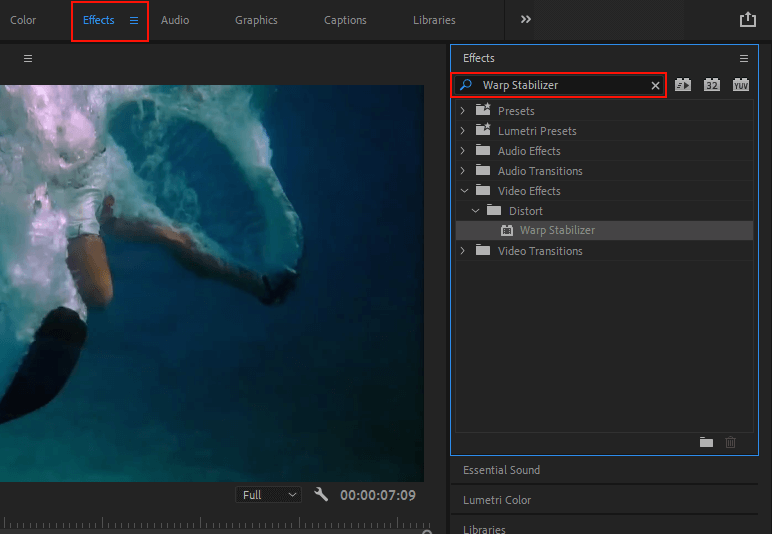
Choose a video you want to improve. Afterward, follow this path: Effects panel › Distort › Warp Stabilizer. This is a very handy option, but to derive a full benefit from it, learn some Premiere Pro tips.
If you want to get professional results, you had better address the experienced video editors and ask them to do this work for you. They do not only attract clients with excellent examples but also with the modest cost of their services.
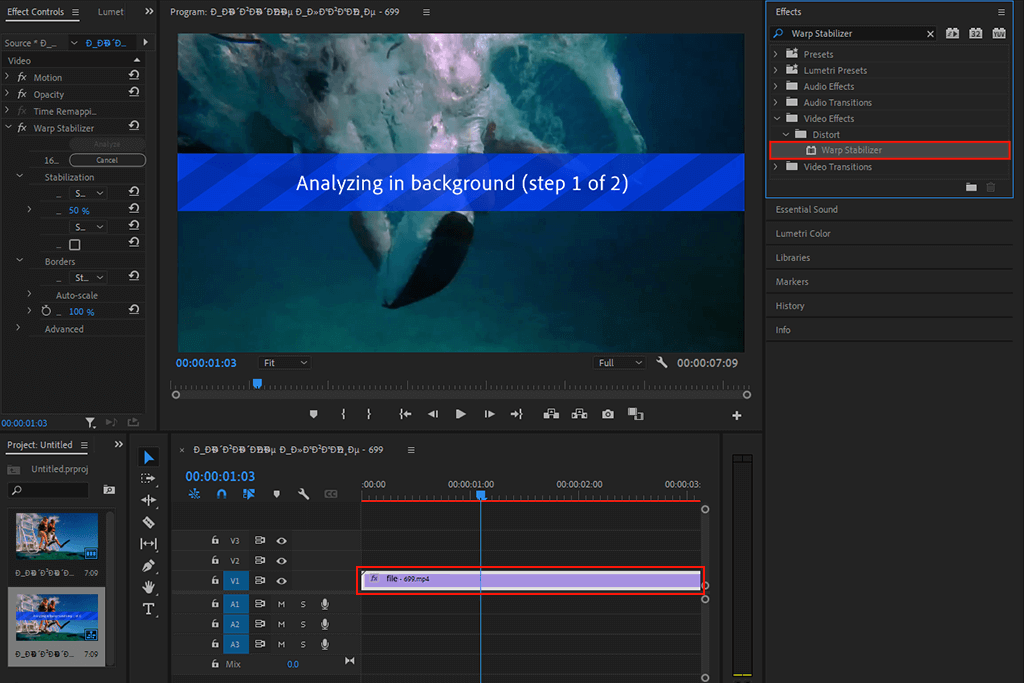
To stabilize shaky video fragments with the effect click it twice or drag it to the video in the Timeline or the Effect Controls panel. Then the program will analyze the clip in the background, which can take a while. The duration of this process largely depends on the size of your video. It is possible to check what portion of the clip has been already processed in the Project panel.
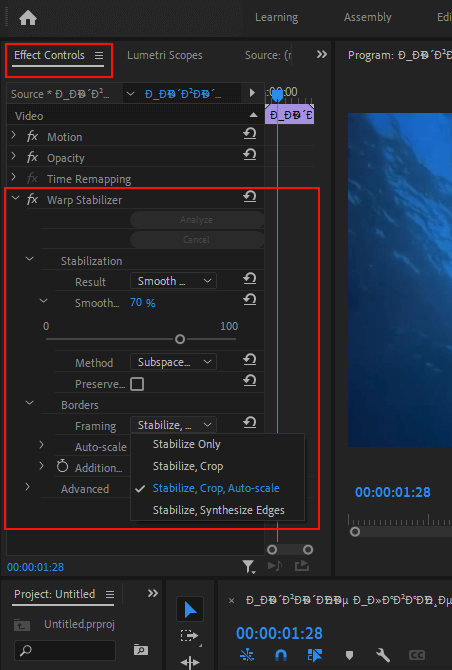
Once the stabilization process is over, check the result and make the corrections to make certain that the video contains everything you need. In case some edge material disappeared after the effect application, try to adjust the frame to return it.

After learning this Adobe Premiere Pro tutorial and discovering how to stabilize video in Adobe Premiere Pro, it’s time to correct its brightness and colors. This collection of LUTs can improve your video by darkening it, highlighting shadows, increasing contrast, accentuating details, and more.
The package was designed by professionals and can help you with the most difficult editing tasks. All effects have a .cube format and work well for any video.
Waiting for answer...
The Warp Stabilizer is a very handy option in Premiere Pro that can help you get rid of video shakiness. A single click on the timeline is enough to apply it. It keeps a frame being drawn on-screen stabilized, even if the timeline’s frames are not steady.
Using a Warp Stabilizer tool might be a difficult task especially if you need to process a pro-made and bulky video file. The good news is that the most recent version of Premiere Pro has a built-in Warp Stabilizer editor that simplifies the procedure.