Whether you need to create a freeze frame of the whole screen or its portion, these tips will help you cope with this task. Use these 3 simple but effective methods to create a freeze frame in Adobe Premiere Pro.
Adobe Premiere Pro is the best video editing software for Windows. It allows you to quickly create a freeze frame when watching a video clip. You can use various Frame Hold tools to freeze a frame. To do it, follow these steps:
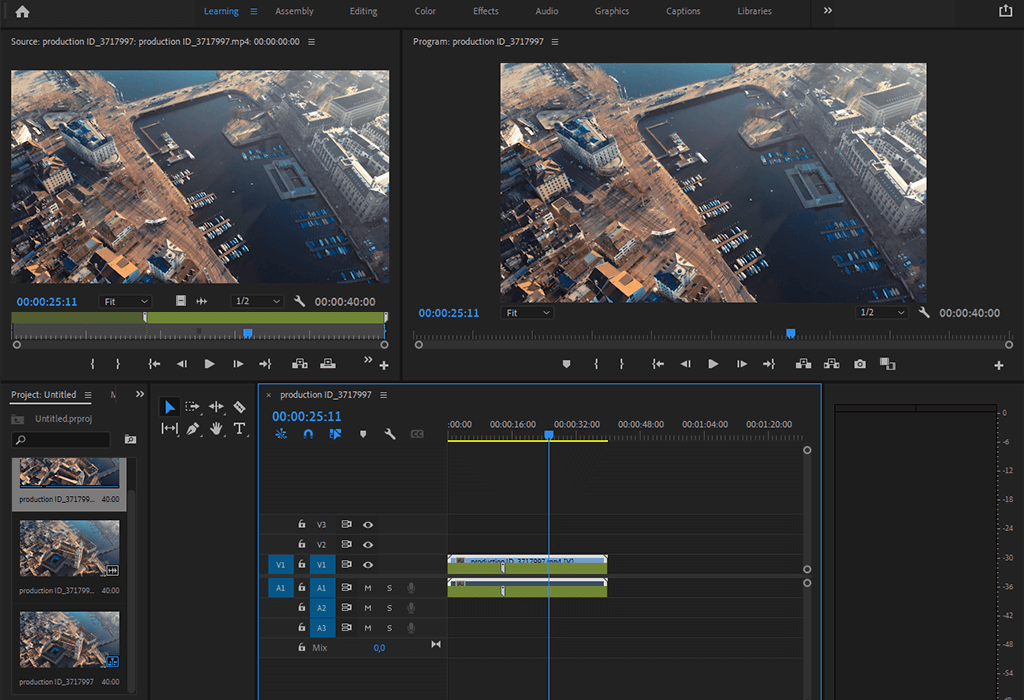
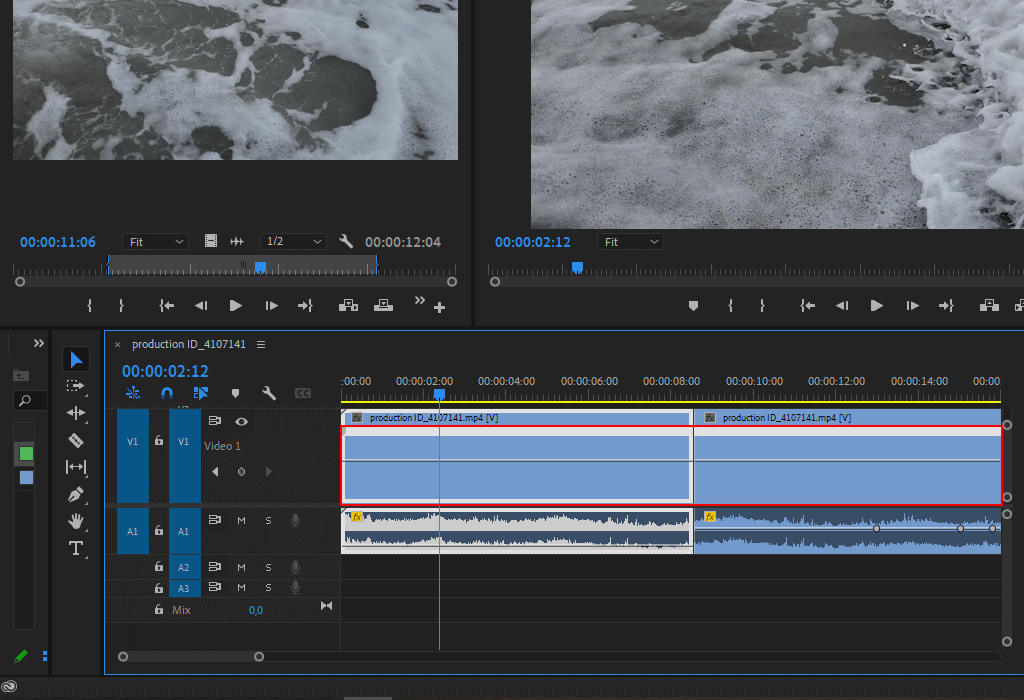
Open a video in the Timeline panel.
Position the playhead over the frame that you want to save.
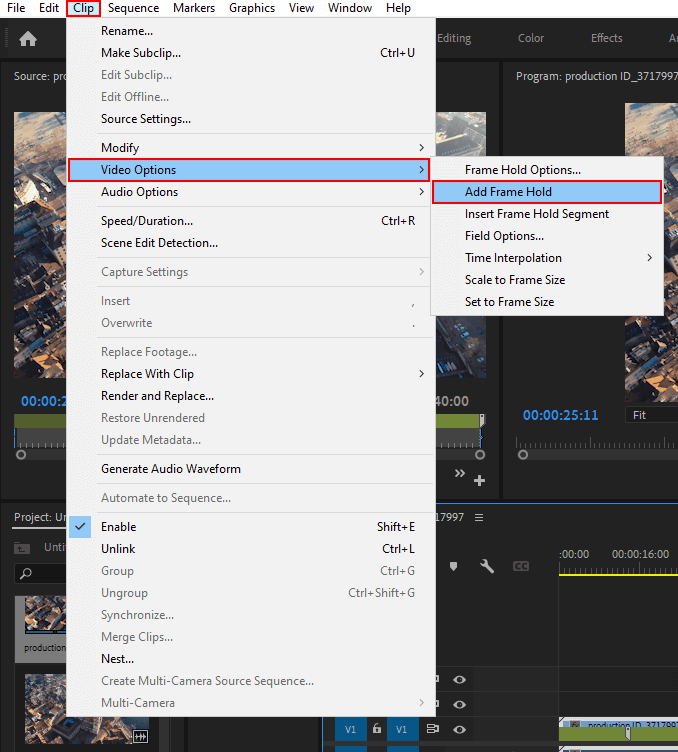
Select Clip > Video Options > Frame Hold. You can also use such key combinations as Cmd+Shift+K (Mac) or Ctrl+Shift+K (Win).
You will see a copy of the frame that you have selected in the Timeline. This freeze frame will look just like a frame from the video, even its name will stay the same. Besides, the original colors won’t look bleak or faded.
If you need to get a high-quality video, contact our professional service. We will help you enhance your unedited footage, add audio, and perform color correction.
The second method allows you to capture a portion of any frame when creating a freeze frame in Adobe Premiere. You can add a portion of a freeze frame without creating any additional media files or elements in 2 simple steps:
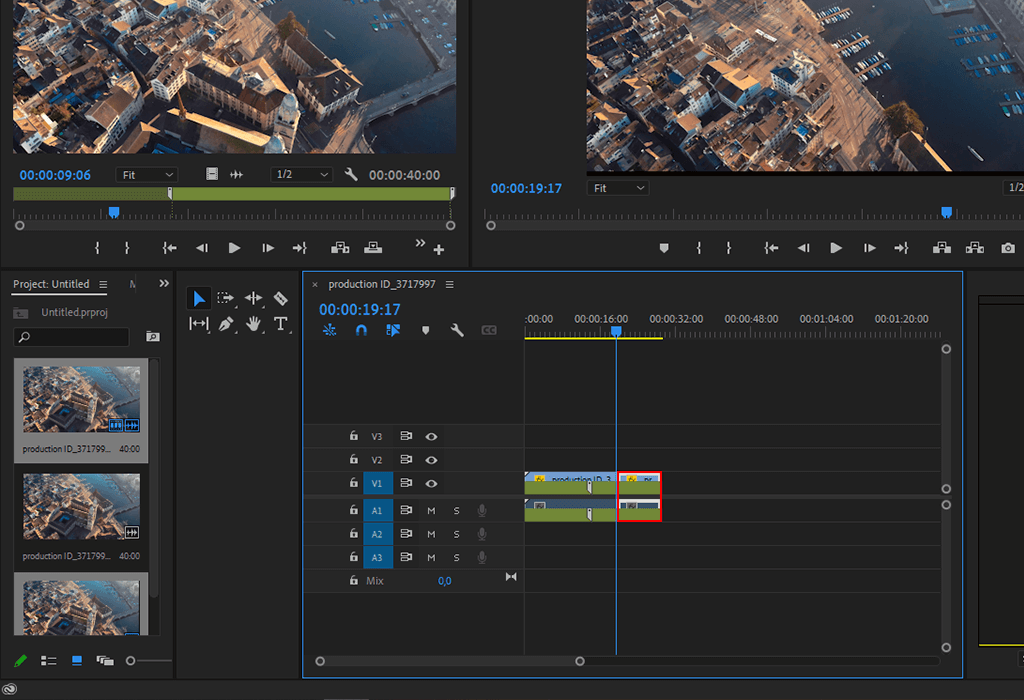
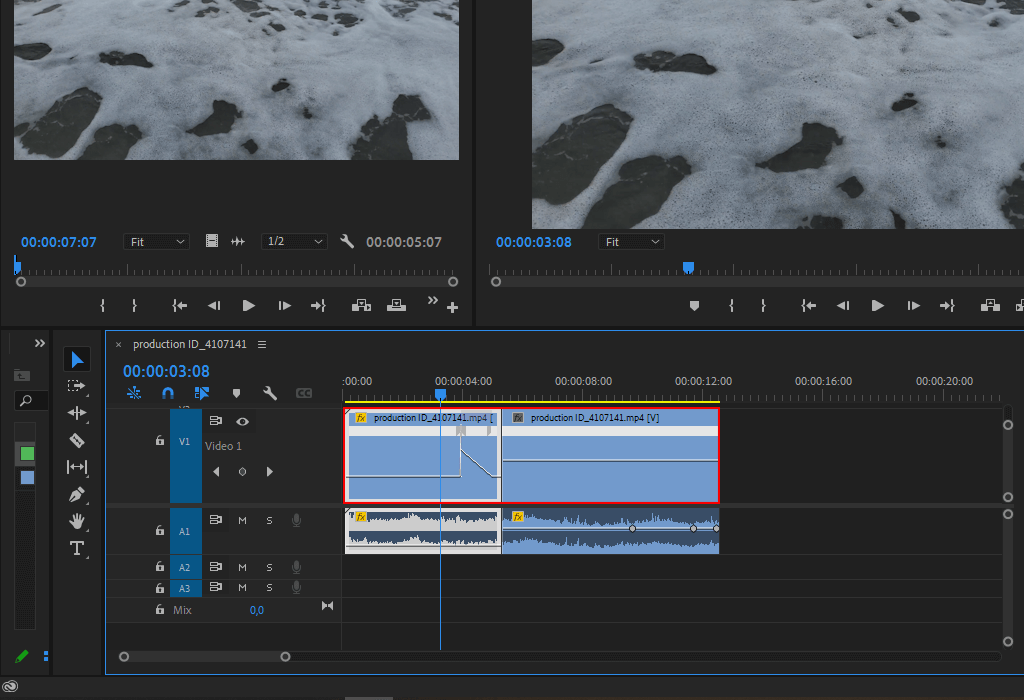
Place the playhead to the part of the Timeline panel where you need to insert a freeze frame. Then, choose Clip > Video Options> Insert Frame Hold. You can find a frame that you want to freeze, position the playhead over it, right-click and select Insert Frame Hold.

Now, your video is split at the Playhead position with the help of a 2-second freeze frame that you can put wherever you want. Besides, you can crop the added freeze frame to whatever length you want.

If you want to create freeze frame Premiere, you can use several options. The third method is different since it helps you freeze a frame for a portion of a video. One of the most useful tips that you can find in Adobe Premiere Pro CC tutorials for beginners is about the way you can use Time Remapping for capturing a portion of a clip.
Go to the Timeline panel and choose Time Remapping > Speed. You can find the necessary option in the Clip Effect menu. Besides, you can right-click on the FX icon and select Time Remapping.
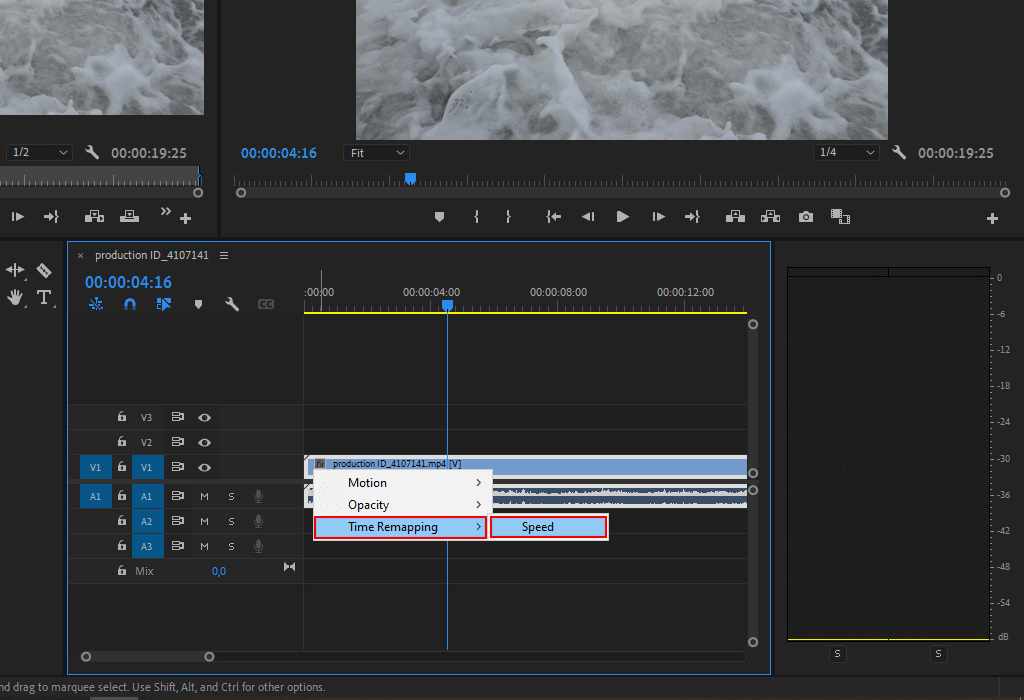
You will see the Clip Effect menu next to the title of the clip in a video track. If it doesn’t appear, you need to zoom in.
With the help of a horizontal rubber band that can be seen across the center of your video, you can adjust the speed. By default, your video will have contrasting colors above and below the 100% speed mark. You can find a white speed-adjustment track in the upper part of the video, right below the title.
Ctrl-click (Windows) or Command-click (macOS) on the rubber band. This way, you can add a new speed keyframe.
Use Ctrl+Alt-drag (Windows) or Option+Command-drag (macOS) commands to put the speed keyframe to the place where you want your freeze frame to end.
When you work with a freeze frame in Adobe Premiere, you need to drag the rubber band horizontally. Other keyframes can be dragged vertically.
You will see a second keyframe where you left your first one. The inner half keyframes, or the hold keyframes, look like squares, which makes them different from standard speed keyframes. It’s impossible to drag a hold keyframe if you don’t create a speed transition. You will notice vertical marks on the speed-adjustment track. They mark the fragments of the video with freeze frames.

Now that you know how to create freeze frame in Adobe Premiere Pro, you can also easily overlay videos in Adobe Premiere or make your clips look more engaging with the help of these LUTs. Learn how to install LUTs in Premiere and use them to enhance your videos in a consistent style. They were created by professionals who specialize in video enhancement.
With these overlays, you can enhance videos in any genre. Use them to make colors in your videos brighter and more saturated.


