How to Blur Edges in Photoshop
Would you like to blur the edges in your photo? It’s the best way to focus attention to the subject of your photo by blending the edges to white or transparent background. This simple tutorial on how to blur edges in Photoshop is going to show you exactly how to do that.
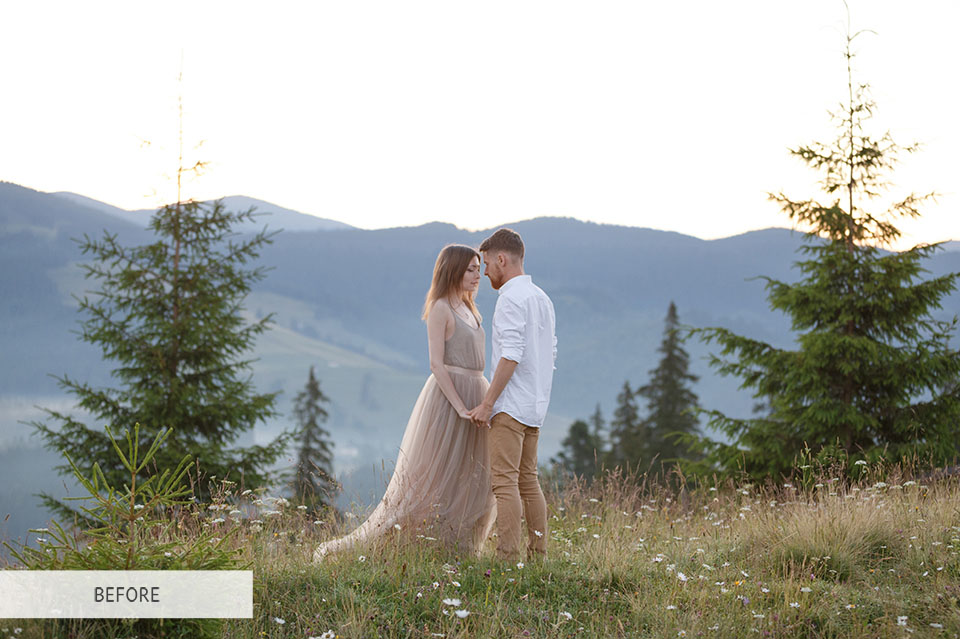
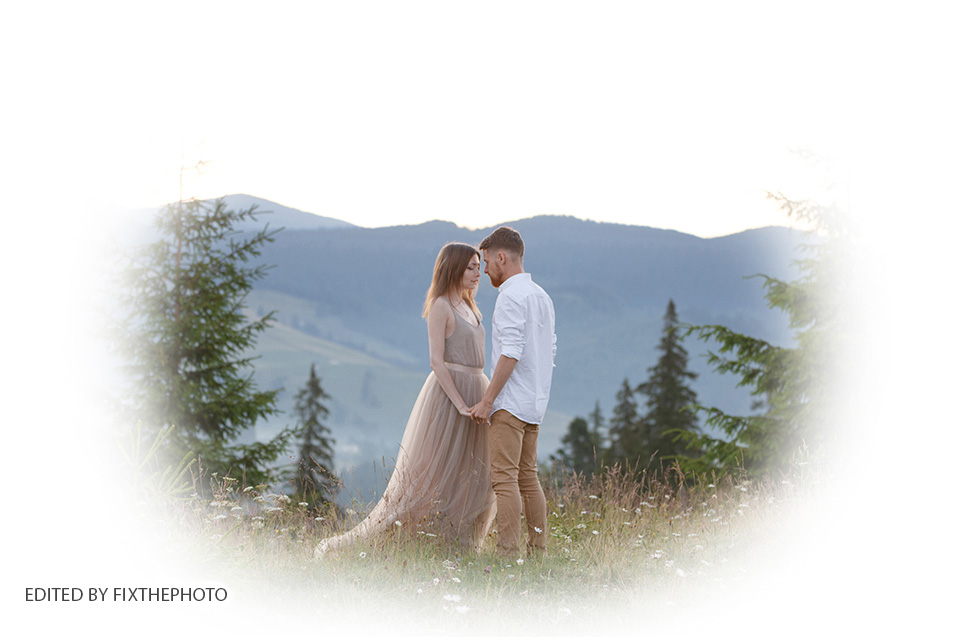
Blur Edges in Photoshop with Feather Selection
You may need to photoshop feathering edges to achieve a tender and dreamy effect in the photo. This technique works well for creating a subtle gradient of a foreground picture into a background.
 Download Photoshop Free if you still didn’t install it.
1. Define the Area for Feathering
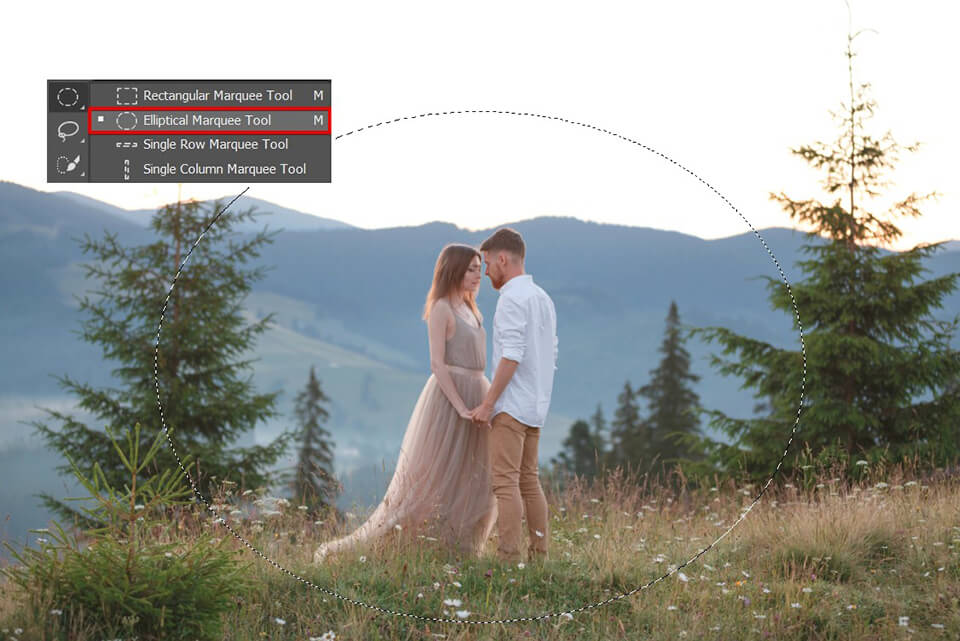
Tools Panel > Marquee Menu > Elliptical Marquee Tool (M)
To begin feathering in Photoshop, find the Elliptical Marquee Tool on the toolbox on the left and draw the desired shape. I traced a vertical oval surrounding the couple in the picture. Like the majority PS tools for selection, the Elliptical Marquee makes selections with hard edges. Therefore, to get a necessary vignetting effect, you need to make the edges slightly softer.
2. Feather the Edges
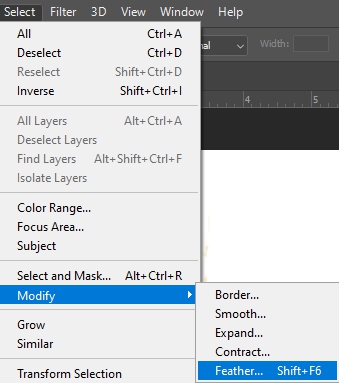
Select>Modify>Feather (Shift+F6)
To make soft edges in Photoshop, click on Select > Modify > Feather. Depending on the picture’s resolution, the final effect after you apply feathering will be different.
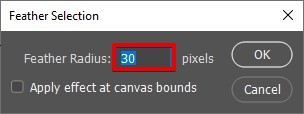
Set Feather Radius > OK
A 20-pixel feather in a 72 ppi (pixels per inch) picture is significantly bigger than a 20-pixel feather in a 300 ppi picture.
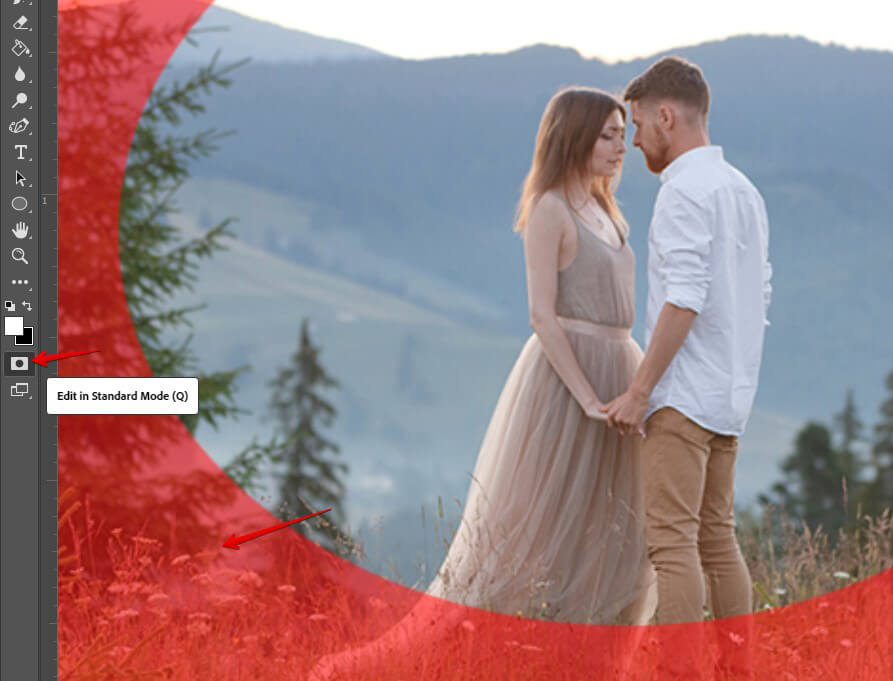
Tools Panel > Edit in Standard Mode (Q)
For a beautiful vignetting effect on the picture’s edges, I recommend selecting the values from 20 to 50 pixels. Don’t hesitate to play around with pictures to achieve a better result. I selected a 30-pixel feather. Then click OK to apply the settings.
3. Inverse the Selection
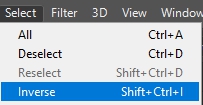
Select > Inverse (Shift+Ctrl+l)
Click on Select > Inverse for inversing the selection in the picture. This way, you are deselecting the part, which was earlier selected, and selecting the part, which wasn’t earlier selected. As a result, you efficiently swap the selection.
4. Choose the Color
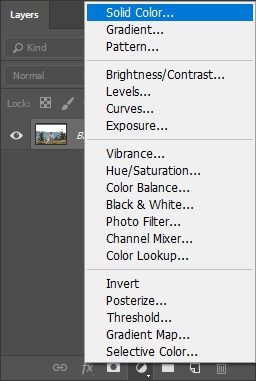
Adjustments > Solid Color
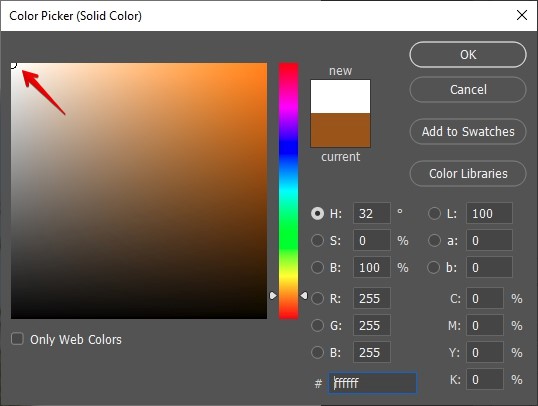
The next step of blending edges in Photoshop is to choose the color of these edges. In the “Adjustments” menu at the bottom of the Layers panel, choose “Solid Color”.
Choose Color > OK
You will see a color picker window. Experiment with colors and tints, until you find the right for your photo color sheme. Then, press “OK”.
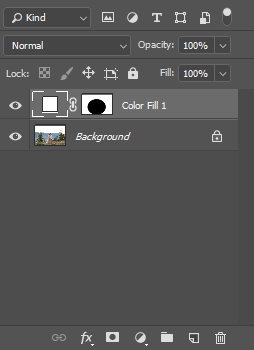
Now, you’ll see your photo with feathered edges.
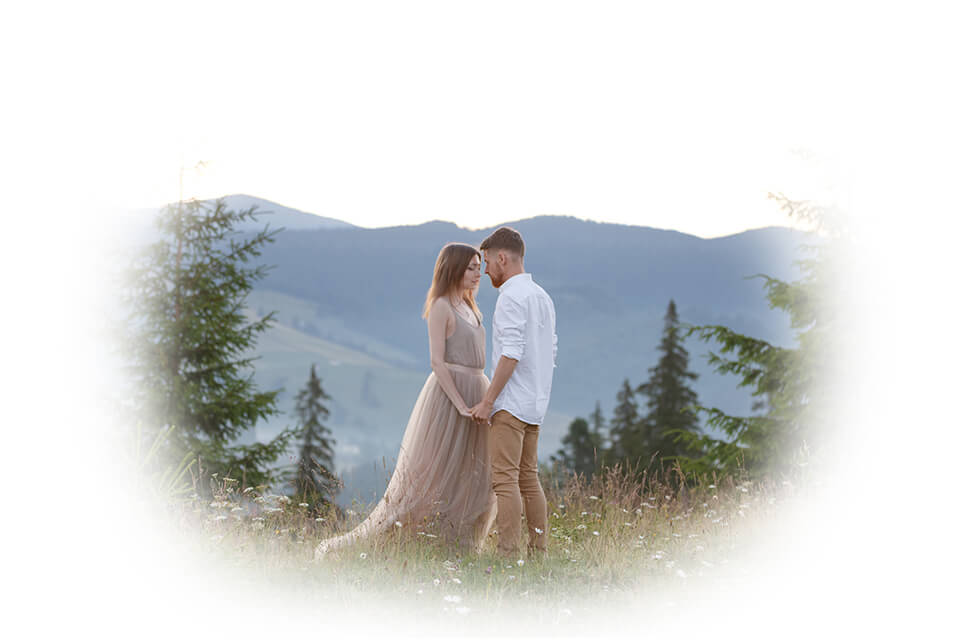
Here is what we see after the edges are blurred. This red overlay means that your feather radius has been added. Done! Now you know how to blur edges in Photoshop. If you need to, you can finetune the results: change the feather radius or color of the feathering.
Blur Edges Online and in Apps
If you prefer editing photos on the go, choose one of the following apps to blur edges. Note, in some apps you can’t regulate feathering color and opacity. It really reduces your chances of getting a realistic vignetting effect.
1. Quick Picture Tools


This tool is perfect for feathering edges in the shot. In case the size of the picture you upload is bigger than 1500px, it is reduced to 1500px. The possibility of choosing PNG format lets you have a transparent background. The tool supports PNG, JPG and GIF picture formats.
- View more about how to remove shadows in Photoshop.
2. Final Touch

This app offers everything you need to effectively add a vignette effect and can be a great alternative to feather Photoshop tool. You may choose circle-, square- or ellipse-shaped vignettes, change the position and rotation of the vignette, tweak the size of the feather. Moreover, Final Touch provides an opportunity to apply in-app vignettes to the pictures, which are fully customizable.
- Check out how to add rain effect in Photoshop.
3. Tuxpi


Upload the shot to this website and apply a vignette of different colors. You may adjust the fade-in levels along with the opacity. To check the result, just zoom in and out of the picture.
4. Photo-Kako


Here is one of the best picture post-processing websites created in Japan. With its user-friendly interface, you won’t have any difficulties adjusting feathered edges. The website offers various shapes, threshold, radius, margins, etc.
- Read more about how to mask in Photoshop.
5. Canva


Canva is aimed at simplifying the process of designing and basic image editing. Its vignette effect can be an excellent analog to Photoshop soften edges tool. The vignette in the app is applied by adjusting sliders.
Photoshop Photo Editing Freebies
Prior to using Photoshop fill feather tool, you need to improve the picture and correct colors. Download the following free Photoshop actions and overlays to make your photos pop in several clicks.
Free PS Overlay "Lollypop”
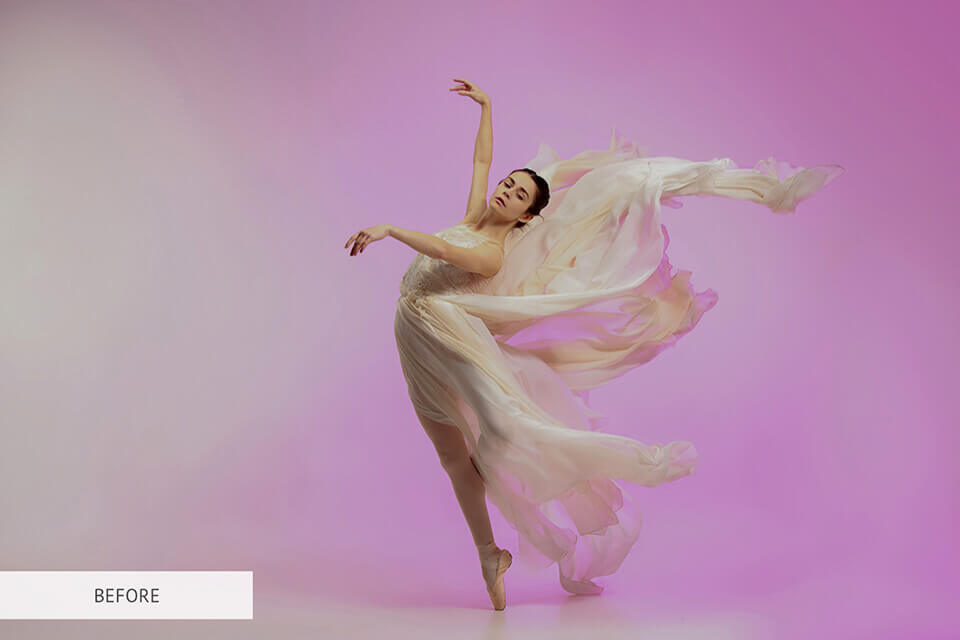
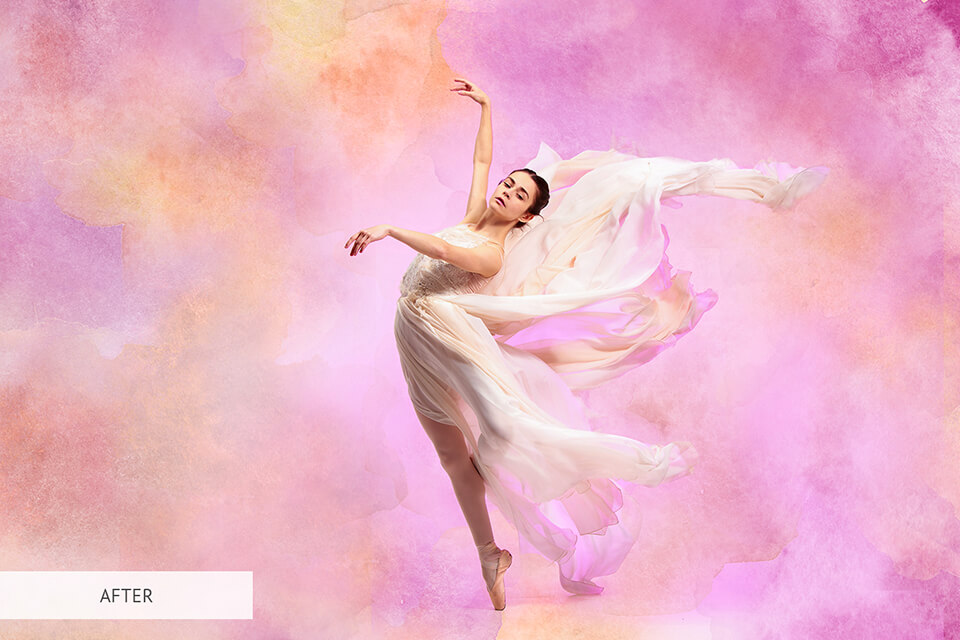
Make your shots more captivating by applying this PS overlay and adding splashes of colorful watercolor. This overlay in particular, adds pink and peachy watercolor to the picture.
Free PS Overlay "Lights”
.jpg)
.jpg)
If you need to add tenderness to your images, this bokeh overlay will successfully cope with this task by creating a dreamy, softer background. With this overlay, you will be able to imitate a bokeh effect produced by high-end lenses.
Free PS Action "Cool”


This action is aimed at adding cold shades to the colors in the shot and putting emphasis on blue tones. Besides, it helps eliminate a yellowish tint, which “messes up” the overall look of the image. Your picture will appear deep and sharp.
Free PS Action "Matte Effect”
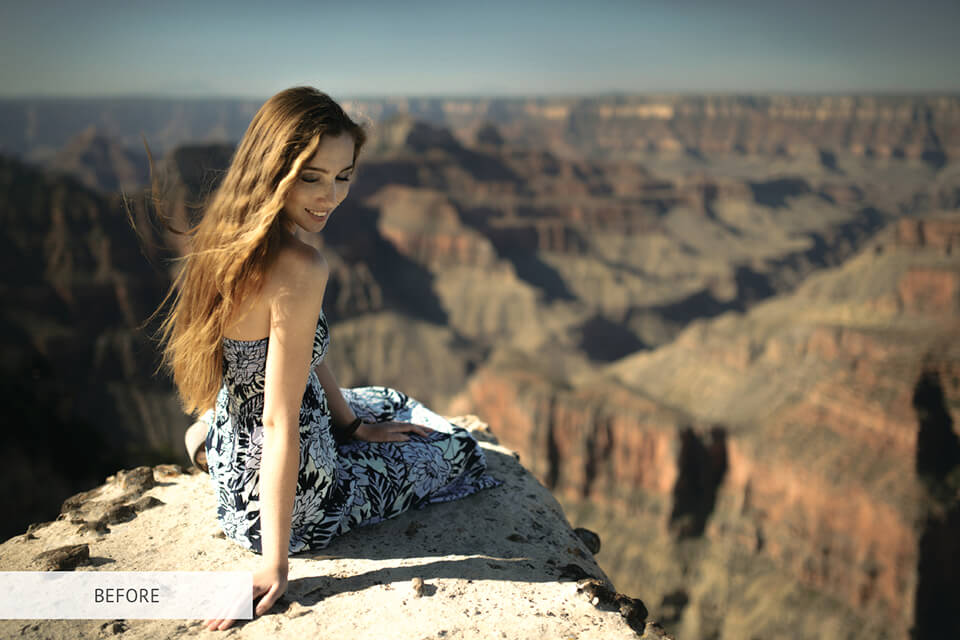

This is a universal and unique matte PS action, which is perfect for adding a traditional faded look to the shots of all genres and styles. It gives softness to the image with the subdued and mild shades.
Free PS Action "Warm”


This HDR action makes the image more dimensional, softer and lighter, puts emphasis on the details and adds a pink tone. Apply it to pictures featuring colorful textures since they need a slightly expanded dynamic range. As a result, the image becomes more appealing and eye-catching.
- Find out how to use Photoshop actions.


