Professionals who design pages and layouts, know well that it is reasonable to divide the text into columns to achieve a more appealing look. If you want to learn how to add columns in InDesign, this guide will come in handy. First, you need to download Adobe InDesign.
To work with text, you need to make so-called text frames. You can use them to create, delete or add columns and customize them to your taste.
The first way is an automatic one. You only need to indicate the number of columns, and the program will arrange them on the page. Use various InDesign scripts that allow completing routine tasks faster and easier.
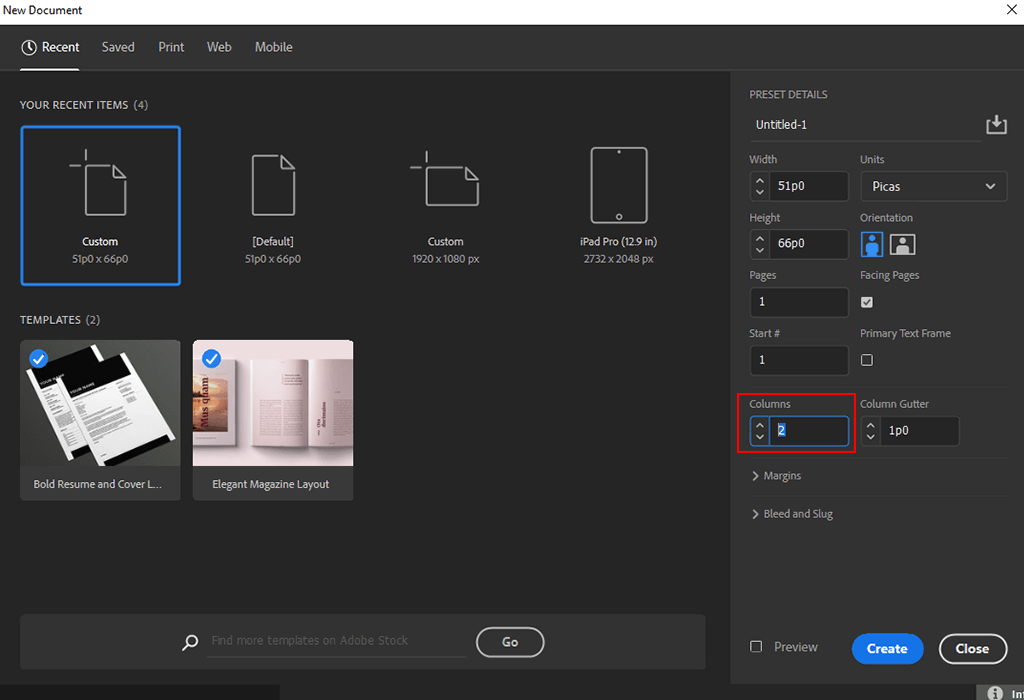
After creating a page layout, you need to decide how many columns you require. Open the Custom template on the left side of the menu. Then, indicate the number of columns.

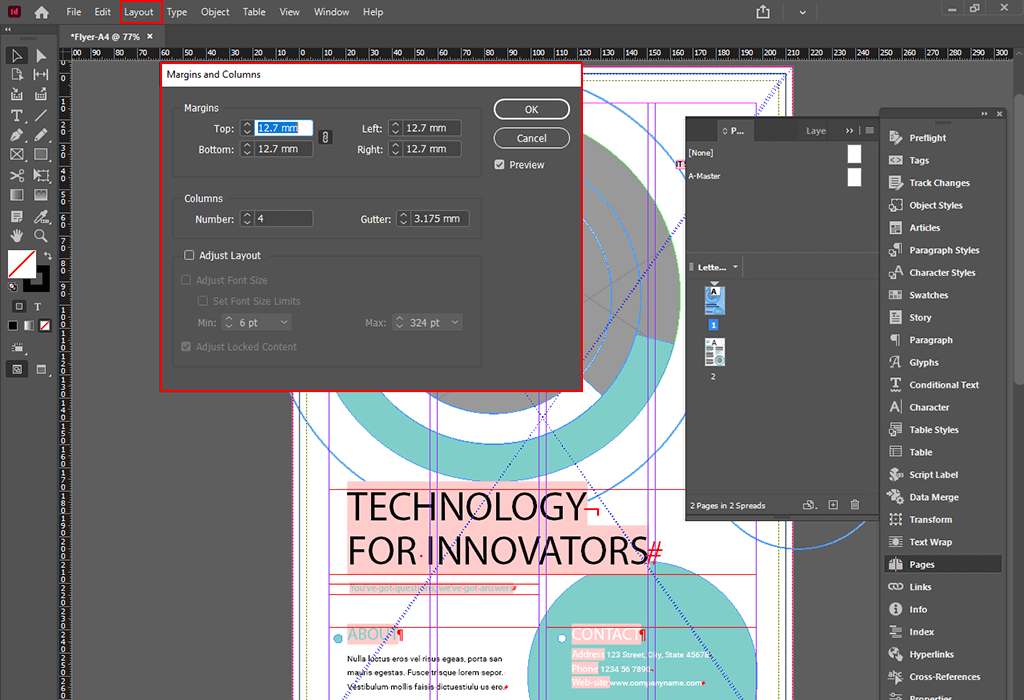
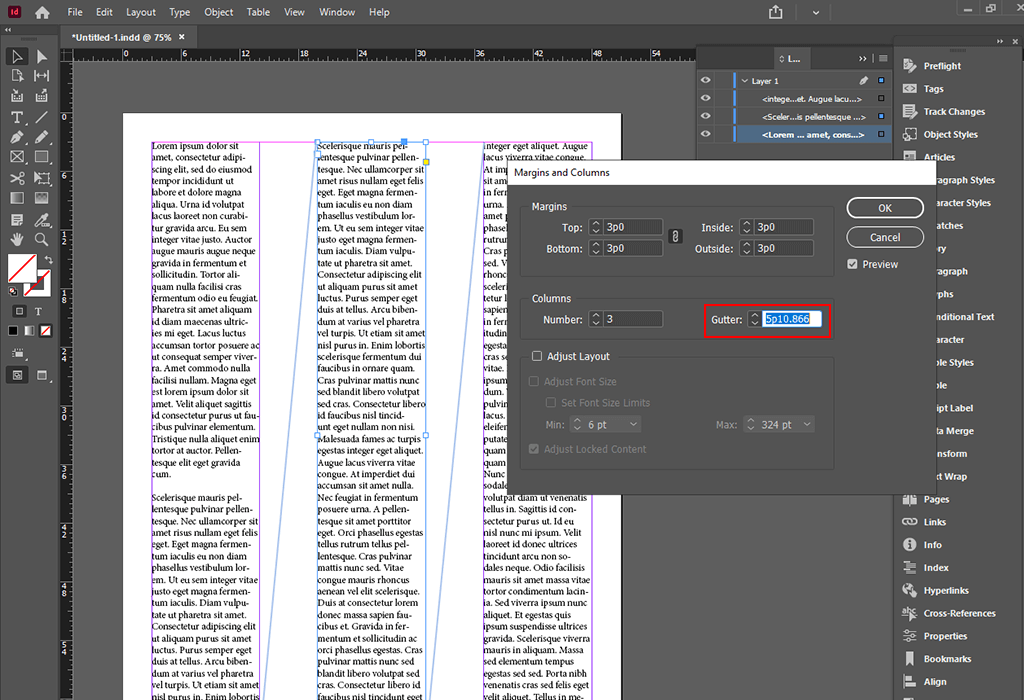
If you want to learn how to create columns in InDesign when working with an already existing file, follow these steps. You need to select the Layout menu and pick the Margins and Columns option from the drop-down list.
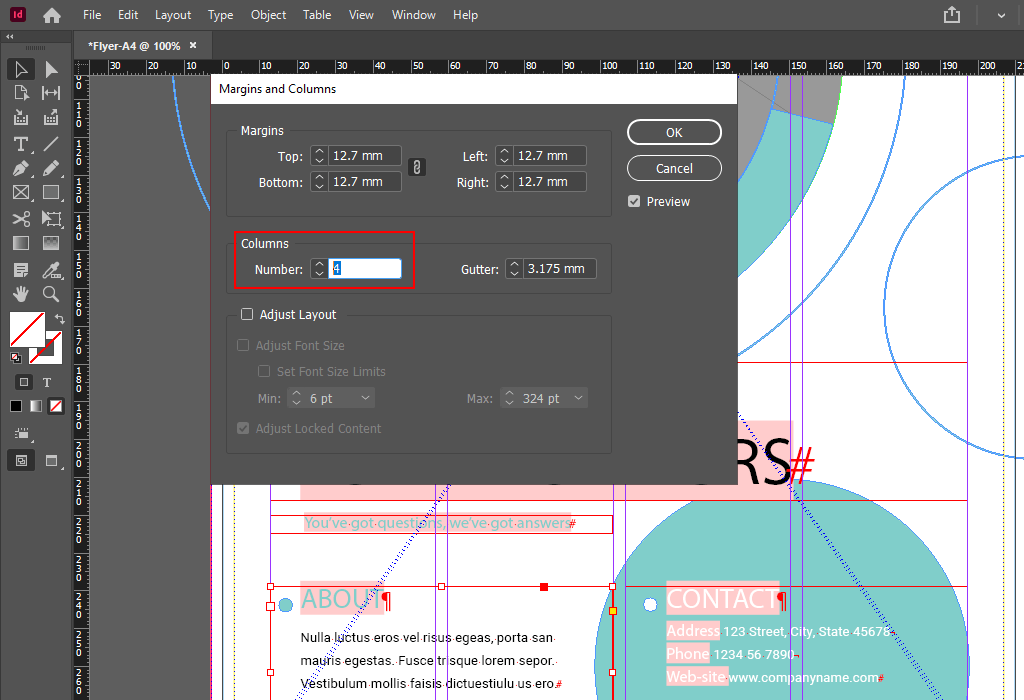
In the pop-up window, indicate the number of columns and customize their parameters, if necessary. Here, you can configure the size of the top, bottom, left, and right margins.
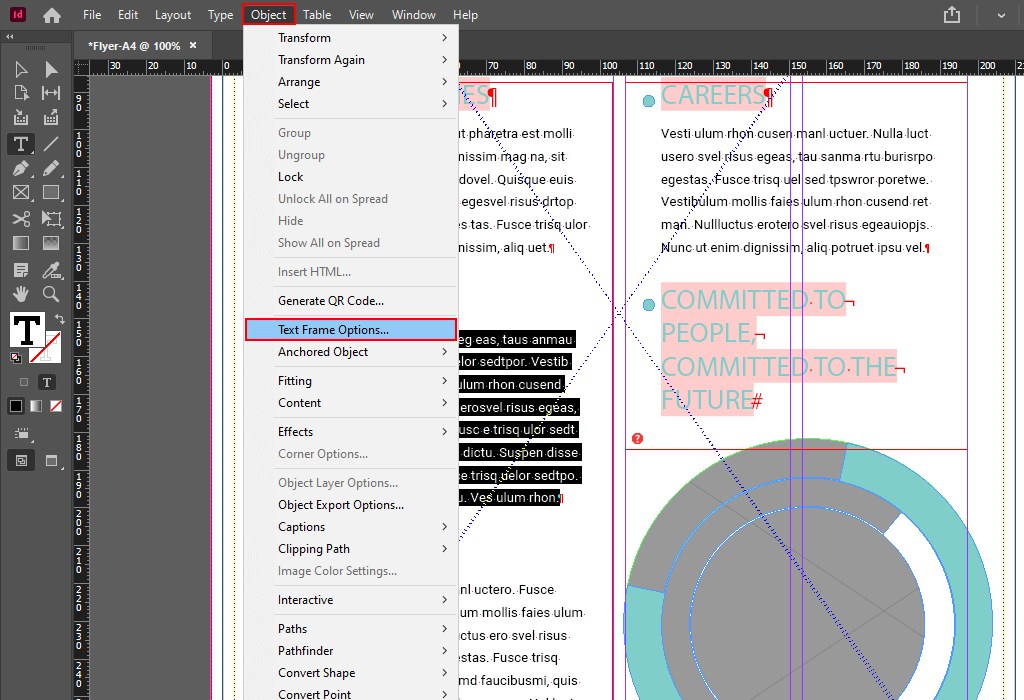
Adding columns using the Object menu is a convenient option as well. Select Object>Text Frame Options.
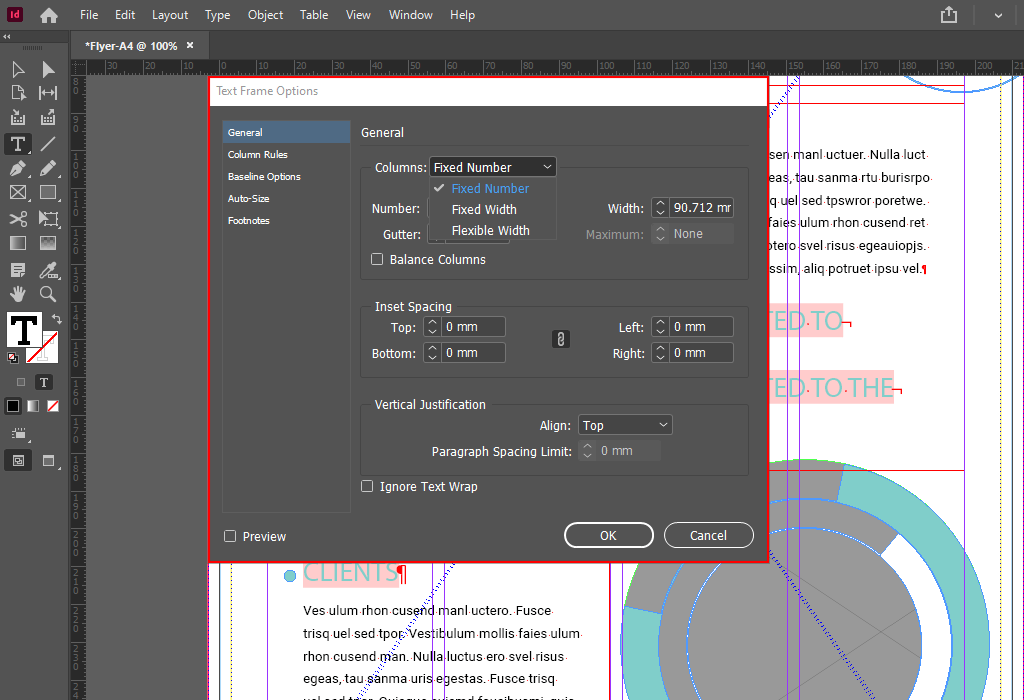
Configure the parameters for the text blocks using the drop-down list. To fix the number of columns, select the Fixed Number option. The program will indicate the column width in the Width field taking into account the size of the document. You can also choose the Balance Columns option, and the program will arrange them harmoniously on the page.
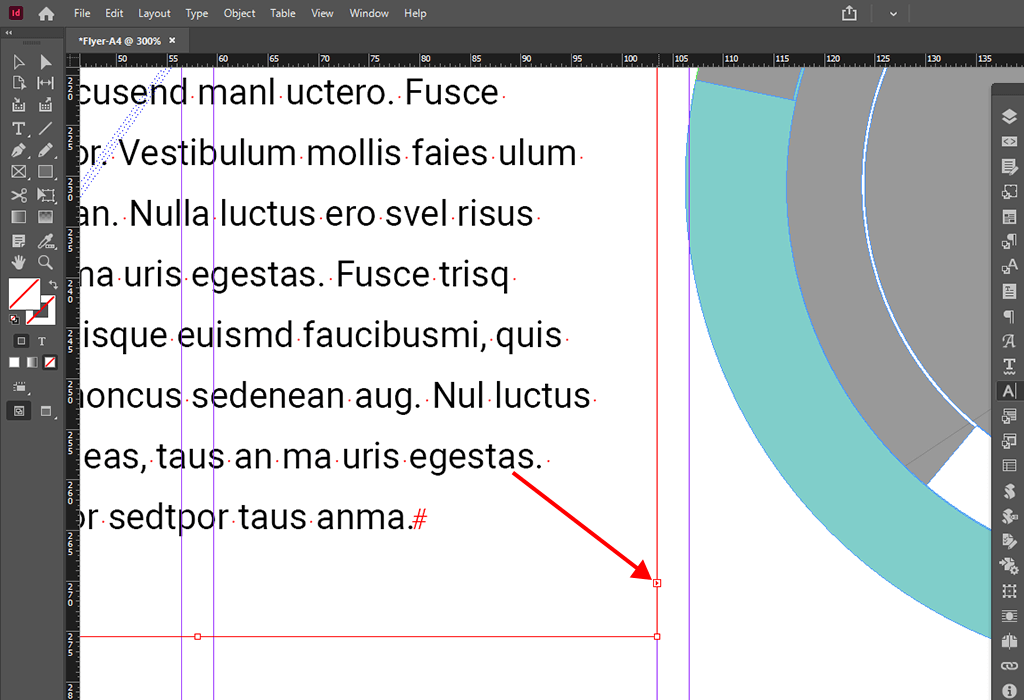
You can use overset text for generating new columns. They will have a red sign in the lower-right corner of the frame.

By clicking on the “+” icon, you can perform various manipulations with an overset text.
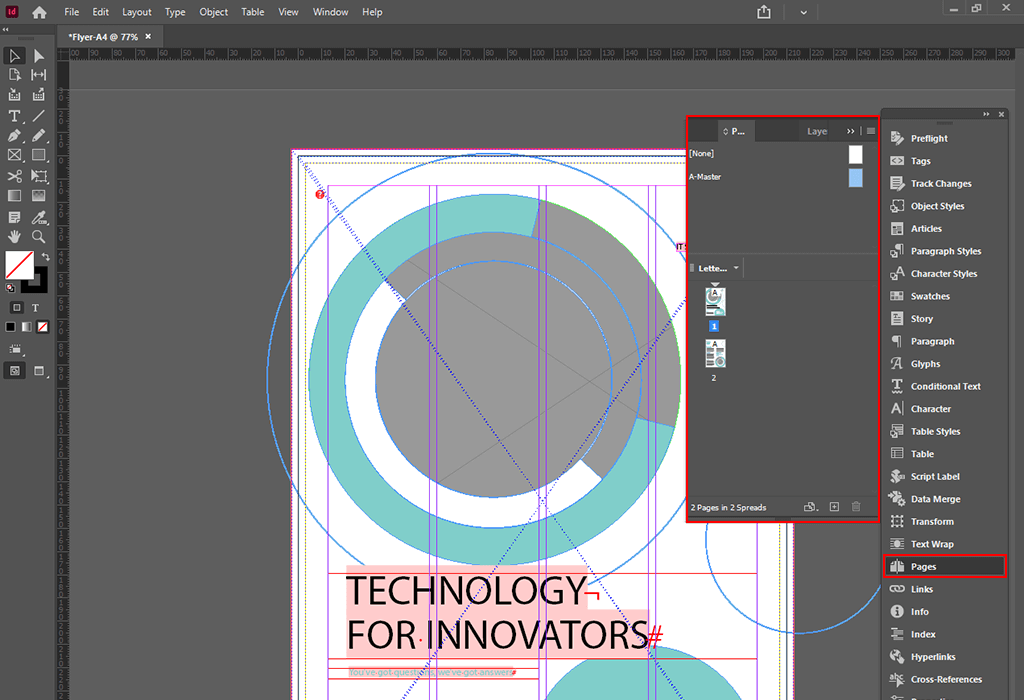
The program also allows customizing columns on the master page. Head to the Pages menu and select the appropriate icon to perform this task.
Find the Layout menu and select the Margins and Columns tab. Then, you need to specify how many columns you want to create.
If you want to find out how to do columns in InDesign to refine the look of the web page, you will need to use guides to visualize the outcome.

Choose the Default template and indicate the number of columns in the menu that will appear on the right. To set the size of the column on the page, enter the parameters in the Column Gutter field.

Select the Text tool on the toolbar on the left and create a rectangle that should be big enough to cover the first column completely.
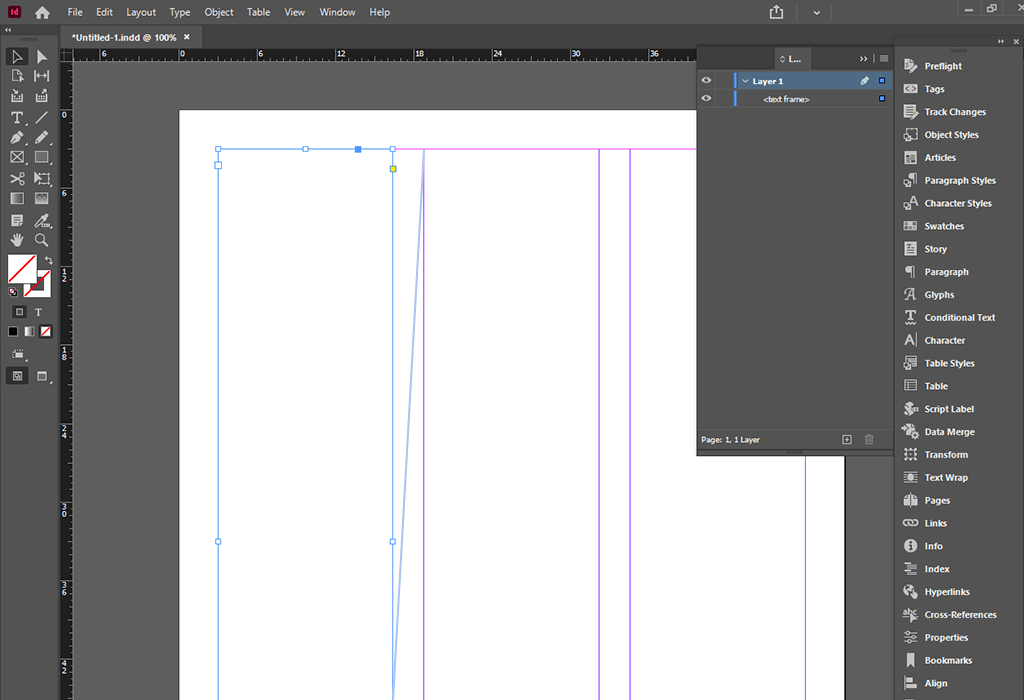
Afterward, click on the square that will appear in the lower right corner of the text frame. To generate a new column, click in the top right corner of the column boundary on a page.
By outlining the boundaries of the column and making certain that they match the text boxes, you will be able to redesign your layout. Head to the Layout menu and make changes in the Columns tab.
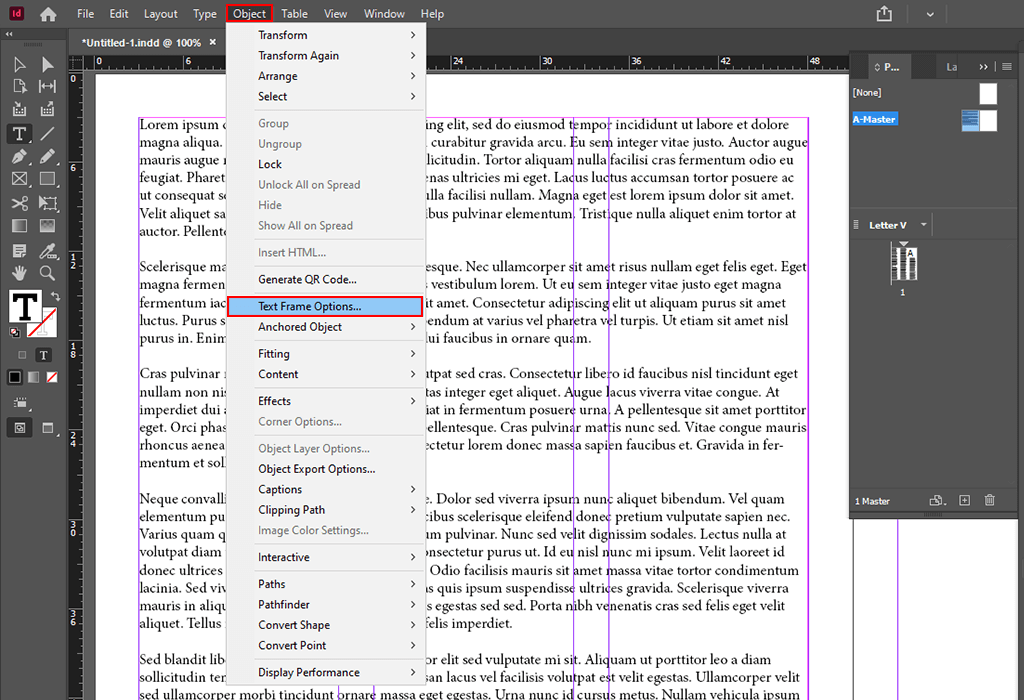
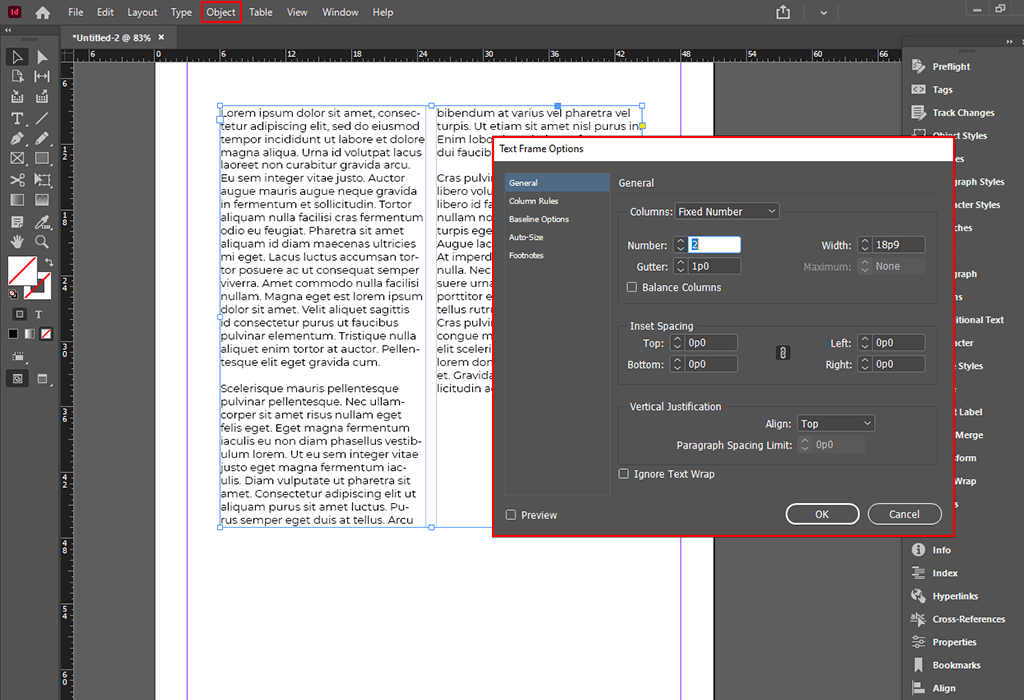
To configure the multi-column text box, head to Object >Text Frame Options. Here, you can specify the number of columns, their dimensions, and the distance between them.
Next, select the text and put it in the columns you’ve just created.
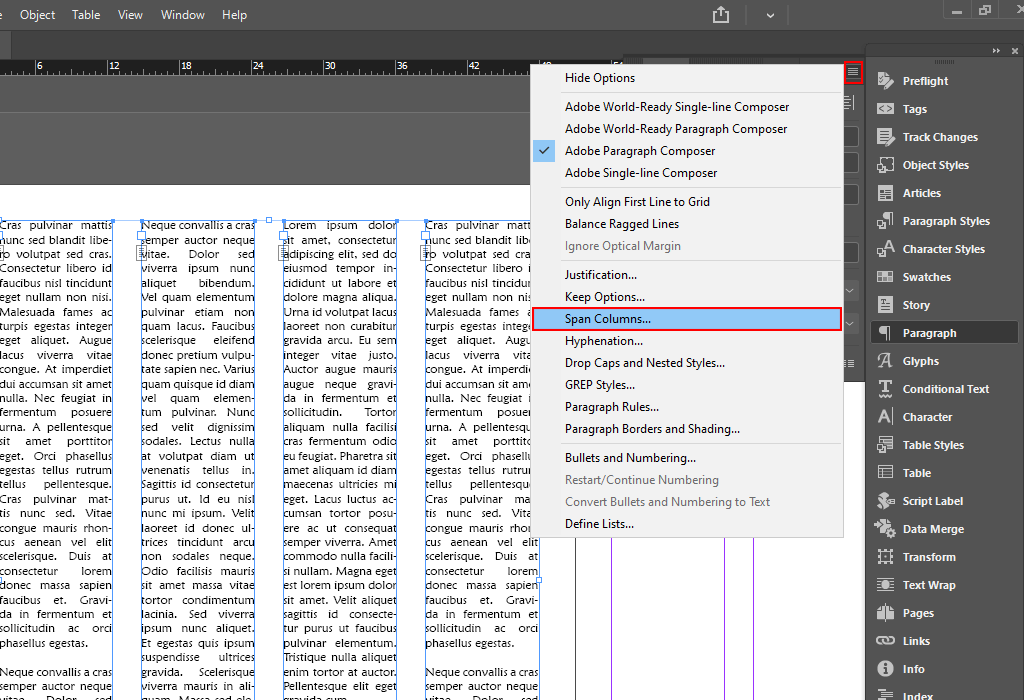
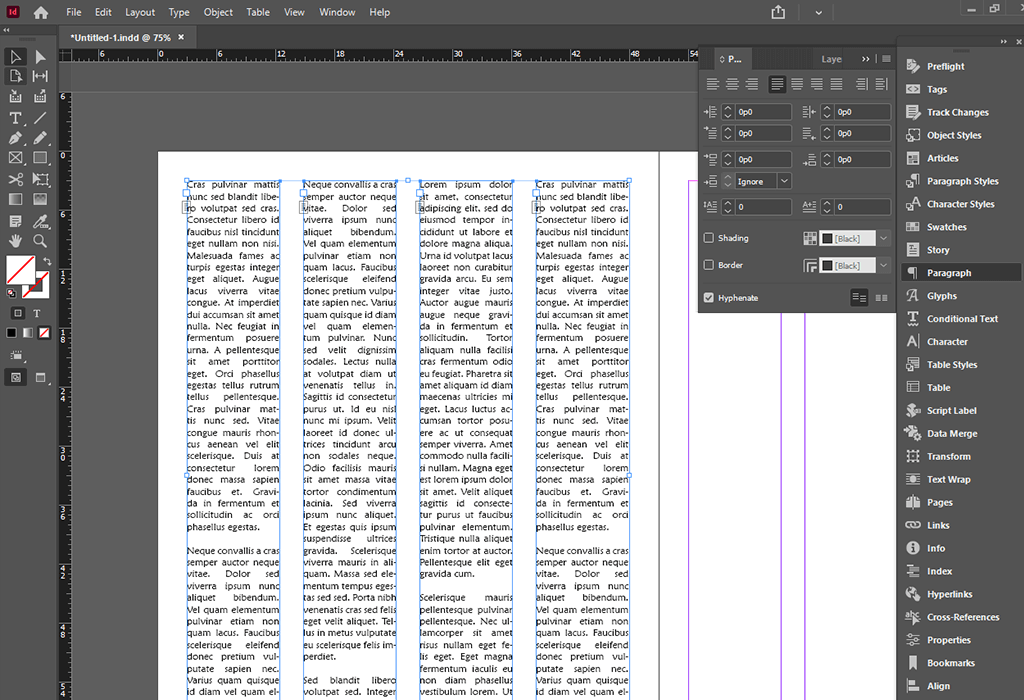
Keep in mind that text blocks should not stick together. You need to adjust the spacing between boxes. Turn your attention to the top right corner of the menu, select the icon with 4 horizontal lines and pick the Span Columns tab.
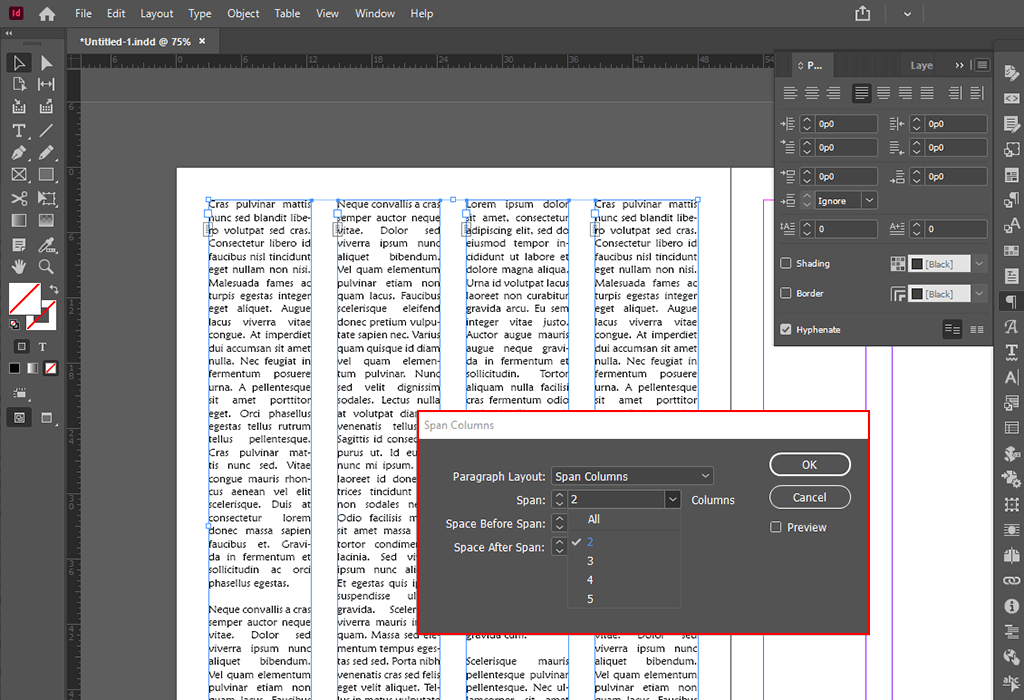
The table allows setting the appropriate parameters for splitting the text into columns.
To use the third method, you need to draw a rectangle and insert text into it. You can make the frame longer by dragging its lower edge. Specify the desired values in the Object>Text Frame Options menu, as you did before.
Stay in the Text Frame Options field and choose the offset options for the first baseline.
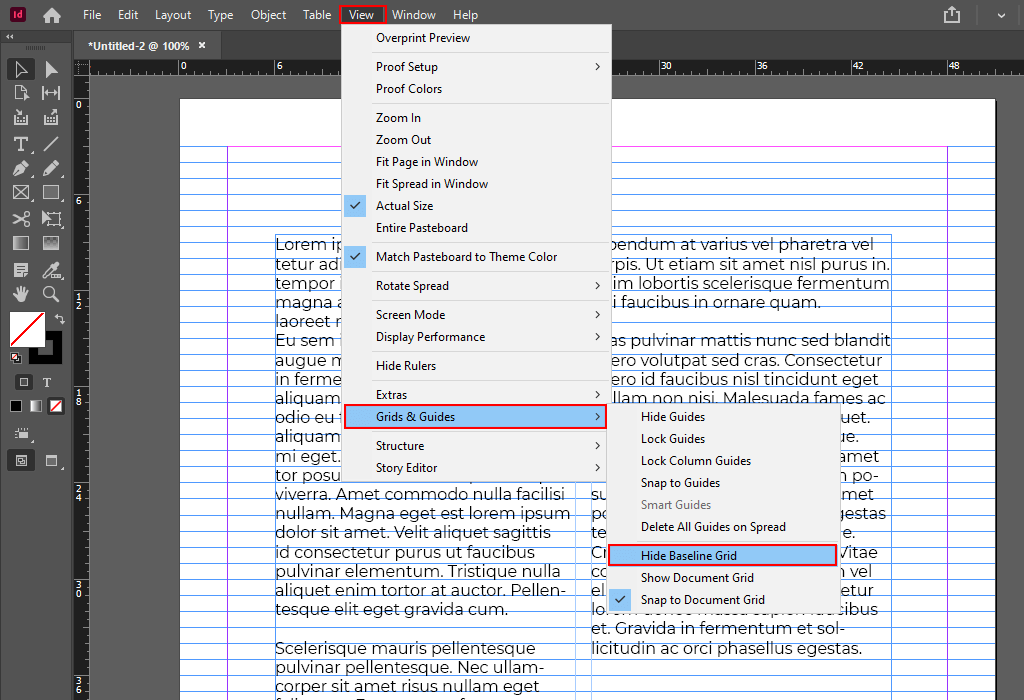
Go to View> Grids & Guides> Hide Baseline Grid to set the parameters of the baseline grids for a text box.
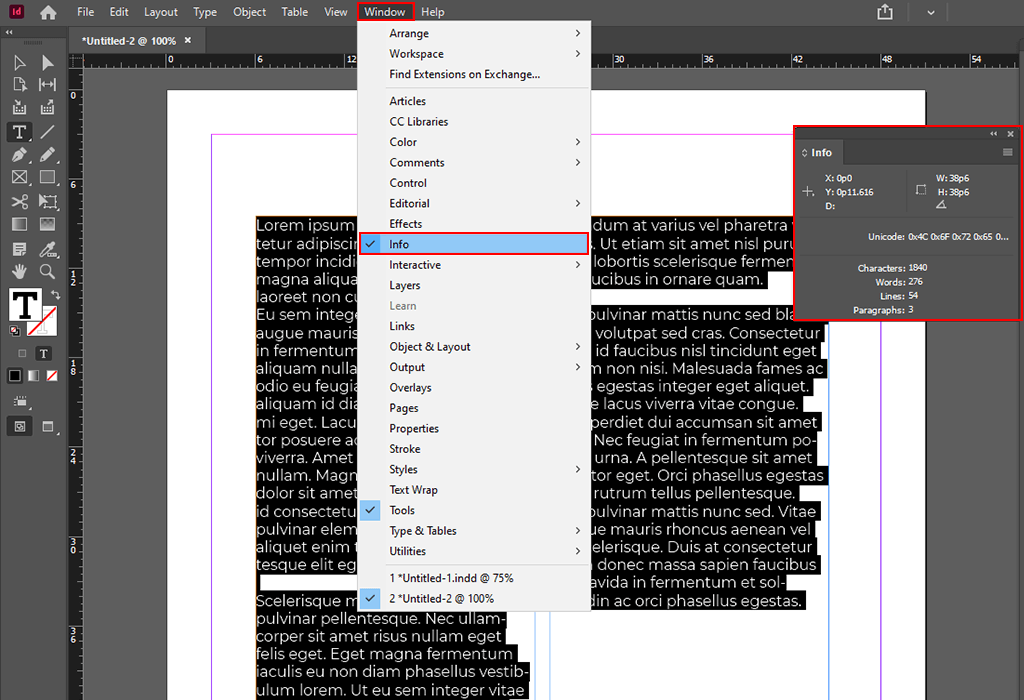
The final step is to define how much text you want to insert into each column. Go to Window> Info to activate the Info panel. It will allow the program to count the number of words and characters in each column. Here, you will find the exact info about the number of words, sentences, paragraphs in the columns. You can also adjust these values.
Try following these three InDesign tutorials to select the most effective and convenient method for you.

If you want to make the most out of InDesign, we recommend using various types of graphic design when working on your projects. They are helpful for creating ads, handouts, layouts for web resources, original email newsletters, and more. Download them and customize them by adding images and text elements.


