50 FREE InDesign Scripts


Why do you need InDesign scripts? If you frequently use Adobe InDesign, you have surely thought about possible ways to speed up regular processes. InDesign scripts have been developed specifically for this purpose.
Talking about a script, I mean not only advanced actions, such as creating a completely new feature for your documents, but also about simple automated tasks. It is possible to create your unique scripts as well as use ready-made ones.
Having Adobe InDesign scripts at your disposal you can facilitate your work in this software and devote more time to your pastime activities.
What Are InDesign Scripts?
An InDesign script is a series of commands that the program performs at a particular moment depending on the conditions. These commands may affect a single object or compose an elaborate structure that changes multiple elements of a document.
InDesign scripting has turned out to be a creative process enabling users to solve all kinds of tasks by means of simple programming. If you are curious about scripting, have a look at the Scripting Guide, scripting requirements and other related resources on Documentation.
How to Install InDesign Scripts?
Step 1. Open the Scripts
InDesign CS5 or Later: Find the Window menu > Utilities > Scripts.
InDesign CS4 and CS3: Find the Window menu > Automation > Scripts.
InCopy: Find the Window menu > Scripts.
Step 2. Reveal in Finder
Once you open the Scripts panel, you will see User and Application folders, both suitable for InDesign scripts installation. But mind that the Application folder is meant for admin, so if you are a regular user, choose the other one.
When the suitable folder is selected, click on the menu button in the upper right corner of the panel. Select Reveal in Explorer if you a PC-user, or Reveal in Finder if you have macOS.
Step 3. Install Script
If you have done everything properly, there should appear a Scripts Panel folder. Use the drag-and-drop method to transfer your InDesign automation scripts into it. The installation is finished.
Switch back to the program and check whether the scripts are listed under the folder you inserted them in. To activate the necessary script, double-click it. Enjoy!
50 Best Adobe InDesign Scripts
Thanks to a great variety of InDesign scripts, people can automate their regular tasks and achieve maximum efficiency in their work, bringing a creative, “fresh” touch to the typesetting process. In case you feel something is missing here, leave a comment below.
1. Apply ALT XMP
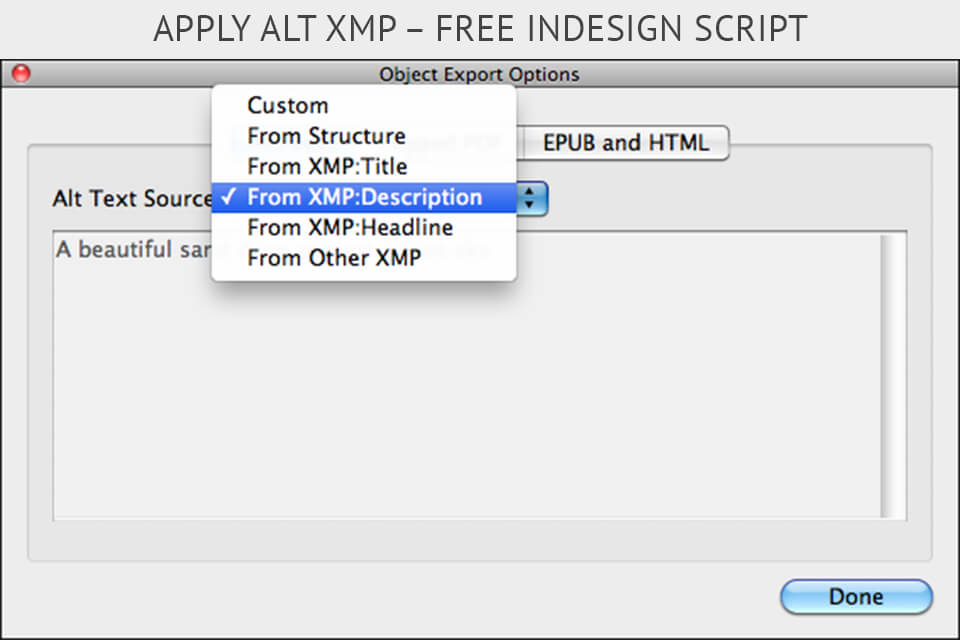
This InDesign script is used to retrieve text from a photo’s XMP field for Title, Description and Headline and further copy it to the Alternate Text section. This is applied to every picture in the document.
- Read more about the most affordable way to buy InDesign.
2. Kern Tables
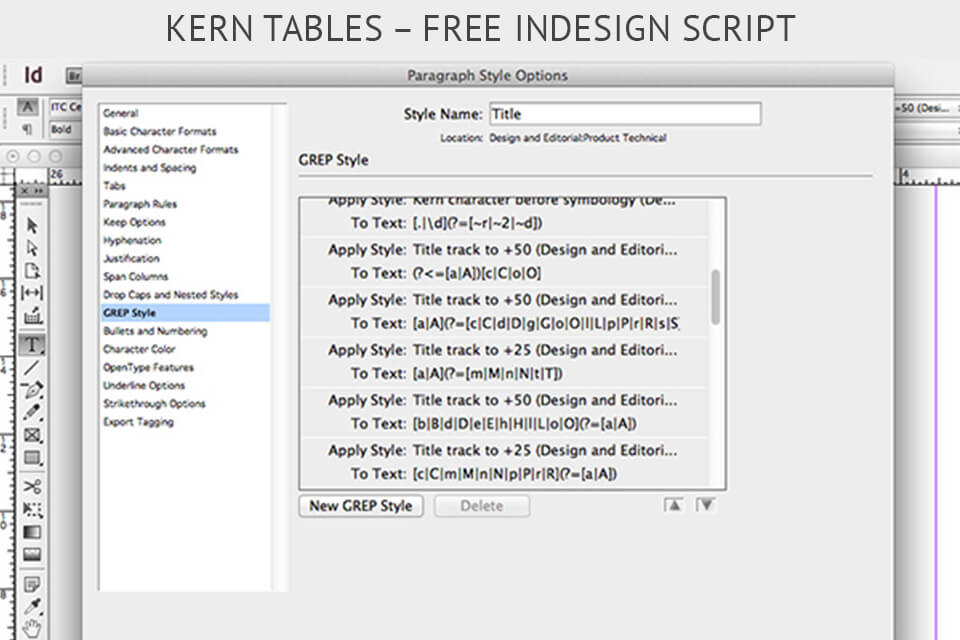
The script enables you to construct a kerning table for all fonts and apply it by activating the script.
3. Perfect Prep – Scans Active Story
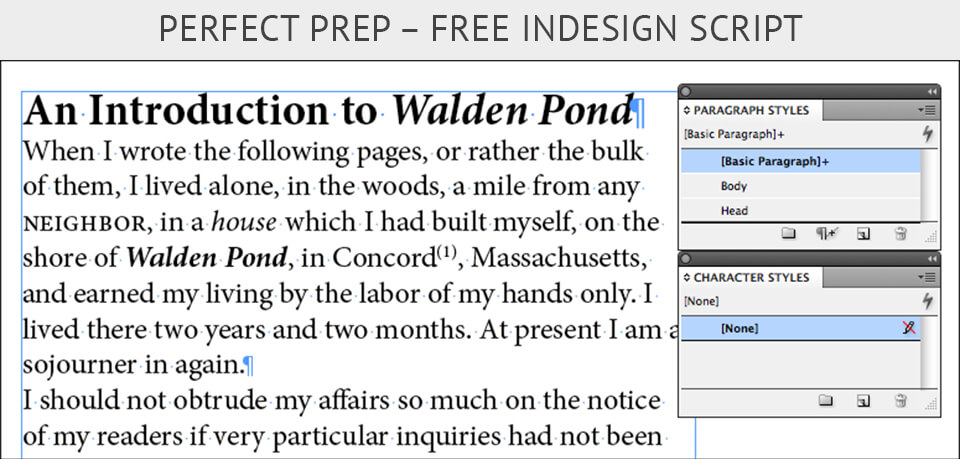
If you need to quickly scan your active story or a document in order to detect a part with a cluster of italic, bold, etc., the Perfect Prep will do a great job. When the area is found, the InDesign script generates a character style (if there is none yet) and applies it to the text.
To make this script work correctly, you need to install an earlier script called Prep Text to the same folder. The InDesign Scripts free download link contains both scripts.
4. Switch-Image
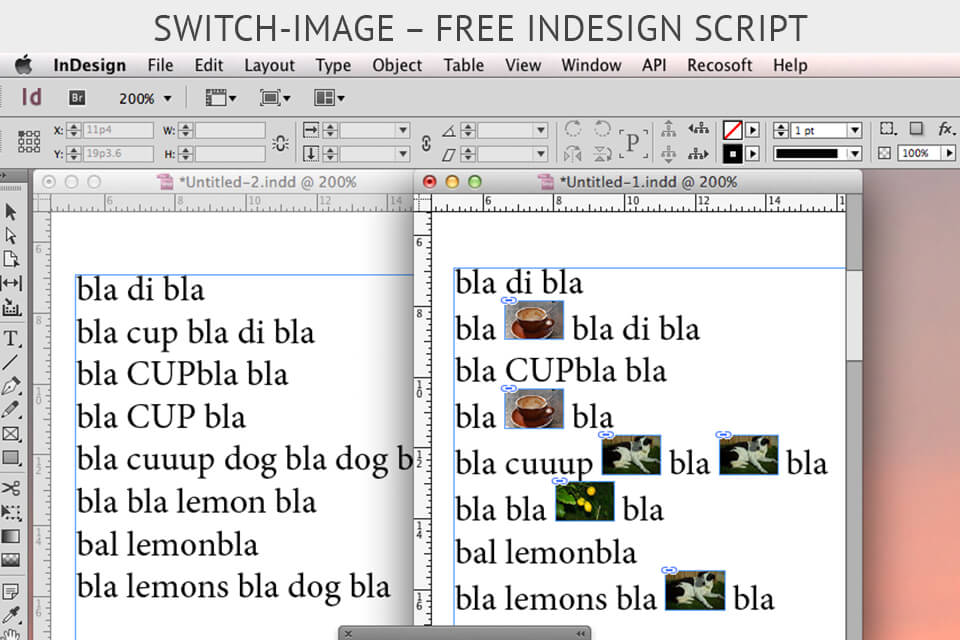
If you are looking for a fast way to replace the text with an inline photo, make use of this script.
5. Lorem Ipsum-izer – Changes a Selected Text Frame
You may have guessed how this InDesign automation script works from its name. It alters a selected text frame’s contents, turning it to placeholder-like text. The original text formatting is unchanged.
- View more InDesign alternatives.
6. Merge Files
If your task is to merge several documents, but you don’t see the point of doing it manually, this InDesign data merge script is a go-to tool. It will combine all the copies of files into one large INDD document.
The parts that you need to group may be placed in one folder, or in an InDesign Book panel, or be simply opened – just point this script at them and voila, they are combined. NOTE: If master pages or style sheets have several documents with the same name, e.g. C-Master, this script will use those in the first INDD file as the “style source”, without changing their names.
Thus, conflicting attributes in same-named styles/pages are overlooked.
7. Calculate Margins
In case you experience difficulties trying to construct a page, this script may be of invaluable help. It forms the outer, inner, bottom and top margins for 5 standard types of the page layout – the “regular” print, the “fine” print and 3 corresponding to a geometric page division by six, nine and twelve.
8. Size Labels
This is one of the best InDesign plugins, proving more accurate work with the frames. It adds a label to each frame for you to see its dimensions. Since the labels are located on a separate layer, you can quickly delete them.
The only weak point of this script is that it shows the dimensions in inches, so if you need to know them in centimeters or any other format, you need to re-code the script.
9. Footnotes in Columns
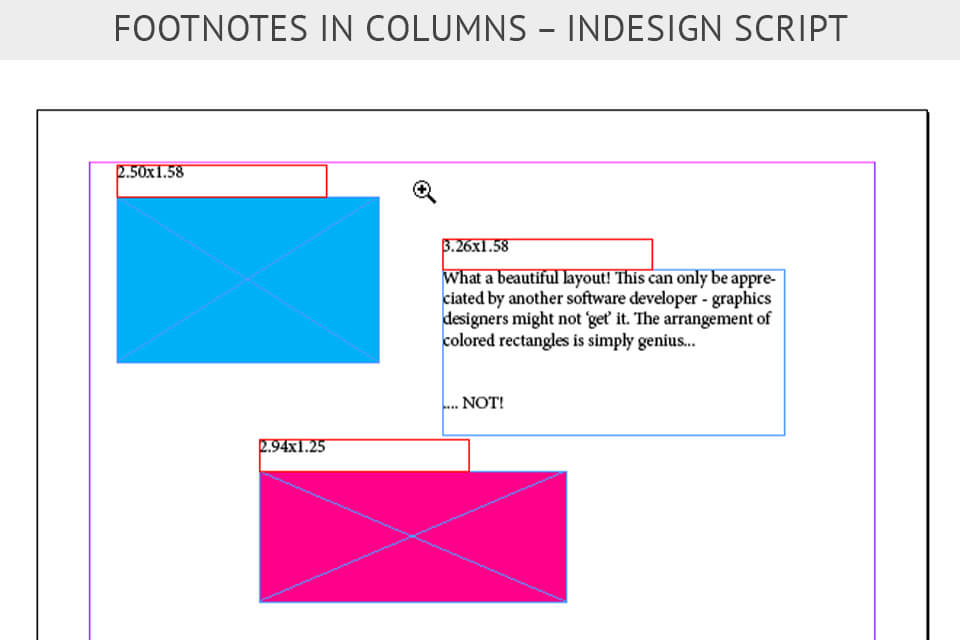
Not just a single script but actually a series of InDesign actions written to place and arrange footnotes into columns.
- Read more about how to get InDesign for free.
10. Clean Up Index Topics
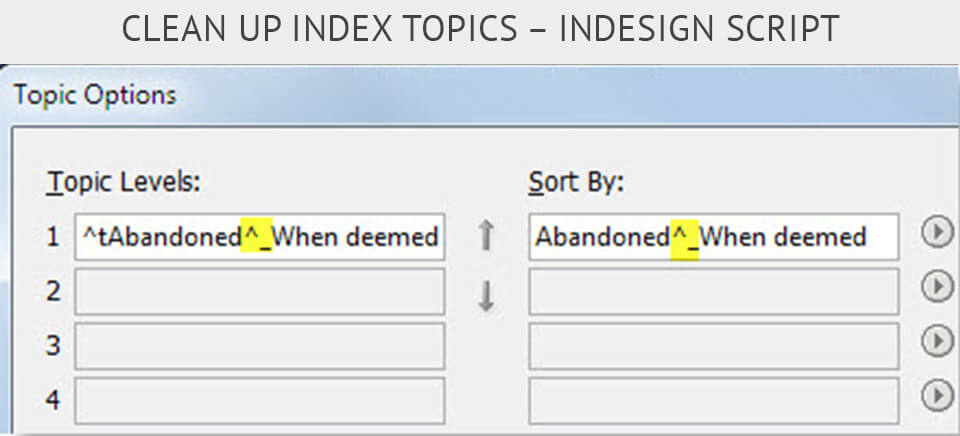
If you’ve got sick and tired of removing topic names in the Index panel manually, just apply this InDesign Index script to facilitate the work. Therefore, you won’t need to clean up the text in the generated stories when you decide to renew the Index.
11. Batch Convert/Export Documents
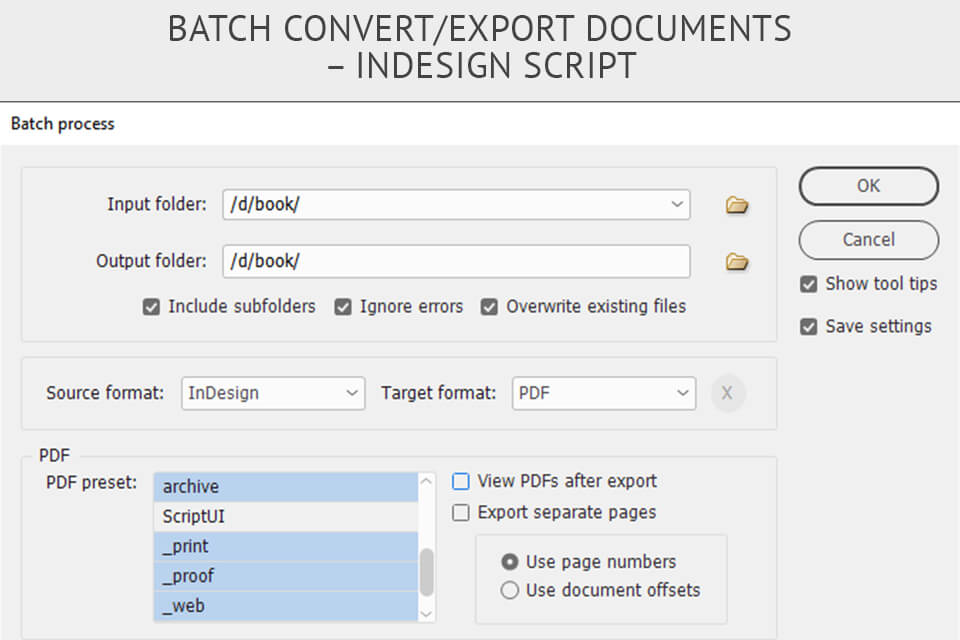
Whenever you need to turn PMD, INDT, INX, INDD, IDLM and QuarkExpress files into PDF, PDF Interactive, EPS, RTF, JPG, SWF, XML, HTML, PNG and package, resort to this InDesign batch convert script.
It also shows great capabilities if you need to export InDesign documents as separate PDF pages or change the InDesign version of a bulk of files. Besides, it is equally helpful when there is a necessity to apply a certain script to all elements in a folder.
12. Page Export and Layer Combinations
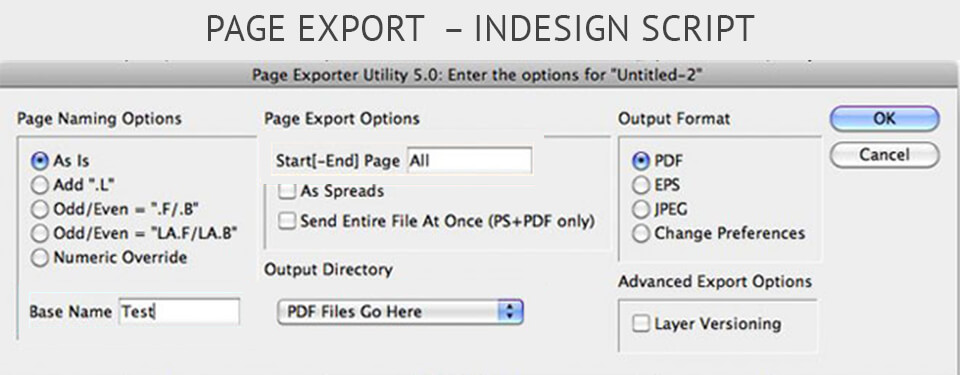
Another handy script if you are looking for a prompt way to export files in EPS, PDF and JPG formats. It also allows grouping multiple layers into a PDF file. This is especially helpful if you work with a document comprising lots of language layers.
- Check out all insecurities of using InDesign torrent.
13. Run Several Queries One after the Other
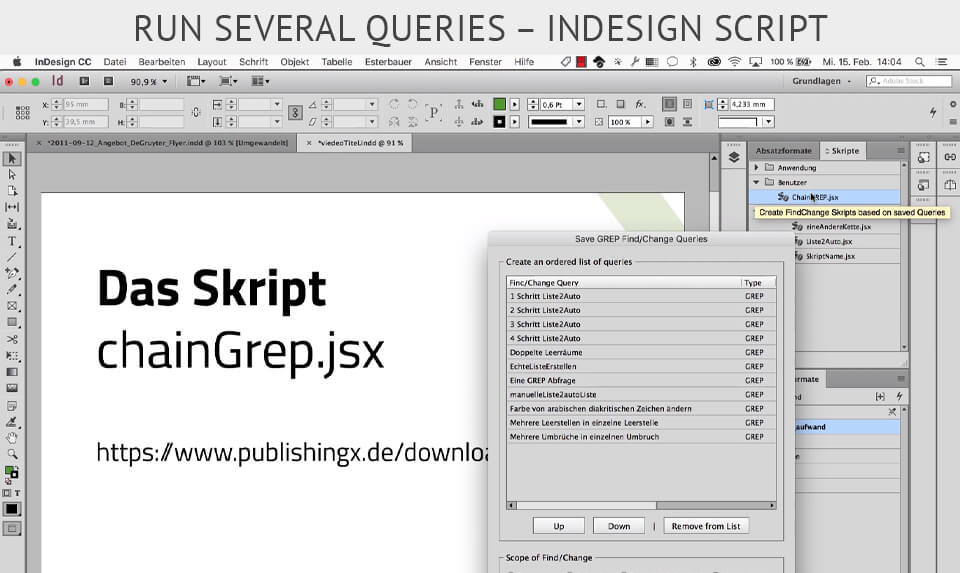
Processing a complex query, it is very easy to get confused and lost, while formulating several GREPs and carrying them out one after another. To speed up this task and eliminate mistakes, use this InDesign script.
14. Creates Line Between Columns
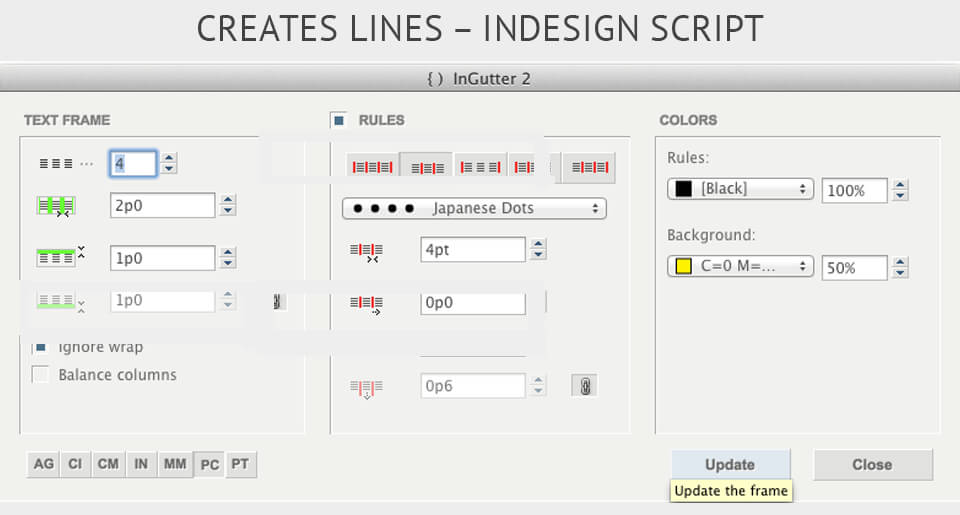
InGutter provides a convenient method of building lines between columns. The moment you resize the text frame, the constructed lines are adapted correspondingly, which makes creating magazines and newsletters a breeze.
15. Fit Overset or Underset Text
If you need to add overset or underset text to the story, without destroying its design, try this script. It doesn’t affect the leading or the point size in the default settings, otherwise, the baselines won’t match the neighboring columns of text from 2 different chapters.
16. Split Text
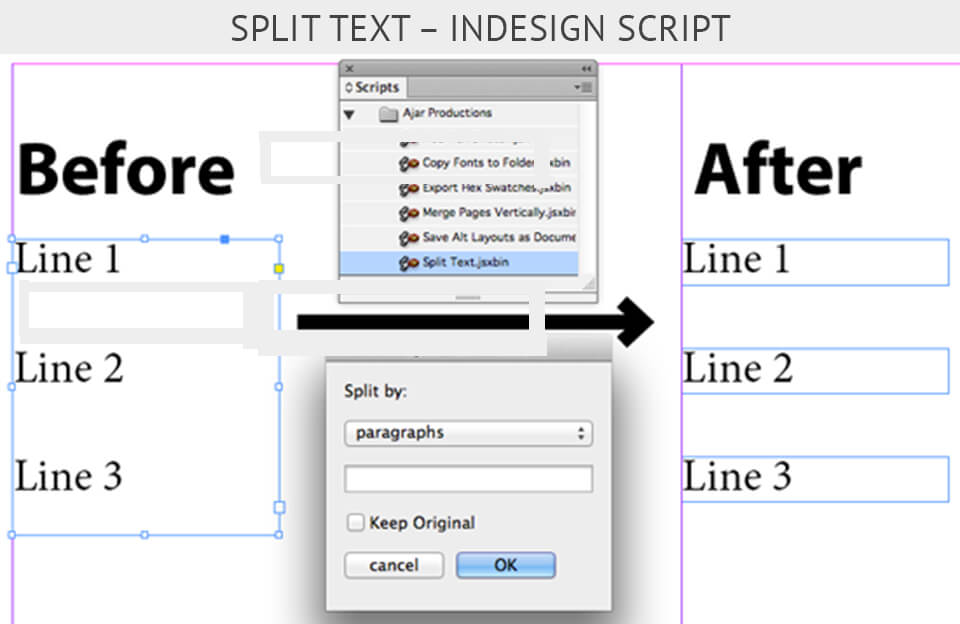
To divide a text into several parts (columns, paragraphs, sentences, words, etc.), apply this InDesign script. Your aim may differ – either you need to form separate semantic pieces or simply break the text down for better perception, “Split Text” guarantees a perfect result. In case, you want to change the division structure, use the Undo feature.
17. Format Fractions
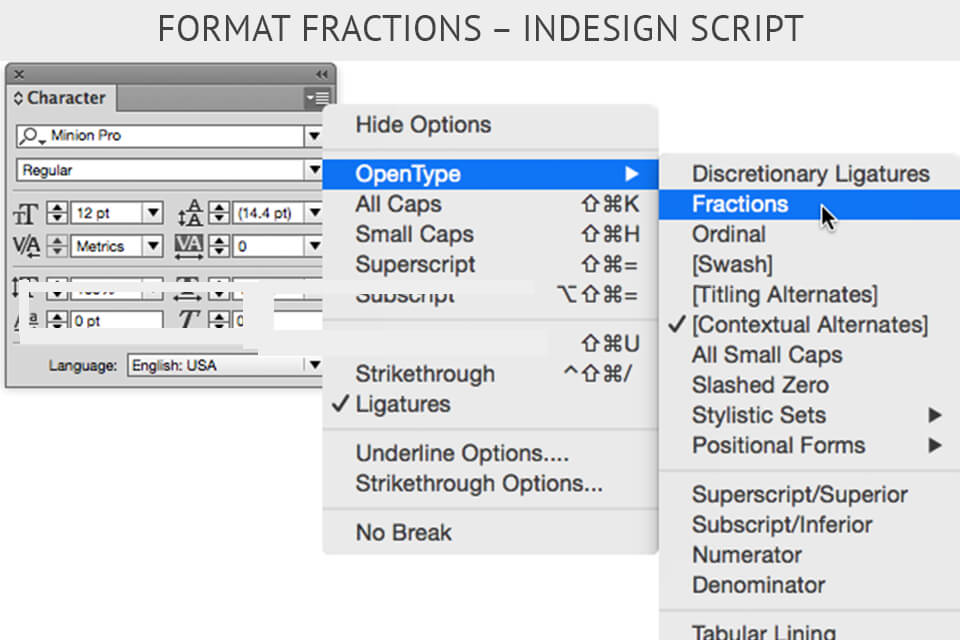
One of the best InDesign scripts to fit the fractions in the text design. About 2 years ago, Adobe Co. updated InDesign with a new feature – support for fraction of OpenType Fonts. Hope they will soon add TrueType and PostScript Fonts as well.
Though only some OpenType Fonts support fractions, the formatting work itself is very time-consuming. If you want to remove this burden, using the “Format Fractions” script is a smart way out.
18. Show/Set Text Variables
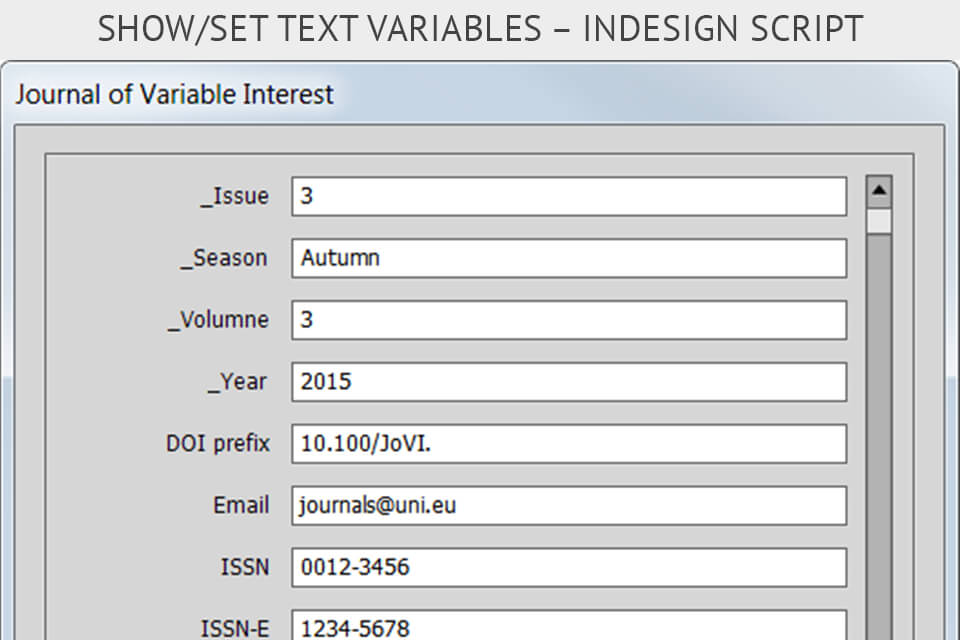
After applying the script, you will see a menu containing all the variables presented in a file. You can easily alter their values all at once.
19. Make Hyperlinks from URL
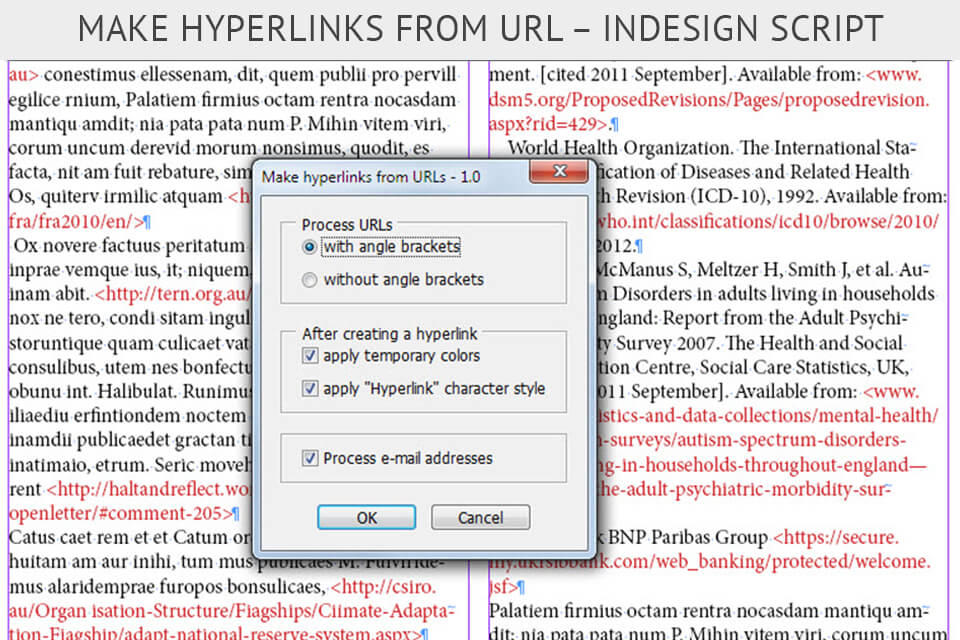
Create hyperlinks from the URL in the text in a split second by dint of this InDesign script. For you to see whether the link was successful or failed, it is marked in a temporary color.
20. Sort Paragraphs Alphabetically
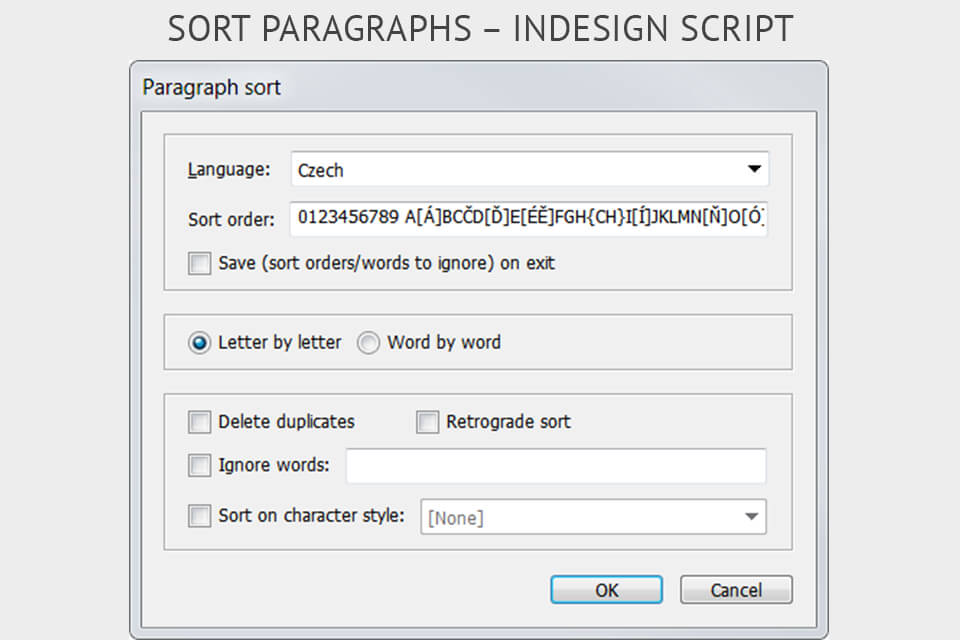
To list the paragraphs in the alphabetic order, take advantage of this script. In contrast to the SortParagraph script, this one minds the language. It can affect the formatted lists only if they weren’t processed by nested GREP styles.
21. Font Reporter
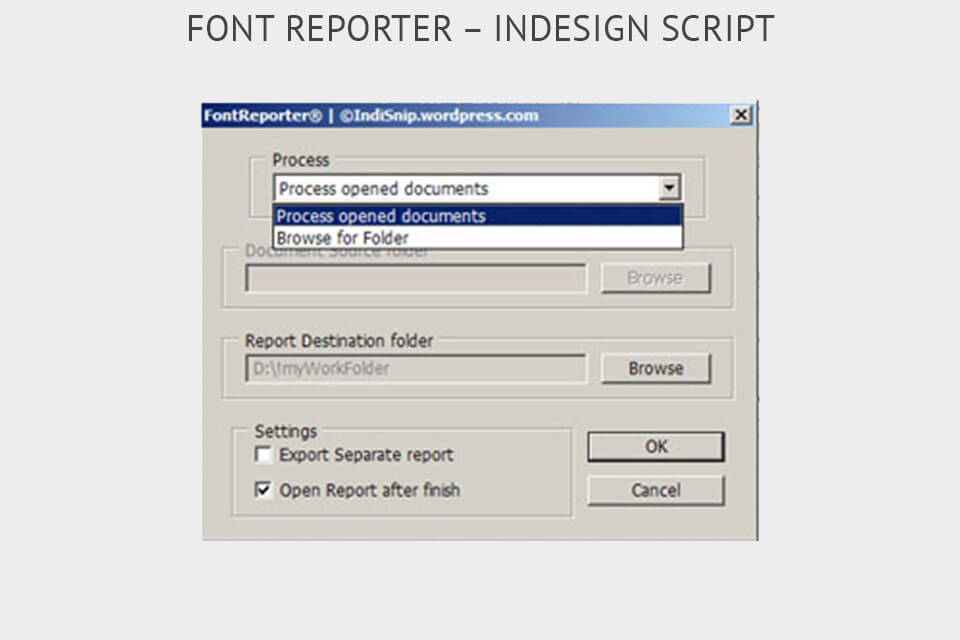
If you want to get the info on what fonts are used in a particular document or a large array of documents, this variant of InDesign scripts may serve your needs. Next, you can open your text in Adobe InCopy and experiment with different fonts.
22. All Caps to Small Caps
There appear small caps instead of full caps after you apply the script. It also adds a Character Style to shape the text.
23. Remove Hyphenations
As the name states, this script gets rid of hyphenations in the document. It also “refreshed” the paragraph style, though it doesn’t refer to the Basic Paragraph Style.
24. Text Counter
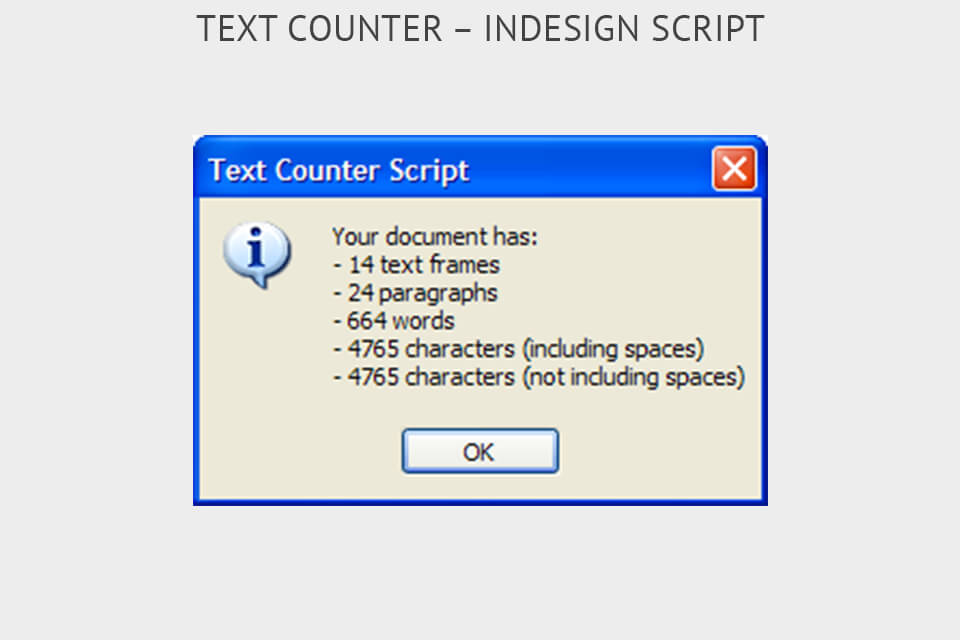
If you need to count certain elements within the text, be it words, sentences, etc., benefit from using this script.
25. Widow Fixer
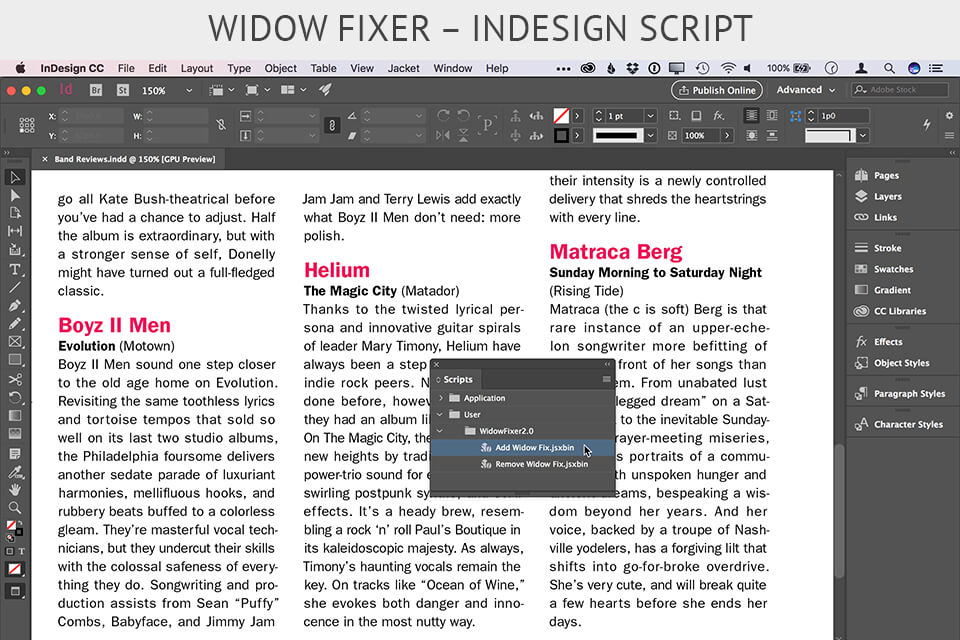
Instead of troubling about a single word occupying an entire line, use the “Widow Fixer” script. It is one of the handiest options on the list of scripts to make the text look coherent and consistent.
26. Tables Using Data Merge
It combines all your data-merge records in one original frame.
27. Pie Chart Builder
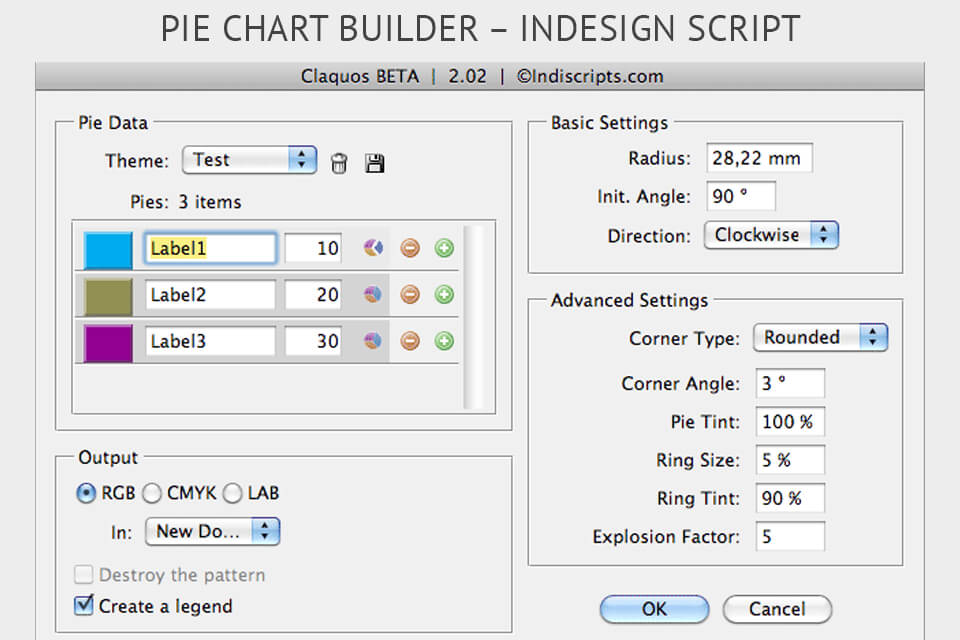
The Claquos script comes in handy whenever you need to design a pie chart in the program. Though, it is available in a beta version.
28. Show/Set Text Variables
If you need to know the entire list of text variables used in a document, run this script.
29. Insert a Variable
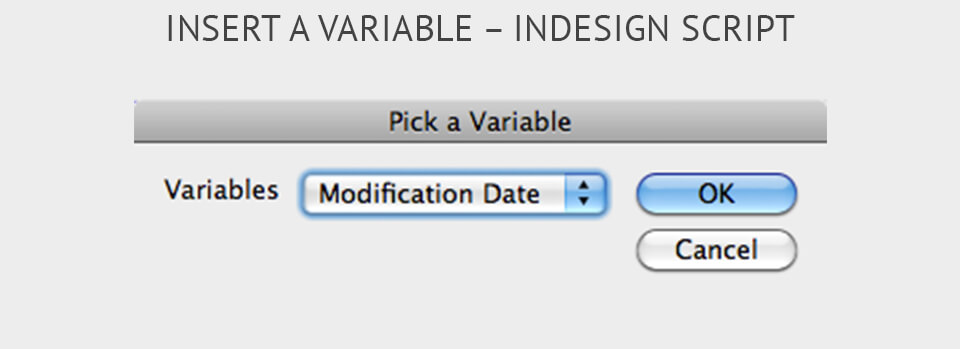
Among free InDesign plugins, this one gives the possibility to insert a text variable in the quickest way.
30. Quick Reference
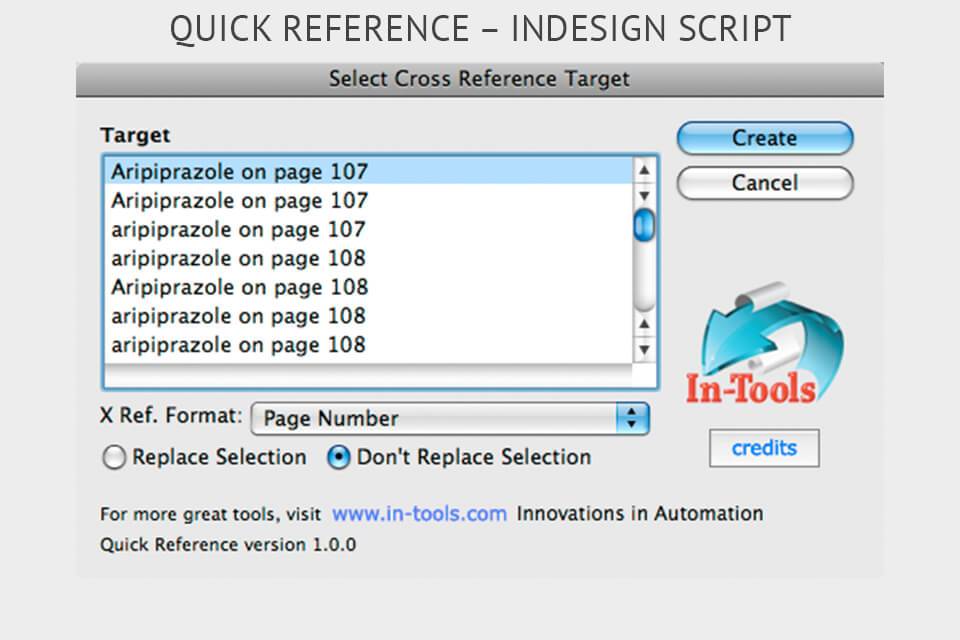
To create a quick reference either with or without anchor, you can resort to this script.
31. Hyperlink List Viewer
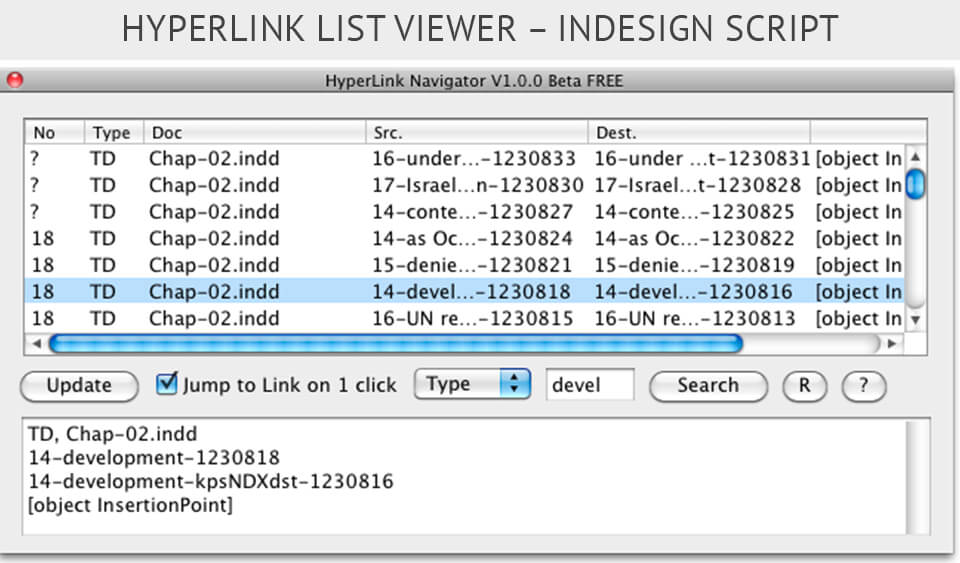
The script generates the panel with all hyperlinks presented in the document listed.
32. Create Text Anchors
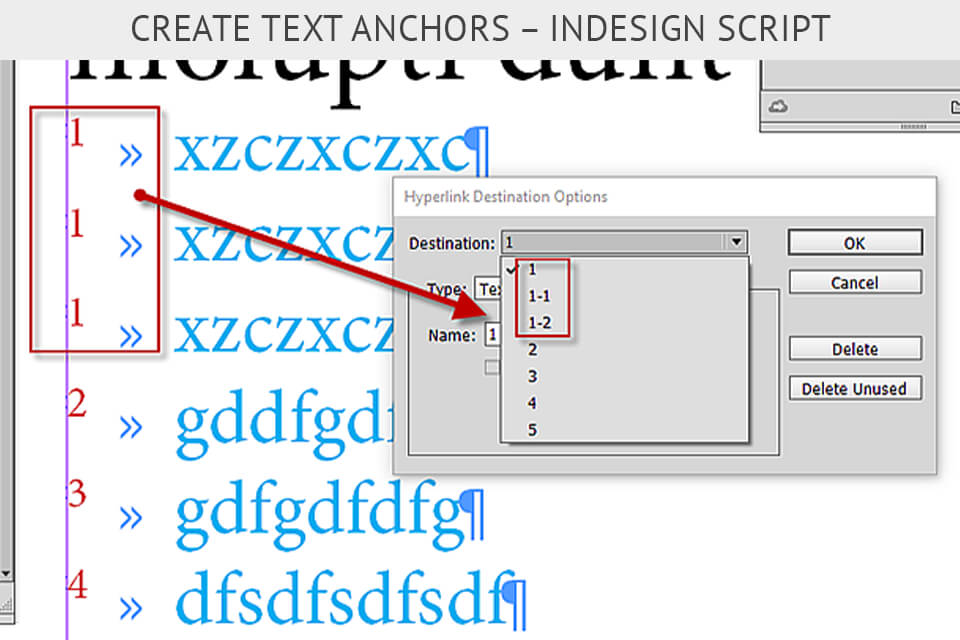
Having a text, you can use this plug-in to create anchors from it. The Character Style defines the location for each anchor, while the script takes care of other nuances.
33. Remove All the Hyperlinks
Activate the script to get rid of all the hyperlinks in the file. Simple as that.
34. Add Bookmarks from a Paragraph Style

If you use InDesign scripting to structure the text, you definitely need to give this script a try. It applies bookmarks to a certain paragraph style from an interface.
35. Place Inline Images
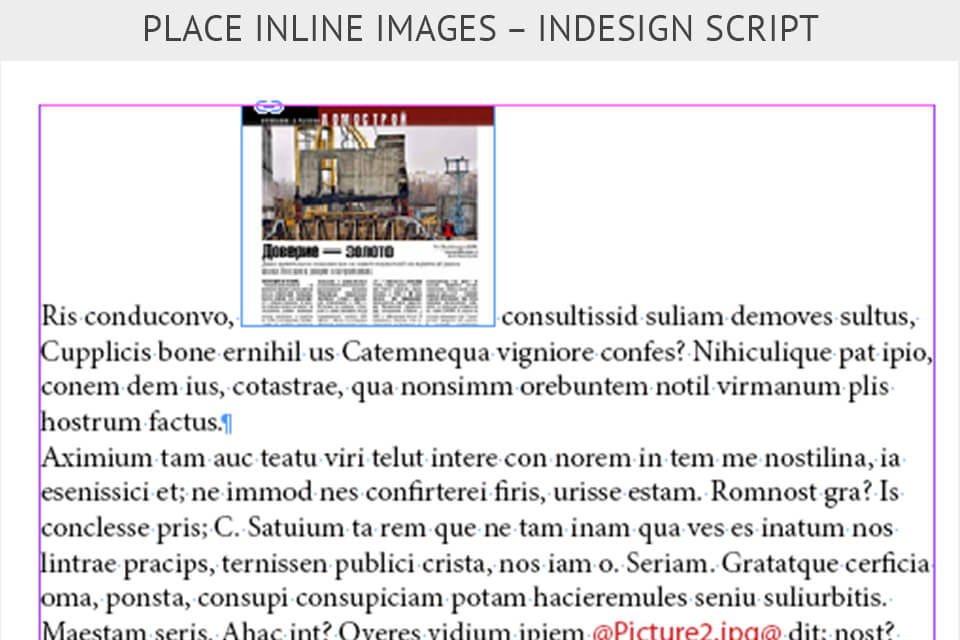
There are several InDesign scripts written for this purpose. For example, you can use the one created by Kasyan Servetsky, which detects text between 2 @ symbols, like @Cat.tif@, and substitutes it the with same-named photo. Another one is designed by Rorohiko and just inserts pictures instead of words. The latter is of a reversible type.
36. Convert RGB/CMYK Images to Grayscale
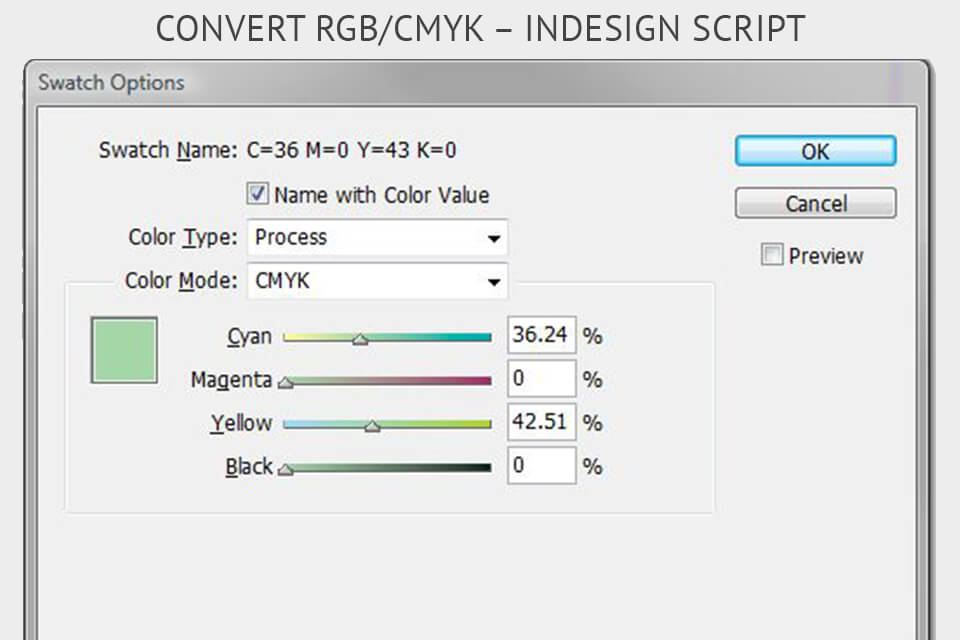
Do you need converting CMYK/RGB pictures to Grayscale? Apply this script, but remember to back-up original files before starting the script.
37. Convert Nested Styles into Character Styles
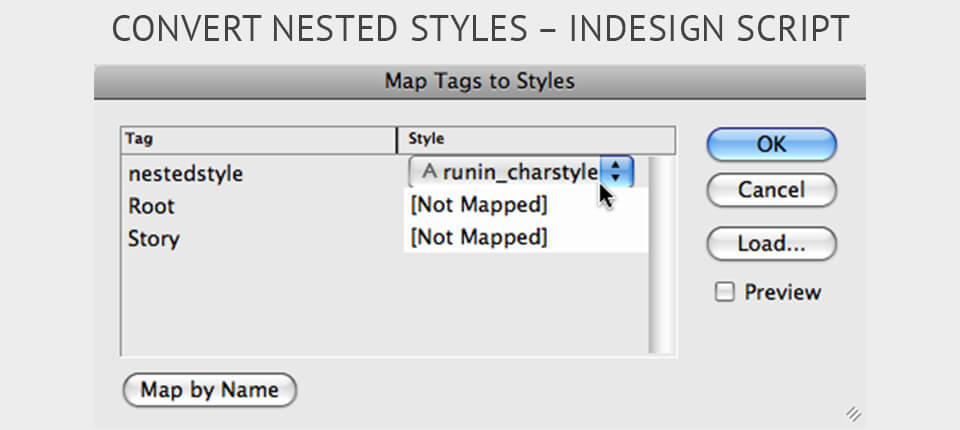
While turning nested styles into character ones, the script resolves possible conflicts that may have appeared because of previous manual conversion. It works on inline, GREP and nested styles.
38. EAN13/ISBN Barcode Directly within InDesign
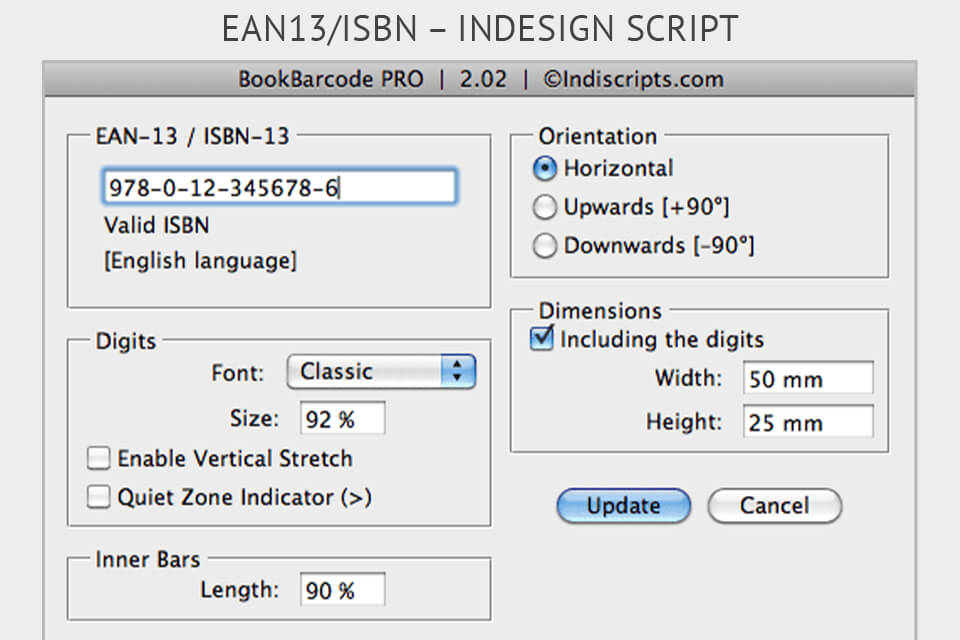
This InDesign script produces a vector image out of a barcode right into a document. To export the picture, use any of the image-related plug-ins included in this list of scripts.
39. Sort Alphabetically
It helps to arrange the paragraphs from A to Z, taking into account the language of the document.
40. Sort Paragraphs Alphabetically
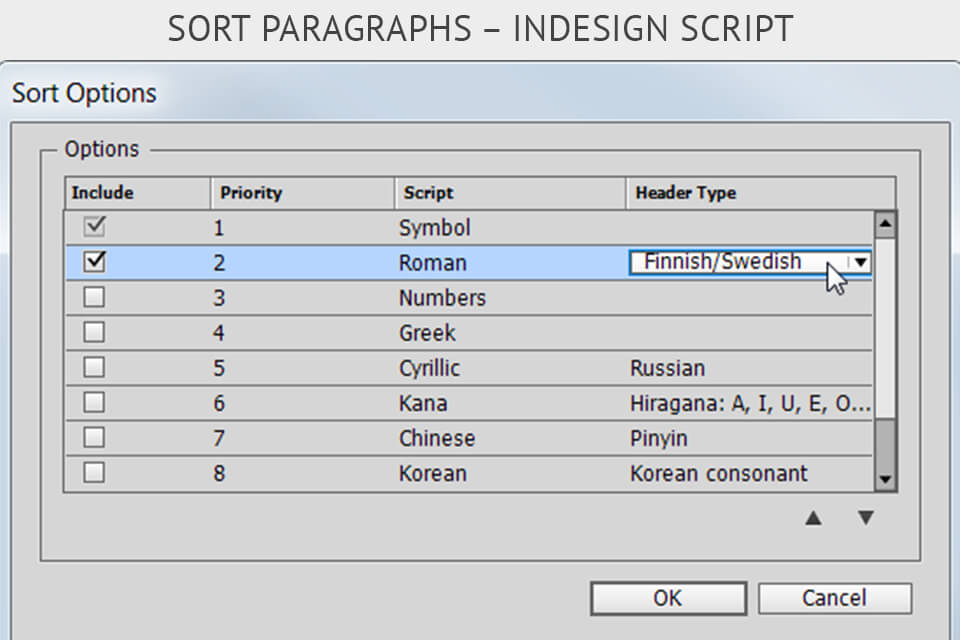
The advanced variant of the above-mentioned script that is applicable to all kinds of sorting. You can adjust it additionally if needed.
41. Table Sort
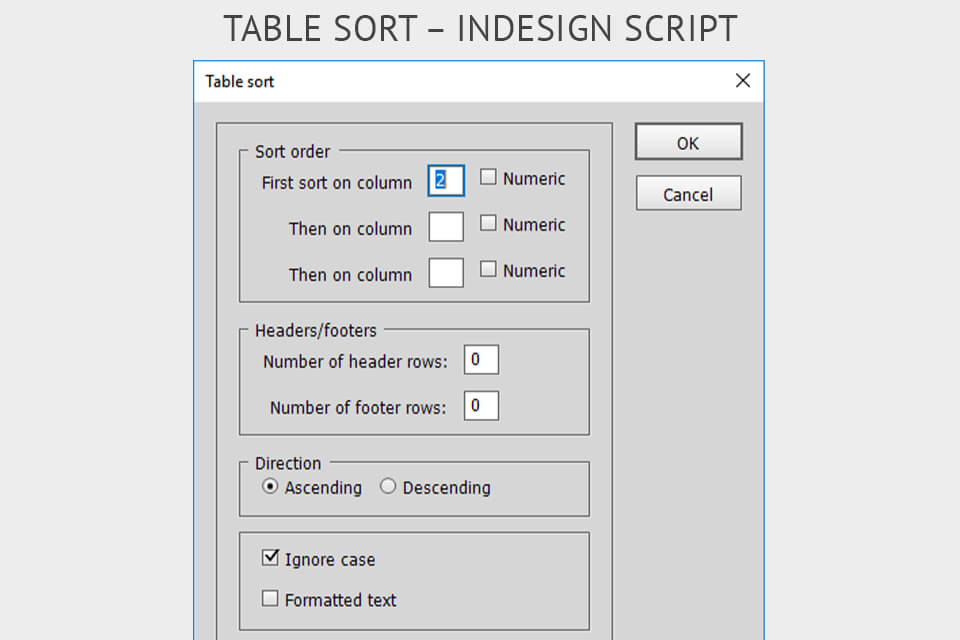
Need to sort text inside tables? Run this script.
42. Show Text Overrides
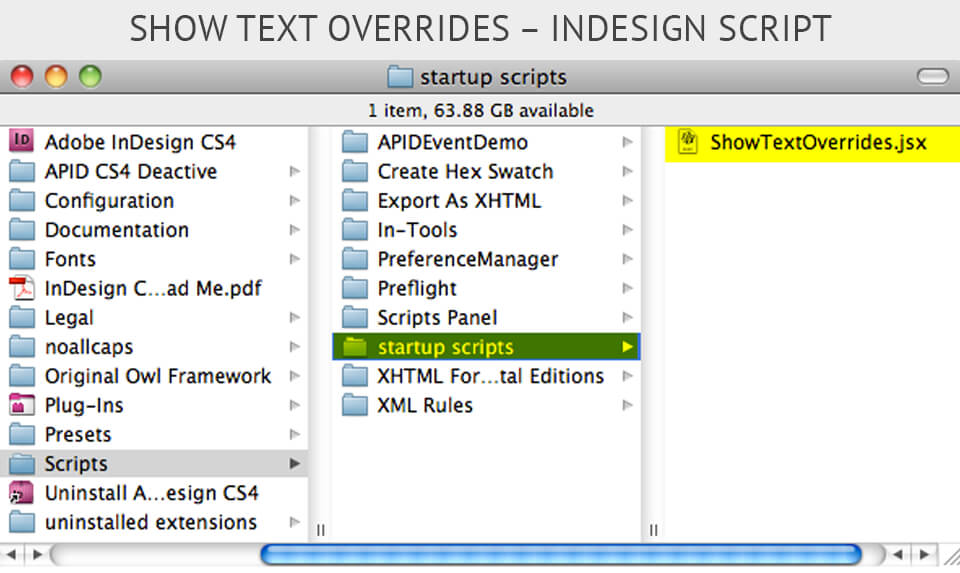
The script activates the feature meant to indicate the parts of the text that have been overridden.
43. Highlight Paragraph and Character Styles
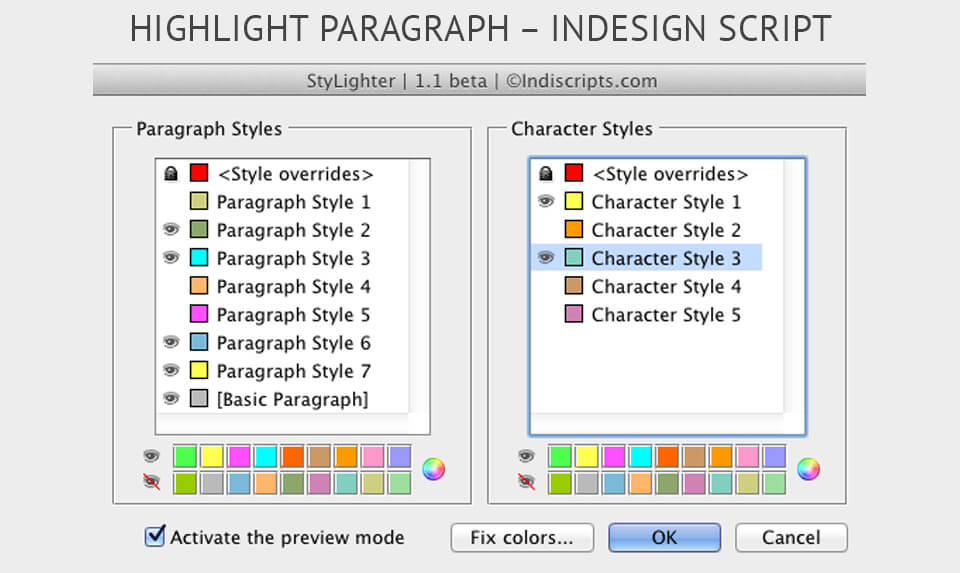
It shows every paragraph and character style with different colors.
44. Local Formatting to Character Styles
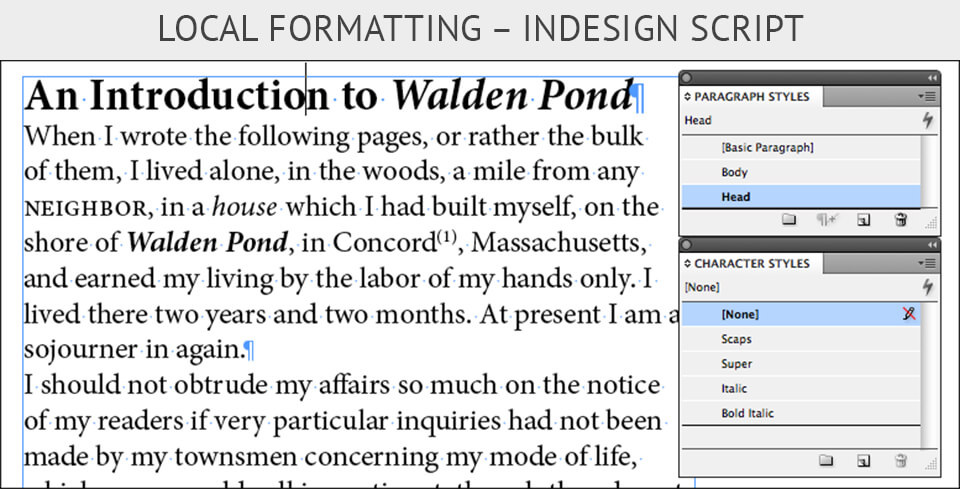
This is a group of 3 InDesign scripts that create and associate Character Styles to inline formatting.
45. Create Paragraph and Character Styles
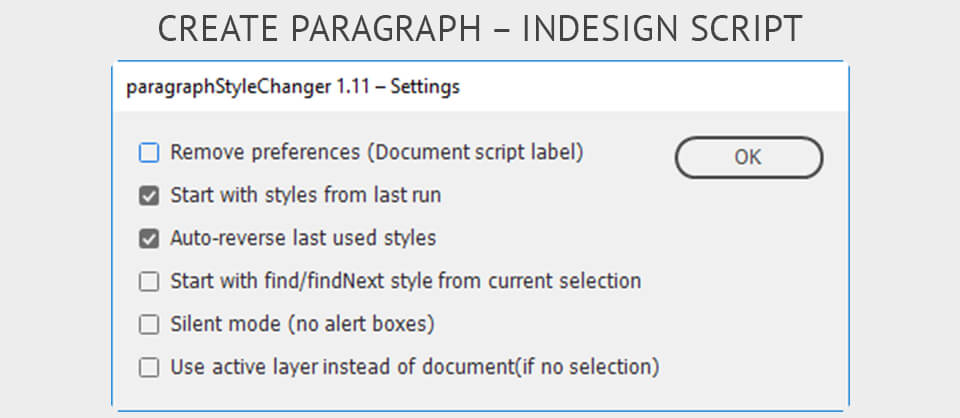
This InDesign automation script generates paragraph and character styles and assigns them to the text.
46. Convert Nested Styles
Makes locally-formatted character styles from nested ones.
47. Delete Empty Paragraph Style Groups
It removes empty paragraph style groups from a document. The script helps users maintain a cleaner and more efficient style structure by eliminating unnecessary clutter in the style panel.
48. Batch Import Paragraph and Character Styles
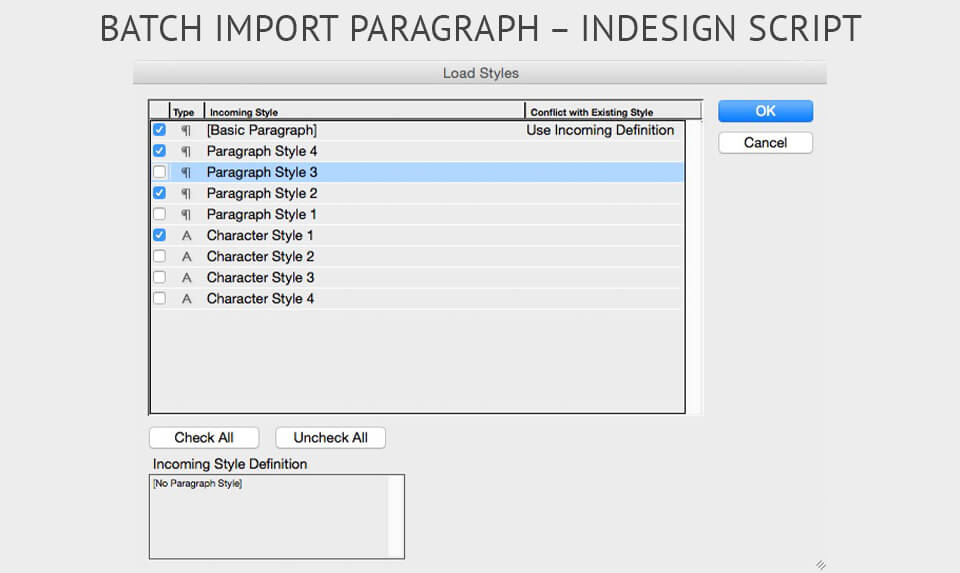
It allows you to transfer several paragraphs and character styles from one document to other documents in the same folder.
49. Multi-Find/Change
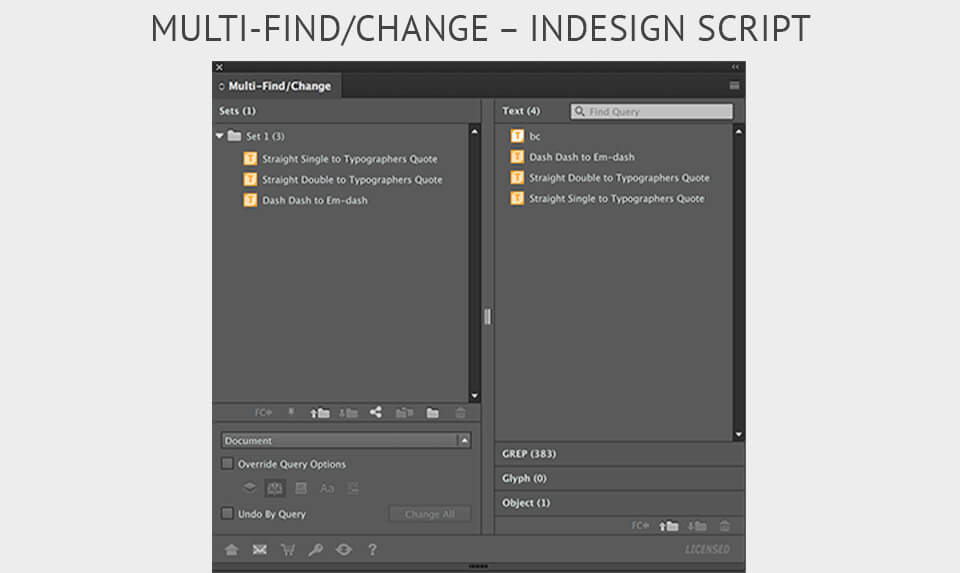
Though it is actually an extension, it deserves to be on this list of scripts. It produces a handy interface, using which you can make find-change changes.
50. Identifies Word Stacks
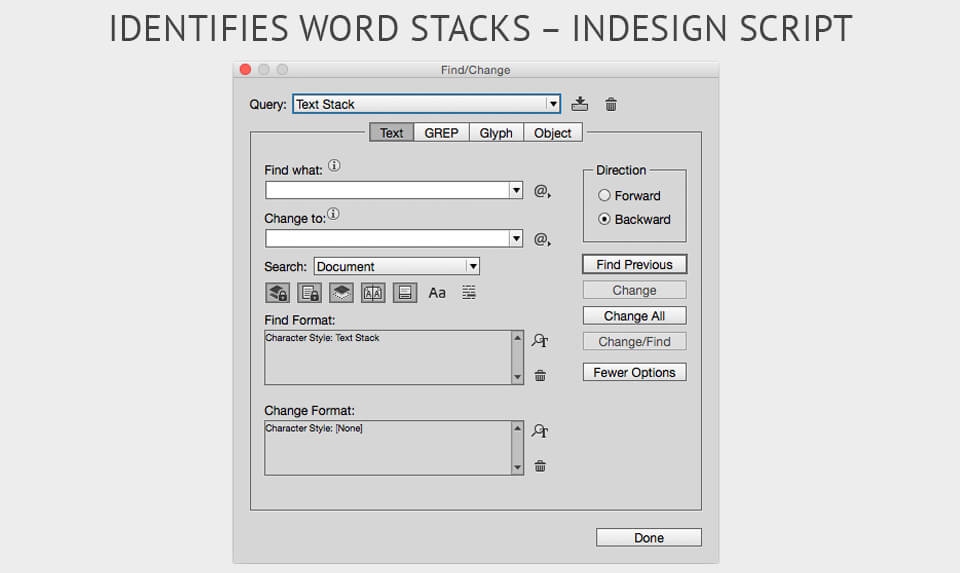
It applies a character style to any word stack, underlined in red.


