When working with InDesign documents, I pay special attention to grids and always advise my students to use them as well. Grids in InDesign make it easier to create a well-structured layout. Once you have created a layout, you can quickly add text and images.
While they are always visible in InDesign, you won’t see them on a printed version. If you used grids in the right way, it will allow you to quickly organize various elements of your design and align them in the right way to make your design look consistent.
You can create grids in InDesign in several ways. First, you need to think about whether you want to create a basic or complex layout. Then, you can use the available tools to create grids.
Keep in mind that this software allows you to automate routine tasks by using a variety of InDesign scripts.
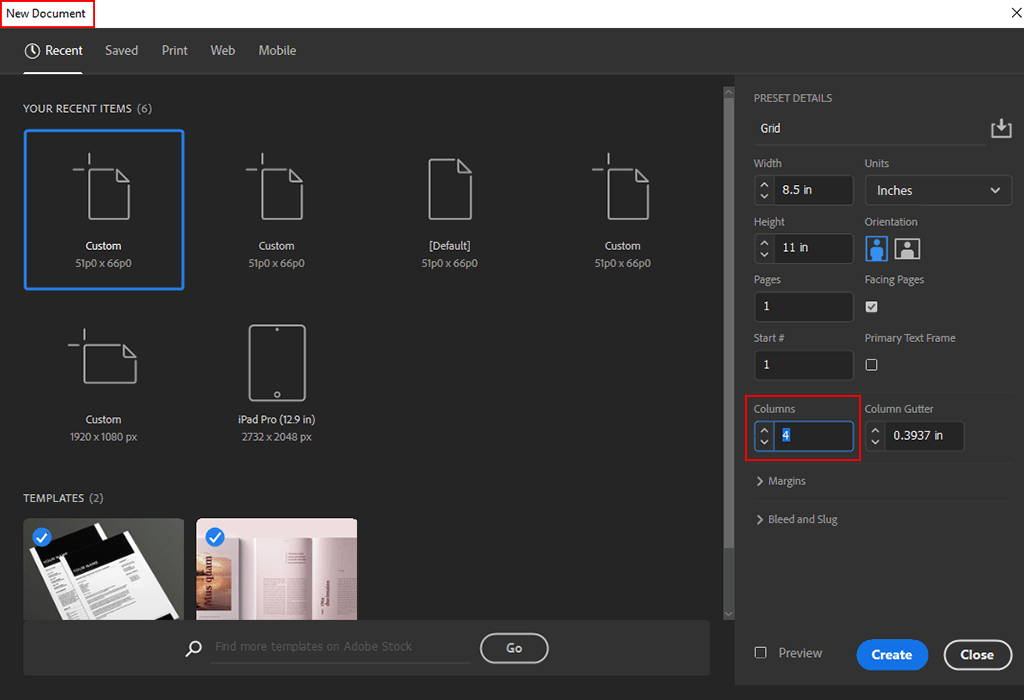
You need to create a new document and indicate the number of the columns on the right. Then, the program will automatically generate grids. For my projects, I needed 4 columns. Once you select the number and click on Create, your grid will be ready.
If for some reason you didn’t manage to create a basic grid in one click, take a closer look at this tutorial. By following these steps, you can create a grid in InDesign by using the Guides tool.
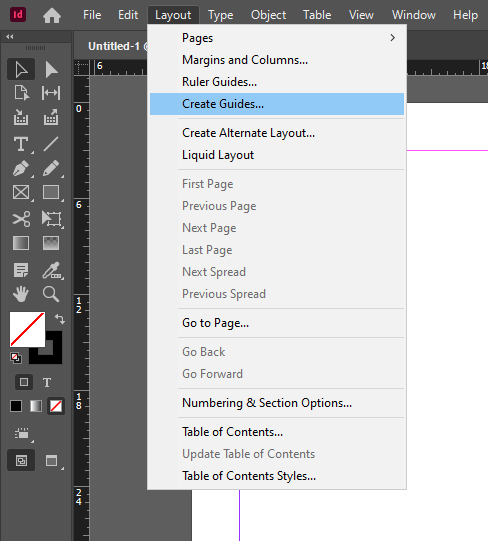
STEP 1. Create a document with one column instead of 4 like I did in the example above. Then, go to Layout> Create Guides.
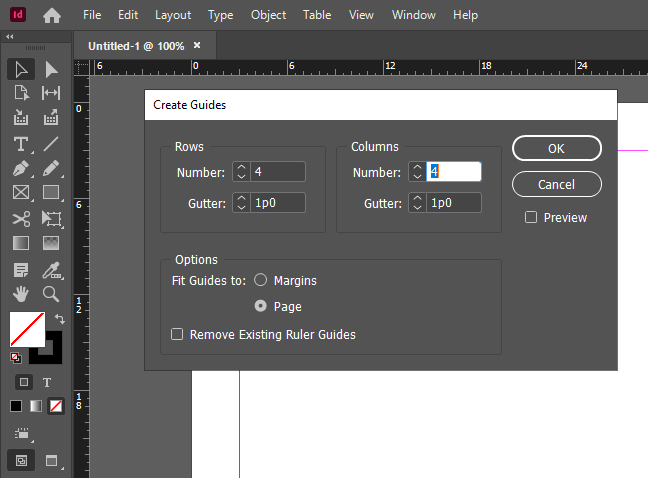
STEP 2. Fill out empty fields to indicate the number of rows and columns. Select the number that you need.
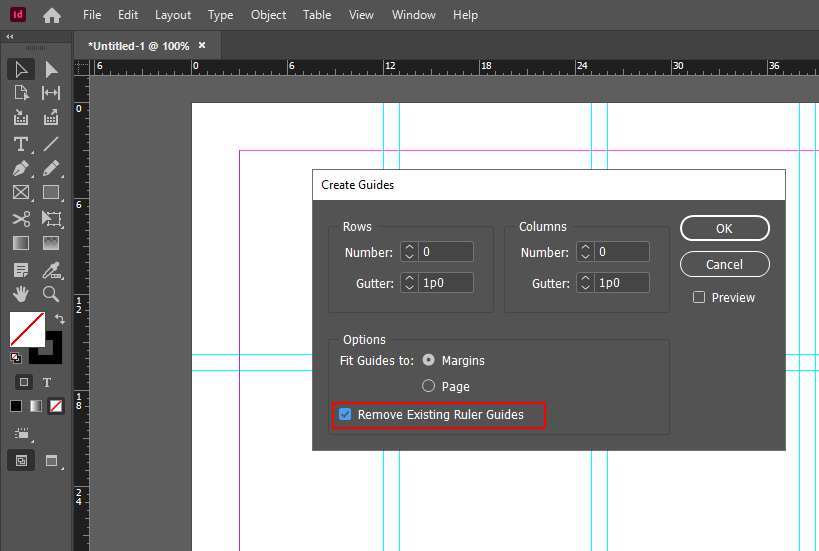
STEP 3. If you want to delete the grid, go to Layout> Create Guides, and check the option «Remove Existing Ruler Guides».
This method is the most difficult one, but it allows you to master advanced InDesign features. It is suitable for those who have already watched countless InDesign tutorials and want to discover something new.
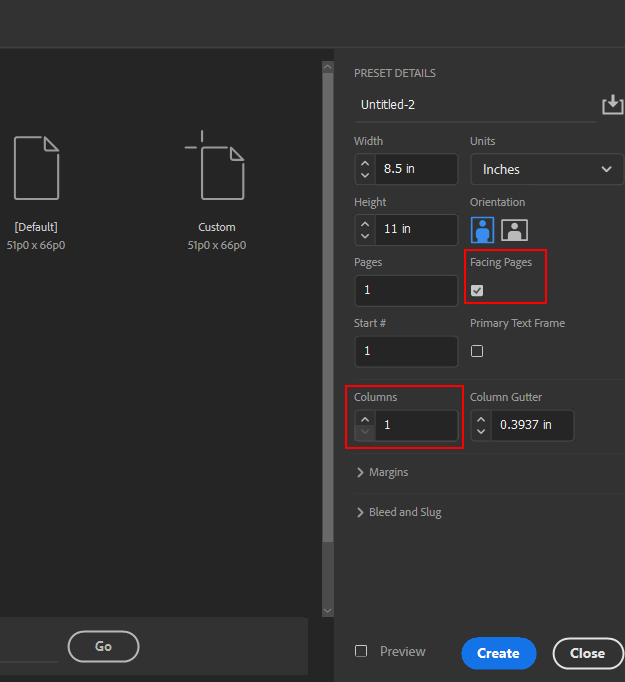
STEP 1. Create a new document, check «Facing Pages», and indicate that you need to create a single-column InDesign grid.
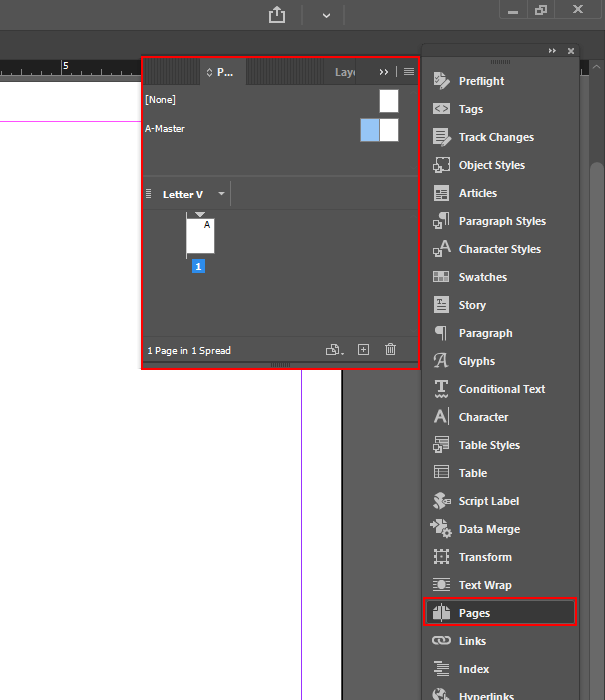
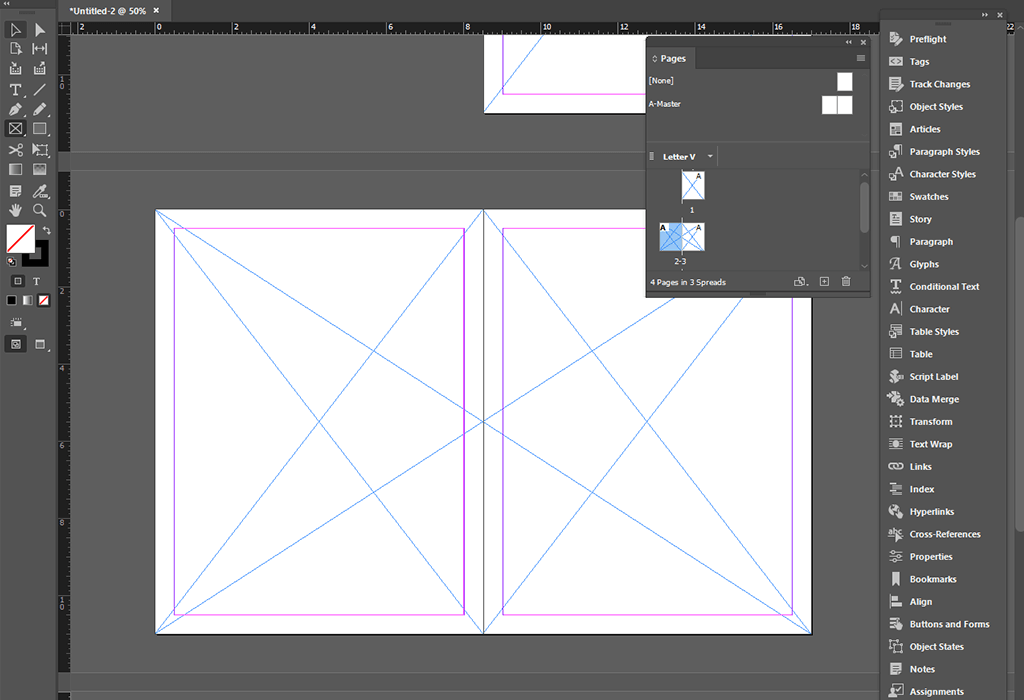
STEP 2. After opening the file, you will see that there is no grid yet. You need to go to Master Page and choose A-Master.
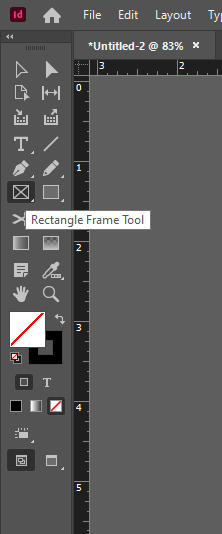
STEP 3. Select the Rectangle Frame Tool.
STEP 4. Use the Rectangle Frame Tool to draw X on all the pages. I used the option that is available by default. Now, I will use it as a reference when building a grid.
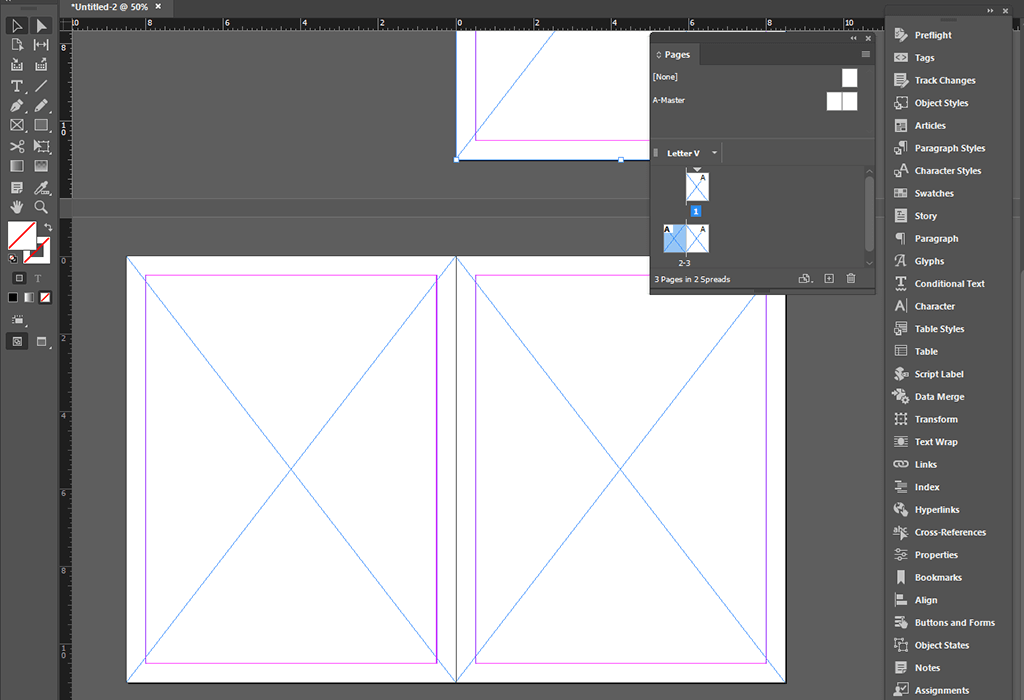
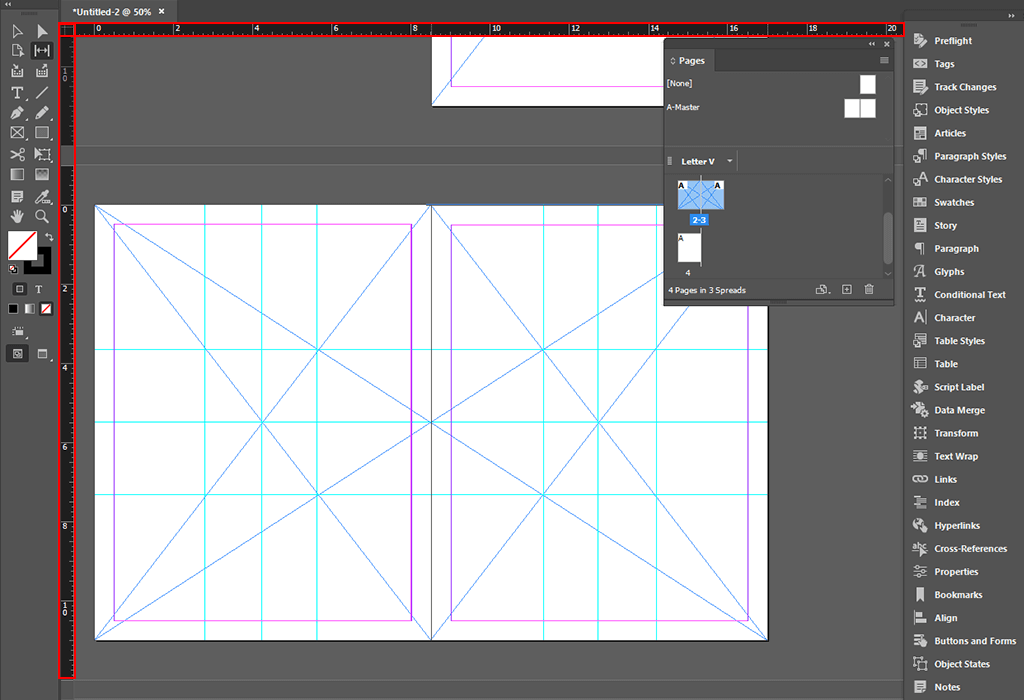
STEP 5. Draw another Х, but this time, make it horizontal. You can drag it from one page to another.
STEP 6. Drag ruler guides so that they reach the intersection points. Now, your InDesign grid is ready.

If you want to finish your project more quickly, use these handy templates. They come with layouts that you can customize for your needs. Those who often need to use the same layout for many projects will enjoy using templates for optimizing their workflow.
This collection of free templates will make it easier for you to complete any project on time and meet tight deadlines. Here, you will find handy templates for newspapers, wedding postcards, invitations, brochures, and business cards.


