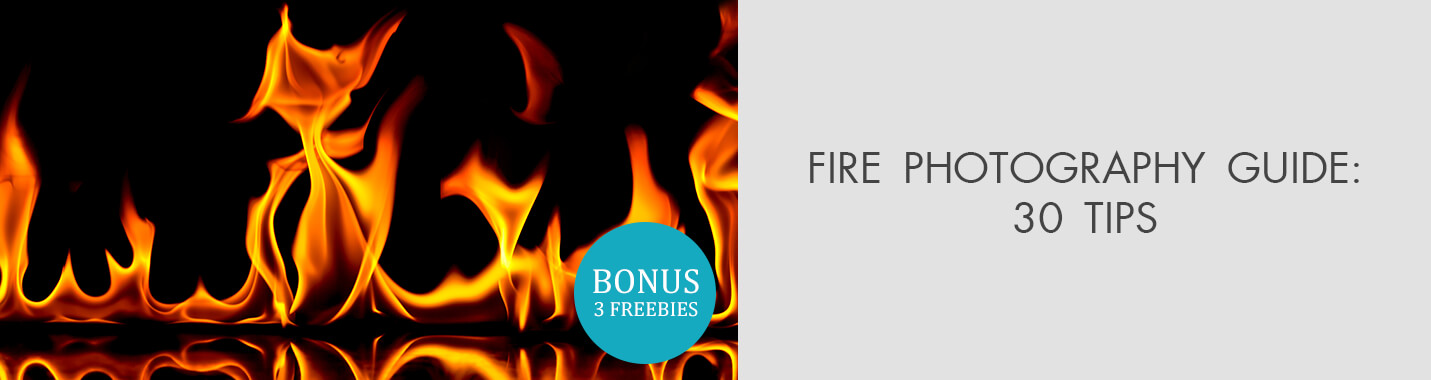
30 Fire Photography Tips & Tricks
When you purchase through affiliate links on our site, we may earn a commission. Here’s how it works.
Fire photography is a fascinating genre that captures a beautiful natural phenomenon – the fire in various forms. Working with fire in photos can be a little bit tricky. I will give you some tips to help deal with fire photography problems and get good results.
30 Fire Photography Tips and Techniques
When working with fire photography, various difficulties can arise since areas with a large difference in lighting appear in the images. Also, the flame can produce not enough light by itself. I will share with you some ideas and techniques for fire photography that will help you achieve a real work of art in this genre.
1. Keep Distance From the Flame

You need to always keep a safe distance. Fires can sparkle or explode and simply get out of control. Moreover, you could lose balance or make an awkward move and set yourself or a piece of equipment on fire.
The same precautions concern your model and everyone else on the set. So make sure that their hair or clothes don’t hang around loosely.
- Read my guide to camera and photography insurance.
2. Avoid Flammable Environment

If you want to take a photo of fire, obviously don’t start one in places filled with flammable materials, like dry wood or hay and all sorts of plastic. Starting a little fire in nature, make sure it is legally allowed and you won’t have problems with the law.
- Read about the basic types of photography.
3. Take Care of the Wind
Either keep an eye on weather forecasts for a good calm day or find a place where the fire is shielded from the wind. These two elements can easily turn into trouble when combined.
4. Check Ventilation/ Fire-Extinguishing Systems

When taking indoor fire photography, check that the place has a ventilation system, a fire extinguisher, and locate the closest fire escape. Be prepared for outdoor emergencies, too. Never go out without some means of fighting the flames.
5. Think about Protective Equipment

When there is a big fire planned, get hold of some protective clothes. There is no need to take a full firefighter outfit but a few items, like a good Flame Resistant FR Shirt and Flame Resistant FR Denim Jeans, would minimize the risk of you getting injured in the unforeseen circumstances.
- Learn about the pros and cons of being extreme photographer.
6. Remember about the Smell

Any fire produces smoke that tends to get into any type of fabric and remain there for extended periods of time. People normally don’t mind that but there can be different cases. Before you do campfire photography, it would be a nice gesture to warn your model about that and advise her to get some change clothes.
7. Think About the Amount of Light
As a norm, the light in the environment you’re shooting is constant. But an occasion with a birthday cake would not fall into that category. If you are capturing someone blowing out the candles on the cake, prepare yourself for a sudden decrease and then the full absence of light.
If the cake has very few candles, like that of a child, there will be insufficient light. So you will need to bring an additional lighting source.
- Read my 22 Birthday photography tips.
8. Count the Distance From the Light Source

Place the subject of your photography close to the fire and it will be well-lit and beautifully captured on camera. But just a few steps away might make it barely visible.
Besides, nothing but the outline would be seen when you place the subject between yourself and the fire. Consider the angle and perspective and keep additional light sources available.
9. Be Creative with Additional Sources of Light
The fire that you’re shooting doesn’t have to be your only light source. The best advice on how to take pictures of fire is to use reflectors, projectors and lamps to emphasize the shot. To match the existing warm light of the fire, you can use similar sources like candles.
- Read more about the best LED lights for photography.
10. Try Fill Flash Technique

A fill flash technique ensures that the dark areas are sufficiently lit while the exposure is set for the fire itself. It means that you will first have to set the correct value for the exposure. Then use a flash when you shoot to make the foreground more visible.
11. Use Mid-Levels of a Flashlight

To maintain the warm hues of the natural fire, don’t strike it with a max flash setting that will overpower any source of light. Instead, use the medium setting which will produce enough illumination to bring out various details. This way, the image will look clearer and lighter without losing that warm charming atmosphere of the fireplace photography.
12. Test Shutter Speed/F-Stop Combination

For any wave of light to reach your camera’s sensor, some time is required. The more powerful the source, the shorter the time of that travel. The opposite is the case with a dim light.
To find the most appropriate setting, you will have to spend a bit of time testing several shutter speed/f-stop combinations that will be influenced by such conditions as the intensity of light and its distance from the camera, among other things.
13. Use Rule of Thumb
For a fire photograph that involves a birthday cake, the most common setting would be 1/15th of a second at f/5.6. You always have to check exposure in a particular environment. If the result is unsatisfactory, lower the speed of the shutter or widen the aperture.
But don’t reduce the former too much. Otherwise, the child who is blowing the candles turns into a blur in the photo.
- Read my F-Stop guide for beginners.
14. Try Shutter Priority

A simplified way of how to photograph fire with long exposure is to use the Shutter Priority mode. This entitles the camera computer to select the appropriate values for the shutter speed you indicate.
Thus, the ISO (if it’s set to auto) and aperture will be defined by the built-in algorithm without you having to do anything else. Keep the shutter open for 5-6 seconds and this will capture interesting flame movements and trails.
- Read my guide to long exposure photography.
15. Work with Aperture Priority

You can reverse things and let the device take care of the shutter speed instead. Set a medium f/8 – f/11 aperture and a minimum value of ISO (100 – 200) in the Aperture Priority mode. The camera will prefer to leave the shutter open for longer if the session is taking place at night with only the fire to light objects.
This can create a beautiful effect and eliminate almost any noise. But if you don’t like the blurred flames, just bring up the ISO and the camera will close the shutter sooner automatically.
- Read about different camera modes.
16. Try to Set Up a Manual Focus
Don’t rely on your autofocus too much during fire photography as it gets confused easily. You can help it by directing a torch on the item you want to be in focus and pressing the shutter button halfway. This way, the camera will more likely set on that object and you can turn the torch off before taking the picture.
Simply switch to manual focus and immediately take your shot. The camera will remain focused where you wanted it unless you press something else in the process.
- Be acquainted with my guide on aperture and depth of field.
17. Good Lenses Play Important Role

Approaching the fire too close can actually cause an unpleasant incident. Also, it is uncomfortably hot to stay there long enough for a good shot. That’s why zoom lenses are irreplaceable to get detailed pictures from a safe and convenient spot.
Nikon 24-70mm Nikkor Zoom Lens is an incredible option that covers the range from wide-angle to telephoto. Sigma 18-35mm F1.8 Art DC HSM is an ultra-wide-angle lens that can capture the biggest amount of light and is irreplaceable for shooting at night.
18. Try Out ND Filters for Better Exposure

The long exposure is hard to use because there is a really delicate balance to be maintained to take cool pictures of fire. With the help of a Lee Filters 100mm Big Stopper ND filter (10- stops), you can slightly improve the situation. It allows you to use a longer exposure with more ease by filtering the image down a few stops.
- Read about the best filters for landscape photography.
19. Choose Fast DSLRs

Even though the soft pictures of somewhat blurred fire are nice, there might be a time when you want to get a crisp shot for a change. Canon EOS 7D Mark II reaches 1/8000 sec shutter speed. The affordable Olympus OM-D E-M10 Mark II Mirrorless Camera has a 1/4000 sec initial speed that can be brought up to 1/16000 sec if you get an electronic shutter.
20. Use a Remote Shutter Release to Reduce Blur
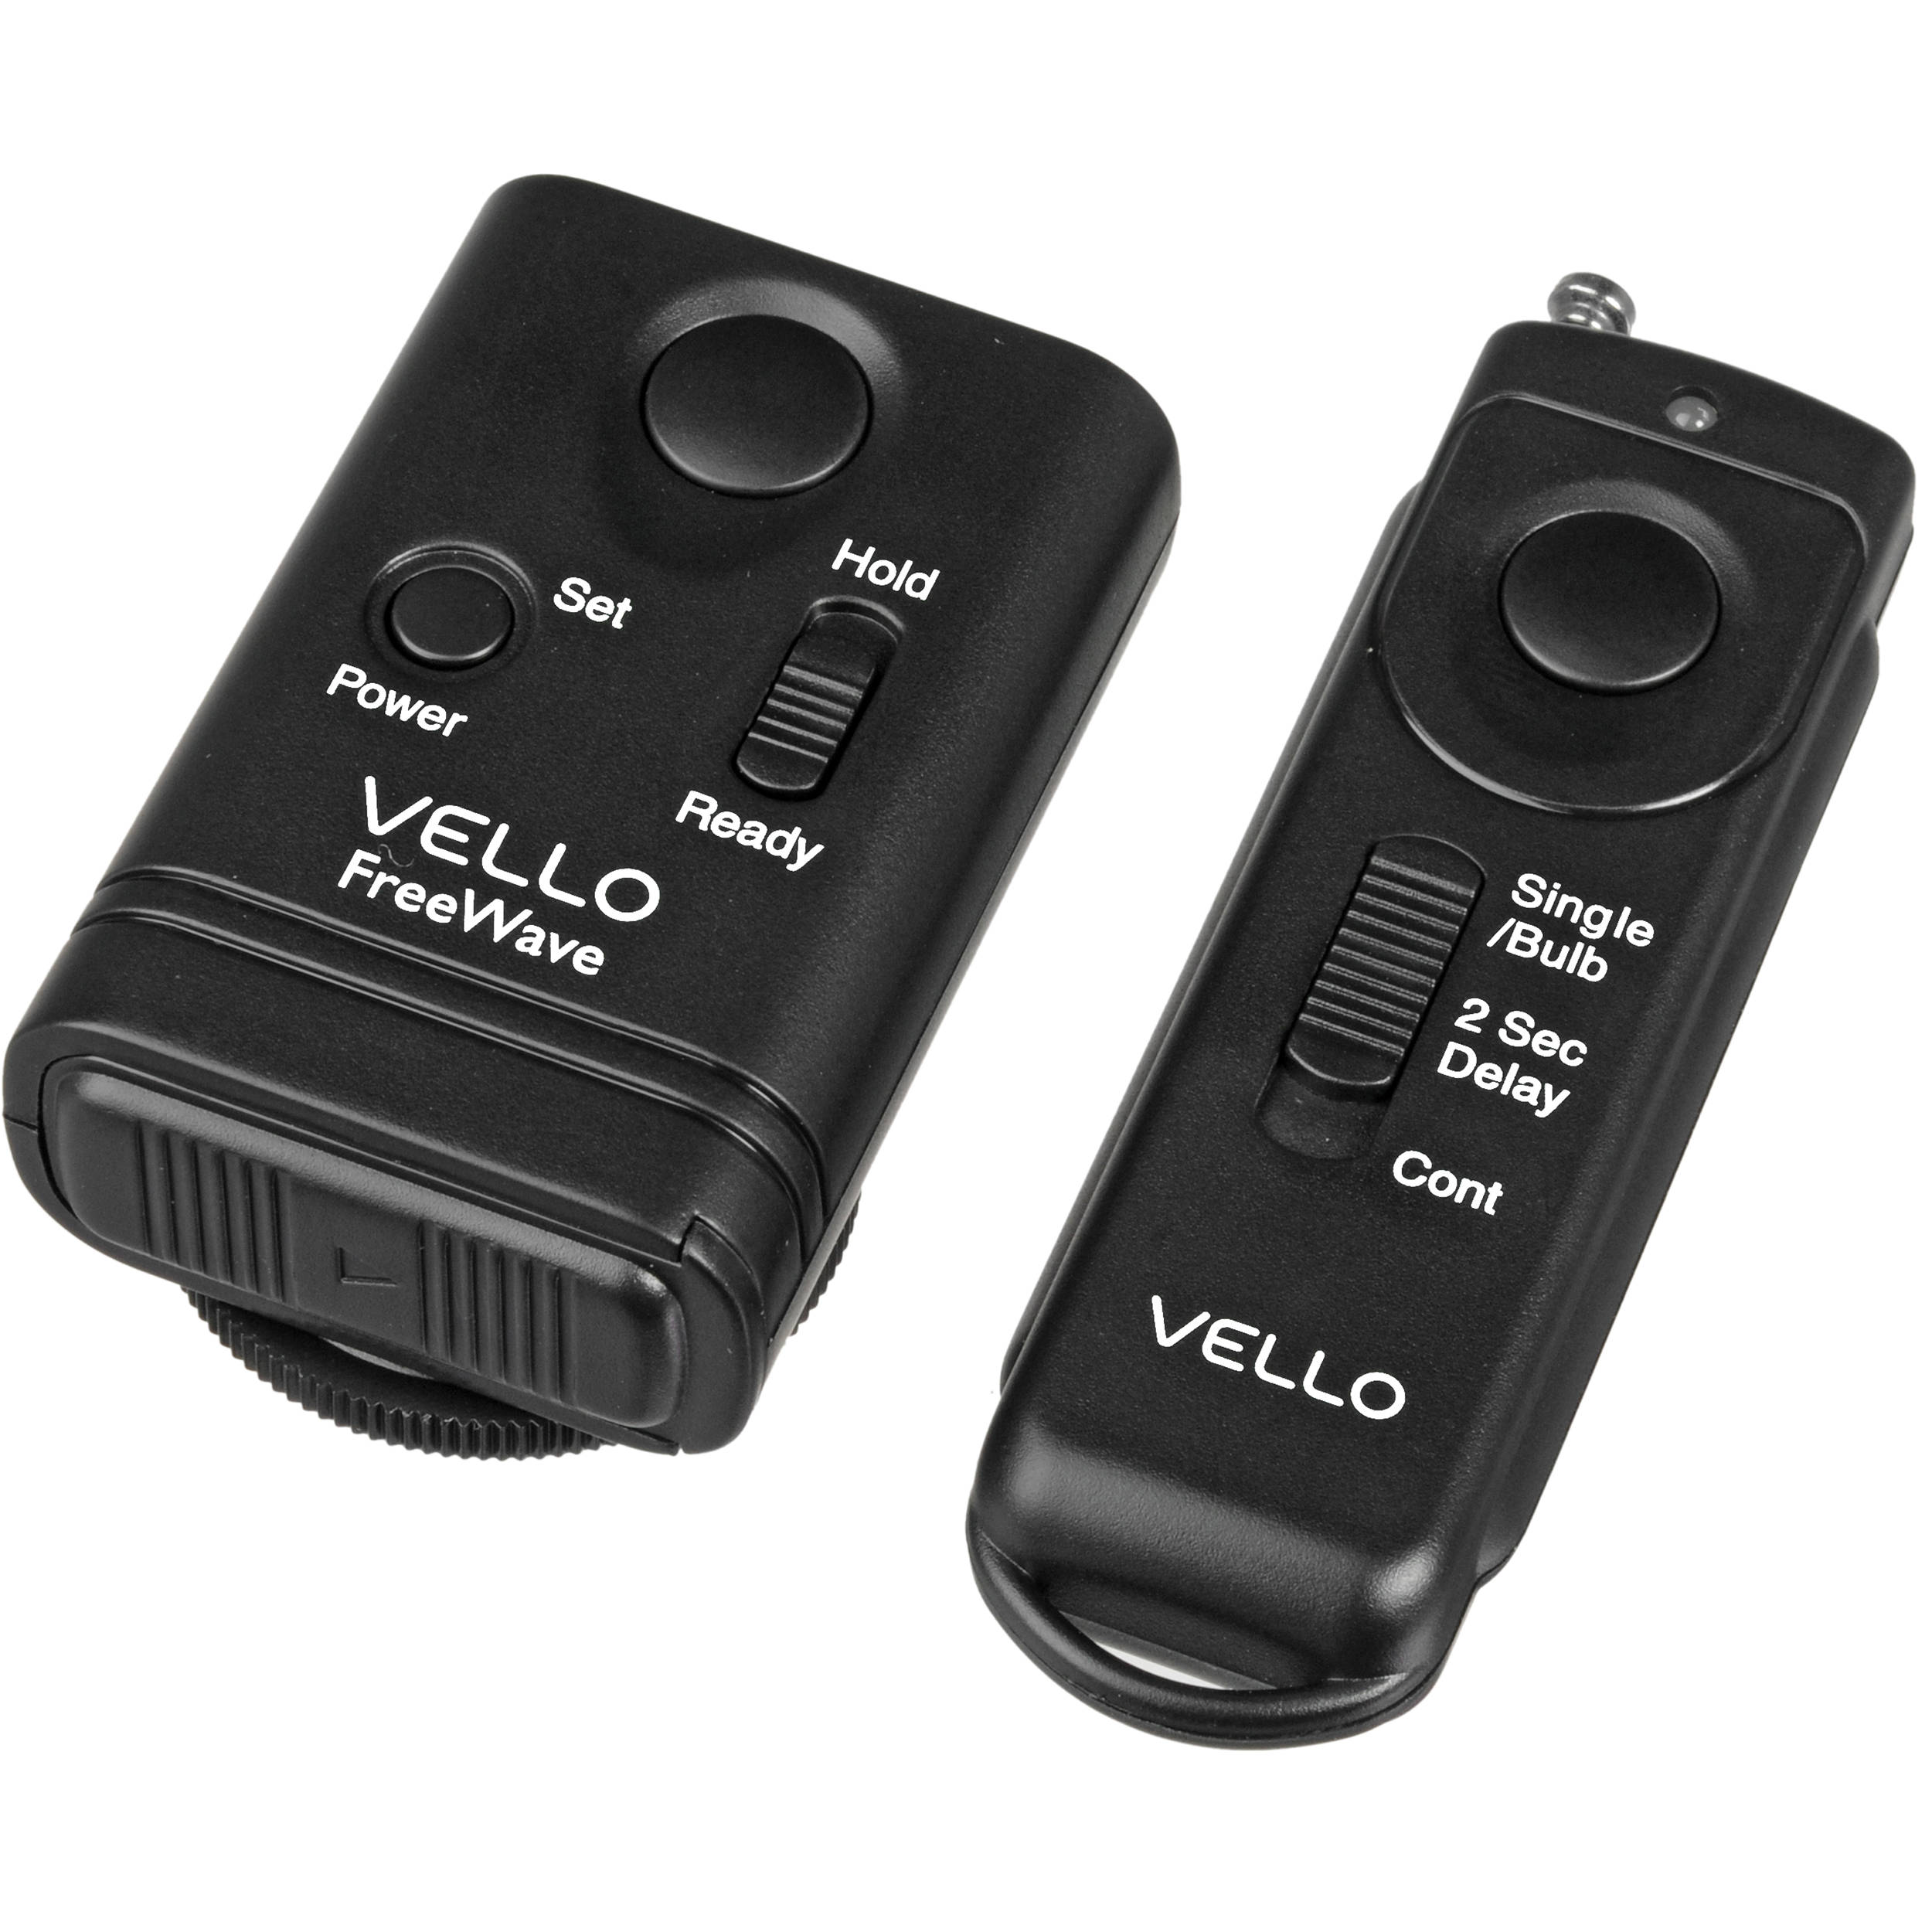
Doing fire photography, bring your remote or set a camera timer if you don’t have one. This way, you will shake the camera less and thus reduce the risk of blur that even pressing the button on the camera body can cause.
A good option is a Wireless Remote Control Shutter Release in case you consider getting one.
21. Make a Photo Of a Fire Dance

Fire dance is a mesmerizing show that could prove to be a hard challenge for someone inexperienced in photography. Bring the shutter speed and ISO as high up as your camera lets you to get really sharp images.
- Read my nightlife photography tips.
22. Paint with Fire

For this artful experiment, use longer exposure time. There is a special secret to help you implement the best fire photography ideas.
Select the bulb mode and start shooting the fire drawing. Then, without interrupting the shooting, cover the lens and wait for the light source to be removed entirely. Uncover the lens and let the camera capture the details of the background with more sharpness.
- Check out my collection of free fire brushes for Photoshop.
23. Try to Combine Different Exposures

With the shutter settings, you can obtain either soft images with trails or sharp ones depending on the lower or higher speed that you set for it. Another experiment you can do is to combine images with a different exposure value that can reveal a lot of detail.
24. Make Candle Lit Portrait

Candles are a tame kind of fire that creates a warm and sensitive atmosphere and can be of great help for photographing people. With enough candle fire portraits can turn out great. You only need to keep an eye on the shadows that are being cast. Don’t hesitate to help yourself with a flash or projector in a warm color tone.
- Check out my list of creative portrait photography ideas.
25. Capture a Silhouette
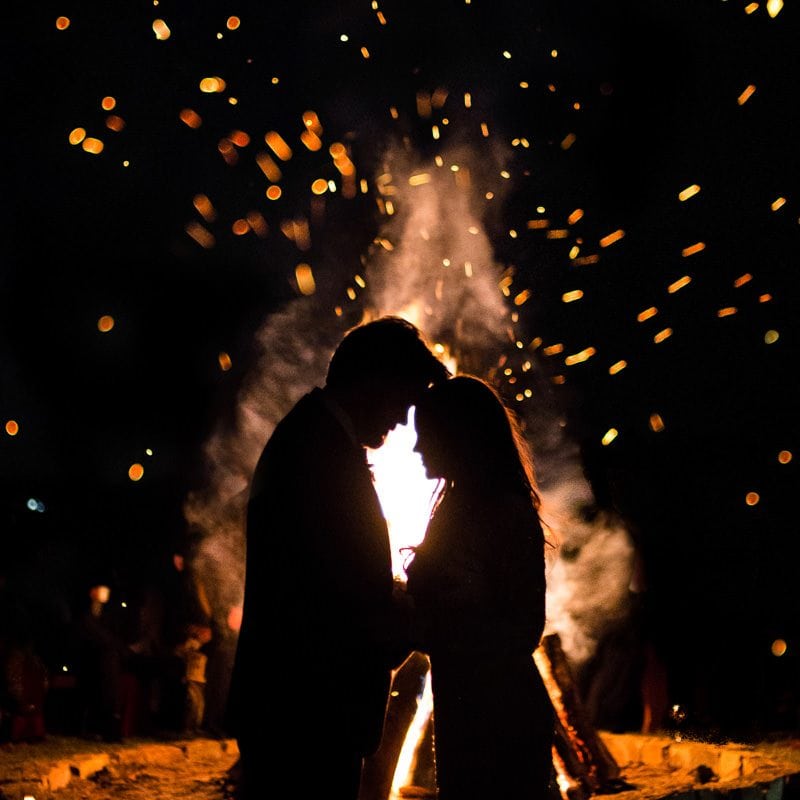
When you have a big fire, it can be a great experience to just photograph various silhouettes and shapes as opposed to detailed portraits. At night and standing in front of a large fire, your model will have the clearest outline.
- Use my shadow photography tips.
26. Catch the Hot News

We all know the type of hot news that gets everyone talking. You can transform the common phrase into a literal interpretation by taking a great picture of a newspaper on fire.
- Get inspired by creative photography ideas.
27. Depict Burning Letters
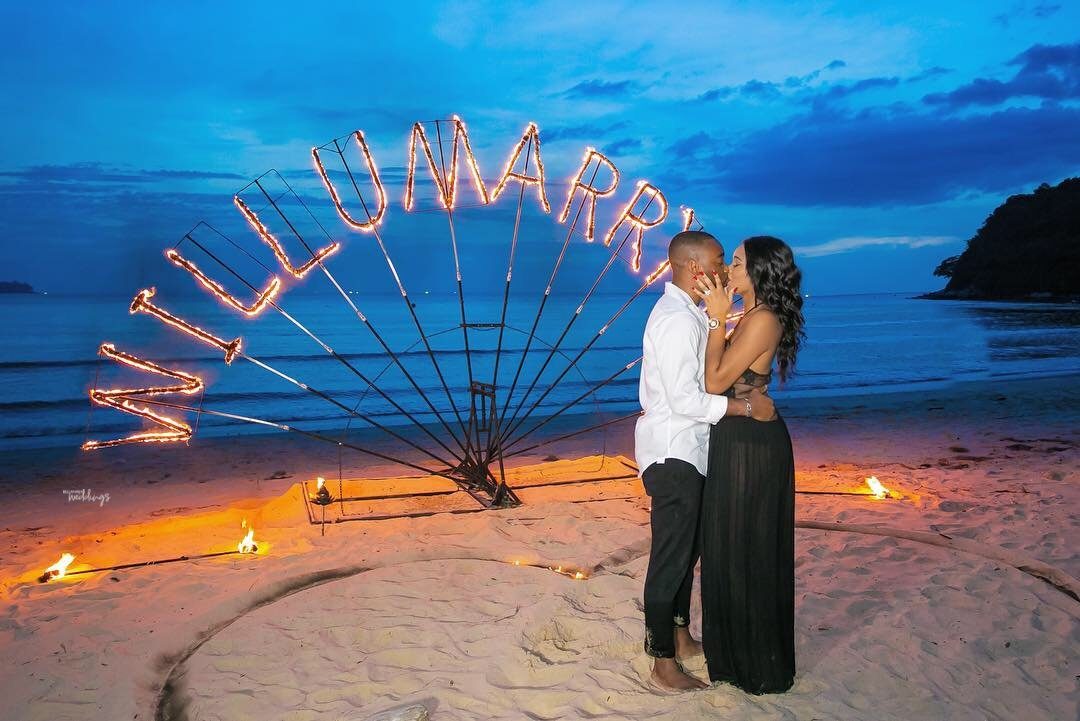
Make large cutouts of letters from combustible material and set them on fire. You can place the letters vertically or lay them out on the ground. You will need a wide enough viewing angle to capture all the fiery text.
28. Catch a Fire Reflection

A simple fire photoshoot can be brightened up by adding reflection elements to it. The flame of a candle can be reflected in glass goblets on a table or in a mirror. With a bonfire, you can use a glass ball.
I advise experimenting with photographs “the other way around” when the reflection of the subject is shown instead of it. Fire, for example, can be caught in a house window or in the camera’s lens.
- Get inspiration from my crystal ball photography ideas.
29. Make a Toy Fire
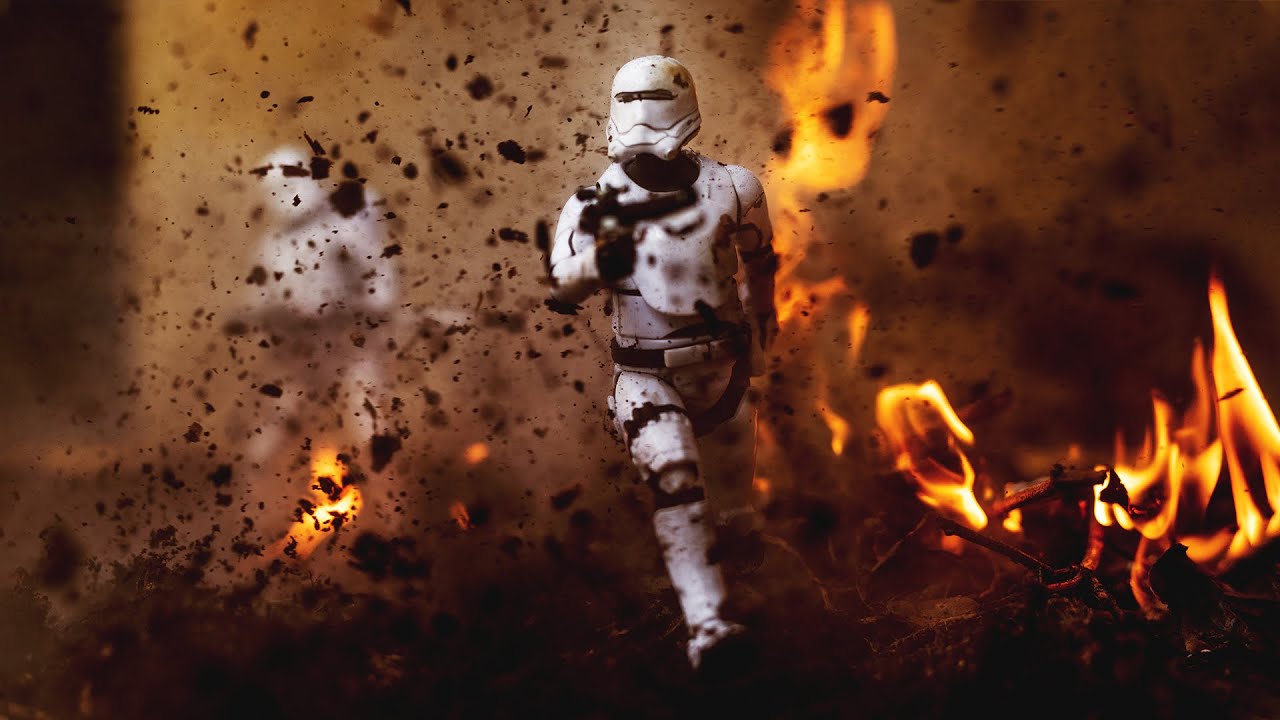
Large fires are a tragedy and a danger. Therefore, amateurs are not advised to go practicing to an actual place that’s burning. It can’t stop you from fooling around, though, and it can be a fun experience to build a project using toys, small models of buildings and so on, and then carefully light that up.
- Take a look at my macro photography ideas.
30. Shoot Flaming Drinks

Snapping images of flaming cocktails can be both fun and a good practise of your skills. As a result you’ll get an amazing promo picture or a photo which reminds you about days of joy with friends.
- Be inspired by my ideas on drinks photography.
Freebies
You can add flame effects to fire photography at the picture post-processing stage. I have selected the best free overlays that will allow you to diversify your images with fire effects.
Campfire
Taking a decent picture of a burning fireplace can be challenging, especially if you don’t have enough equipment or skill. But it is easier to just add an overlay like this one in Photoshop for the desired effect.
Fire Curves
You can emphasize the details in your photo by using this overlay. It will make the image more interesting and intriguing due to flashes of flame.
Wings of Fire
The original overlay with flying wings of fire will add vitality to the image and make it more eye-catching.


