Adobe Capture
Verdict: Adobe Capture contains a wide range of tools for creating various graphic elements from a single photograph. With this application, you can make vector-based shapes, textures, color themes, 3D materials on your smartphone.
You can capture various objects and create digital images as well as edit and store them for later use. What I like the most, after saving the results in custom libraries, you can access them from any image editor.

Adobe Capture is based on a powerful vector converter that allows you to transform photographs into unique elements for your future designs. This application is suitable for both professional and novice users who need to find a reliable vector graphics tool.

In this Adobe Capture review, I will tell you how you can use the available set of features (brushes, patterns, color themes, etc.) for converting photos to vector images. For instance, you can capture various elements from photos and save them as textures and brushes. Then, you can use them in other programs, such as Photoshop or Illustrator.
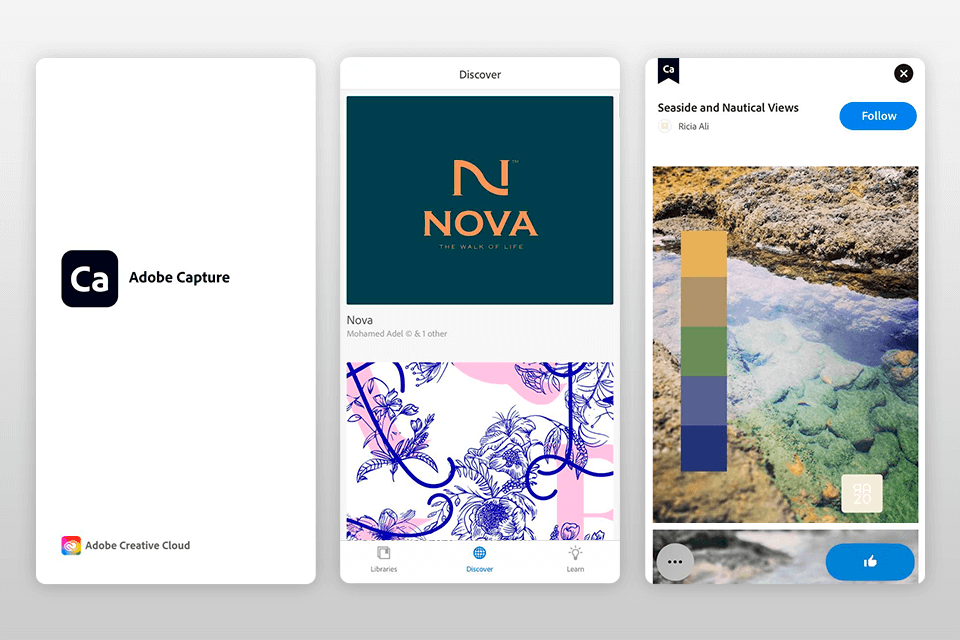
Thanks to its clear and intuitive interface, Adobe Capture is an excellent solution for both experienced and novice users. The customization options allow you to have quick access to the tools you use most often and hide those you do not need. All controls are clearly named and well grouped to provide a smoother user experience.
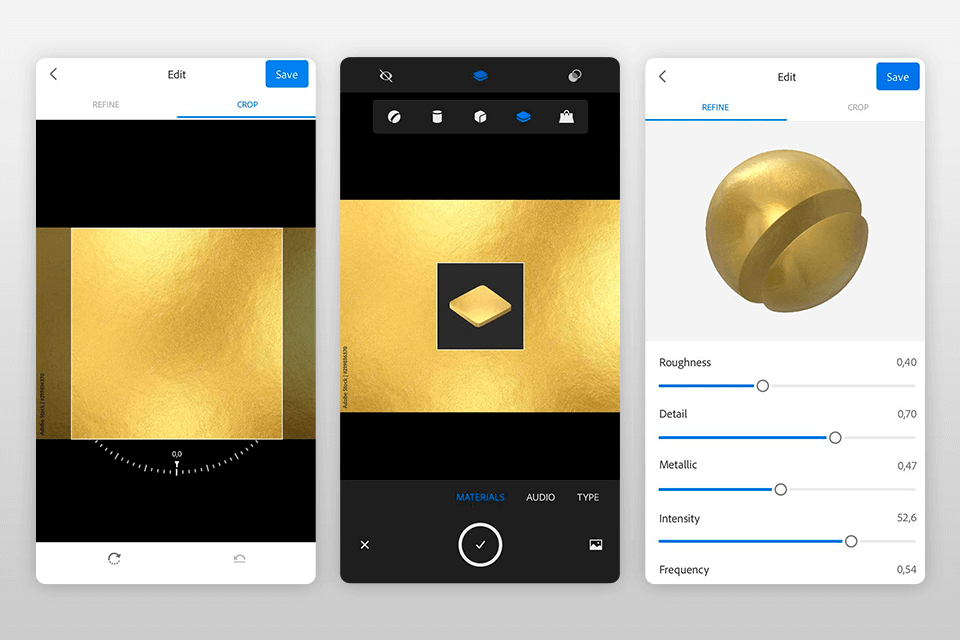
This application is suitable for creating various types of building blocks (or assets) from pictures. You can create brushes, patterns, shapes, materials, type, looks, and color palettes, save them to the cloud and use them for other designs. You can access these assets in the Libraries panel and access them in other mobile and desktop software.
Keep in mind that you can find many guides and tutorials on the official Adobe website to help you if you face any difficulties.

If you have ever used a desktop vector program for Mac and Windows, you might be disappointed to learn that this mobile app doesn’t allow you to create illustrations from scratch. It does not have its own vector tools, but it works as an option for converting images to vector shapes, textures.
This free Adobe software lets you create vectors with Shapes in a matter of seconds. It will automatically convert your photo into a vector image as soon as you import it into the application. Then, you can use these detailed, scalable vector blocks to design logos, animations, illustrations, and other projects.

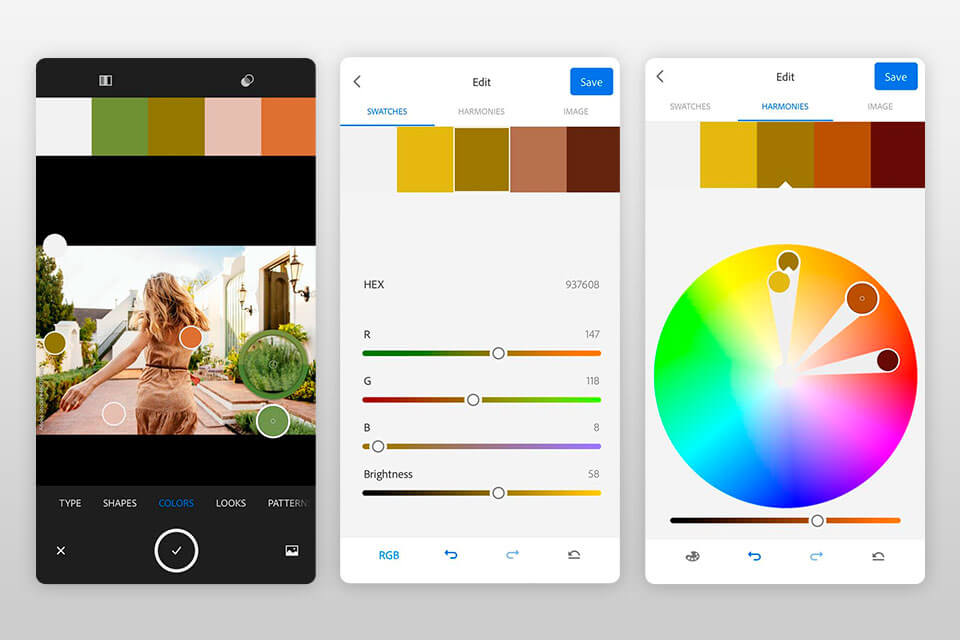
Adobe Capture allows users to create custom color palettes for later use in any Creative Cloud software. You only need to upload a picture to the application and then modify different color schemes.
To select colors from the picture, you can use the loaded one or take a photo directly from the application. To do this, you need to tap Colors and then tap Plus (+). Otherwise, you can import images from Creative Cloud, Adobe Stock, and Camera Roll. To set your color palette, you should move the round color selectors and tap the Shutter to capture.
When editing colors, you can move the color wheel or sliders to get the combinations you need. If you want to create another color palette, you can return to the original picture by tapping Image.
When your color swatches are ready, you can save them in CC Libraries or other color spaces, such as LAB, HSB, CMYK, and RGB formats. You can also export your swatches to Adobe Color to create unique Pantone color themes for your designs.
You can also use Adobe Capture to identify fonts. First, you take a photo or download a picture to the application, and then you should select the desired part and use Typekit to recognize the font. You get a list of similar options. The application allows you to find identical or very similar fonts.
Sensei (Adobe's AI platform) delivers incredibly accurate results as it takes into account even the slightest characteristics of the image. Once you have found the appropriate font you can export it as a Character Style to one of your CC libraries.
You can download photos from Creative Cloud Library and create fantastic custom gradients based on them. Adobe Capture allows you to view and edit gradients using its gradient capture mode. The Capture panel makes it easier to create gradients from 2 to 15 unique color swatches by adding and removing stops (drops).
You can use two sets of filters to create your designs. Besides, you can adjust such image parameters as contrast, sharpness, saturation, etc.
You can apply a variety of effects, including pixelate, comic, and posterize to make your designs stand out from others.
To apply a filter, you need to find the corresponding icon in the camera window on your tablet or phone and tap it. You will find adjustments in the first filmstrip collection. Go to the second section to get access to the effects. With the slider, you can adjust the effect you are applying. You can combine multiple filters in one asset.

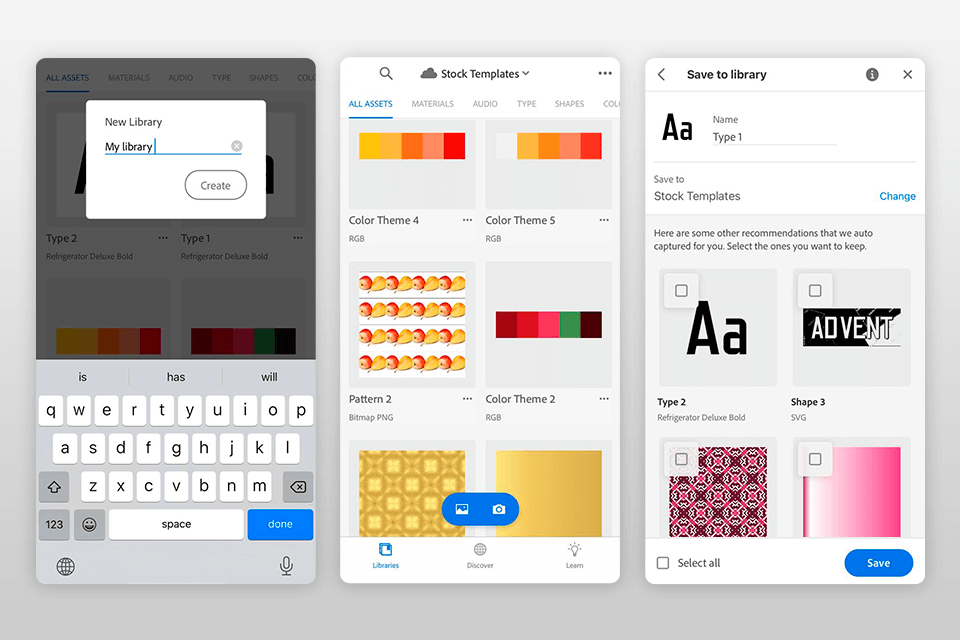
The app saves all your final results to Creative Cloud Libraries. You can see which Library you are working in at the top of the screen in the Gallery view. By tapping the Library name, you can open the My Library menu and change the location for saving your works.
You can save your built blocks to one of the proposed libraries or create a new one. You can relocate assets between libraries. To do this, you need to select Move To from the menu in the Gallery view.
Your Creative Cloud account allows you to open your digital assets from any compatible application.
While this is a fairly easy-to-use application, you may have some questions about it. In the Learn section, you will find a playlist of helpful video resources. To find necessary tutorials, go to the bottom menu and tap the Learn tab. Look through it and tap the play button of the video you need.
Plus, you can access the tutorial videos on other devices from the YouTube playlist. This option is available for Android users.
This is a free app for iOS and Android smartphones. If you already have a paid membership, you can use the program right after installation. Otherwise, you need to sign up for a free subscription.
You will receive 2 GB of cloud storage for your files as a part of your free membership. To get the extra 20 GB, you need to pay $1.99 per month.