
Adobe Capture is a popular app for vectorizing sketches, capturing fonts and colors. You can use it to create raster and vector textures, convert sketches or other images into vector shapes, and perform other similar tasks. This app allows you to create custom brushes using textures from your photos and save them to the CC library to later use them in Photoshop, Illustrator or InDesign.
Adobe Capture comes with a variety of tools, which makes this app a must for everyone who wants to capture fonts, colors, and other elements from images. It has a well-organized interface with 7 main tabs, such as Materials, Types, Shapes, Colors, Looks, Patterns, and Brushes. In this review, I will tell you how to use Adobe Capture to vectorize drawings and create custom brushes. Keep in mind that you can save all your files to the Adobe Creative Cloud libraries. You will be able to access them from other Adobe apps.
Note: A free Creative Cloud subscription includes 2 GB of cloud storage, which makes it perfect for synchronizing and publishing your files. You can also pay an extra $1.99 for 20 GB of Creative Cloud storage every month. If you are on a budget, pay attention to Adobe discounts as they allow you to buy the subscription at a lower price.
This photo editing app has versions for iOS and Android devices. On the top, you will find Settings, Library, and Options. In the first tab, you will see a list of the settings of your Adobe account. Besides, here, you will find other Adobe apps. You can also install various Adobe Libraries.
Under the Options tab, you will see a list of the main features. This app makes it easier to work on a project together with your team or other designers. You can add third-party assets to your library or share your assets using a link. To do it, click on the Options icon and choose the Share Library Link option.
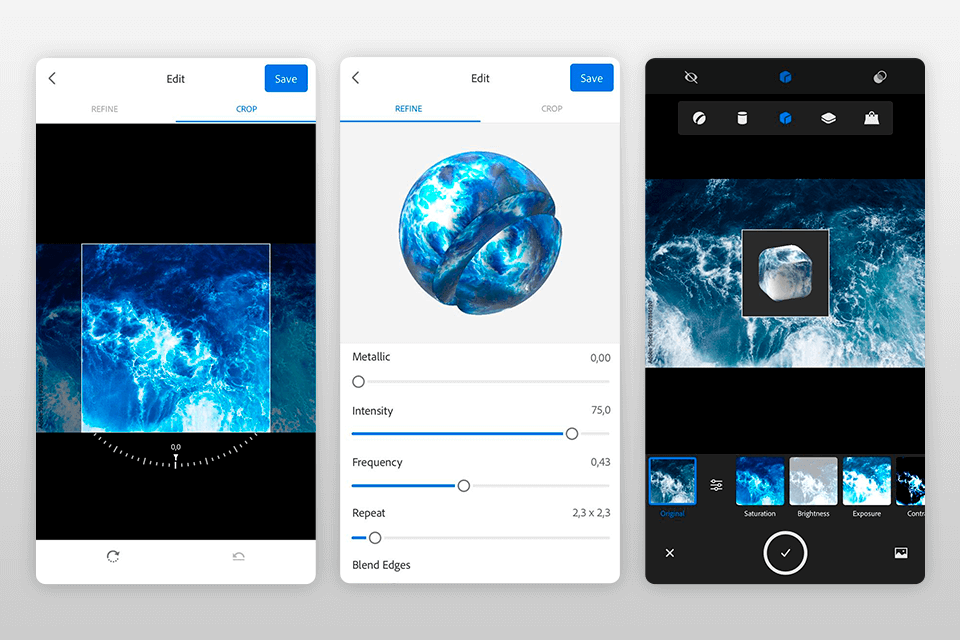
In the Materials tab, you can design textures and use them to customize your 3D shapes for Adobe Dimensions. Here, you can create a spherical reference object and use real-life design elements when working on your projects.
Find a photo or illustration with a pattern or texture, for instance, a wood panel or metal sheet. In the first window, you will see the Reference and Shape features. The former allows you to use the 3D preview of your image while the latter lets you use various shapes and light sources when viewing the material texture.
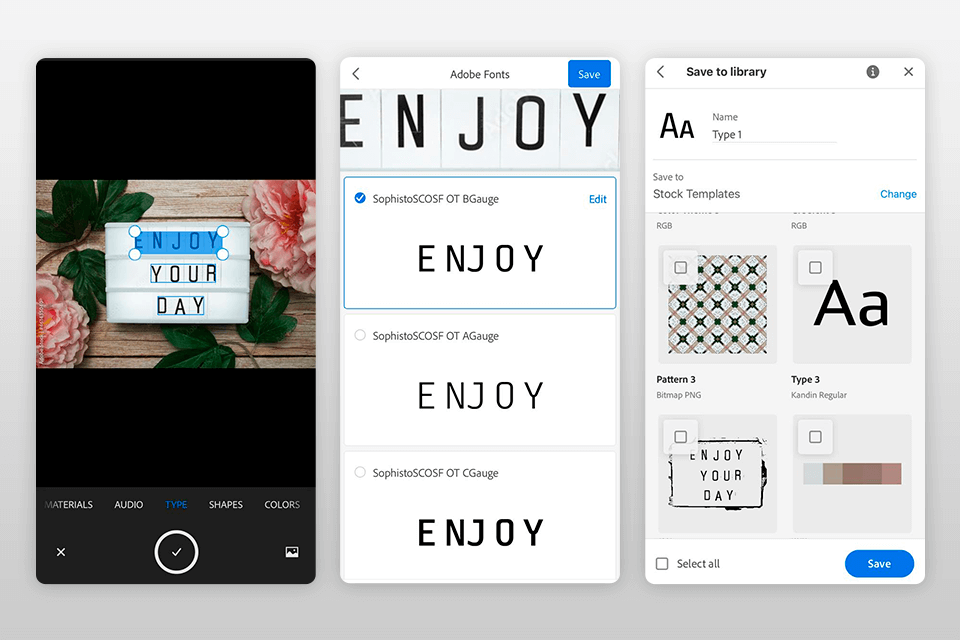
You can use Adobe Capture to find out what fonts were used for creating an ad or banner. Go to the Type tab and point your camera to the typography element that you want to analyze. You will see a blue line that will help you align your photo.
After capturing the font, take a photo and check whether the app has cropped the text correctly. Then, click on the big Tick sign and wait until the app analyzes your image. When everything is ready, you will see a list of similar fonts that can be downloaded from Adobe Typekit. Select the one that suits you better. You can also select any of the best free Photoshop fonts.
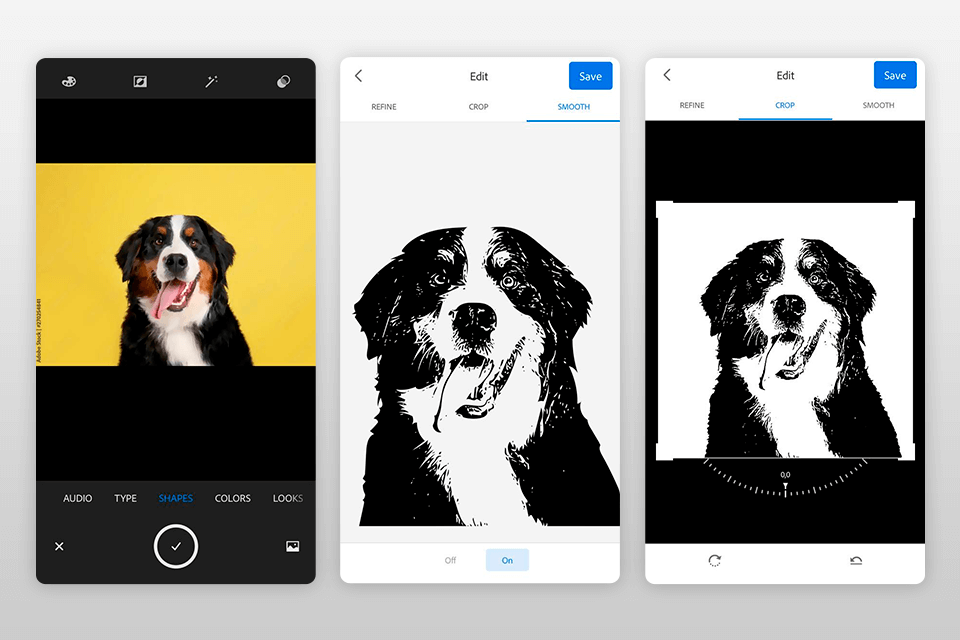
Another key advantage of Adobe Capture is the Shapes feature that allows you to vectorize various objects. Then, you can further enhance your vector images in Illustrator. You can use this option to vectorize a variety of objects, including signatures and freehand typography elements. With it, you can draw various elements on the paper and easily turn them into vector lines using this feature.

Go to the Colors tab, click on the ‘+’ button and point your camera toward any object that you like. It will start analyzing the main colors of the object or scenery. When you are satisfied with the result, take a picture and edit it to your liking.
Then, you can save all the captured colors to the cloud library. Thanks to it, you will be able to access them any time when working in other Adobe software.
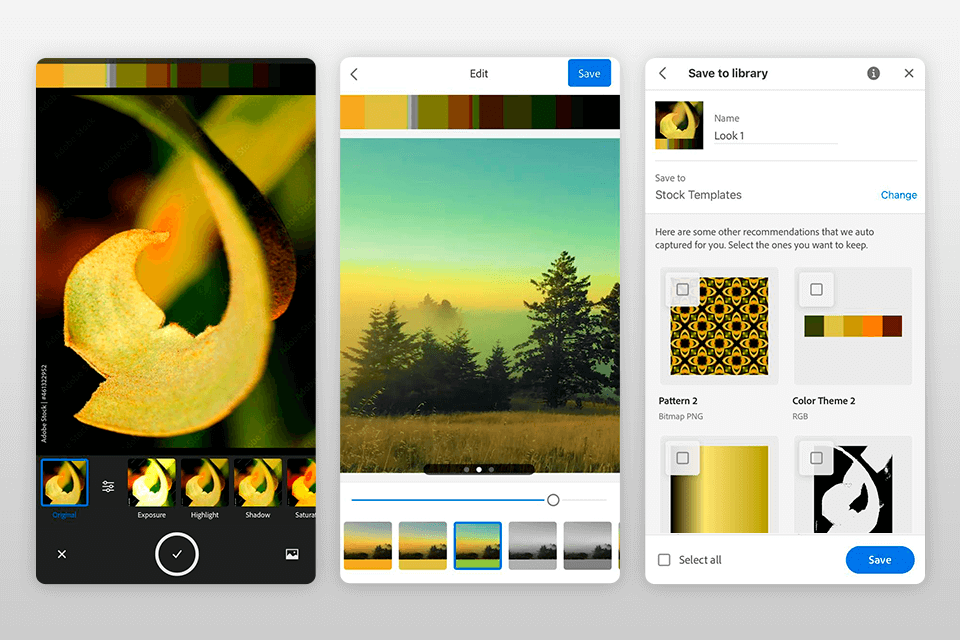
Use the Looks feature to capture colors and light from the image stored in the gallery on your device. You can also use it to capture colors on the go. Then, you need to select the main hue, pick a suitable name and save the result to your CC library.
Later, you will be able to apply this LUT to your videos using Adobe Premiere Pro or After Effects.
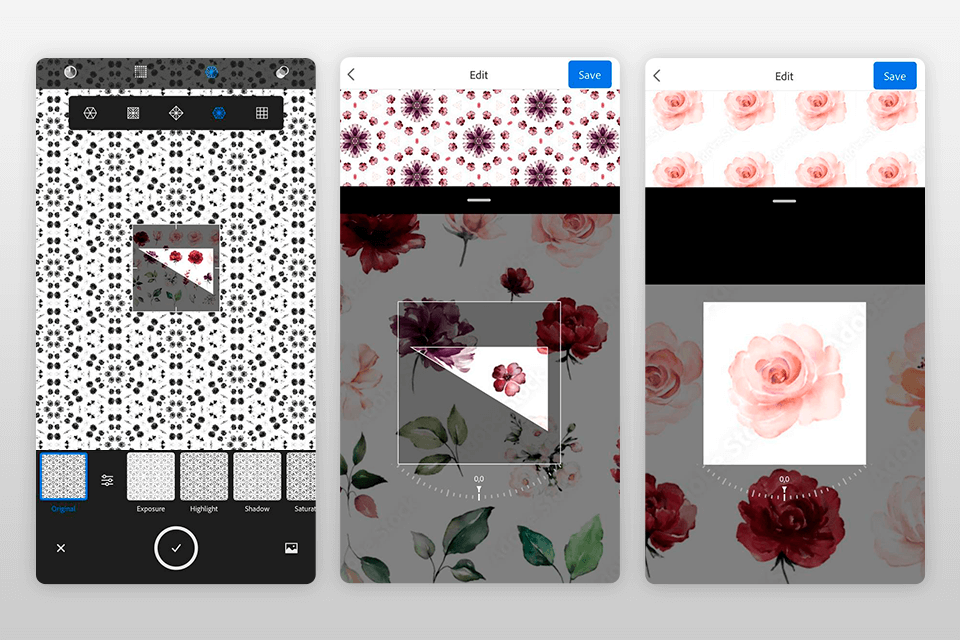
If you like a particular Patterns, you can use the dedicated tool available in Adobe Capture. You just need to click on the Patterns icon at the top of the screen and click on the + icon at the bottom.
When you see a new screen, you can capture the pattern using your camera. You will be able to preview the result in real-time and click on the shape icon to edit the script to your liking. To capture a pattern, click on the purple button that you will see on the bottom of your workspace.
If you have successfully captured a Pattern that you like, you can crop and rotate it using the dedicated tools. When everything is ready, click Next to confirm your edits. When previewing your images, you can zoom in and out. Then, you can click Next again, select a name for your pattern, and share it online.
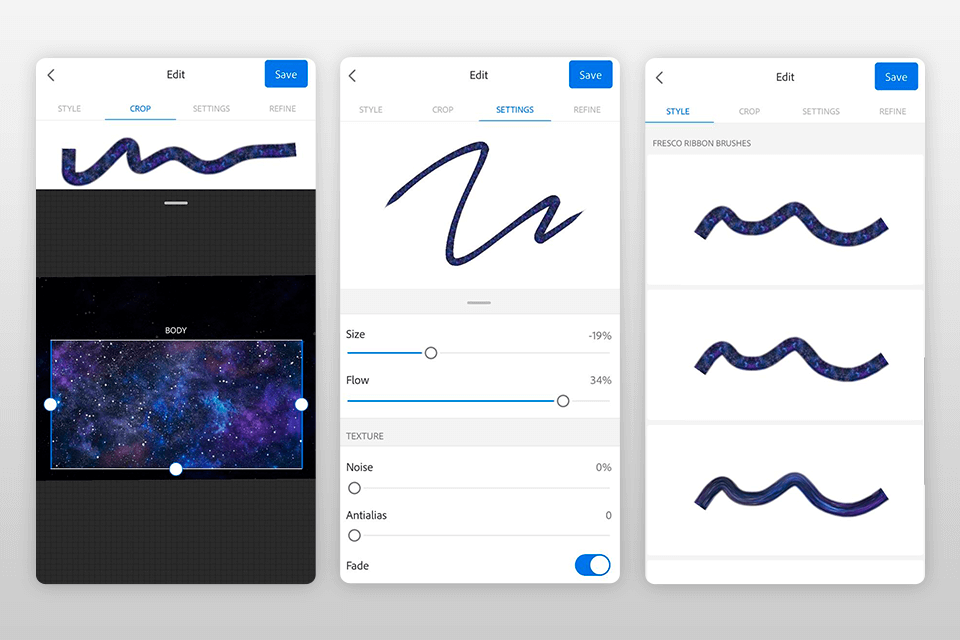
If you haven’t found a suitable drawing brush, you can use Adobe Capture to create digital brushes that meet your requirements. You can do it in the Brushes tab. Then, you can use these custom brushes in Photoshop, Illustrator, and Fresco to create picturesque effects.
If for some reason you didn’t manage to create unique brushes in Adobe Capture or if you don’t like the available ones, download this free collection. You can use this bundle free of charge. Here, you will find a variety of brushes, such as watercolor, grunge, fire, grass, smoke, hearts, leaves, and many others. Use them to expand your toolset and start working with images like a pro.