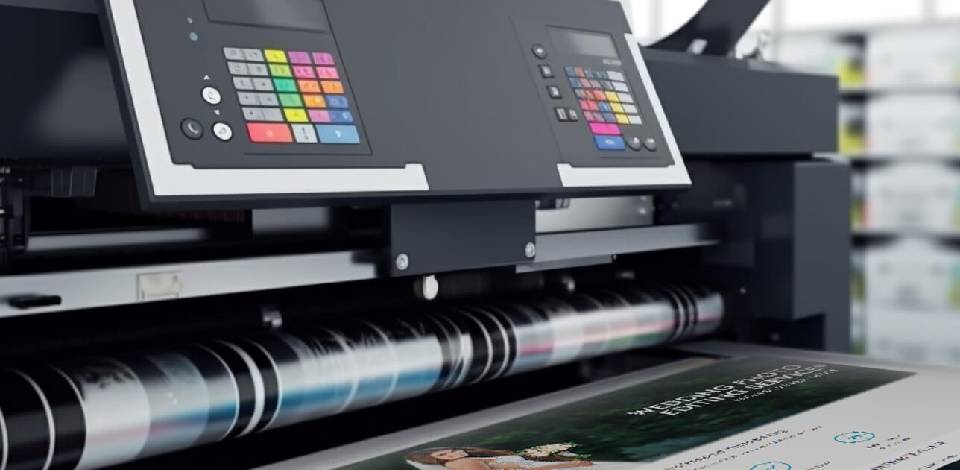
Print production definition refers to how a design goes from your screen to something you can hold in your hands. That gap between digital and physical trips up a lot of designers. Getting colors, layouts, and images to look right on paper takes real technical know-how in addition to creative talent.
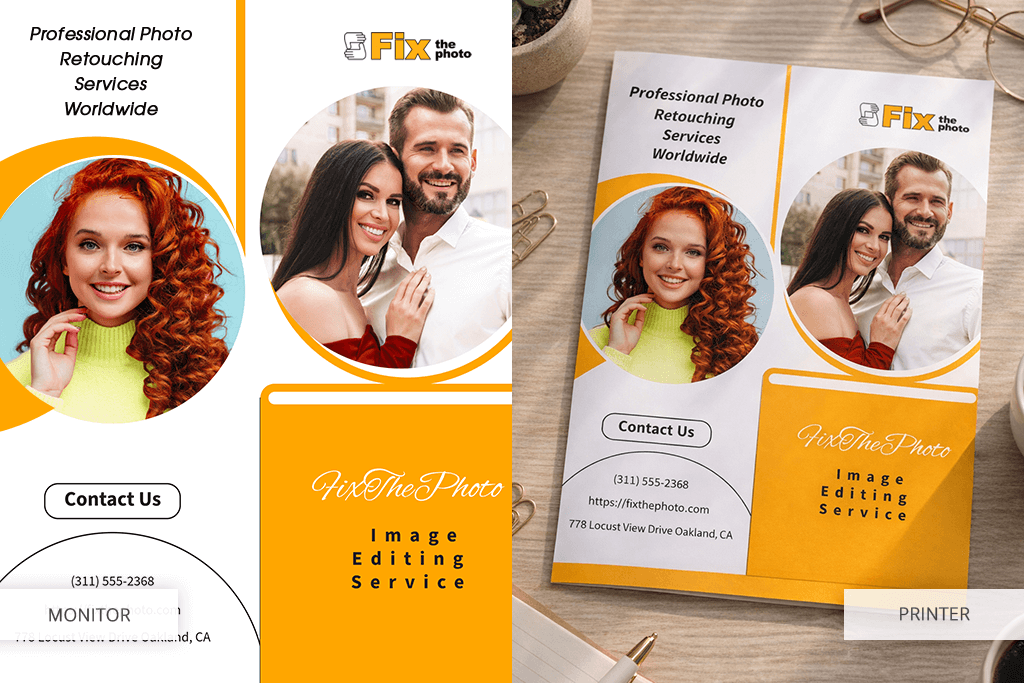
I've done a lot of this work at FixThePhoto, preparing brochures, packaging, business cards, and other stuff for print. Every project taught me something. Color accuracy, file preparation, and resolution aren’t just technical checkboxes. They're what separates a polished final product from an embarrassing reprint.
I always tell designers to learn the specs before you start designing, not after. It plays an important role.
Fortunately, tools for print production have become much better. Adobe Acrobat Pro, for example, makes preflighting PDFs genuinely painless, catching font issues, color mismatches, and errors before anything goes to print. Once you build that into your workflow, you'll wonder how you ever worked without it.
Why Print Production Matters for Businesses
I and my colleague from FixThePhoto have seen firsthand what separates forgettable print materials from those that actually build a brand. A well-printed brochure or packaging does more than carry information. It signals professionalism before anyone reads a single word. People notice quality, even when they can't explain why.
But poor print production is equally noticeable. Misaligned cuts, washed-out colors, and blurry images quietly damage credibility. No matter how brilliant the design concept, sloppy execution undermines it. I've learned that a solid print workflow isn’t about aesthetics only. It's about saving money.
Catching errors early, proofing carefully, and following proper file preparation standards prevent expensive reprints and wasted time. So, treat print production workflow as seriously as the design itself. Your brand reputation depends on both.
Key Stages of Print Production
One thing I've learned after years in design is that if you're not thinking about print production from day one, you're setting yourself up for problems later. Here's my personal print production process explained.
Concept & Design
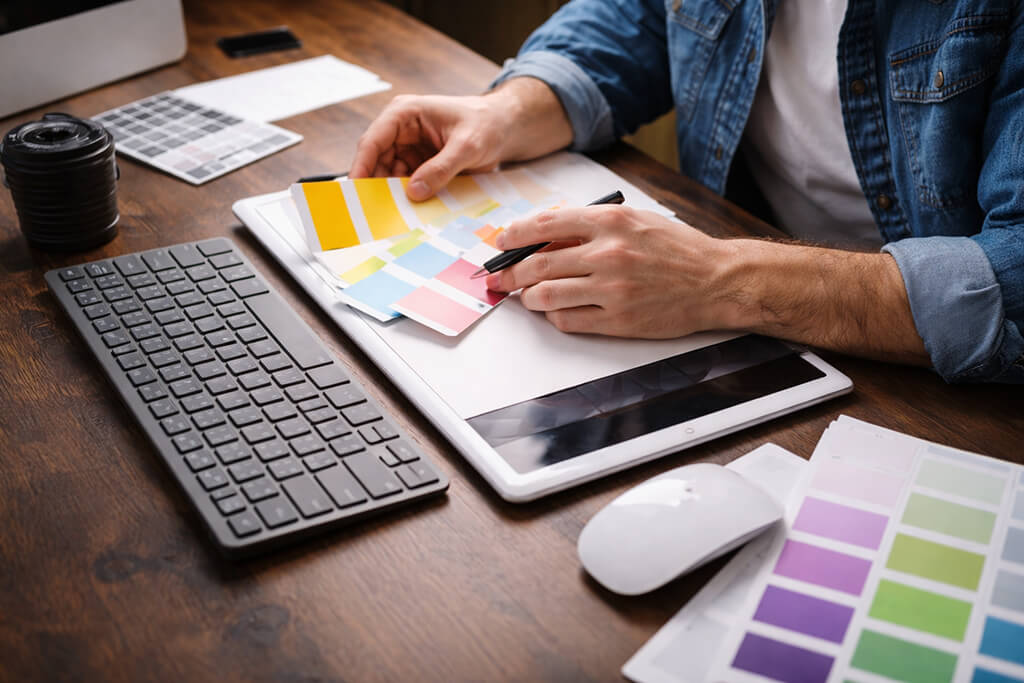
Everything starts here. Before I place a single element, I'm already thinking about how it will look on paper. Screen colors lie to you. Something that looks vibrant on a monitor can appear flat or dull when printed. So, I plan my typography, layouts, and color choices with the final printed piece in mind. A strong concept at this stage makes every step after it easier.
Prepress Preparation
This is where most designers cut corners, and it always costs them. Once the design is finalized, I convert files to CMYK, verify resolution, and add proper bleeds. It sounds tedious, but skipping it means catching problems after printing, which means wasted money and missed deadlines. Getting prepress right is non-negotiable in my workflow.

Proofing & Revisions
Never skip this step. I can't stress that enough. Before anything reaches the printer, I go through everything carefully, including colors, alignment, typos, and bleed margins. I also send proofs to clients for sign-off, because catching a mistake on screen costs nothing. Catching it after printing costs a lot.
Printing & Finishing
Everything comes together at this stage. Choosing the right printing method, namely, offset, digital, or screen printing, matters more than most people realize. So does paper selection and finishing. A matte coating versus gloss, for instance, completely changes how a piece feels in someone's hands.
When all four stages work together, the results speak for themselves. A clear, disciplined print production workflow separates designers who deliver consistently great work from those who are always firefighting problems.
Go-To Equipment for Print Production
Now that you know the print production meaning, it is time to focus on practical stuff. Picking the right equipment makes or breaks your print quality. Let me walk you through what every professional needs.
- Printers. The type of printer is an important consideration. Digital printers are my go-to for small runs, as they are fast and flexible. But when you're producing something larger, like packaging or brochures, offset printing gives you consistency you just can't fake. Need punchy colors on a poster or t-shirt? Screen printing wins every time.
- Cutting and finishing tools. A great print job can look cheap with rough edges or a flat finish. I use guillotines and trimmers for clean cuts, and finishing tools (laminators, embossers, and varnish machines) to give the final piece a premium feel.
- Color management equipment. To get lifelike colors, I rely on color calibration software, namely, ColorNavigator or DisplayCAL. With them, I can be sure that what I see on screen is exactly what comes out on paper. Skipping this step means surprises, and not the good kind.
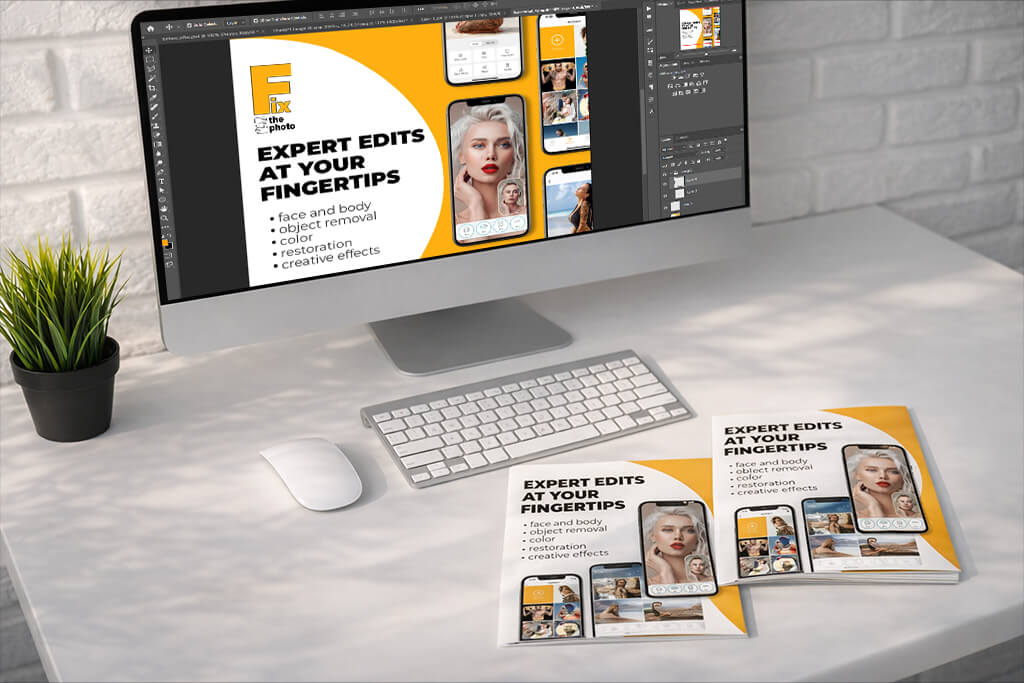
- Computers and software. I work on high-resolution displays with graphic tablets, because details matter. For programs, free Adobe software is the industry standard. I use Acrobat Pro, Illustrator, and Photoshop daily to prep files, preflight PDFs, and make sure everything is print-ready before it gets near a machine.
- Proofing and sampling instruments. Before any final run, I always test colors, layouts, and materials using proofing printers and sample boards. It takes a little extra time upfront, but it saves you from expensive mistakes down the line.
Every piece of equipment, both digital or physical, plays its part. When everything works together, the whole workflow becomes faster and the results look professional.
Common Challenges in Print Production
How print production works? It depends on how you approach it. There are several common problems that even experienced designers run into. Here's what I've learned to watch out for.
Color shifts between screen and print catch people off guard more than anything else.
Your monitor shows RGB, but the printer works in CMYK, and those two color spaces don't translate perfectly. What looks like a rich navy on screen can print as something closer to purple, especially when converting from RGB to CMYK. Always design in CMYK from the start, and whenever the budget allows, request a physical proof before approving the full run.
File issues are another silent killer.
A missing font or a low-resolution linked image won't always throw an error. Sometimes the file just prints wrong and you only find out after. I run every PDF through the Adobe Acrobat Pro preflight tool before anything goes to the printer. It takes five minutes and saves a lot of grief.
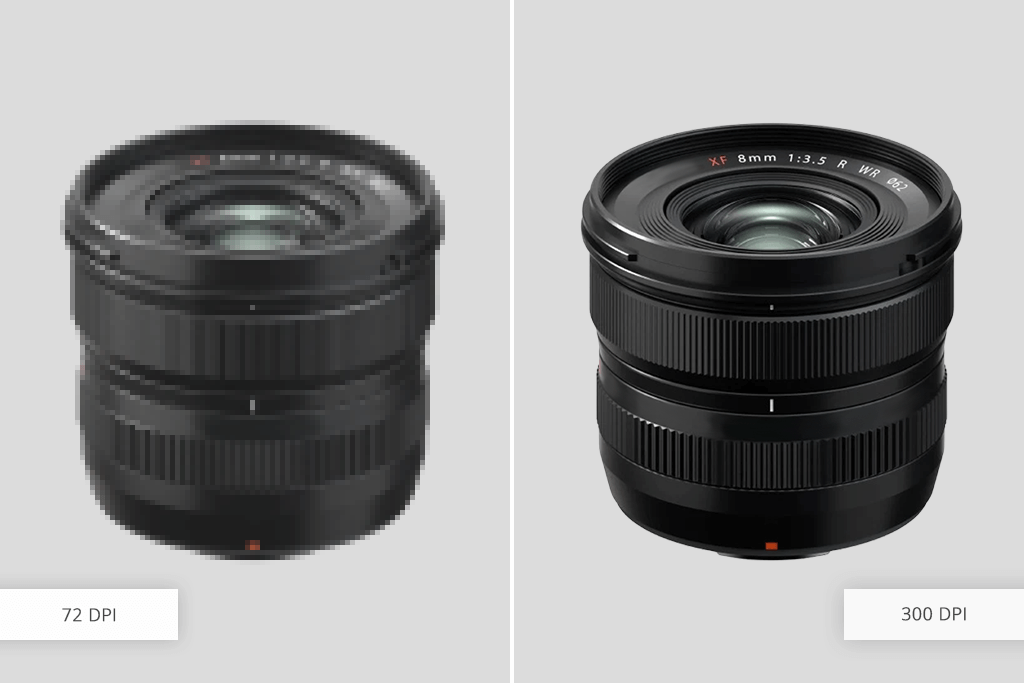
Resolution can cause pixilation or blur.
Images can look sharp on screen at 72 DPI, but print as a blurry mess. The rule is simple – 300 DPI is the minimum without exceptions. Plus, check that number at the actual print size, not the original file dimensions.
Bleeds, cuts, and folds are where a lot of print jobs quietly fall apart.
If your bleed is too small or your guides are off, the final trimmed piece will show it. I always set up bleeds correctly from the start and never skip reviewing the layout. For anything complex like packaging or folded brochures, just call your printer. They usually have templates and will prevent costly mistakes.
How Adobe Acrobat Pro Supports Print Production
Adobe Acrobat Pro is the one tool I'd never drop from my print workflow. This free PDF editor handles preflighting for errors, color management, bleed setup, trim marks, and trapping. Get these wrong, and you're looking at expensive reprints and frustrated clients. Get them right, and your whole production process runs cleanly.
Keep in mind that these advanced print tools only live in the desktop version. Here's how to find them:
- Open your PDF in Acrobat Pro.
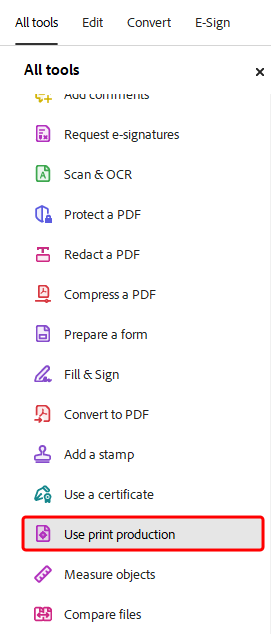
- Head to the All Tools menu.
- Select Use Print Production.
- Don't see it? Hit View More to expand the list.
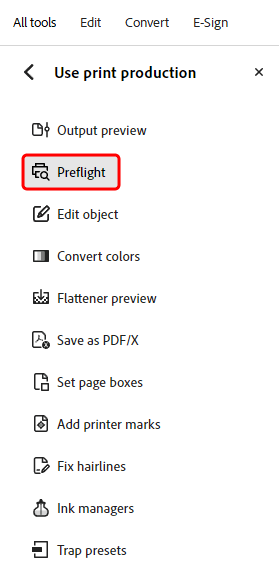
Once you've done that, everything appears neatly in the left-hand pane. There are all your essential features, right where you need them.
Stop Stressing Over Print Mistakes
Adobe Acrobat Pro catches hidden errors, perfects your colors, and adds printer marks automatically. So, every PDF you send to print comes out exactly as you imagined. Professional results in a quick way.
Key functionalities I tested and use regularly:

- PDF Preflight – This is your first tool to use before sending anything to print. It catches common issues like missing bleed, unembedded fonts, and wrong color modes, and fixes most of them automatically.
- Edit & Adjust Objects – You can move, resize, or tweak both raster and vector elements directly inside the PDF. No need to go back to the source file for minor fixes.
- Proofing Tools – Add comments, markups, and annotations so clients or teammates can leave feedback right on the document.
- Output Preview – A powerful combo of soft proofing, separation preview, and color warnings all in one place.
- Convert Colors & Flattener Preview – Adjust color spaces and handle transparency so what you see is actually what prints.
- Set Page Boxes & Printer Marks – Define your trim, bleed, and crop areas, then add standard marks for the press.
- Ink Manager & Trap Presets – Control ink usage and set trapping for jobs where precision is paramount.
- Save as PDF/X – Export to industry-standard print formats without guessing.
- PDF Spaces – One of the more underrated recent additions. You can group related PDFs and notes together without merging them. This saves a lot of time on large, multi-file print projects.
Adobe recently updated Acrobat Pro. PDF Spaces is the feature I didn't know I needed. Instead of merging everything into one file, you can now group related PDFs and notes together cleanly. For anyone managing print production in graphic design and working on multiple print projects, this is an important time-saver.
FAQ
- • What does a print production specialist do?
They turn a design on the screen into printed stuff. They catch file errors before they become expensive mistakes, talk to printers on your behalf, pick the right paper and finishes, and make sure what comes off the press looks like what you designed. They stop problems before you even know they exist.
- • Can I skip prepress and go straight to printing?
You can, but I wouldn't recommend it. Missing bleeds, low-res images, and wrong color profiles are small oversights that become very obvious and very costly once printed. Prepress is essentially your safety net.
- • Why aren’t printed colors the same as on the screen?
Your screen uses RGB – it literally glows. Printers use CMYK – physical ink on paper. These are fundamentally different systems, and the conversion between them shifts colors. A good specialist uses color management tools and test prints to close that gap as much as possible.
- • How long is the print production workflow?
It really depends on what you're making. A simple flyer could be done in a day or two. A multi-page brochure, packaging, or anything custom? Realistically, you're looking at weeks once you factor in design tweaks, proofing rounds, and actual print time. Always build in more time than you think you need.
- • What are the latest trends in print production?
Print has gotten smarter. Variable data printing lets you personalize each piece. Digital finishing has opened up creative options that weren't affordable before. And tools like Adobe Acrobat Pro have transformed the way teams handle preflight checks, color approvals, and file collaboration.
- • Do I need a purpose-made program for print production?
Absolutely. Adobe Illustrator or Photoshop gets your design built, but Acrobat Pro is necessary for checking bleeds, embedding fonts, and running preflight. Skipping proper tools usually means catching expensive mistakes too late.