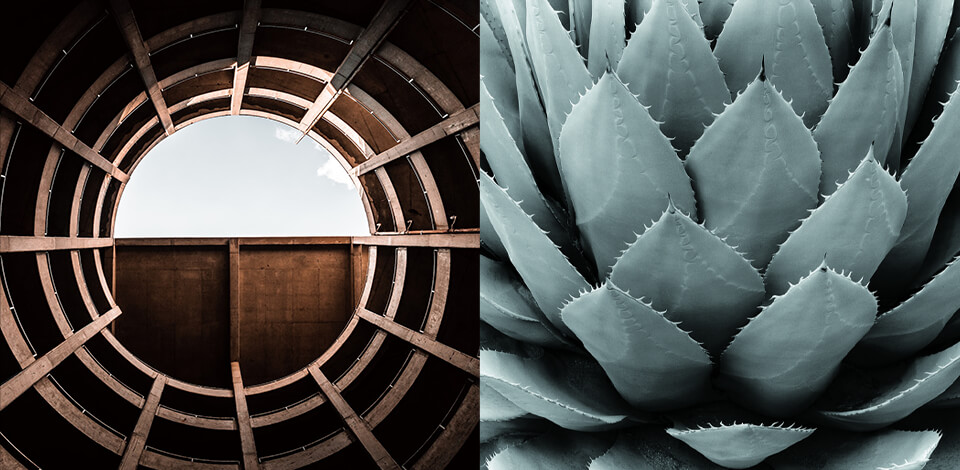
Unity is a visual art concept in photography that relies on the repetition of specific elements that serve to make a photo more aesthetically appealing to the viewer. Taking advantage of unity in photography will help you produce work that ties all featured elements into a coherent, impactful scene that comes across as a naturally-formed entity.

Unity photography can be created by repeatedly using similar shapes, lines, patterns, and hues. For instance, you can choose a harmonious color palette that features complimentary colors or employ similar shapes that tie the scene together. As you can guess by now, unity can be achieved with the help of meticulous planning and thoughtful composition.
To get a better grasp of how this concept works, you’ll need to familiarize yourself with unity photography examples. If you know some photography composition techniques, you likely already know what elements you’ll have to deal with. Those include:

In some cases, the shape of the objects in the scene can already add a sense of harmony. For instance, if you're taking a photo at a beach and notice an array of curved lines in the sand as well as curved waves and clouds – you already have all the elements you need to create unity just with shapes alone.
If one of the elements breaks that rule and stands out as jagged with straight lines, it can either ruin the cohesive look of the shot or create a desired point of interest depending on your goals. Whatever the case, it’s your job to evaluate how different objects affect the overall composition of the shot and to make any adjustments that you see fit to achieve the desired result.
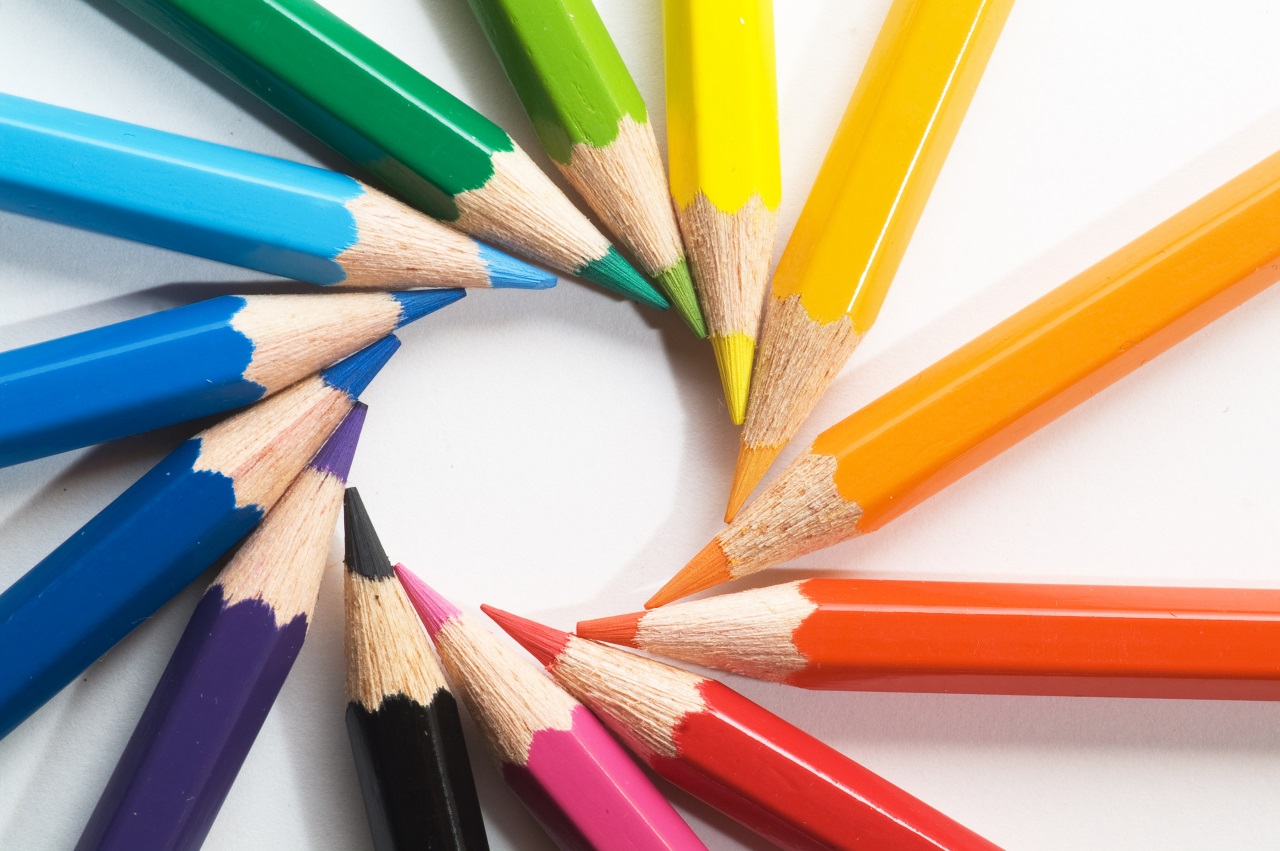
Another powerful tool for achieving unity is color. Search for repeated hues in the scene like the blue of the sky, the blue of a door in the nearby house, or a blue car. If you're shooting a portrait photo, ask the model to pose in front of a backdrop that complements the color of their hair, eyes, or attire.

Texture can be an invaluable auxiliary tool for strengthening the sense of unity in a photo. If you’re trying to establish a somber atmosphere, consider reinforcing it with rough lighting that highlights the textures of the surfaces.
On the other hand, it’s important to remember that soft lighting and warmer hues are a better fit for cheerful, more lighthearted photos. Remember to account for the rule of thirds when composing the shot to achieve the desired balanced look.
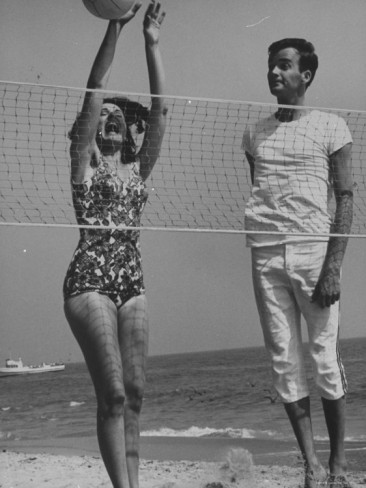
Some of the most prominent unity photography examples use mood as one of their main tools. Any good photo is meant to evoke a specific emotion in the viewer. Regardless of whether you want the viewer to feel happy, creeped out, relaxed, or puzzled – it's your goal to ensure as many elements of the scene as possible are working to create a unified emotional atmosphere to set the mood you want.
There's still room for objects that seem out of place and serve to add emotional contrast but the usage of such elements has to be justified. If you’re taking a photo of a beach volleyball match played by a bunch of teenagers, having a middle-aged man in formal clothing stand among them would be very weird unless that’s the entire point of the photo.
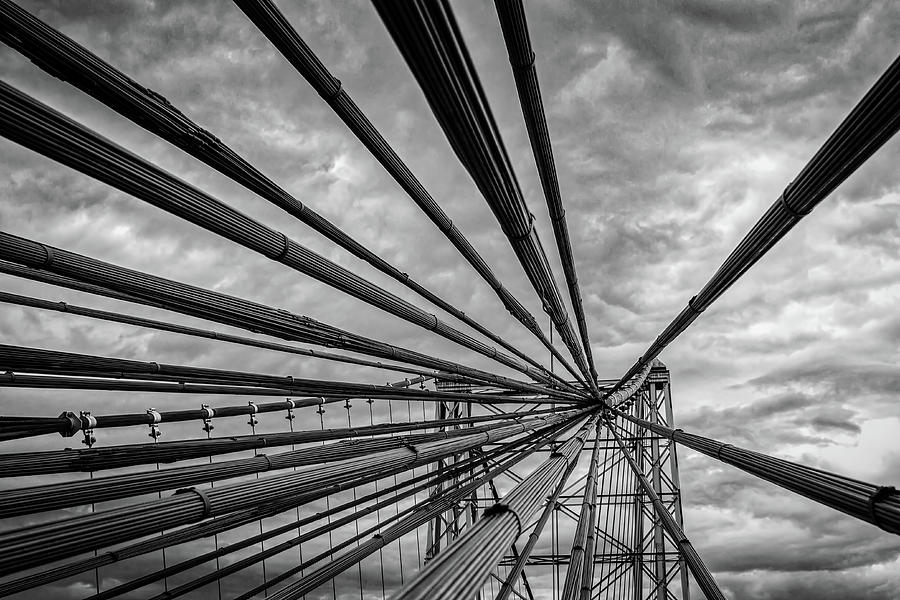
If you’d like to improve the look of your images with different dynamic effects or add a sense of movement, you need to learn how to use diagonal lines in photography. Such lines can be found anywhere you look regardless of whether you're doing the photo shoot in a city street or a beautiful forest. Professional photographers can also create diagonal lines themselves by employing specific framing techniques.
Patterns are often found in the lines and shapes of everyday objects. Look for lines that mimic each other. Those can be tree branches that follow the curve of a river or a building façade that consists of similar shapes.

Lighting can be instrumental for both following principles of design unity photography and destroying them. Do the shadows fall in the correct direction? There are few things worse than having light fall from a source that will seem unrealistic to the viewer. Utilize all available light sources to create unity and tie the scene together.
You have to account for the light’s direction, quality, luminosity, color, and duration. Keep in mind that not all parts of the scene have to be well-lit. The lack of light can cast shadows that add volume to the subjects and make them more visually impactful. Lighting is also essential for establishing the mood in your pictures so choose accordingly to ensure it serves to tell the story you want to tell.
Unity in a photo isn’t just created by what’s included in the photo but also by what’s not included. Simplicity can often be beneficial while an overabundance of focal points can lead to unnecessary competition for the viewer’s attention. Decide what story you want to show and stick to it. If you’re heavily emphasizing patterns and lines, then you can consider removing some color to ensure it doesn’t clash with the rest of the scene.
By filling the shot with a repeatable pattern, you can create the impression of a grander scale or a larger number of objects. For instance, when taking a photo of rows of bottles, you can make it look like there are hundreds if not thousands of them while in reality there are only 20-30 bottles. A pattern needs to be photographed in a way that fills the entire shot to make it look like there’s an infinite number of objects outside the frame even though there are just enough of them to fill the scene.

Abstract subjects are a fantastic choice for learning how to create unity in design photography https://fixthephoto.com/principles-of-design-photography.html (Design Photo Principles). The key here is to properly compose the shot to ensure the viewer is focused on the area you deem most important, which is something you can only do after a lengthy trial and error process.
Lastly, keep in mind that it sometimes doesn’t hurt to break a couple of rules to create unity and variety in photography. A hint of asymmetry can do wonders for highlighting symmetry and a dash of color outside a harmonious color palette can bring more attention to the subject. Experiment with various elements and learn how to transform your photos into works of art.
If you’d like to adjust the colors, highlight the contrast, or increase/decrease the saturation of specific objects in your photos, take advantage of these premade actions. Using them doesn’t require any special color correction knowledge or expertise. Simply download these actions and start applying them to your unity photos.