Whenever you’re taking a photo, typically you want to emphasize a specific subject or object to ensure the viewer understands the idea behind your picture. According to the emphasis photography definition, this is the act of highlighting a specific part of a photo to ensure it instantly attracts the viewer’s attention.
To create an emphasis in photography, photographers use all kinds of compositional and stylistic techniques, a lot of which will be discussed in the article below.


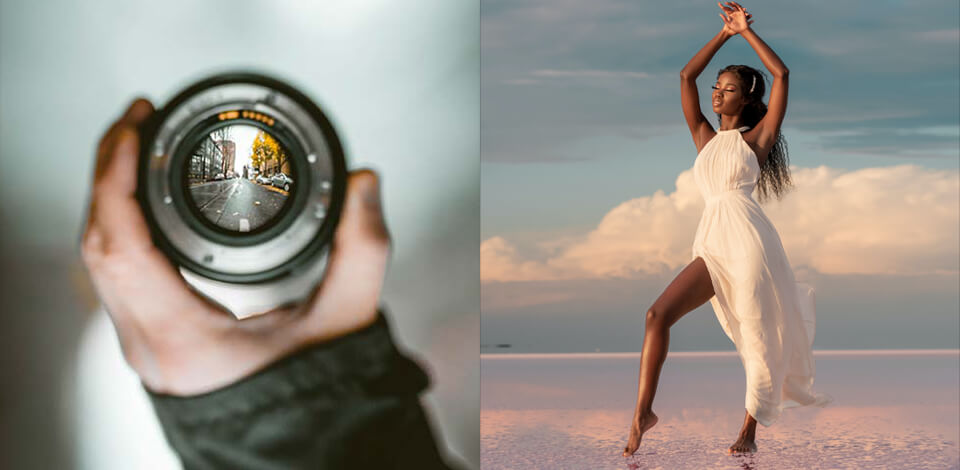
You can use the lines in your photo to emphasize the main subject or attract the viewer’s attention to a certain image part. The simplest and most obvious method is to use leading lines that can exist in many different forms as long as they serve to gradually draw the viewer's attention toward the subject.
Another way to create emphasis in photography is to use diagonal lines as well as horizontal and vertical ones. This technique can be implemented by either putting the subject along the lines or using them to lead the viewer’s eyes. Lines can also be employed for framing the photo, which is another handy way to emphasize a larger area.

The rule of thirds is an instrumental technique of emphasis photography. You’ve probably seen a grid that divides the shot into 9 equal parts on your smartphone or camera screen. The main purpose of this grid is to help you implement the rule of thirds.
In its essence, this rule requires you to place the most important objects at the intersections of the vertical and horizontal grid lines. Additionally, you can create an emphasis by placing multiple objects along a horizontal or vertical line.

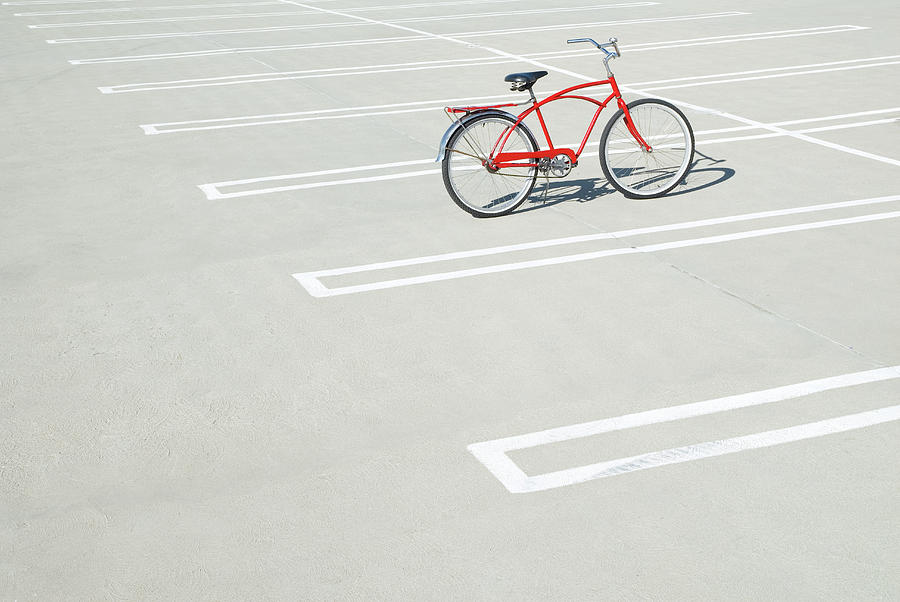
Negative space is among the most widely used techniques you’ll see when checking out examples of emphasis in photography. This method relies on having a virtually empty, plain backdrop behind the subject regardless of where it’s placed. This is a great photography composition tip to take advantage of when you don’t want the viewer to get distracted by anything else in the shot.
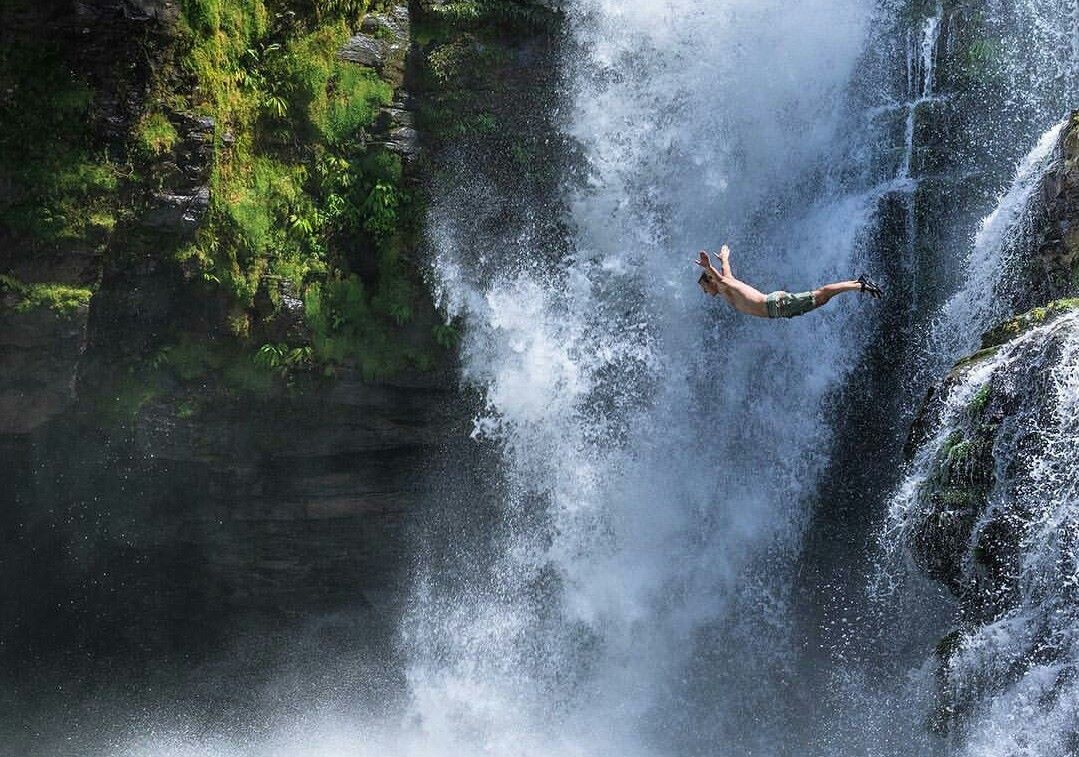
Depending on the idea of your photo, you can try putting objects of different sizes next to each other. For instance, the size of an architectural structure is better conveyed when there are people nearby to make it look big.
A similar effect can be achieved by choosing the proper angle. Simply aim the camera upward or downward to receive the desired sense of scale. Additionally, you can experiment with the distance and take pictures from up-close similar to how you would in macro photography.

Specific subjects can also be emphasized with the help of different shapes. For instance, a portrait photo of a child can have balloons or bubbles as the backdrop.
Framing in photography is another valid technique achieving emphasis. Feel free to show your creativity since framing isn't limited to rectangle shapes like windows or doorways. You can also use branches, props, contrasting areas, a combination of light and shadows, and even creative editing techniques.

If you want to emphasize a specific detail or element, take a close-up shot. Portrait photographers frequently highlight individual portrait areas, usually giving special attention to the eyes. Eye photography always looks impactful and emotional without requiring any special skills. You simply approach the model or use zoom and take a close-up photo of the eyes.
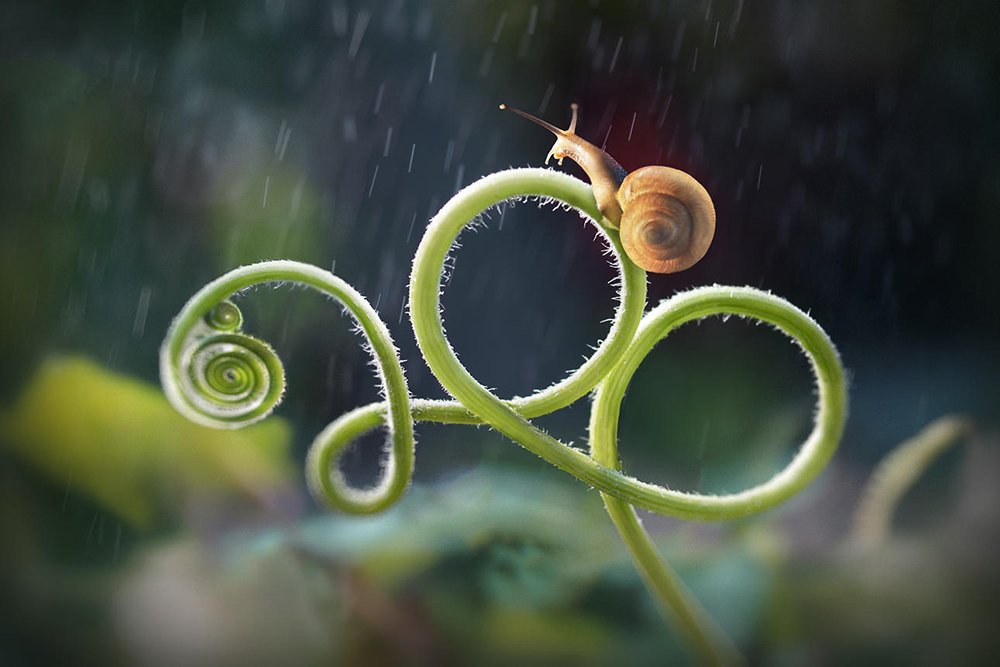
Set a shallow depth of field to ensure the viewer’s attention is focused entirely on the subject. This technique is commonly used for product and portrait photography since those are the genres where a blurred background makes the most sense. This effect can be achieved by using your phone’s special mode or you can make the background of the picture blurry in a picture editor.
The depth of field is determined by 3 parameters: aperture, focal length, and the distance between the lens and the subject. Carefully adjust these settings and employ selective focus to ensure the viewer’s attention will be exactly where you want it.

Lighting can help you produce creative images while simultaneously emphasizing the desired areas: you can use an additional light source, choose an angle that sheds as much light onto the subject as possible, add sun rays or other effects during post processing, etc.

If you like black and white photography, you can produce images that play around with light and shadows. If you place an object or person against a dark/black background, you’ll be able to take emphasis photos without having to do anything else. A similar effect can be achieved with the help of silhouettes.

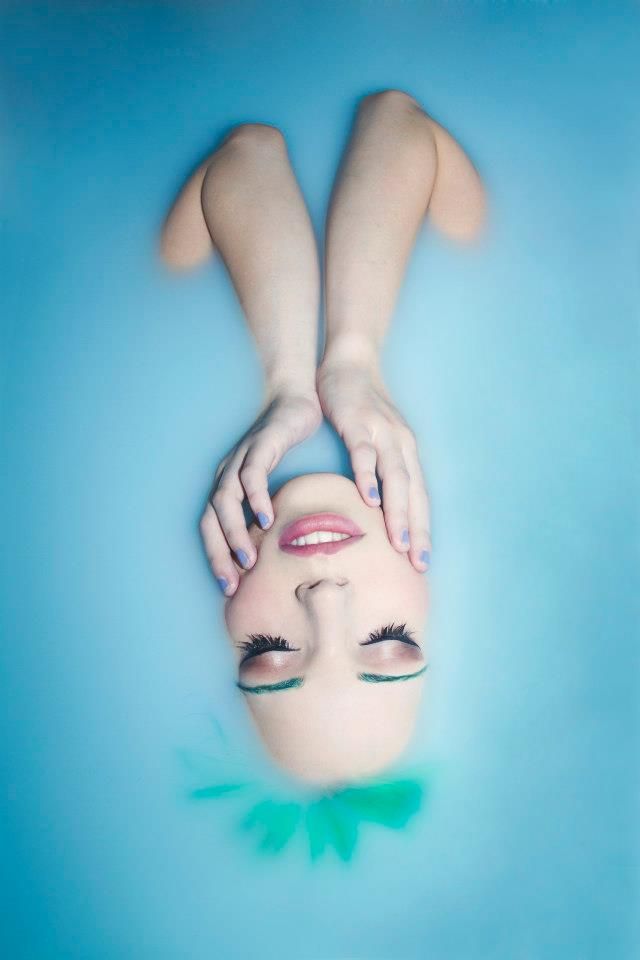
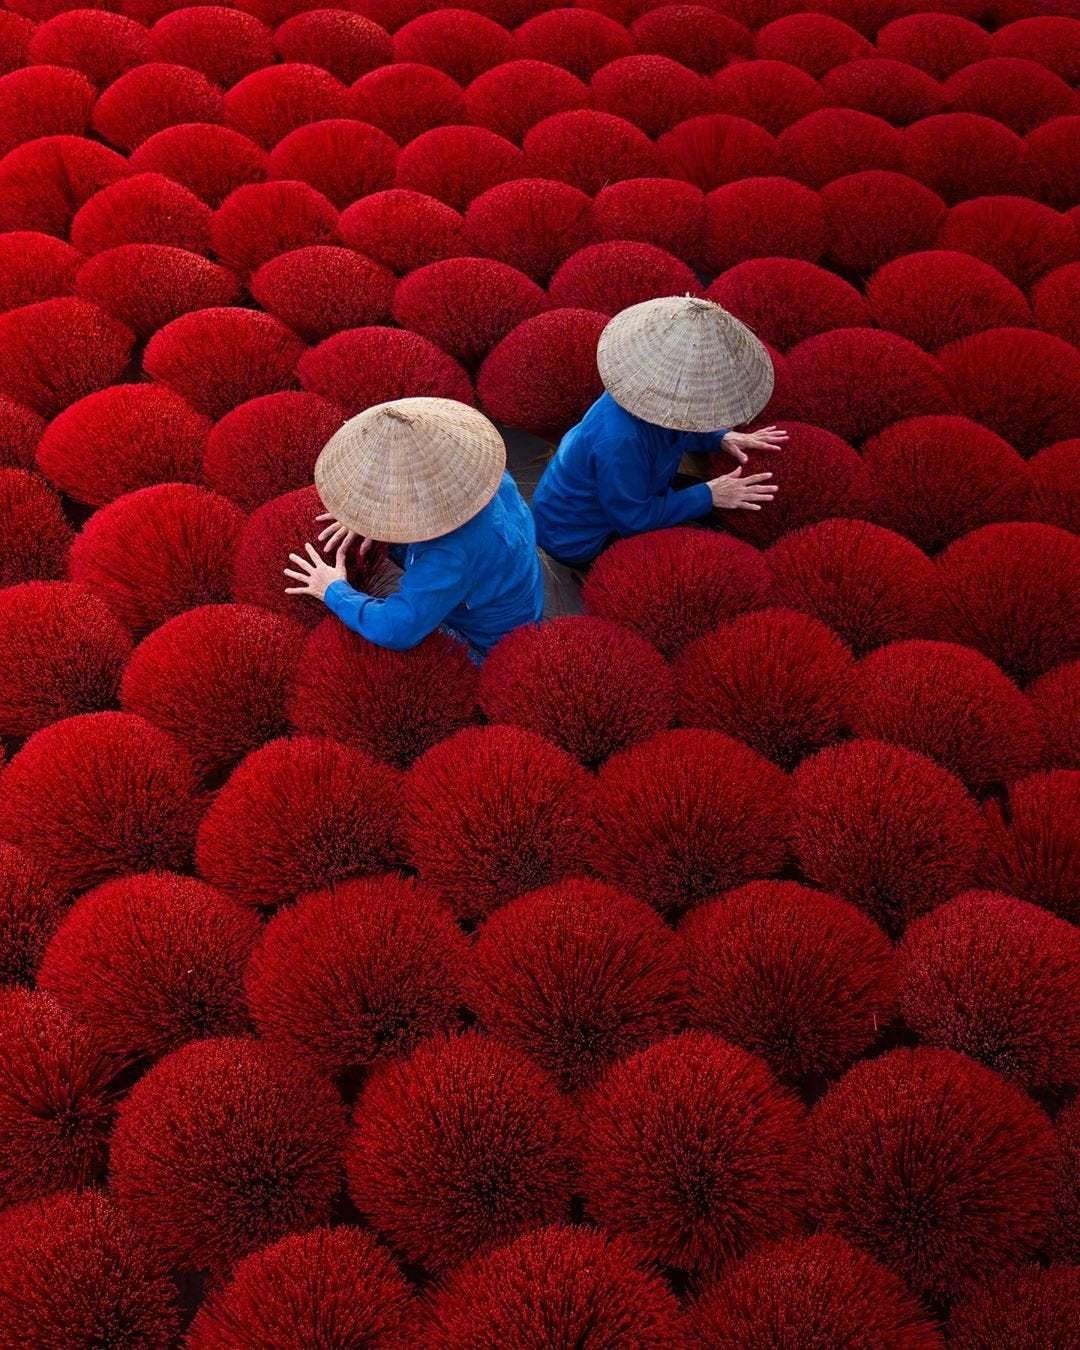
Photos that feature specific colors to highlight an object or detail always look more interesting. This technique allows adding emphasis in photography by ensuring all colors are a part of the same color scheme while one tone stands out and draws attention to itself. Such an effect can also be achieved in image editors by increasing the brightness of specific elements.
Another way to implement this technique is to combine cool and warm tones. For instance, you can have most of the shot feature warm colors with only specific details being cool-toned. However, this method isn't suitable for beginners, as it requires experience and a knack for understanding and choosing the optimal color combinations.
Emphasize an object by making it more textured while the rest of the scene is smoothened. Textures are always interesting to examine so you can be certain you’ll draw the viewer’s attention to the needed elements/objects. Should you try to use this technique, remember that textured areas have more visual weight than smooth ones. That’s why it’s recommended to ensure the textured part of the image is relatively small to avoid making the photo look overbearing.
If you like photos with beautifully blurred backgrounds that smoothen all unnecessary details, try using this collection of presets for picture post processing. In just a couple of clicks, you’ll receive a clear portrait with a beautiful bokeh effect. Moreover, these presets will make the colors more saturated and attractive, enhance the lighting conditions, and increase the level of detail in textured areas.


