The way you do makeup for a photoshoot can differ greatly from your regular routine. I first discovered this when I prepared the "perfect look," only to later see that the strong studio lighting had washed out most of the colors. From that point on, I tried out a variety of approaches, from working with an actual makeup artist to applying different looks at home before the shoot.
In this post, I’ll go over all the photoshoot makeup tips I’ve learned, covering both outdoor and indoor scenarios to ensure you get the best possible results. Even if you don’t have professional experience, this guide on how to do makeup for a photoshoot will prove to be extremely useful.
Regardless of whether you’re planning a studio shoot or a casual outdoor portrait session, the information provided below will allow you to prepare for any possible situation.
You might be under the impression that the camera captures the same look you see reflected in the mirror, but makeup photography is actually a lot more complex. The result is affected by the camera model, lens, flash, natural lighting, and many other factors that can wash away the makeup you spent so much time and effort applying.
As such, most of the everyday products you use are unsuitable for photography. Your foundation might look good in natural dim lighting, but instantly feel off under a flash. That’s why you can find so many makeup tips for photoshoots – they are essential for achieving the same real-life beauty in your photos that you see in a mirror.
“I tend to remind my clients: pick matte products when doing photoshoot makeup, since shimmer usually appears oily in pictures.”

My online followers often ask: “How to do makeup for photos? Should I apply it on my own or reach out to a professional?” My response depends on their budget and proficiency level. Personally, I believe that as long as you pick the right products and practice for a while, you can apply professional photoshoot makeup without relying on anyone else.
The key to makeup for photography is to choose the optimal products for each situation. Even people who don’t usually wear makeup need to ensure the look they go with flatters their appearance instead of being patchy when placed under studio lights.
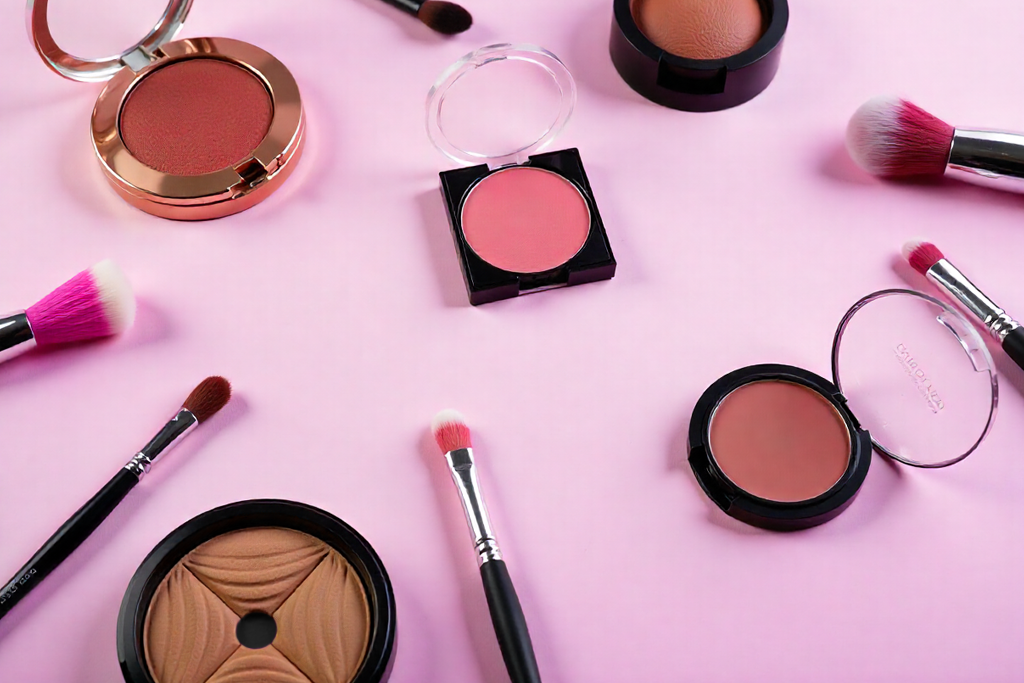
When picking makeup products, remember the following:
If I had to make a single rule for photography makeup, it’s this: the base can only look as nice as the skin preparation. Don't be lazy when it comes to this step, even if you're in a hurry.
Remember to do the following before you start doing makeup for photos:
A high-quality primer hides pores, enhances skin texture, and helps your makeup preserve its integrity, which is essential when sitting under bright studio lights or working outdoors for multiple hours.
The first mistake the majority of people make when learning how to do makeup for a photoshoot happens the moment they try to do the foundation. If it’s too light, the subject looks washed out. Not light enough, and the face will look disconnected from the rest of the body.
After going through this process dozens of times and discussing the results of what our team tested during actual photoshoots, here are the main tips I can provide:
I check the foundation shade by snapping a flash picture before moving on to the rest of my makeup. This little test has spared me from hundreds of “ghost face” disasters.
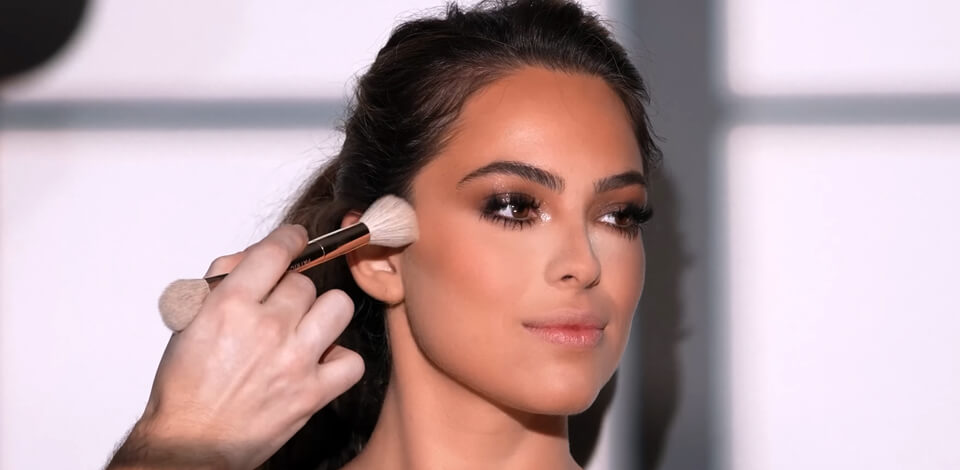
Contouring is essential to ensure the camera doesn’t flatten your face, which would reduce its definition and detail. I apply contour to restore depth, particularly if I plan to take close-up photos. You don't need to do a lot of sculpting, but rather simply recover some of the shadows eliminated by studio lights.
If you don’t know how much contouring you should do, snap test pictures after each stage. You’ll notice the moment when your face has enough definition while still looking natural.
When seeing a photo, the viewer’s attention is instantly drawn to the eyes. That’s why eye makeup for a photoshoot needs to be pronounced but without overpowering the rest of your appearance.
Even if you do your photoshoot makeup perfectly, the photo can show details that can’t be seen in real life. A powerful flash can flatten the face, the lipstick might dim during a long shoot, and eyeliner that appeared sharp can start looking uneven in a close-up. This is why retouching is essential for dealing with mistakes that you couldn’t mitigate when taking photos.
When enhancing pictures, I tend to see identical patterns. Foundation can demand softening since it can crack from bright lighting, and lipstick usually looks better if you improve its richness and shape.
Eyeshadow can be made to look better by getting rid of sharp edges and thinning out the eyebrows while also adjusting their tone if necessary. Even contour and highlight might need a bit of balancing, as the camera might artificially increase the intensity and butcher the makeup, making it appear harsher than intended.

The purpose of image editing isn't to create a "new face" but rather to enhance your natural appeal. This is accomplished by preserving skin texture and fine-tuning different parts of the makeup to make you look as flattering as you did in real life.
If you perform retouching properly, the photo won’t even look edited – just a refined version of the original picture. Pair such an approach with standard portrait photography tips to produce images that look both professional and natural.
Personally, I perform makeup photoshoot editing as the final step in turning a beautiful portrait into a stunning one. Regardless of how good you are at using brushes, the camera can still uncover various minor flaws. Retouching software allows you to get rid of those imperfections and present yourself in the best possible way.
Moreover, if you apply the edits sparingly, the final picture will still look natural. The goal is to preserve the subject’s appearance while highlighting their most attractive features. Look at it as applying a finishing spray, but with the help of Photoshop or Lightroom.
My experience taught me that the type of makeup you need to do depends on the photoshoot in question. Makeup that looks great in a studio might look horrible outdoors, and the makeup you come up with for a fashion shoot probably won’t fit a casual lifestyle setting. The most popular photo shoot makeup types include:
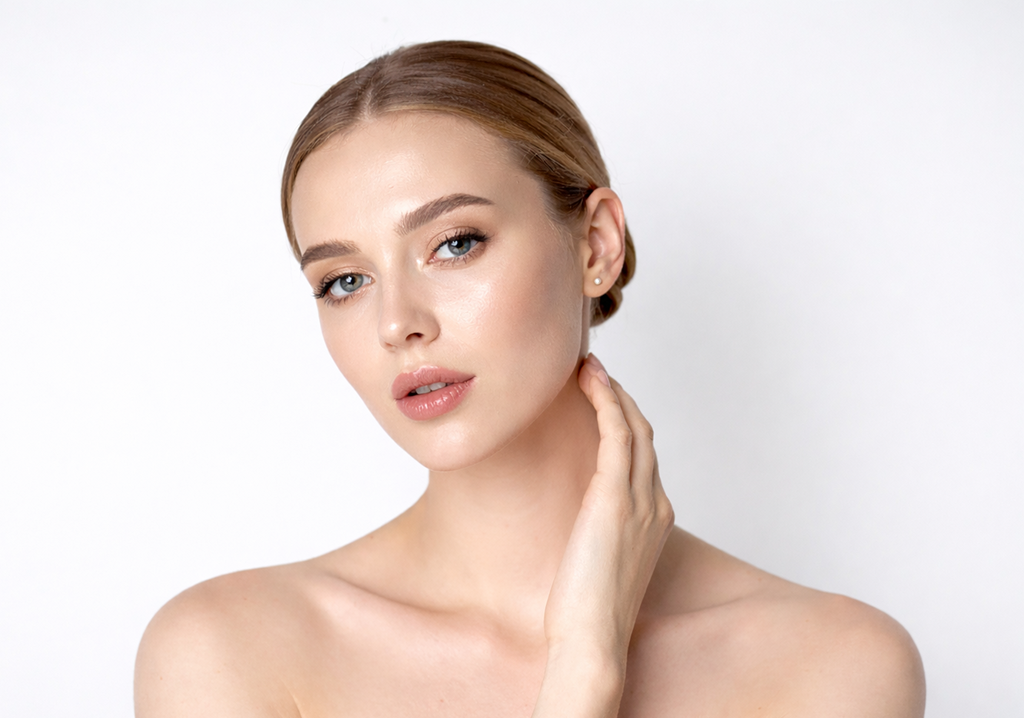
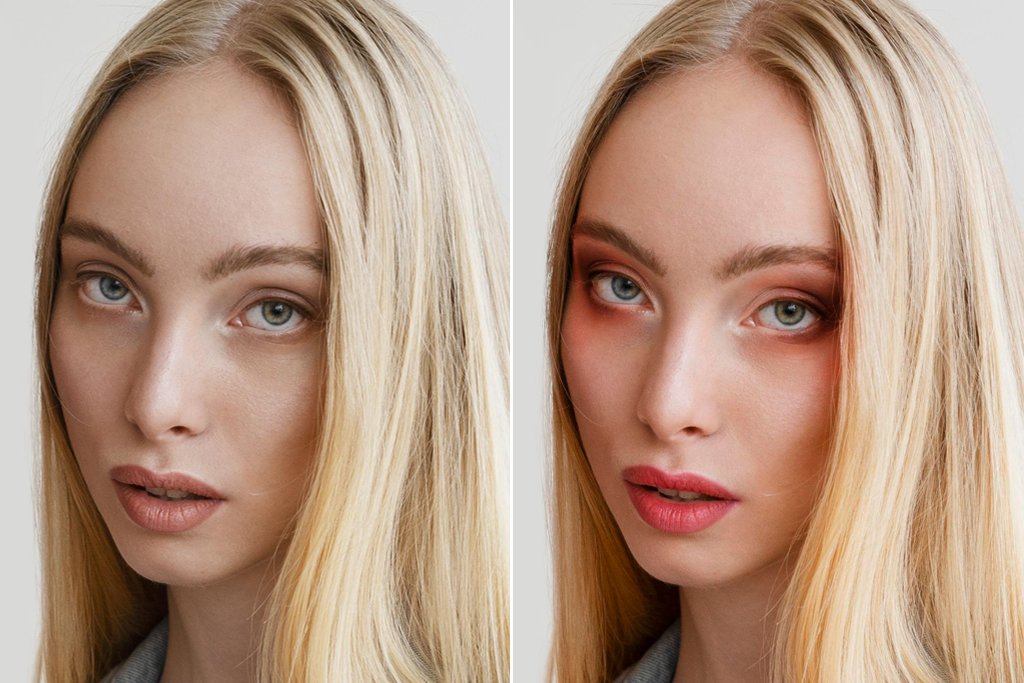
This is the embodiment of the “your skin but better” approach. It’s a great choice for family portraits, lifestyle shoots, and engagement photos. Natural makeup for photography improves your most appealing features without being overwhelming. A soft foundation, subtle contouring, nude shadows, and beige or dusty pink lipstick – all look classic, subtle, and fit almost any face.
Such makeup always looks authentic. Your eyes will look sincere, your smile – genuine, and no one will ever think your photo is over-edited. I prefer to replace hard black eyeliner with warm browns and taupes, and I tend to apply a bit of blush as well. This adds a natural glow to the face and makes it more flattering, while creating the illusion of a more candid shot.
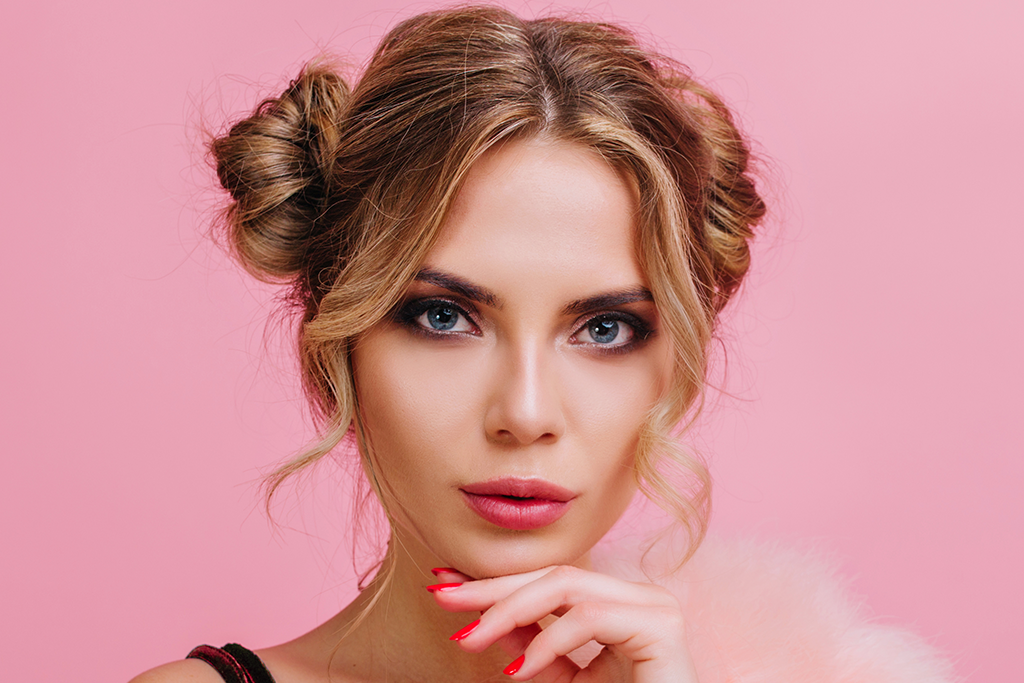
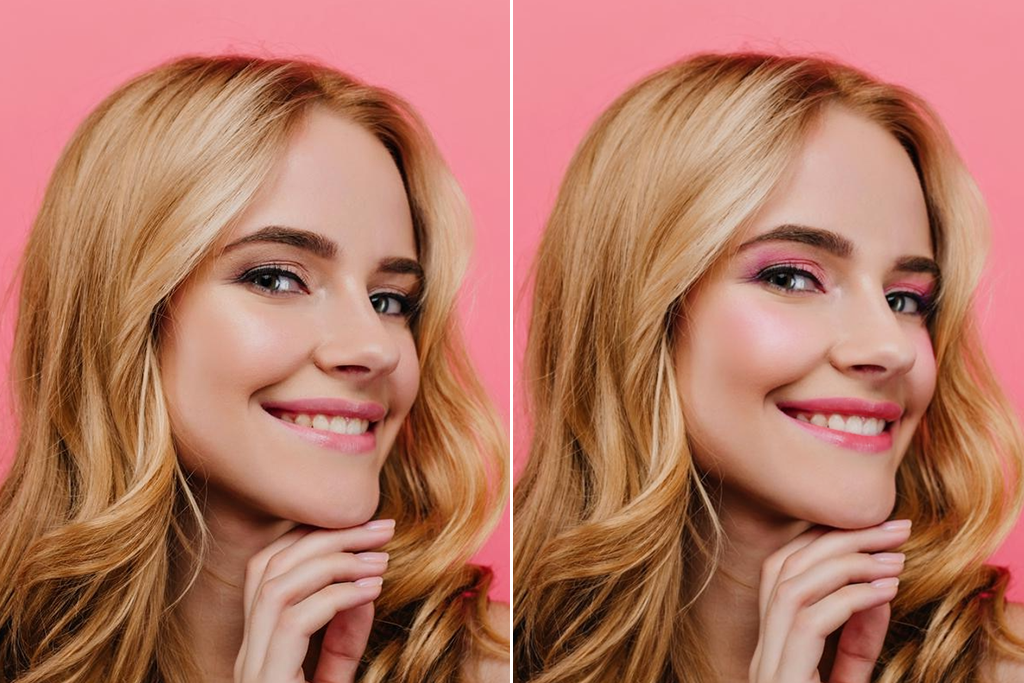
While the previous approach is the equivalent of a whisper, this one is more of a confident exclamation. Glamorous makeup is a perfect fit for fashion, beauty, and editorial photoshoots that exist to capture your attention. I love pairing a rich red lipstick with smoky eyeshadows and sculpted eyebrows. Such a look is dramatic and works well with studio lights.
The key to doing glamorous makeup right is layering. I suggest first applying a matte base, then contouring the cheekbones, and using a highlighter to add more definition to your face. Additionally, I love using false lashes to open up the gaze and make the photos look more cinematic. Your goal is to grab the viewer’s attention, so half-measures aren’t necessary here.
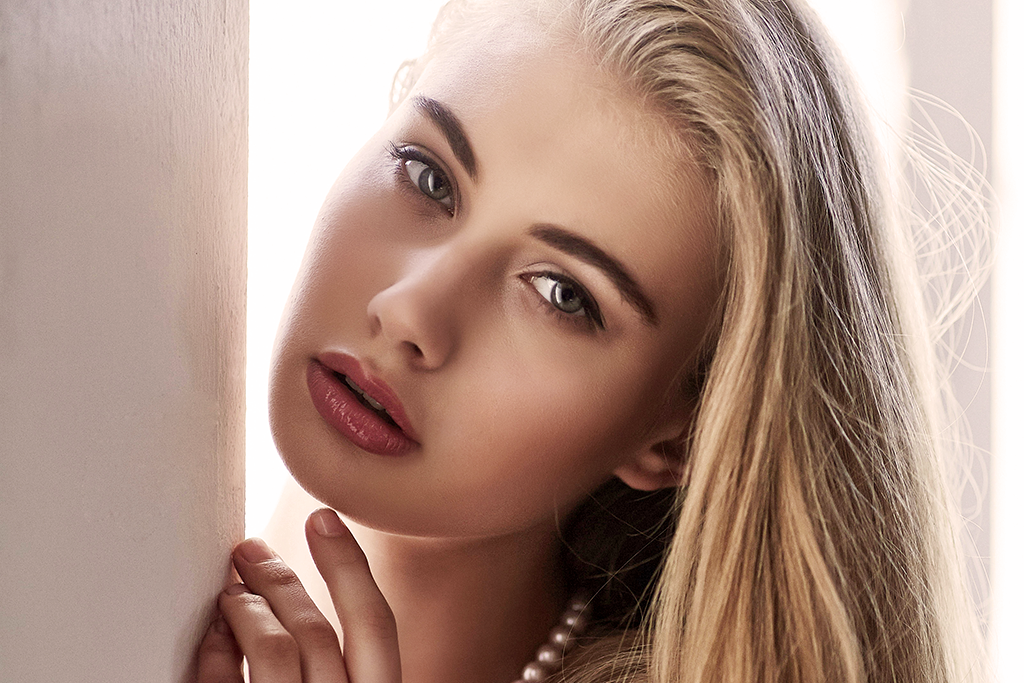
Outdoor photoshoots can be very challenging. The natural lighting is constantly changing and often too rough, humidity can ruin your look, and a gust of wind can ruin all the effort that went into perfecting your appearance. This is why outdoor makeup for a photoshoot prioritizes dependability. A matte foundation, waterproof mascara, and a bit of added blush are essential for me. Sunlight usually washes out the colors, so the extra dose of makeup can help mitigate that issue.
In addition to picking the right makeup products, you also need to prepare an emergency kit to take with you. Ordinarily, I bring blotting papers, a pressed powder, and lip color for easy fixes on the fly. A setting spray helps preserve shape, maintaining your look even if the sun decides to be your enemy. You end up receiving colorful, flattering photos despite working in a tricky outdoor environment.

A makeup photo shoot isn’t always about staying true to your authentic self. It can also be about major changes and trying out new things – vibrant hues, metallic foils, tons of glitter, or over-the-top shapes can all be used to tell a story. This approach is great for editorial, fantasy, and fashion photoshoots that have the goal to surprise, captivate, and inspire. Striking looks are often tied to specific photoshoot themes, as the makeup is used to reinforce the overall mood of the shot.
Your priority here is to ensure the visual chaos is under control. A neon eyeshadow or bold geometric liner requires a perfect base and clean lines to ensure the final image doesn’t look messy. I pair creative looks with refined eyebrows, smooth skin, and carefully applied lipstick. This approach ensures the photo looks cohesive and intentional, regardless of how daring and colorful the makeup is.
Knowing all the tricks in the world won't help you if you don't know how to properly use different makeup tools. Over the course of my career, I've learned the value of being precise when doing makeup for a photoshoot, and that’s when all the different brushes or sponges come into play. Here’s a breakdown of items that I think it’s important to have on hand.
| Category | Tools | Use |
|---|---|---|
|
Face Brushes
|
Concealer brush, Powder brush, Blush brush, Highlighter brush
|
Smooth base, blush, glow
|
|
Eye Brushes
|
Eyeshadow brush, Small blending brush, Angled brush, Brow brush, Liner brush
|
Shadow, blending, brows, liner
|
|
Lip Brushes
|
Lip brush, Sponge applicator
|
Defined, even lip color
|
|
Sponges
|
Triangle sponges, Beauty blender
|
Blend foundation, natural finish
|
|
Brow Tools
|
Tweezers, Small scissors, Spoolie
|
Shape, trim, groom
|
|
Lash Tools
|
Curler, Separator, Eyelash glue
|
Curl, separate, secure falsies
|
These tools don't just simplify the process of applying makeup, but also help guarantee it looks great in your photos. A damp beauty sponge is perfect for adjusting the foundation, while a lash curler helps make your eyes more captivating. Even tiny steps, like trimming false lashes or shaping your brows, can have a big effect on how your face will look through the lens.
The reality is that cameras aren't as flattering as mirrors. A bit of unnecessary powder, unevenly applied eyeliner, and a tiny chunk of mascara are all far more visible in a picture. This is why having proper tools isn’t just recommended, it’s essentially mandatory. Consider them to be a bridge that will bring your appearance in the photos closer to the one you see reflected in the mirror.
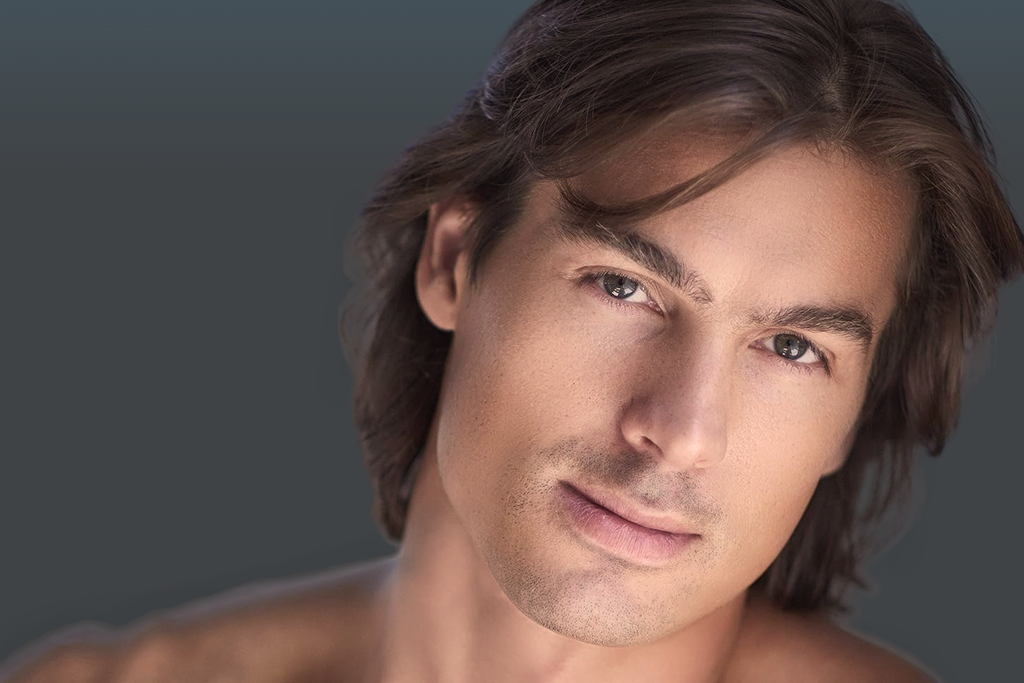
I get asked this often, and I think that the answer is – yes, but your approach here should be very different from a woman’s. You don’t have to apply striking eyeshadow or defined contouring, but basic makeup for photography can still do wonders to freshen up your appearance and make you look more attractive and refined.
Cameras can punish you for any flaw: a shiny forehead, a red area underneath the nose, or dark circles under your eyes can become a lot more pronounced under studio lighting. Even though proper male poses are great for highlighting personality and style, a bit of makeup helps present your face in the most flattering way possible.
A bit of powder can add a matte effect to the skin, a tad of concealer helps deal with under-eye shadows, and a little bit of brow touch-ups can help accentuate your eyes. The purpose of makeup for men isn’t to change your facial features, but simply to refine them.
Small changes like that can do wonders for improving the quality of male portraits, helping you produce crisp headshots and enigmatic wedding pictures, all without requiring makeup that looks too noticeable. When used sparingly, the makeup looks invisible while enhancing the quality of the photo and making men look as attractive as possible.
If you want to enhance your photoshoot makeup, a laptop is the most convenient tool for the job. A bigger screen will help you better examine the smaller details, and premium solutions like Adobe Photoshop or Lightroom also offer the best performance on PCs and laptops, providing cutting-edge retouching, color correction, and high-resolution export functionality.
I do believe that on-the-fly retouching on your phone is acceptable, but it will always be inferior compared to what you can do on a laptop. The accuracy of a mouse or tablet and the increased computing power make it a lot easier to make sure all your portrait pictures look perfect without losing their natural appeal.
Enhancing your photos on your phone is also a great option. If your photoshoot makeup ends up looking flawed, you can use an app to tweak the foundation, smooth skin, enhance the lipstick, or apply a bit of eyeshadow. It can't replace a professional makeup artist, but it can still be a very useful tool to have.
Mobile apps are the perfect solution for making edits on the go. Options like Facetune or YouCam help you soften rough lines, eliminate unnecessary shine, and make the eyes more pronounced in a matter of seconds. Even though the results you can get still can’t match professionally applied makeup for photography, these apps have all the features you need to deal with minor flaws.
The most important part here is to avoid over-editing. Aggressively applied filters make the portrait less authentic and can take away from your natural appeal. However, when employed sparingly, a mobile app is a handy assistant to always have at your disposal.
That said, if you don’t have the time or skills to do everything manually, the FixThePhoto app provides a convenient alternative: experienced retouchers can enhance the makeup for you, delivering natural and polished results with a quick turnaround.
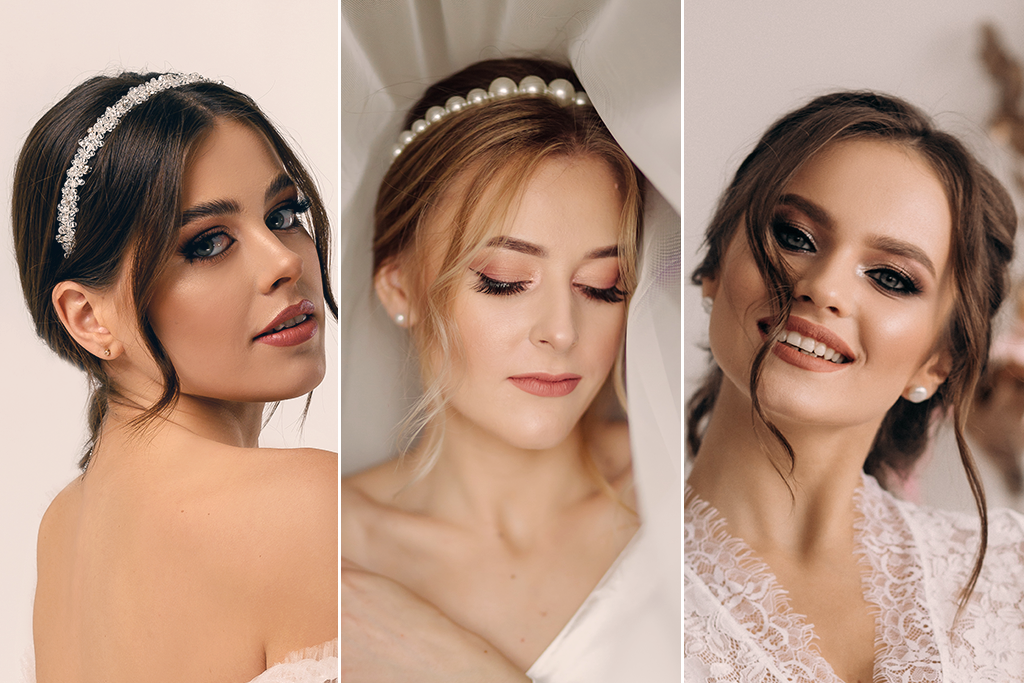
When it comes to wedding photoshoot makeup ideas, there are a lot of venues you can explore since it's just as crucial a component as the dress and bouquet. In contrast to your casual look, bridal makeup needs to stay on for hours on end, enduring tears, laughter, and often some wind too, while also withstanding the camera's flash.
This is the most demanding type of makeup a woman has to deal with, particularly if she hopes to take some timeless bridal portraits that will preserve their appeal for a lifetime.
Go Waterproof. The wedding ceremony and celebration are filled with emotions, be it tears, laughter, or just energetic dancing. This is why it’s essential to use waterproof mascara, smudge-resistant eyeliner, and durable foundation. They will make sure you look great from early morning till the end of the celebration.
Don’t Use Too Much Shimmer. Glittery or shimmery makeup might look festive in real life, but it often leads to unappealing shine in photos. I recommend using satin or matte finishes that reflect light in a more refined way. A diffused glow on your face looks flattering, while heavy sparkles tend to take away from your bridal beauty.
Keep Blush Visible. Cameras and powerful lights usually wash out color. A bit of extra blush in pink or peach hues will help account for that fact and ensure you look stunning during the entire day. When used properly, it won’t look overwhelming in person while significantly improving the quality of your wedding pictures.
Test the Look in Advance. I highly recommend giving your wedding photoshoot makeup a trial run. This will help you check how your makeup will look in other lighting conditions, how it holds up during the day, and make any necessary adjustments. It will also help you feel more confident when the actual wedding happens.
Pack a Mini Kit. Even durable makeup sometimes has to be refreshed midday. One of my go-to photoshoot makeup tips for brides is to bring a compact kit with lipstick, blotting papers, and powder. Such essentials will allow you to deal with shine, smudges, or fading lipstick color on the fly.

This collection of free Photoshop actions was made to speed up the makeup retouching process without sacrificing quality. They allow you to smooth skin while preserving its texture, improve lipstick color and shape, and employ dodge & burn to add depth to your facial features.
They can get rid of flaws like acne, redness, or faded makeup, while eyes, lips, and hair keep their sharpness and natural appeal. These Photoshop actions are ideal for beauty, fashion, or portrait photography, providing terrific results within a couple of clicks.
The perfect look strives to highlight your natural beauty while accounting for the caveats that come with using a camera. Matte products, well-blended foundation, subtle contouring, and emphasized eyes are a great fit for nearly all photoshoot scenarios.
Yes, by picking proper tools and taking your time, it's possible to create a professional look on your own. Make sure you don’t skip on any important steps like skin preparation, foundation, contouring, and eye definition, and remember to take test pictures with flash before the photoshoot.
Matte and satin finishes tend to look more flattering than glitter or shine. Some extra blush, properly-shaped eyebrows, and well-defined eyes ensure you look eye-catching and full of life.
Pick hues that complement your eye color, define the crease with a darker hue, and brighten the inner corners. Black eyeliner and mascara are great for framing your eyes, while false lashes can make you look more striking if that's what you're going for. If you don’t know how to handle blending or symmetry well, the FixThePhoto team can fine-tune and enhance your eye makeup during the retouching stage.
Not to the degree that women do, but some powder, concealer, and brow shaping can go a long way to make your portraits look more refined and classy. It's more about enhancing your existing features rather than trying out a completely new look.


