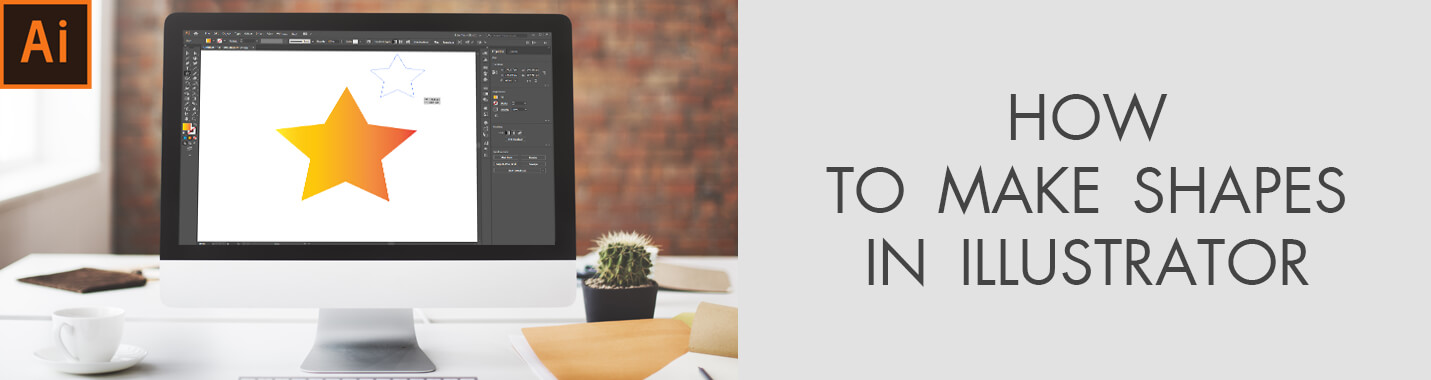
How to Make Shapes in Illustrator
When you purchase through affiliate links on our site, we may earn a commission. Here’s how it works.

Looking for a detailed guide on how to make shapes in Illustrator without experience? Below I have written all basic Illustrator shapes basics to give each novice user a chance to master this program and take advantage of its numerous features.
Following these instructions, you will manage to create various shapes in Illustrator, change their shape and color as well as group them. Follow the instructions and you’ll be able to create any shape you want.
Creating Basic Shapes in Illustrator
Illustrator offers many vector Shape Tools that you can use to make the most primitive shapes. At first sight, these instruments may seem too simple or elementary, but you should perceive them as a building “elements” for more complex constructions. If you haven’t installed it yet, download it without subscription right now.
Just examine any logo and you can certainly notice that it consists of several basic Adobe Illustrator shapes combined into one.
1. How to Draw Straight Lines in Illustrator

The Line Segment Tool provides the quickest way to draw 1 straight line at a go.
Step 1. Choose the Line instrument.
Step 2. Decide where the line should start and place the pointer there. Then drag it to the necessary direction in the ending spot.
The line you get is “Live” until you deactivate the Line Segment Tool. Therefore, you can change its length, direction and angle. It is also possible to rotate the line. Just move the pointer off an end and drag it.
2. How to Draw Rectangles and Squares in Illustrator

If you are interested in creating squares and rectangles in Adobe Illustrator, follow these steps:
Step 1. Click and hold the Rectangle Tool.
Step 2. Select it or press M on the keyboard.
Step 3. Drag diagonally until you are satisfied with the size of the rectangle. Hold down Shift, while dragging lines to get a square.
3. How to Draw Ellipses and Circles in Illustrator

Step 1. Click and hold the Rectangle Tool.
Step 2. Choose the Ellipse Tool.
Step 3. Drag diagonally and release the button when you like the result. To get a circle, hold down Shift while dragging.
- Check info on how to buy Adobe Illustrator at the cheapest price.
4. How to Draw a Polygon in Illustrator

Step 1. The first step is identical as with ellipses and circles.
Step 2. Select the Polygon Tool Illustrator.
Step 3. Drag to build the polygon of a proper size.
Step 4. Rotate the polygon by dragging the pointer in an arc. The mouse button must be held down.
Step 5. If you are wondering how to make a hexagon in Illustrator, to add or delete sides of the polygon, use Up and Down arrows correspondingly. While tapping them, the mouse button should be pressed.
5. How to Make a Triangle in Illustrator

While learning how to make triangles, you may feel a bit confused as there is no specific Triangle Tool. Anyway, you can use the Polygon Tool and just delete 3 sides to get a triangle.
Step 1. Repeat the 1 step from the above-mentioned instruction.
Step 2. Activate the Polygon Tool.
Step 3. Click in the area where you want to draw the triangle.
Step 4. There will appear a dialog box, where you should indicate the radius and the number of sides. This time we need 3 sides. Click OK.
Instead of typing the info in the dialog box, you can create a polygon and then use the “Down” Arrow Tool to reduce a number of sides.
6. How to Draw a Star Polygon in Illustrator

Step 1. Click and hold the Rectangle Tool.
Step 2. Find the Star Tool on the panel and select it.
Step 3. Drag and stop when you like the size. While constructing the start, you can rotate it by moving the mouse in an arc.
Step 4. The Up and Down keys help to add and reduce points of the star.

Step 5. To make a star more pointed – hold down Ctrl (PC) or Cmd (Mac), while dragging the pointer.
- View more Adobe Illustrator alternatives.
7. How to Draw Flares in Illustrator

We can hardly call the Flare Tool a common shape that we’ve used to. Still, it is very handy to use whenever you want to mimic the flare that appears on a camera’s lens.
Flares consist of center and end handle. Use them to direct the flare and its rings. The center flare is the starting point of the flare and its brightest part.
Step 1. Choose the Flare Tool.
Step 2. Start dragging the flare and repeat the action multiple times to get a striking result.
8. Creating Precise Shapes in Illustrator
In most cases, when you use the Shape Tool Illustrator, you don’t know the exact size of the shape and match it to other figures by eye. But the program offers you the possibility to be more precise with the shapes you get. Let’s learn how to do it with a rectangle as an example.
Step 1. Choose the Rectangle Tool on the panel.
Step 2. Don’t drag the shape but click one on the canvas.
Step 3. There will appear a dialog box with the “Width” and “Height” fields to fill in. Indicate the necessary values.

Step 4. Click OK and the 100x150 rectangle will appear on the board.

How to Make Complex Shapes in Illustrator
This involves merging several simple shapes, or removing some elements from the composition. Just mind, the more basic shapes you use, the better result you will get.
9. Combining Shapes in Illustrator
If you have an idea for design that requires grouping several simple shapes, follow these steps:
Step 1. Select the Shapes

Use the Selection Tool to select the shapes you are going to combine.
Step 2. Combine with the Shape Builder Tool

Click on the Shape Builder Tool Illustrator icon. Drag across the shapes to group them. You can achieve the same result by pressing Alt (Windows) or Option (Mac) and dragging across. Click the elements of the shape if you want to delete them.
- Find out more about Adobe Illustrator free trial.
10. Breaking Apart Shapes in Illustrator
If you have faced the necessity to break apart or delete parts of the overlapping shapes, follow these instructions:
Step 1. Select all the shapes
Make use of the Selection Tool to select the shapes for grouping.
Step 2. Use the Shape Builder Tool

Activate the Shape Builder Tool Illustrator 2019, and click any part of the composition you want to get rid of. Don’t worry if none changes are visible at this stage, they will appear later. The complex shape is now divided into 2 individual parts.
Step 3. Delete the unneeded part

Press Alt (Windows) or Option (Mac) and click/drag across any part to remove it. That’s it!
11. Adjusting Shapes in Illustrator
Adjusting shapes in Illustrator doesn’t pose any difficulties. Just remember:
To move a shape you need to drag the point in the center
To resize it, drag any bounding box handle (press Shift while dragging to get an equilateral shape
To change proportions – drag a cornet handle in any direction. Use the top and bottom handles to regulate the height and resort to side handles to set the width.
To rotate the shape – move the cursor sideways from any handle.
To draw a shape from the center hold Alt (Windows) or Option (Mac).
- Learn how to find Adobe Illustrator torrent?
12. Coloring Shapes in Illustrator
The process of coloring a shape is very simple.

You need to choose stroke and fill color for your shape. The fill color means the color of the inner part of a shape, while a stroke presupposes its border.
Color Picker at the Top

Have a look at the upper left corner of the screen. There you can find a color picker with the most frequently-used colors. So, app the basic colors are presented there.
Step 1. Select the shape
Check whether the shape is selected. Click on the black Selection Tool (V). Click on the shape to select it.
Step 2. Click on the Fill or Stroke Color pop-up menu

Select the Stroke/Fill Color by clicking on the corresponding icons. There will open a swatches panel, where you can find a suitable color. It is up to you to decide whether the stroke color should be changed, but if you need to define the sides of the shapes in Illustrator, you’d better do it.
Typically, the stroke is 1pt thick only. When you fill the inner part of the shape with a certain color, the stroke may become invisible. To define it, alter the weight.
Color Picker in the Toolbar

If you are aimed at the more profound coloring of the shapes, you’d better the Color Picker in the Toolbar with more options to choose from.
Step 1. Select the shape
Repeat step #1 from the previous paragraph.
Step 2. Double-click the Fill or Stroke color box
Click on the Fill/Stroke box or both.
Step 3. Select the Hue
Drag the rainbow slider up or down to choose the color range. The round marker on the left affects the intensity and brightness. Click OK when you like the result.
Mind that deleting fill or stroke color is a quick operation. You just need to click the None button indicated with the red line. To interchange the fill and stroke colors, press X or click the double-headed arrow.


