Interested in learning how to make a watermark in Photoshop? Adding a watermark is one of the most effective ways to protect your photography. Nowadays, many people share their digital photography content on the web to hear feedback from other users, develop their skills and get acquainted with their colleagues. But you never know who might want to steal your shots.
That’s why you need to add a Photoshop watermark, which isn’t a difficult task. It is possible to apply a text-like watermark, image or logo one. I will go over each option in detail.

A text watermark is a simple sign that may include words (photographer’s name, website, picture title) and specific symbols, such as a copyright one. You may add it to your photos with the help of Ps action above and make batch watermarking in Photoshop faster.
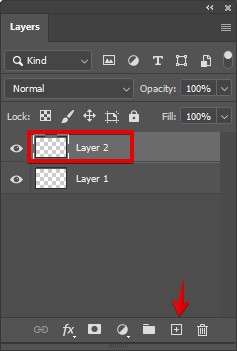
Firstly, import a shot to Photoshop. Find Layer > New > Layer and give the newly created layer the name “Watermark”. Then click OK.
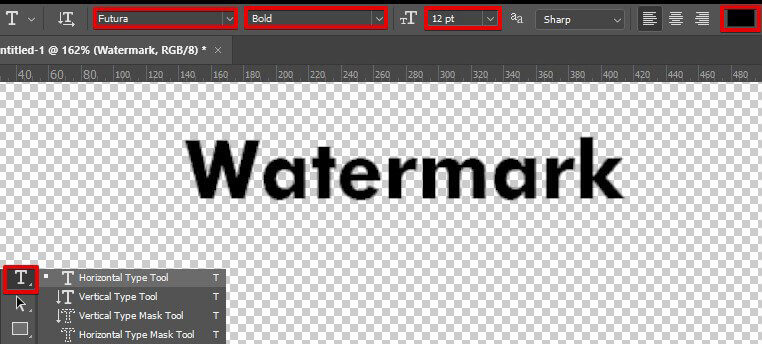
Select the new layer and pick the Text tool. Click on any part of the shot and type in the copyright notice. Don’t be in a hurry to regulate the size, font, color or position – you will do it a bit later.
In case you wish to insert specific characters (like the copyright symbol) in the watermark Photoshop, do it via Mac OS X’s Character Palette (Edit > Special Characters) or the Windows Character Map (Start > Programs > Accessories > System Tools > Character Map). You can add the copyright symbol manually, via the shortcut. Just hold Alt and type “0169” on the numeric keypad (for Windows) or press Option+G (for Mac OS X).
Pick the Text tool and highlight the copyright notice. Regulate the font and its color according to your preferences via the toolbar. Feel free to regulate the font size as well, but it isn’t so necessary since later you will resize the watermark.
When picking the color for the text, I suggest sticking to neutral shades like black or white. It all depends on what color of the text is more pronounced in the shot. A 50% gray (RGB 128, 128, 128) is also a nice option.
I advise locating a watermark on a part with more or less even color where it isn’t overlapping with the main subject of the picture. Placing a watermark in the corner is a good choice. If you wish to make the watermark stand out more, you can choose a less common part of the photo.
To rotate or resize the watermark, take advantage of the Free Transform tool (Cmd+T on Mac, Ctrl+T in Windows). While resizing, it is necessary to hold down Shift to limit the proportions of the text and prevent it from losing its shape.
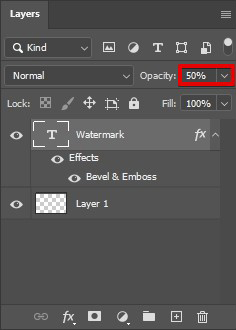
Now that you managed to make a watermark in Photoshop, you may notice that it looks a bit out of place. To fix it, regulate the opacity of the layer – values from 30% to 50% are optimal ones.
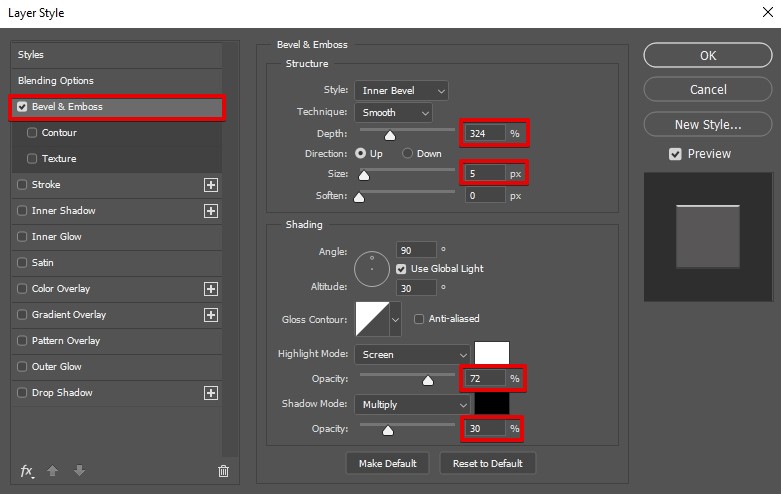
If you wish to further enhance the watermark’s text, try applying effects to it. The Bevel and Emboss effect looks great and may help you separate the watermark from the background in some shots. Remember not to go overboard with effects. A minimalistic watermark blends into the shot easier and doesn’t distract attention.
When making a watermark in Photoshop out of the logo, firstly, you will have to remove its color. Open the initial file with the logo and convert all the elements to white, black or gray shades.
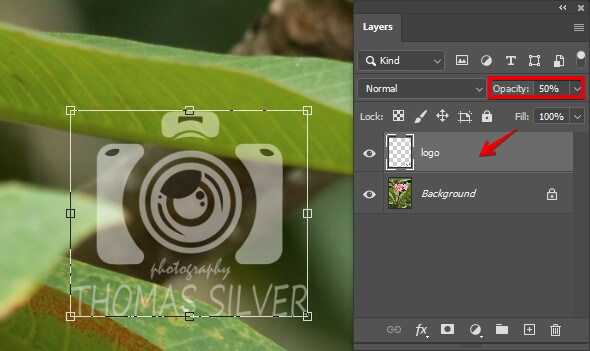
Import the logo image to Photoshop, copy and paste it on the shot that requires watermarking. Regulate the logo’s size and position if you need to. Select the logo’s layer and switch the blending mode to “Darken”. As a result, the white background won’t be visible, you will see only the grey and black parts. Don’t forget to regulate the layer’s opacity for the optimal transparency of a watermark.
In this case, I like the watermark in white color rather than the black one. To alter the color, create a new “Invert” adjustment layer by clicking Layer > New Adjustment Layer > Invert.
Make sure that the Invert layer is positioned straight above the logo layer. Select it, hold Alt/Option and click on the line between the two layers. This results in the combined layers and the inversion of the logo only, instead of the whole shot.
Now select the logo layer and switch its blend mode into “Lighten”. If you have done everything correctly, you will get a light logo as in the example below.
Also, you can create a watermark in Photoshop out of colored logos. However, it may not go well with other colors of the shot and not be so distinct. A regular black and white logo is the best possible variant in most cases.
When you have figured out how to make a watermark in Photoshop and successfully created one, it is time to save it as a separate file. Doing so, you will be able to apply it over and over again and won’t need to make it from scratch for each shot.
To simplify the entire process as much as possible, you may produce a Photoshop watermark action. With its help, you will add a watermark to one shot or a number of shots simultaneously in a matter of seconds. Additionally, if you ever need to remove a watermark, you can remove the watermark from a photo online for free, ensuring the flexibility to adjust your images as needed while maintaining their integrity and originality.
Now that you know how to create a watermark in Photoshop without making it too distracting, there is one more thing you should remember. A watermark doesn’t stop all people from stealing your shots. However, someone may decide not to do it when he/she sees a watermark.
The recommended file formats for watermarks in Photoshop are PNG or PSD. These formats preserve transparency, ensuring your watermark integrates seamlessly with your images.
Yes, once you've created your watermark in Photoshop, you can save it as a reusable template or preset. This allows you to apply the same watermark easily to multiple images.
Yes, Photoshop provides options to adjust the transparency of your watermark, allowing you to make it more or less visible. Additionally, you can experiment with blending modes for different effects.
Yes, Photoshop provides a wide range of font styles, sizes, and effects to choose from when creating text watermarks. You can customize the appearance to match your brand or personal preference.