Use this step-by-step guide on how to export video from Premier Pro once you’re done editing it, how to choose the correct codec, and later upload the exported video to stock websites, YouTube, and other platforms without any issues.
Even though learning it isn’t particularly difficult, understanding all the available export settings in Premiere Pro will save you a lot of time in the future.

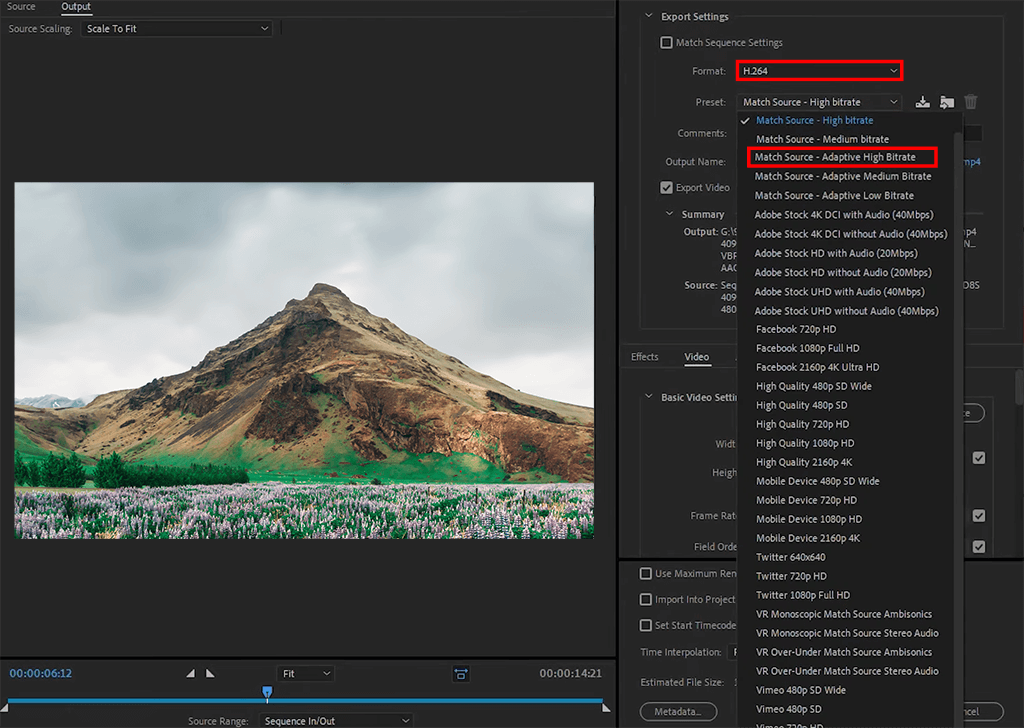
When you’re finished editing your video, have done the necessary color correction, prepared the audio track, and are ready to export your project from Premiere Pro, click on “File” > “Export” > “Media” to access the dialog window that you can see in the screenshot above. Alternatively, you can use the “Ctrl + M” hotkey combination.
(Optional) In the “Export” window, specify the range of the video or the clip sequences that you want to export. Move the appropriate markers around the timeline and then set the beginning and end points as you see fit.

When browsing through the different export video Premiere Pro parameters, choose “H.264” as the Format and “Match Source: Adaptive High Bitrate” as the Preset. That should be enough for most cases.
You can also adjust more specific settings for your videos. For instance, if you plan to upload the video to YouTube, I recommend using such parameters:
Such settings can also be used for exporting the video into most third-party applications, for instance, if you want to add some special effects in After Effects.

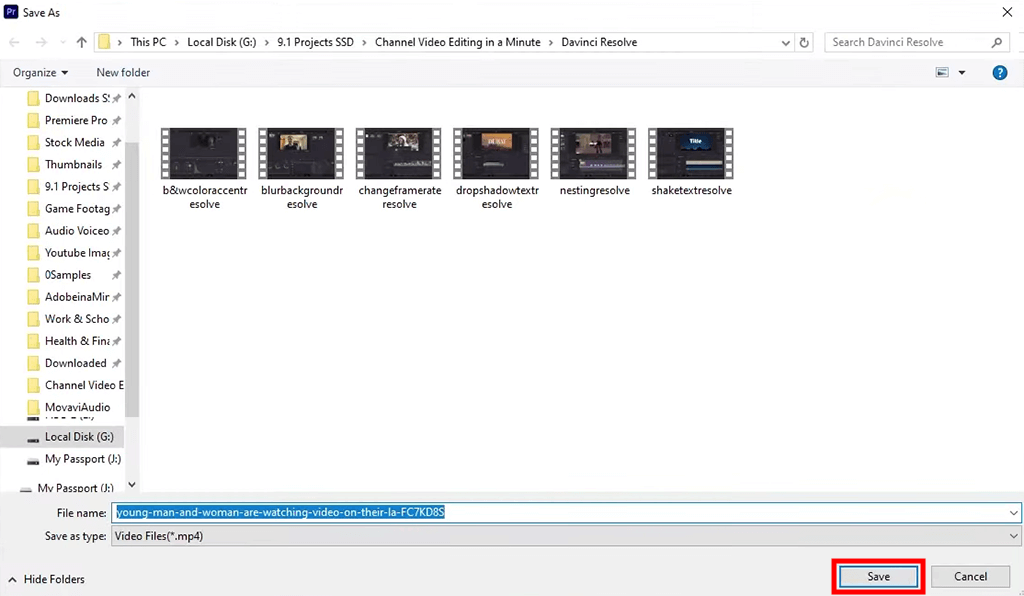
To choose the name and destination of the file, click on the blue file name to open the "Save As" window. Now, select the desired folder, type in the name for the new file, and press "Save".
You can skip this step and then the video will be saved to Premiere Pro's default folder.

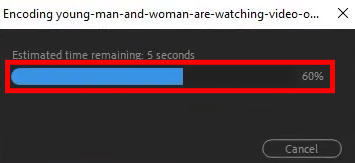
Once you’re happy with the settings and are ready to start exporting video from Premiere Pro, click on “Export” and wait for the process to finish.
If you didn’t change the default export folder, then the best way to find saved projects or exported files is by searching the catalog. If it’s your first time using Adobe Premiere Pro, you can search for the file by name. Another option is to go to “Documents” > Adobe > Premiere Pro > Version number (For example, 22.0). Your file should be here.
Premiere Pro allows importing and exporting videos in 8K quality while using any codec you need. Users can also take advantage of the built-in Adobe Stock functionality to access HD clips, images, audio files, and other assets.
No, 16GB of RAM is enough to provide stable performance for 1080p-4K 8bit rendering while also having some other software run in the background but nothing more than that. Meanwhile, 32GB of RAM can sustain a heavier load when editing videos simultaneously using applications like Adobe Stock, and After Effects to enhance your videos with VFX. To edit 8K footage in 10-bit or higher, you'll need at least 64GB of RAM. I should mention that Adobe Premiere is a resource-intensive software so if your PC can’t handle it, then you should check out relevant Premiere Pro alternatives that can sustain 4K and 8K rendering without killing your system.
It seems like you’re using an outdated version of the editor. Launch Premiere Pro and go to Help > About. You’ll be taken to the version window. If the version is lower than 20, update the software.
Yes, if you’re using a free version of Premiere Pro, you have access to all of its features without any restrictions or watermarks.