
Exporting/importing your entire WordPress Media Library is fairly straightforward and can be achieved using WordPress’s built-in export/import tool, FTP or other file management tools that allow you to work at the file-folder level, or a plugin specifically designed for this purpose
On the other hand, exporting and importing images in website builders for photographers such as WordPress along with their specific posts, pages, etc., can present bigger challenges, especially on the import side.
To demonstrate techniques, we’ll use the WP All Import/Export plugins. If you want to follow along but don’t own these plugins, you can use WP All Import online sandbox. Just choose the ACF Fields option and click the Create Sandbox button.
Note, we’re only using the ACF Fields version of the sandbox because it happens to contain sample posts with multiple images, but the exact same techniques can be used for WordPress pages, users, etc., as well as any custom post types.
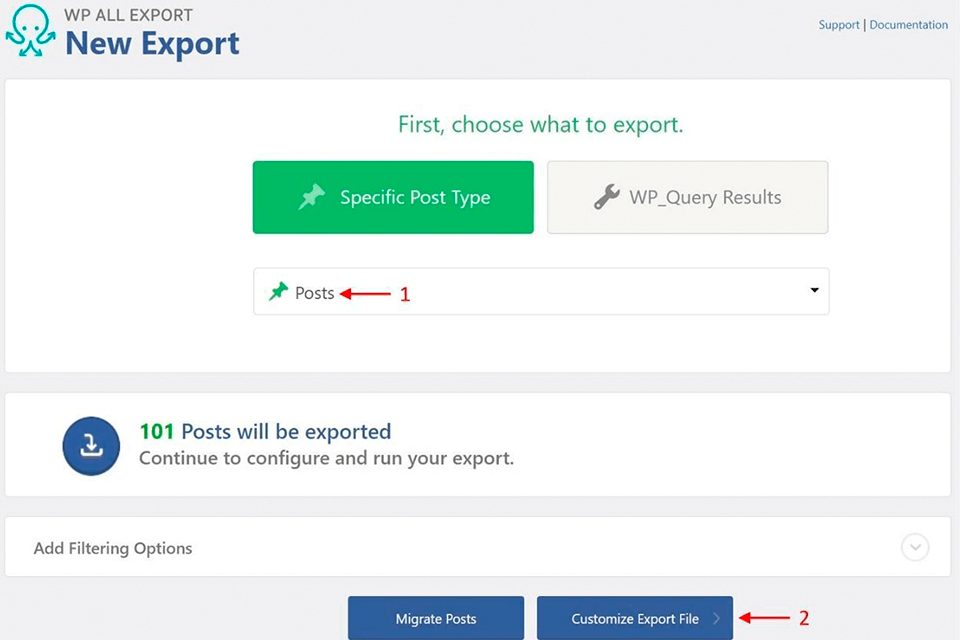
To export images with their associated posts, go to All Export > New Export and select Posts.
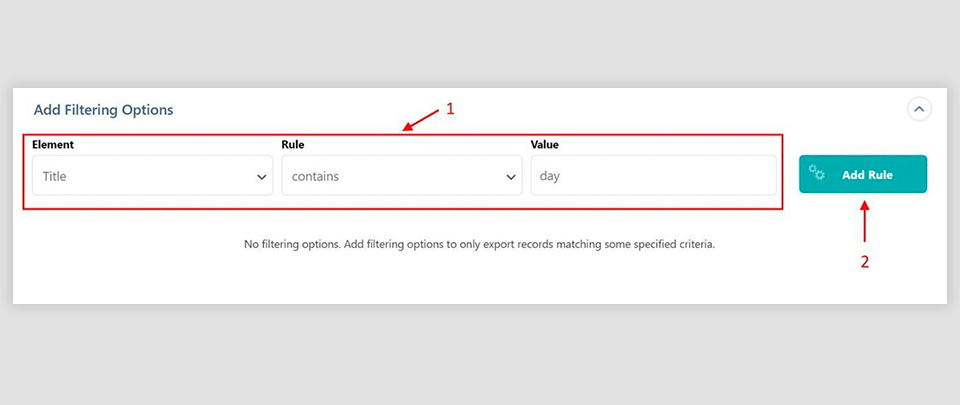
If you want to export specific posts, expand the panel above the blue buttons. To create a filter rule, you must select or provide an Element, Rule, and Value. In this case, we’re asking to export posts with the word “day” in the title (most of these are movie titles).
To apply the filter, you would normally just click the Add Rule button. You can also repeat this process to add as many filter rules as you wish.
However, in this case, we’re going to skip this step and export all posts.
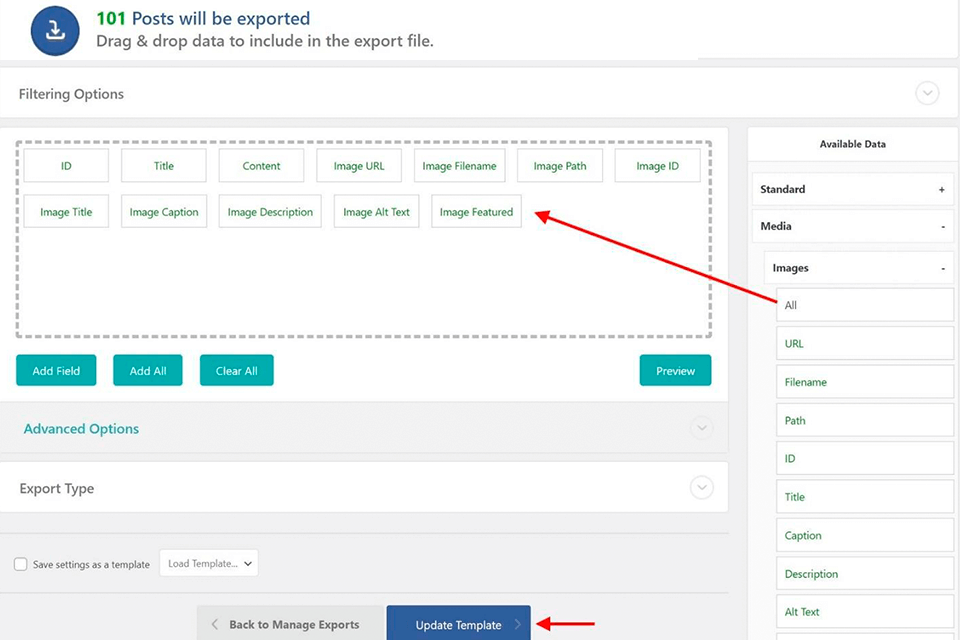
After you click the Customize Export File button, you will see the Drag & Drop screen.
This screen is where you choose the data columns to include in your export. The available fields are displayed in the Available Data panel on the right. These fields are organized into subsections, which you can expand or collapse as you wish.
The image data is in the Media > Images subsection. This includes everything that you would expect for images in portfolio website builders such as WordPress:
To include a field in your export, just drag and drop it into the column selection area. Alternatively, you can select all the fields in a subsection by dragging and dropping its All element, as we have done in this example.
Once you’ve selected the Images fields, click the Continue button. This will bring you to the Export Settings screen.
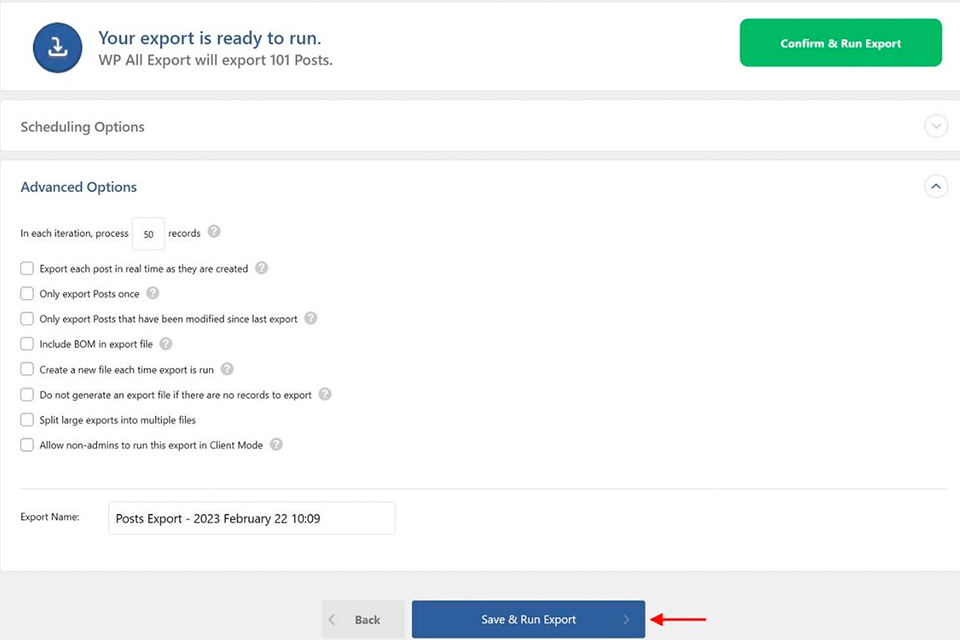
There are a number of scheduling and advanced options on this screen, but let’s skip over these for now and click the Save & Run Export button at the bottom.
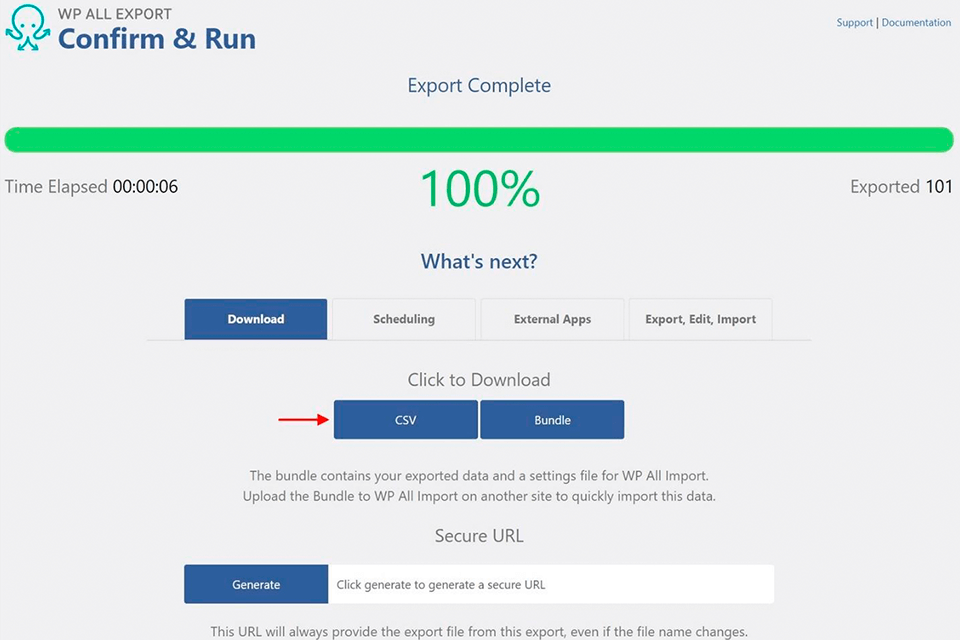
Click the CSV button. You can change the export type to XML or Excel earlier in the process; the label for this button will change accordingly.
Note: the single post titled “The Man Who Loved Yngve” in the above image has multiple image URLs associated with it, each separated by a pipe (“I”) character.

If you edit this post and scroll down to the Example Group section, you will see that it does indeed have four images associated with it, albeit “dummy” images.
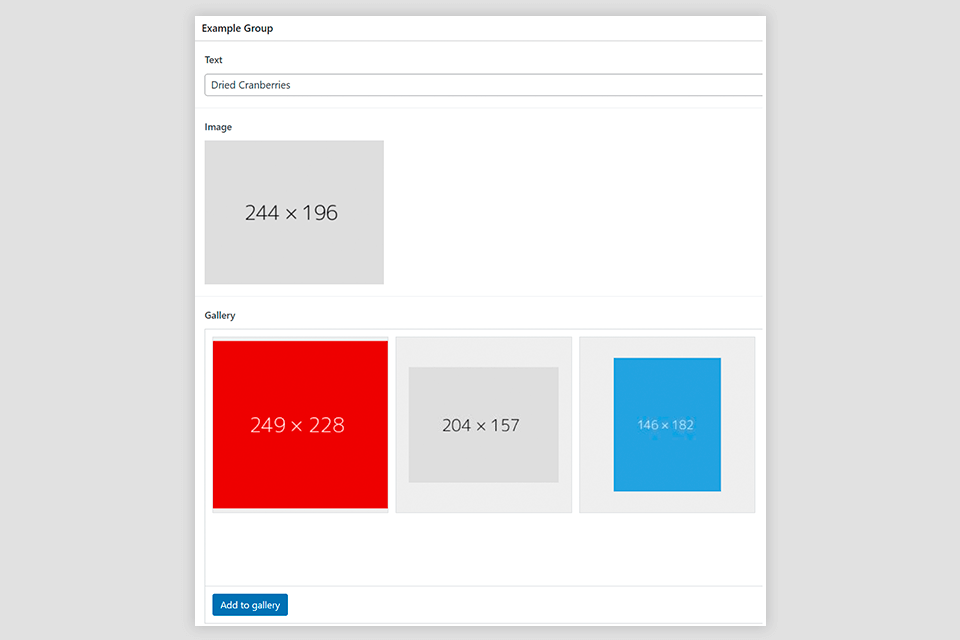
Whether one post has four images and another has two, etc., won’t matter. They’ll just be exported with the designated separator between them, as shown in the sample data.
You can also change this separator. Back in the Drag & Drop screen, double-click the Image URL field to open up the Edit Export Field form.
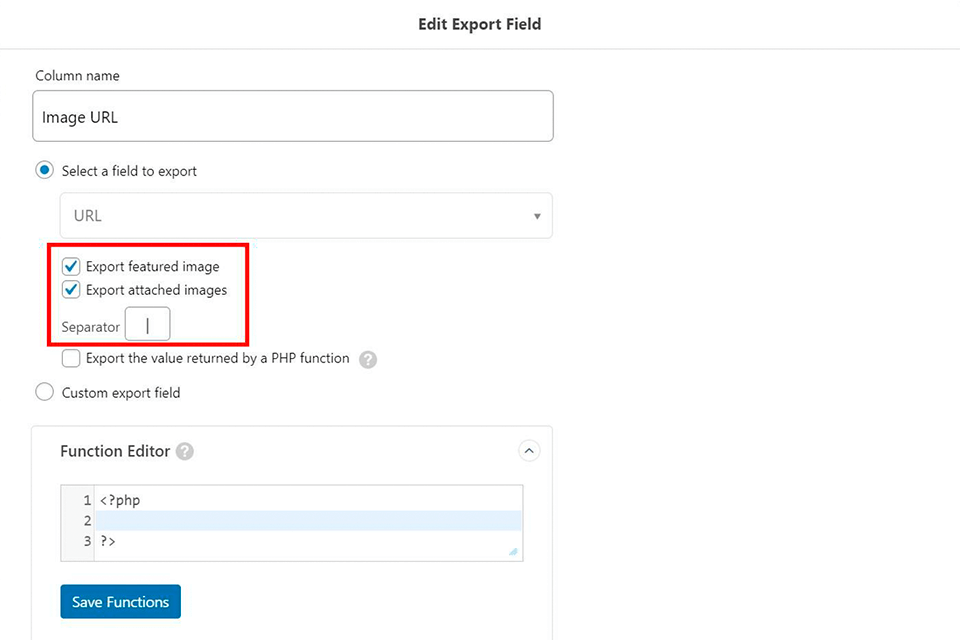
Note how this WordPress plugin for blogs, ecommerce and corporate websites recognizes that this is an image-related field and gives you not only the option to change the separator but also whether you want to export just the featured image, attached images, or both.

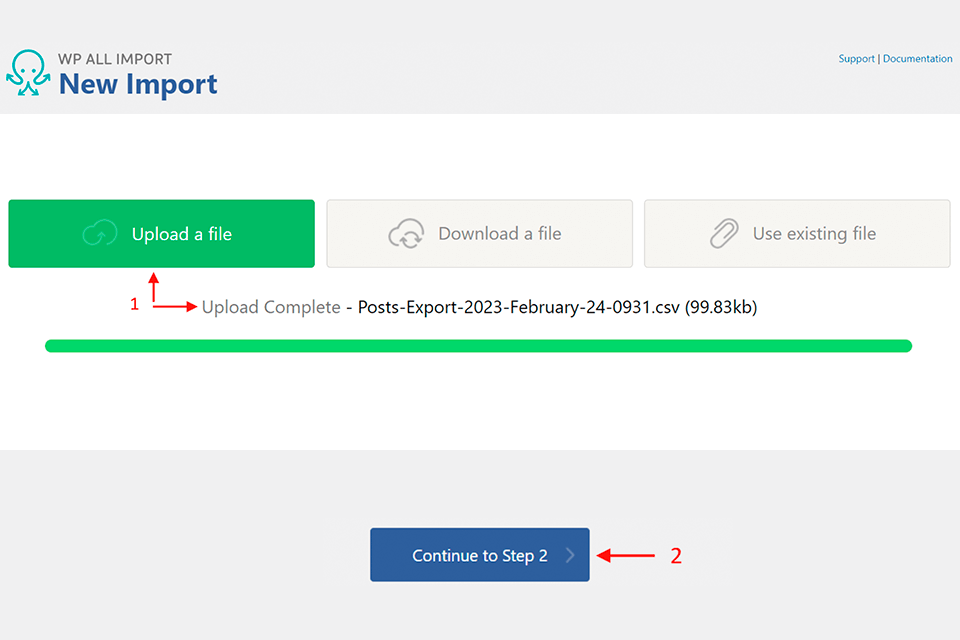
Go to All Import > New Import. Then upload a file. For this example, upload the file that you just exported.
Select Posts as the post type and click Continue to Step 2.
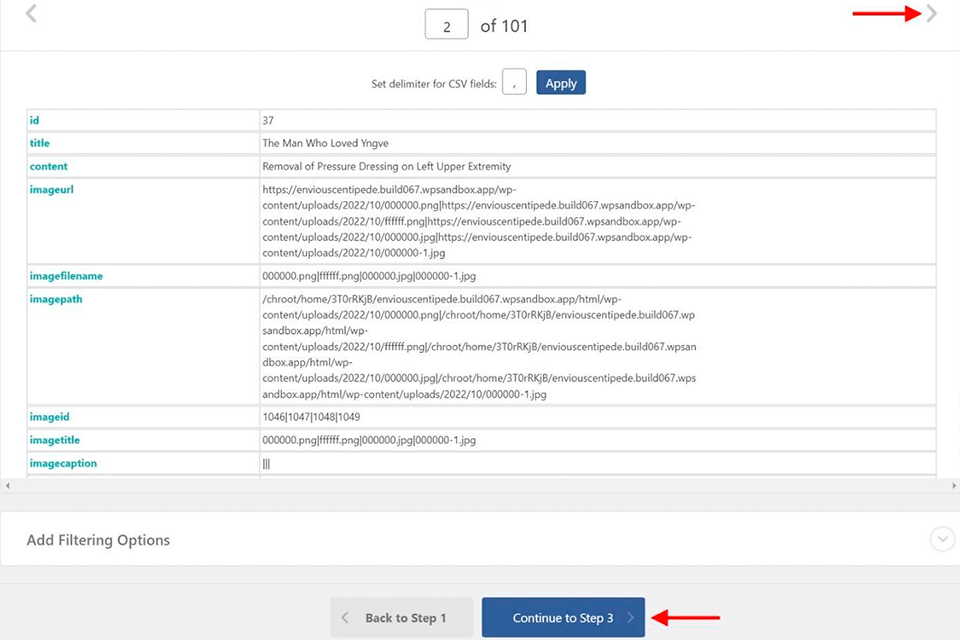
This brings you to the Review Import File screen. Because the first post in our export is the “Hello World” post, which doesn’t have any images, click the gray navigation button in the upper-right quadrant of this screen to view a post with image data.
Most times, you don’t have to take any actions on this screen. Its purpose is to verify that the import file has been correctly interpreted. Because it appears to have done so, simply click the Continue to Step 3 button.
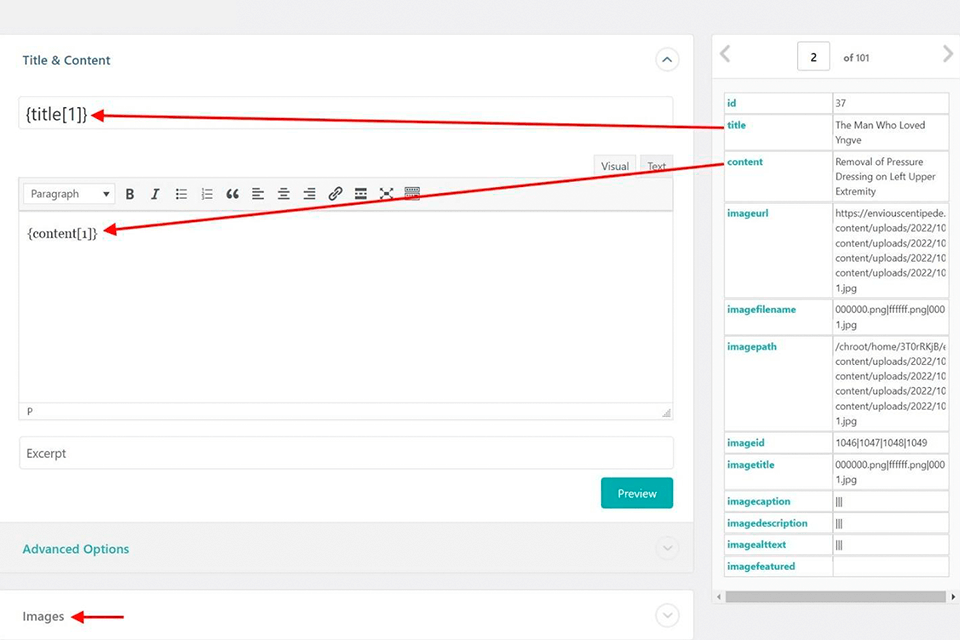
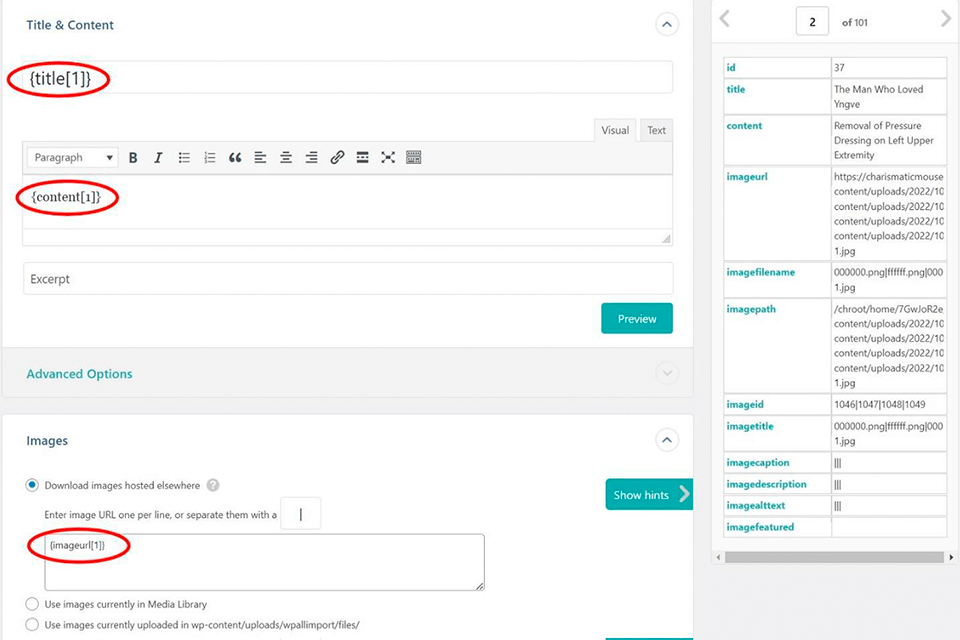
This brings us to the import version of the Drag & Drop screen. The main purpose of this screen is to let you tell WP All Import how to map the incoming data elements in the import file to the target database fields in WordPress. As you can see above, we have mapped the incoming title data element to the Title field, and the incoming content element to the Content field.
Don’t be reassured by how well the names of the incoming data elements match the names of the target fields. That’s because we’re importing data that we just exported from WordPress.
If you receive an import file from a non-WordPress data source, the names of the incoming data elements could be anything, so you will need sufficient knowledge of that file’s structure to perform an import.

In this particular case, we are more interested in mapping image data, so collapse the Title & Content panel and expand the Images panel shown at the bottom of the preceding image.
The challenge here is not the mapping part, which involves only the image URL data element. It’s configuring the settings. Let’s walk through them one by one.
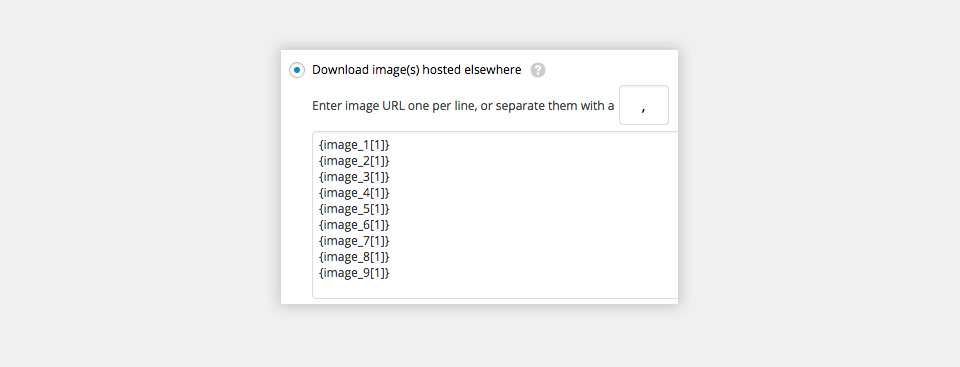
In the top section, you have three choices for the source of your images:
This covers all your possible image sources because you’re either importing images from another server or they’re already on your server in one form or another.
The Image Options section contains the following settings:
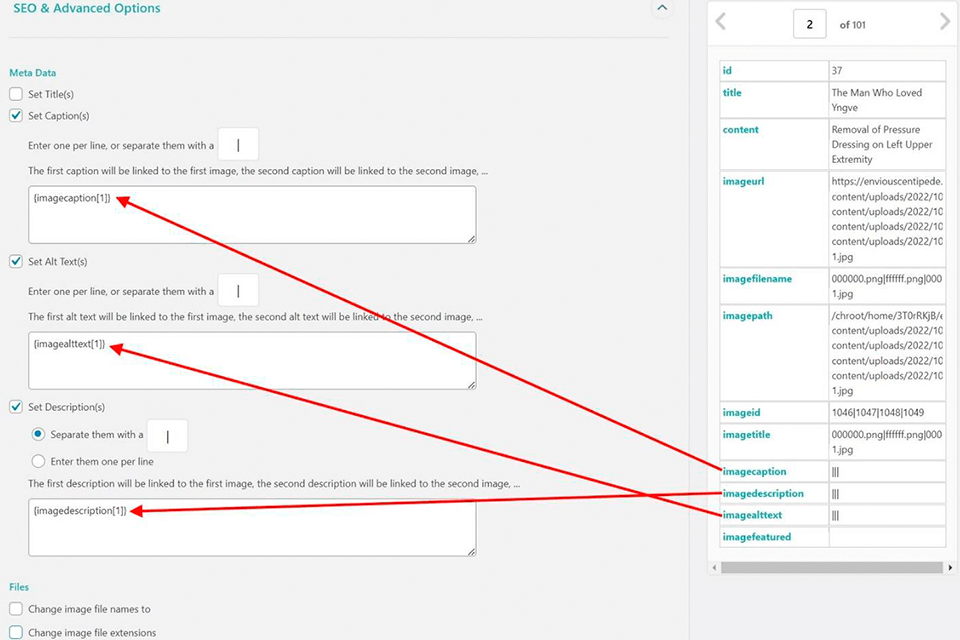
The rest of the image fields are addressed in the SEO & Advanced Options section at the bottom of the Images panel. To fill them out, you may need SEO software or other tools.
As long as an import file uses one data element to store its images and a consistent character to separate multiple images, it won’t matter if a post has zero, two, or many images.
However, that’s not the only way to store multiple images per post. What happens if image URLs are stored in multiple incoming data elements, typically one image per element? Fortunately, WP All Import will ignore any blank values, so you can just map all the image URL elements to the same target field and let the plugin sort it out.
What if your import file is an XML file that stores image URLs as child elements of a parent element? WP All Import has some code snippets to loop through that kind of structure and parse out individual images.
If you need to change the Alt Text fields for hundreds of images, you can, of course, do this one by one through the WordPress interface. But if you’re going to be making similar changes to groups of images, it would be much easier to do this in a spreadsheet, where you can use search-and-replace, copy-and-paste, etc.
This by itself is not challenging. You can easily open a CSV file in any spreadsheet software. The challenge is getting the changed data back into WordPress by correctly mapping the fields and configuring the import options. Fortunately, WP All Export records your previous exports and then gives you the opportunity to re-import the same file, changed or not.
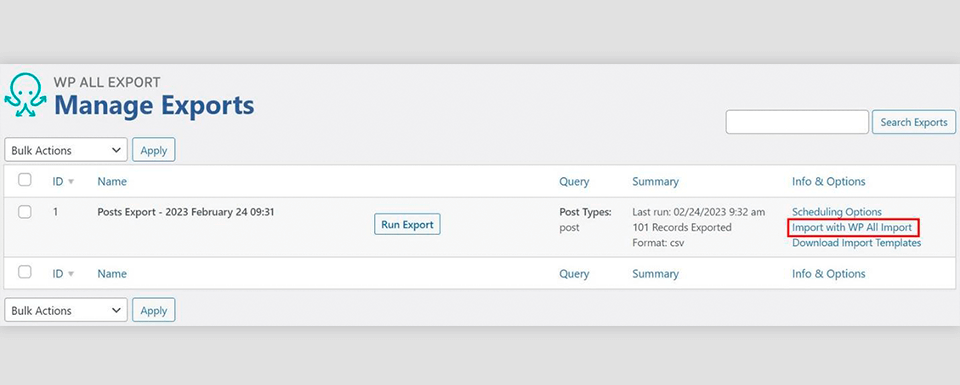
Step 1. When you click the Import with WP All Import option on the right, you are immediately thrown into the New Import screen.
You still must select your import file (in case you changed the name), but the structure of that file is presumed to be the same as the structure of the export file. Click Continue to Step 2.
Step 2. Clicking Continue to Step 2 not only throws you immediately into the import Drag & Drop screen. It also creates all your import mappings for you.
From this point, you can just hit the various Continue buttons until your import is complete, and your changes will be automatically applied.
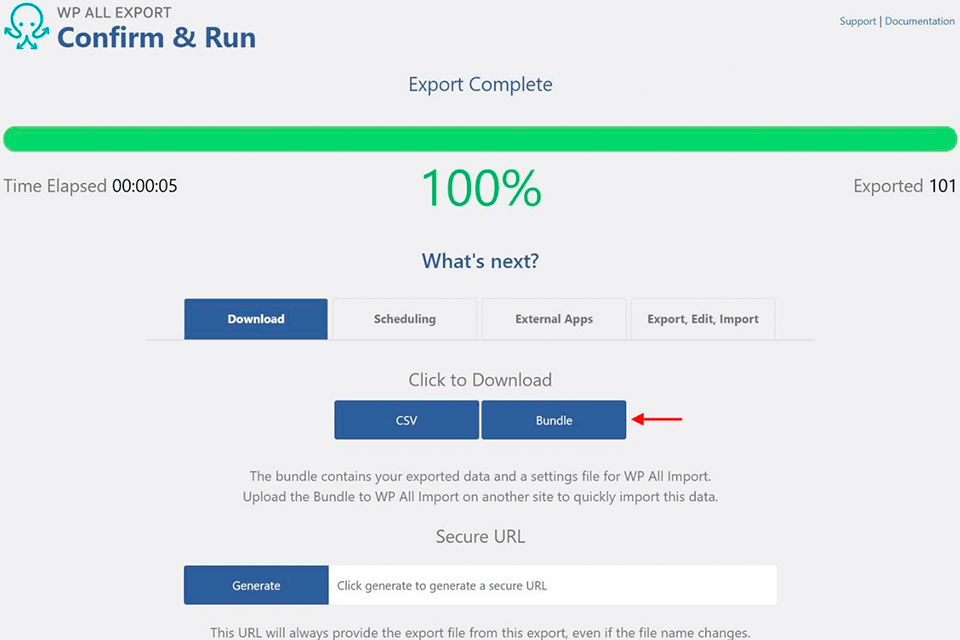
The ability of WP All Import to understand the structure, mappings, and settings of an export file is not limited to the bulk edit process. WordPress developers and other experts can use this same feature when migrating images from one WordPress website to another.
All you need to do is choose the Bundle option instead of a CSV (or Excel or XML) file from the source site.
In addition to the export data, the bundle file includes an import template that contains all the mappings and settings that WP All Import needs to import the data into another WordPress site.


