This is a step-by-step guide for you to understand how to create and use Adobe Creative Cloud color libraries. I will show how to manage different assets in order to create libraries and then use them in any Adobe software.
I will shed light on such processes as making core design assets for different projects, managing them, and sharing them with others.
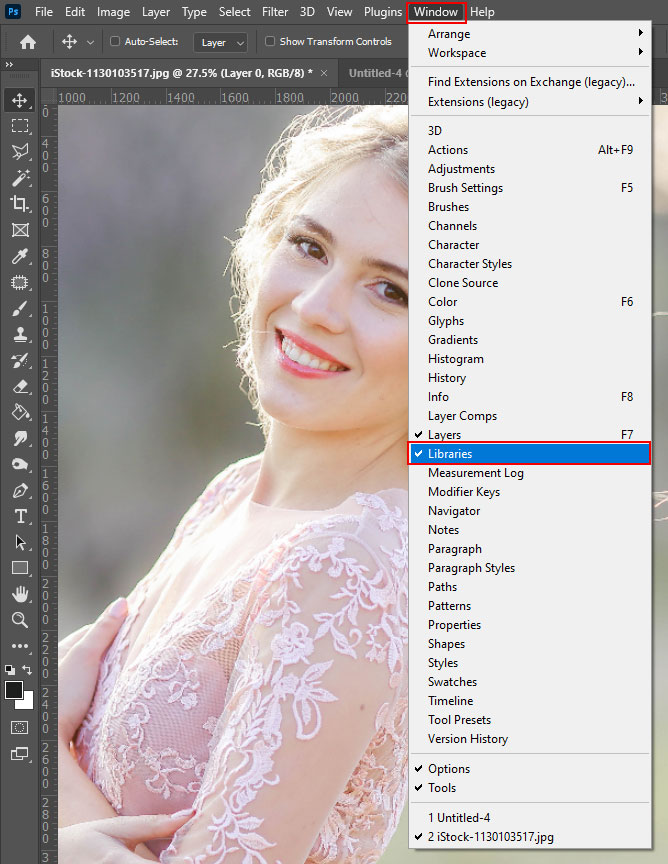
Creating a Library in Creative Cloud is easy. First off, launch the program and open the Library tab on the left or click Window > Library. Typically, all Adobe programs have a similar interface and tool layout, so you won’t experience problems while working with libraries.
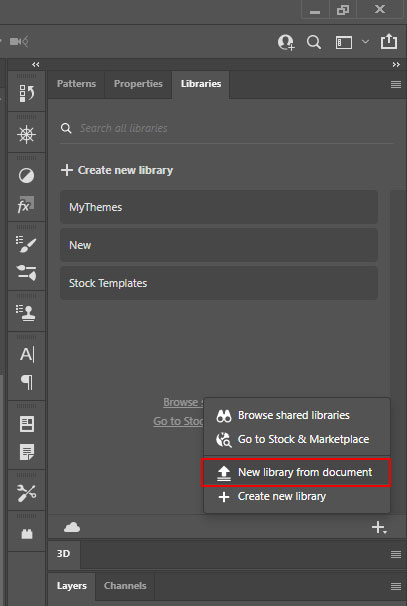
When making a library, you can use your brand guidelines, projects, or asset types as a basis. To upload a third-party library, choose New Library from Documents.
If you want to create your own library from the ground up, click Add Content button (+) in the lower part of the Library panel. There will appear a contextual menu, where you can add anything available on the selected layer. To do that, tick the Foreground Color checkbox > Add button.
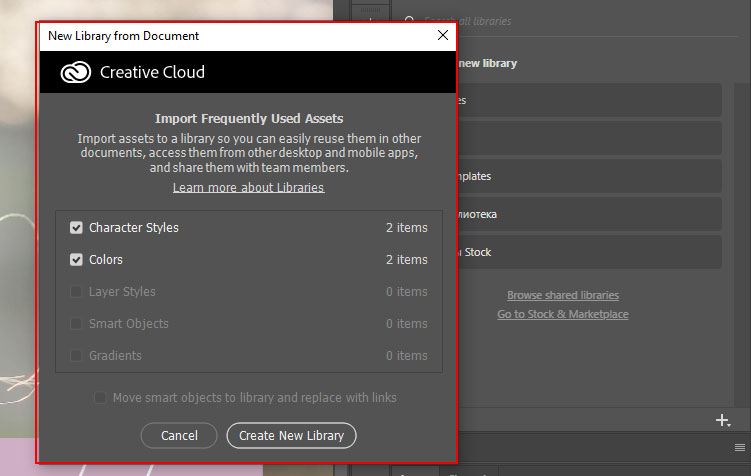
Check Colors and Character styles boxes in a new window. Thus, you will import only the necessary elements to your library. Enable synchronization between all libraries so that you can access them from any device and program.
This is one of the most efficient Creative Cloud tips for designers who frequently switch from one device to another while working.
Now, you can add new elements to the library, by clicking the “+” button.
Head to the Left navigation bar and choose Libraries. Click the element you want to add to your canvas. To move from your СС libraries, those shared with you, and public ones, you can use the drop-down tool.
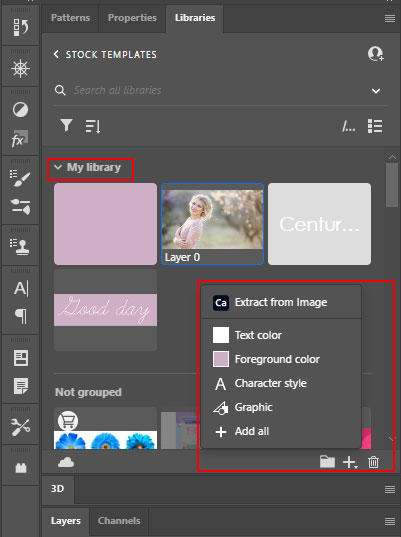
You can completely disassemble an image for your library using the Extract from image command. For example, you can add only color to change background color in Photoshop or any other app.
Later, you can click the Share button to generate an invite link and show your work to other people. Besides, it is possible to add a comment or specify the permission level – whether other users can view, edit, or even share your libraries.
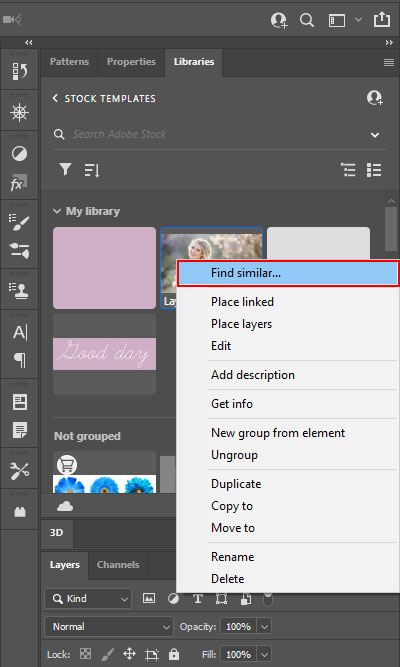
In the drop-down list, you can choose whether you want to navigate your current library or all libraries connected to your Adobe account. You can also launch a search by similarities. For asset management, you need to return to the Library tab. There you can rename and delete your files.
They are actually like standard folders where you can arrange and save your projects, clients, and team for quick access from any CC app.
There is a special panel called the Libraries or CC Libraries on Adobe desktop programs. All files synced to CC Libraries are stored there. Please, don’t confuse it with CC online storage.
Surely, you can output a whole library or its elements.
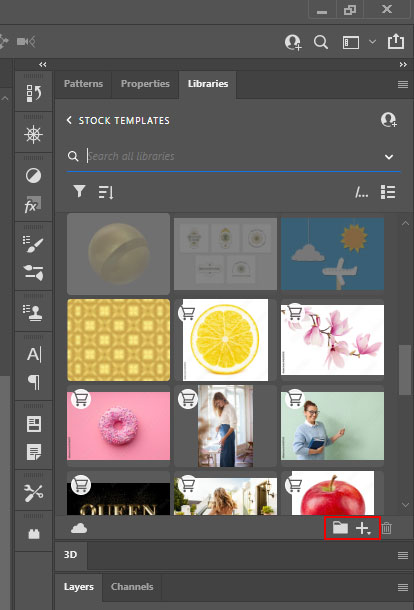
Users can browse and add free public libraries from the CC desktop software and then add them to their projects.
Open the CC app you usually use. Create a new library taking the steps described above, name it, choose the team, and set the access level.


