In case you need to utilize an SD or microSD card, make sure to format it first. While you might have noticed that many of them come pre-formatted, it’s still recommended to format SD card on Mac upon receiving it.
If you want to ensure that your card has SD Association specifications, it’s crucial to select the right file system for formatting it. Due to this, you won’t have any camera compatibility issues.
Some Mac devices have an integrated SD slot. If you own such a Mac, you just need to put your SD card into this slot.
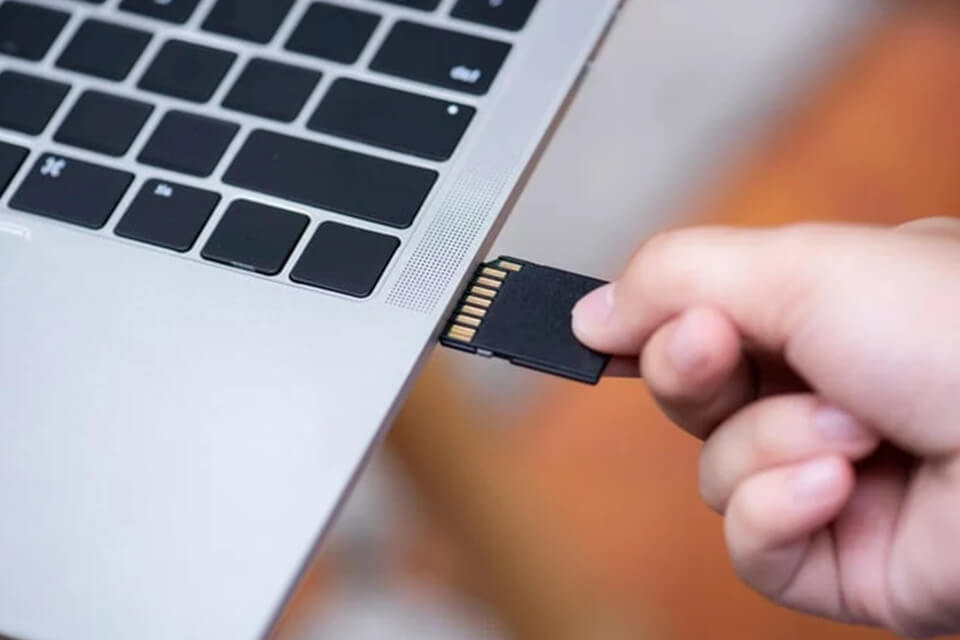
In case your Mac comes without a dedicated SD card slot, you can utilize a memory card reader. Such devices can be connected to a PC or a laptop with a USB port. Alternatively, you can check if your camera can be used as a memory card reader when you connect it to your laptop. Keep in mind that only some camera models can be used like this.
If you need to format a microSD card, just put it into an SD adapter cartridge. Usually, microSD cards are shipped with it. Then, connect a cartridge to your computer. Some people prefer utilizing a USB SD card reader.
Owners of the recent versions of Mac should be aware that their computers are fitted only with Thunderbolt ports. If you have a new Mac, you might need to use a Thunderbolt SD card reader to connect your SD card to your device.
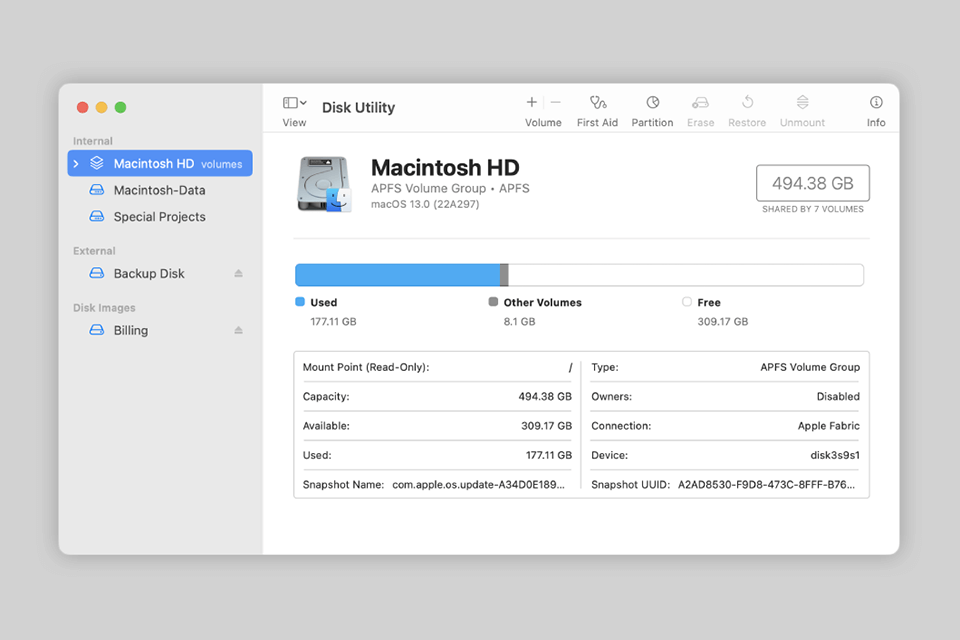
This app is an integral part of macOS, which is why it is available by default. To find it, go to the Applications folder. You can find it under the Utilities sub-folder. Alternatively, you may utilize Spotlight to find it. Just click the icon and search for “disk utility”.
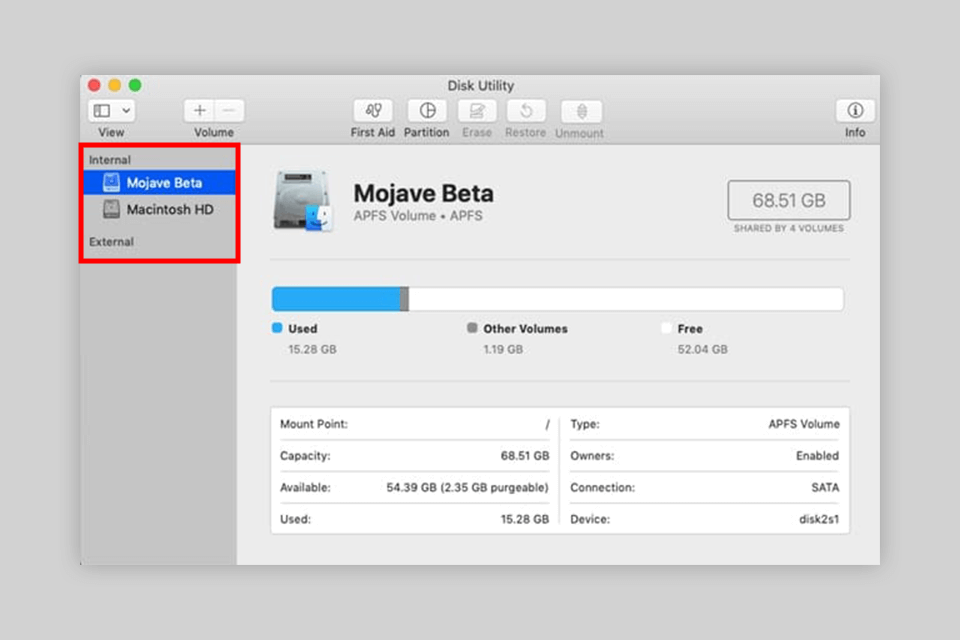
The interface of Disk Utility is extremely intuitive. You will see a list of all the drives installed on your computer on the left. You can easily find the internal and external drives of your Mac as well. To find your SD card, take a look at the list of external drives.
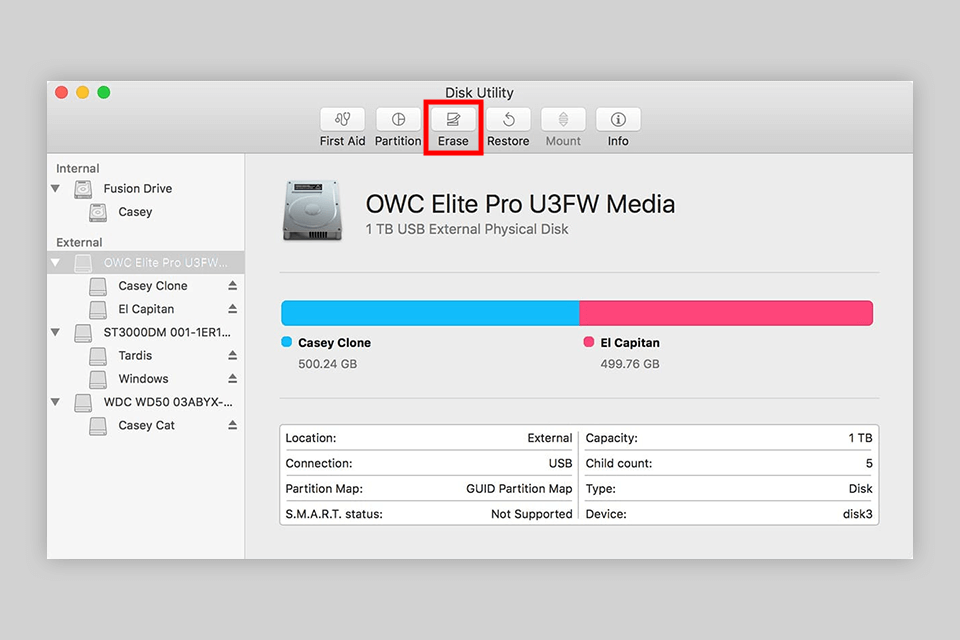
You will see a list of tools at the top. Select the Erase option. You will see a warning telling you that all the files stored on your card will be deleted. Then, the process of SD card formatting Mac will start.
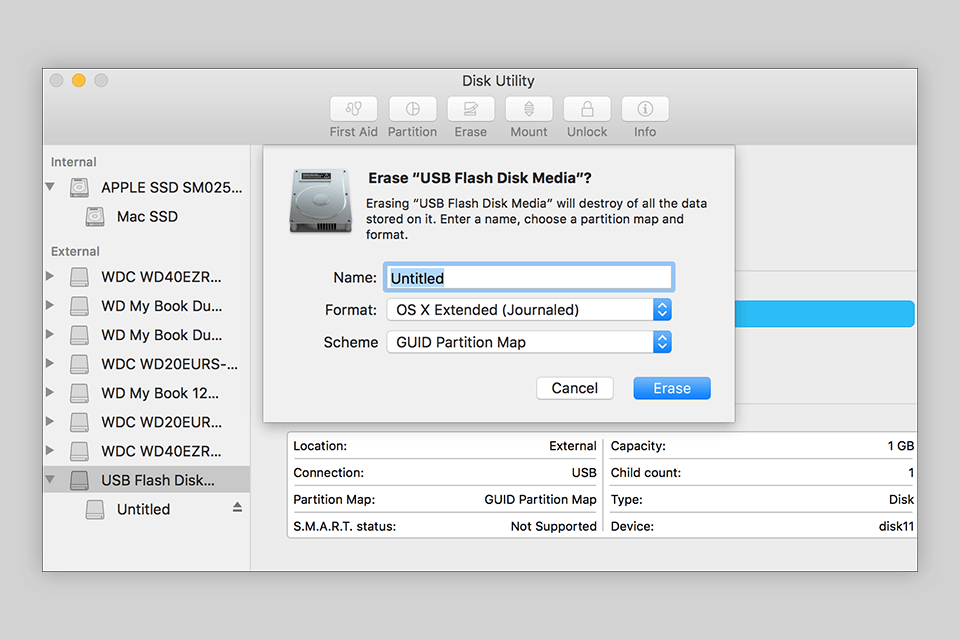
Type the name of your card in the dedicated field. There is no need to do it unless you want to. Your card will be perfectly functional even if you select the NO NAME or UNTITLED options.
However, it might be easier to find it in the list of external drives if you come up with a suitable name. Besides, you will be sure that you are importing the right card when accessing it via Finder.
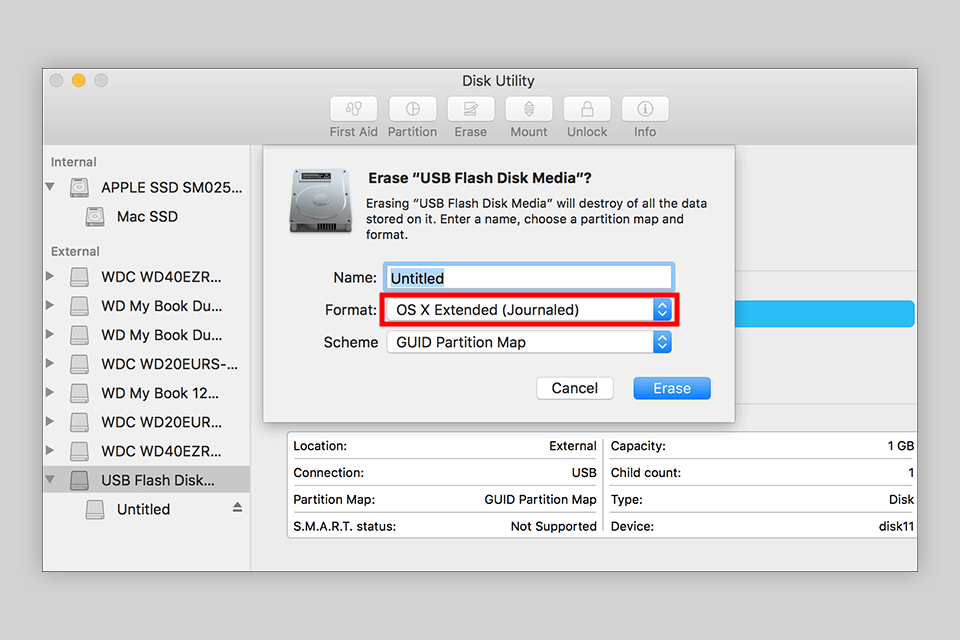
Click the Format option to open the drop-down menu. You will see several options to choose from. Pay attention to MS-DOS (FAT32) and ExFAT. Select the one that suits you best in terms of the storage size.
If your SD card is 64GB or larger, ExFAT might be a more suitable option to consider. In case it is 32GB or smaller, you might need to learn how to format SD card to FAT32 format.
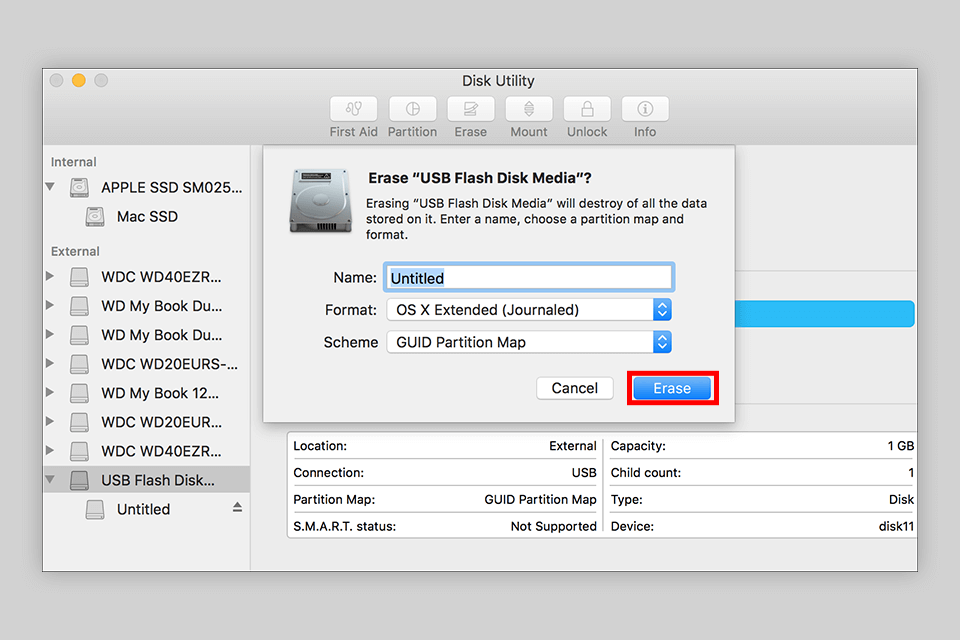
You will be notified that your card is being unmounted. Then, you will get a notification telling you that everything is ready.
In case you know how to work with macOS Terminal, you can utilize it to speed up the process of formatting your SD cards. However, you should know how to use it properly as you need to understand what, for instance, disk2 refers to.
Unless you understand which disk to format, you might incidentally format the wrong SD card and lose all the information on it.
Open Terminal. Your SD card should be connected to your laptop when you do it. Then, type $ diskutil list. You will see all the drives of your device.
Select the right SD card. If you don’t want to change the file system, you just need to learn how to reformat SD card on Mac card using the command $ diskutil reformat disk2. In case you need to switch to another file system, type the following: sudo diskutil eraseDisk FAT32 MBRFormat /dev/disk2.
Make sure to keep your SD card in place until the process is completed. Otherwise, there might be some errors, and you will need to use SD card recovery software to fix them.