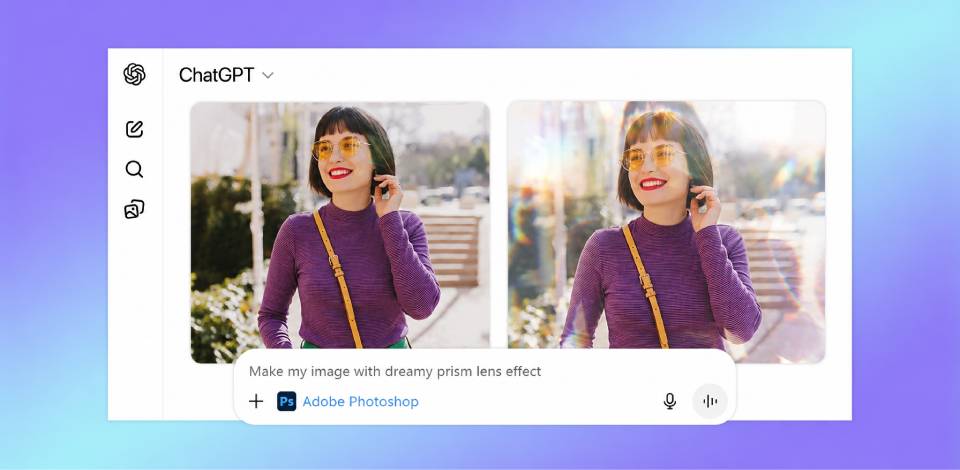
I didn’t think much would come of it. I’ve been deep in Photoshop for years, so the idea of doing ChatGPT Photoshop editing through prompts sounded a bit gimmicky. But I was very curious, so I decided to try.
However, this method can’t be a full swap for professional Photoshop work. When you need precise masking or detailed retouching, you’ll feel the limits pretty quickly. But for rapid edits, idea testing, and everyday improvements, this workflow is genuinely useful.
Below, I’ll walk you through exactly what I tried, how I managed to get solid results, and when it makes more sense to open Photoshop instead.
Setting up the Photoshop ChatGPT integration takes only a minute. Log in to your account at chatgpt.com and head to Settings. All app connections live there. Next, you need to:
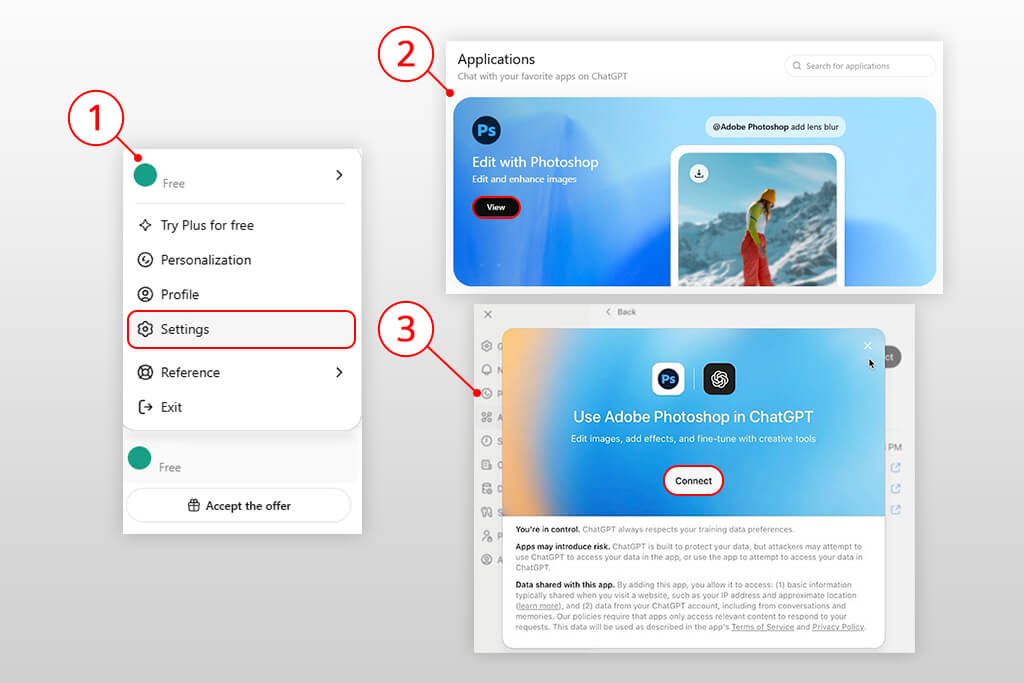
After connecting, you’ll see Photoshop right in the prompt bar. To connect other Adobe apps like Express and Acrobat, you need to take the same steps.
The whole setup is surprisingly intuitive. There are no technical steps or downloads. Everything runs directly inside the chat window.
Using Photoshop in ChatGPT follows a simple, repeatable process. Once the integration is active, all editing happens within the chat window.
1. Start a new chat and click the + icon in the prompt bar to access available tools.
2. Select More, then choose Adobe Photoshop from your connected apps.
3. The Photoshop icon will appear in the chat bar, confirming the tool is active.
4. Click + again to upload your image, then type a description of the edit you want to apply.
5. Start with a single, specific request, e.g., adjusting color balance or applying a particular visual style.
6. Once the edit is applied, open the image to access adjustment sliders for additional fine-tuning
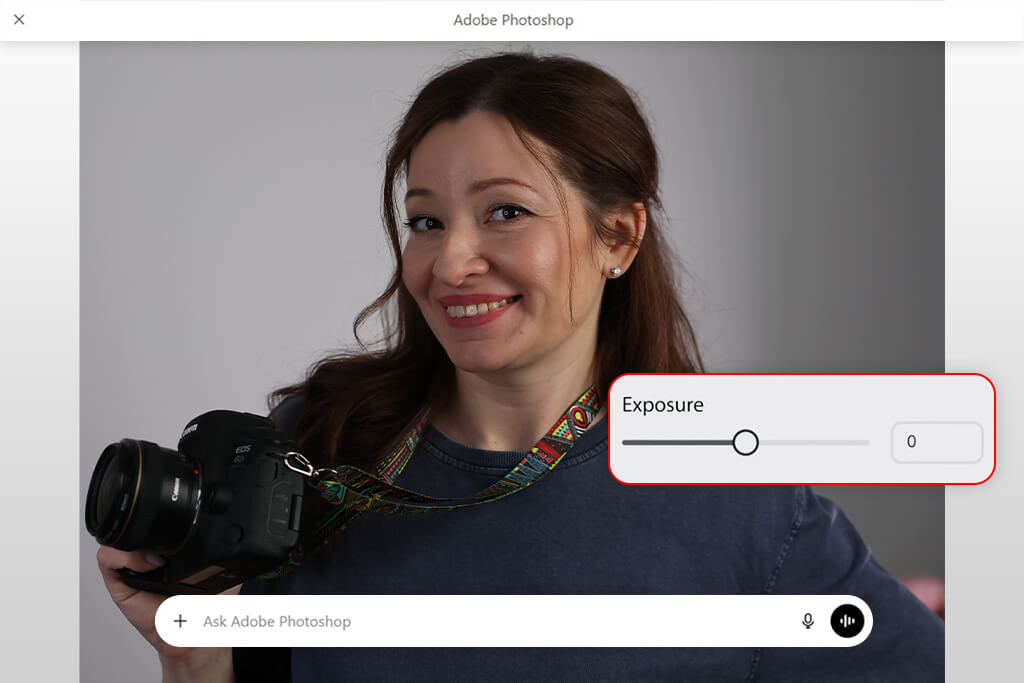
7. Use the sliders to refine intensity, contrast, or color without rewriting your prompt.
8. Each effect includes its own set of controls, allowing for detailed adjustments until the result meets your requirements.
9. If the integration fails to load or returns an error, switch to Chrome. Such a simple step typically resolves the issue.
This workflow is most effective when treated as a quick-editing tool. It is well-suited for applying styles, making tonal adjustments, and testing visual directions. It is not fitting for complex, multi-step editing that requires layer-level control.
The following section describes how I edit photos on ChatGPT Photoshop across a variety of image types. I applied straightforward color adjustments, performed subject isolation, and changed the background.
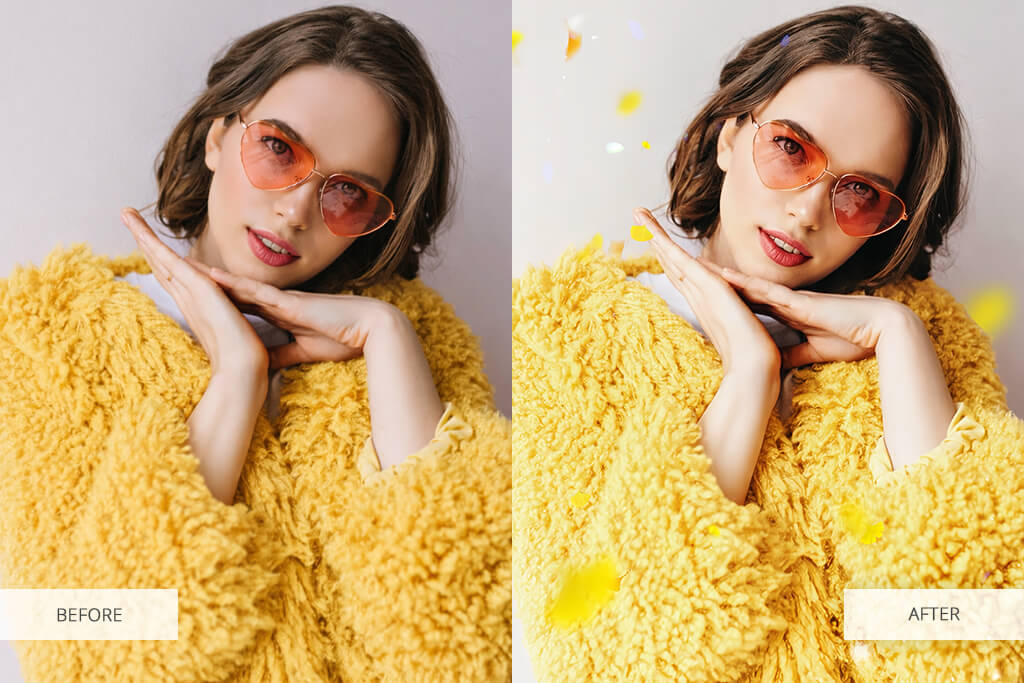
After testing AI photo editing Photoshop ChatGPT across multiple scenarios, I noticed a consistent pattern. The tool performs well on simple visual adjustments and creative effects, but struggles with any edit that requires precise selection or fine edge handling.
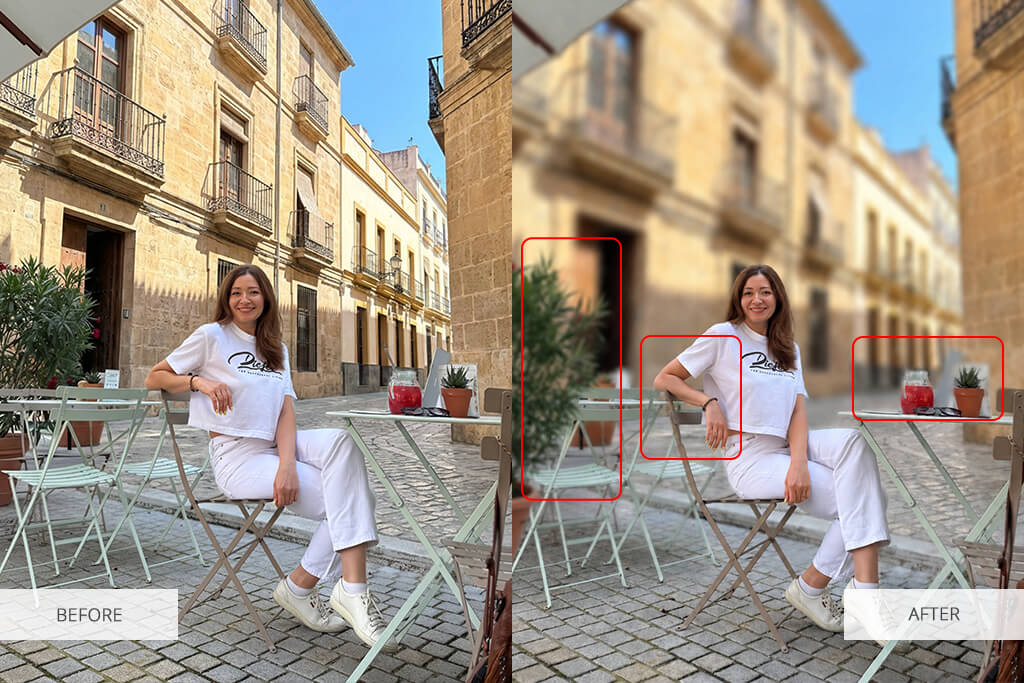
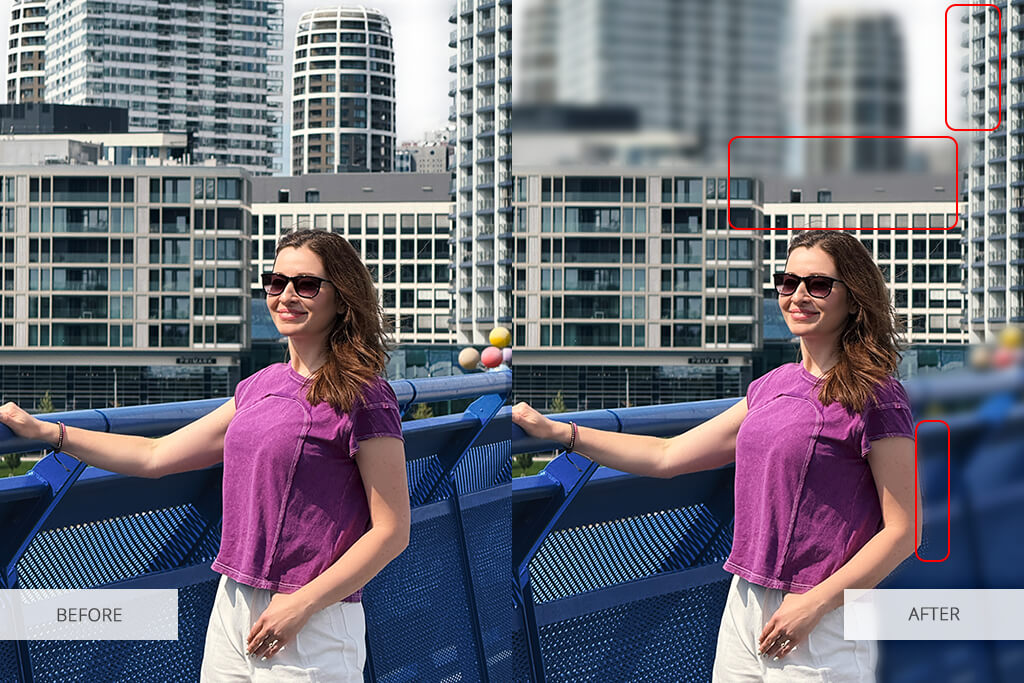
Background blur is a representative example. Subject detection works in most cases, but smaller details, particularly around hair or soft edges, are often missed. The result can appear convincing at normal view but shows visible artifacts when examined closely. Adjusting the prompt rarely corrects this, which points to a structural limitation rather than a user input issue.
At this point, it becomes obvious that standard Photoshop tool names like masks, layers, and selection tools will be very helpful.
The following types of edits consistently produced usable results:
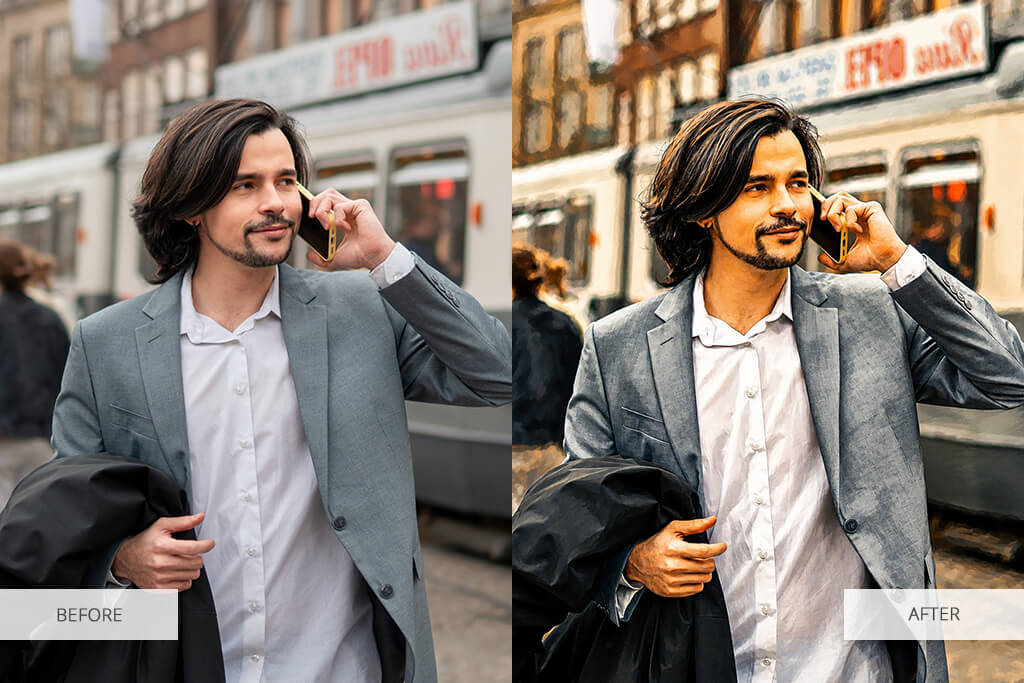
These edits share a common characteristic. They do not depend on precise masking or subject isolation. The tool handles broad image-level changes effectively. Results are also more predictable when prompts are focused on a single change at a time, which is consistent with how the free photo editing apps approach AI-assisted editing.
Limitations become apparent in the following cases:
These limitations stem from Photoshop's reliance on automatic detection rather than manual selection. For images with straightforward subjects against simple backgrounds, results are generally acceptable. For complex scenes or images where edge accuracy is important, the full Photoshop toolset is the more appropriate choice.

| Task Type | Result Quality | Notes |
|---|---|---|
|
Color & tone edits
|
High
|
Fast and reliable
|
|
Simple effects
|
High
|
Works well with sliders
|
|
Selective edits
|
Medium
|
Edges may be rough
|
|
Background blur
|
Medium
|
Can create a halo effect
|
|
Complex retouching
|
Low
|
Limited control
|
Color and style-based edits offer the strongest return for time invested. Edits that require the tool to accurately identify and separate image elements may have inconsistent results and are less suitable for production use.
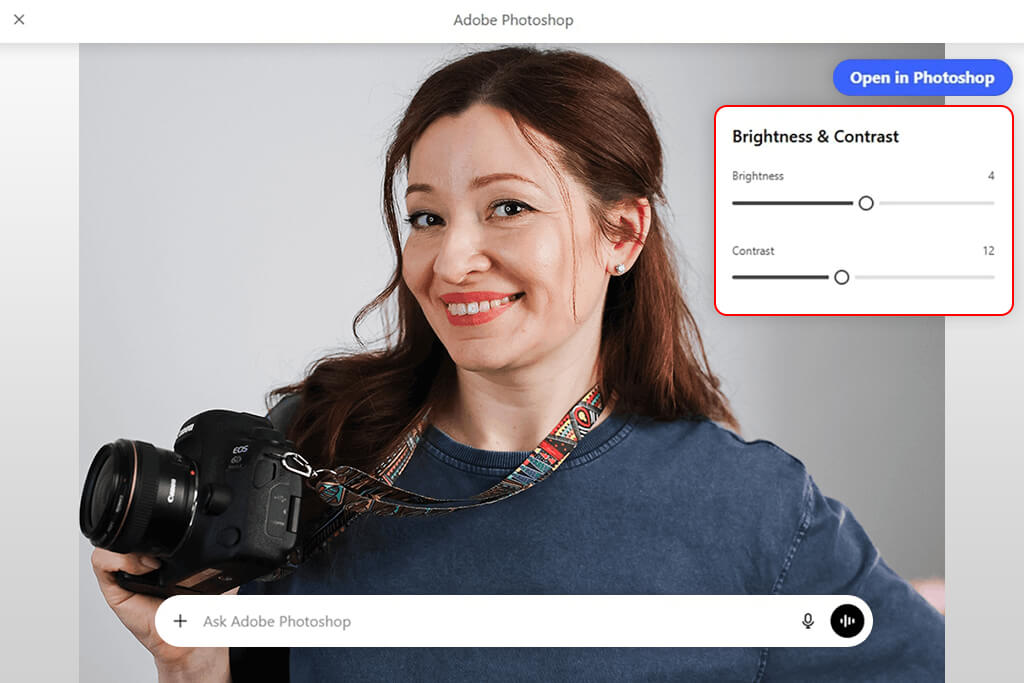
When an edit requires more accuracy than the integration can provide, the Open in Photoshop option transfers the image directly to Photoshop for Web. This allows you to refine selections, clean up edges, or apply corrections using the full range of Photoshop tools without losing the work already done in ChatGPT.
This combined approach, using ChatGPT for initial adjustments and Photoshop for finishing, defines how many professionals incorporate AI tools into their workflow while maintaining output quality. It is also why Photoshop remains the leading choice among the best photo editing software for PC for professional use.
Switch to full Photoshop when:
Keep in mind that there is no automatic synchronization between ChatGPT and Photoshop. You need to download and re-upload files edited in Photoshop for Web to continue working within the ChatGPT interface.
When you edit images with ChatGPT Photoshop, they are typically limited to 2K resolution. For digital use, like web publishing, social media, presentations, and screen-based content, this is sufficient.
During testing, images exported at this resolution performed well for Instagram, blog headers, and website visuals. The quality was consistent and required no additional upscaling for standard digital formats.
For print projects, large-format output, or any work requiring pixel-level retouching, the 2K limitation becomes a constraint. In these cases, starting directly in full Photoshop is more efficient than attempting to upscale afterwards.
If upscaling is necessary, look into the best ways to increase resolution of an image before final delivery.
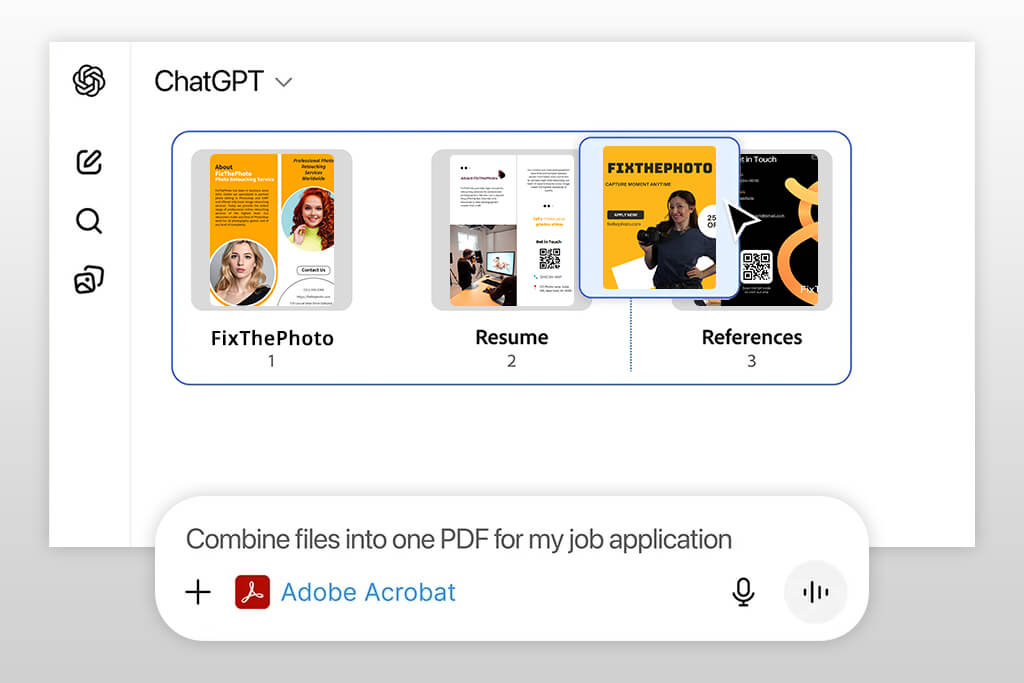
Beyond image editing, using Adobe Photoshop in ChatGPT is part of a broader Adobe integration that includes Acrobat. Using Adobe Acrobat within ChatGPT is particularly useful for document workflows such as assembling application materials.
The following approach works well for preparing a professional document package:
Be specific about what you want. Vague instructions such as “make it look better” produce inconsistent results. Describe the exact change, namely, the color tone, the level of contrast, the style reference, or the element to be adjusted. The more precise the instruction, the closer the first result will be to the intended outcome.
Specify what to avoid. If you do not want heavy processing, oversaturation, or a particular visual effect, state this in the prompt. This prevents the tool from repeating the same undesired output across multiple attempts.
Provide context. Mentioning the intended use of the image, be it a professional portfolio, a social media post, or a product listing, influences how the edit is applied. Context helps the tool calibrate the intensity and style of the result.
Work in steps. Applying one change at a time consistently produces cleaner results than combining multiple requests in a single prompt. Adjust the color first, then refine the subject, then apply effects. This mirrors the approach experts use when working in the best image to prompt generator.
Refine incrementally. When a result is close but not quite right, adjust the prompt rather than starting from scratch. Small modifications preserve the aspects of the edit that already work and reduce the risk of losing progress.
Test variations. A single word change in a prompt can shift the result significantly. By systematically testing different phrasings, you can get an understanding of how the tool interprets language and improve the accuracy of future prompts.
Experienced Photoshop users may try Photoshop AI editing ChatGPT for drafting ideas, generating quick variations, or handling straightforward edits that do not require manual precision. For complex or client-facing work, the full application remains the practical choice.
Beginners and occasional editors benefit most from this integration. By going this way, they don’t need to understand layers, masks, and selection tools, replacing that complexity with plain-language instructions. The output quality for standard edits is comparable to what a skilled beginner may produce in a traditional AI photo editor.
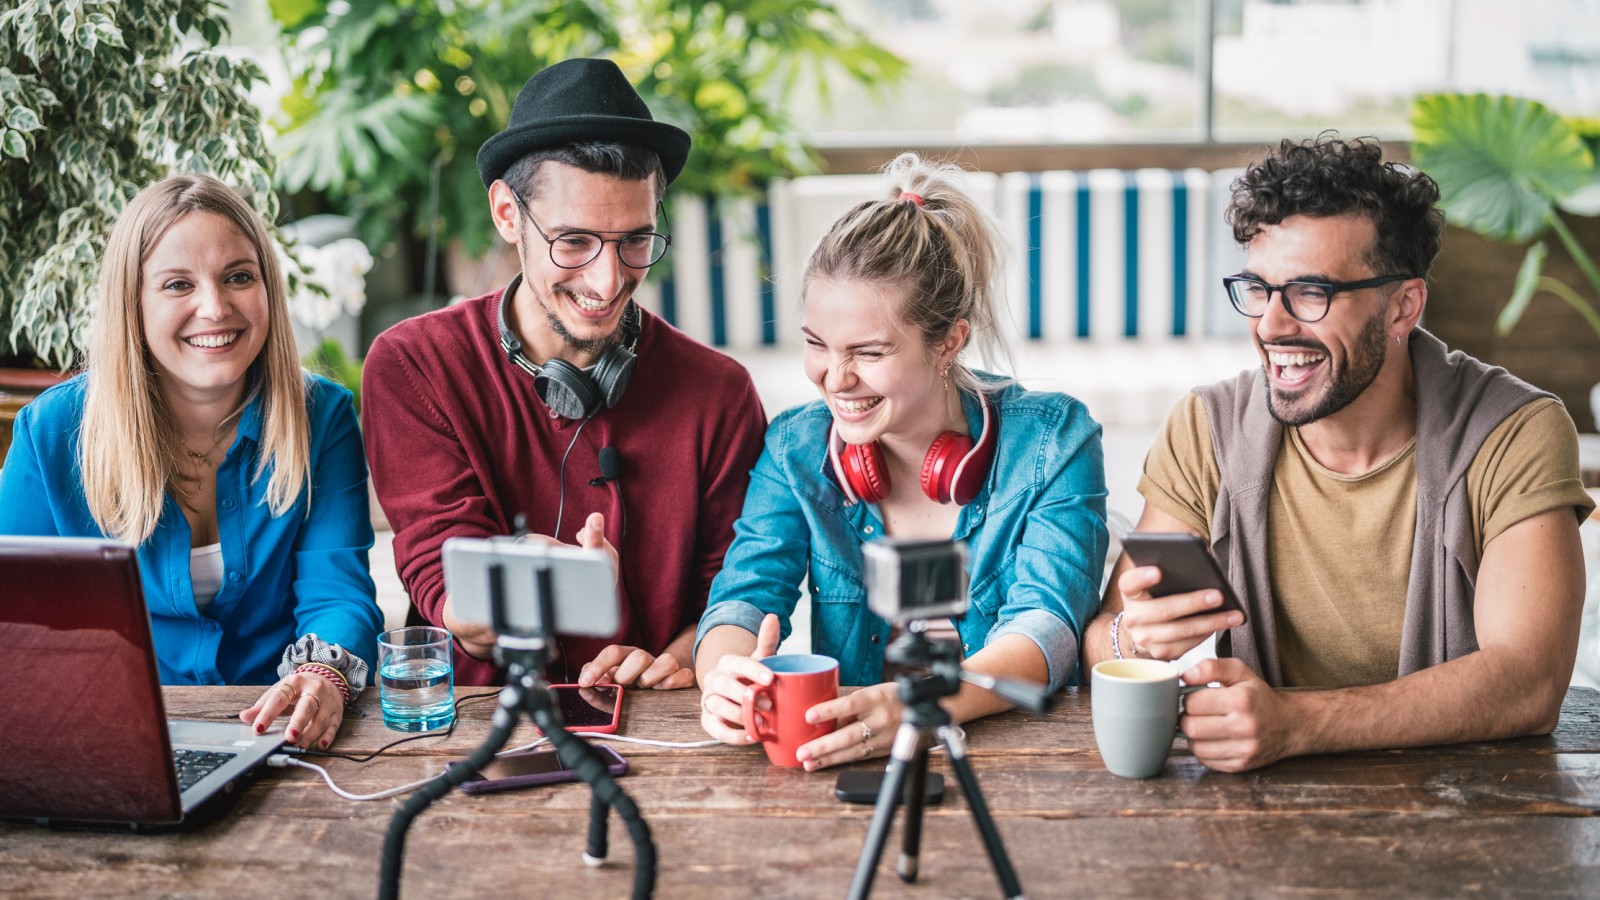
Social media content creators gain a practical advantage from the speed of this workflow. Color grades, style presets, and quick adjustments that would take several minutes in Photoshop can be applied in seconds, making it well-suited for high-volume content production.
Users without an active Photoshop subscription can access core Photoshop features through the ChatGPT integration without committing to a full Adobe plan. This makes it a cost-effective option for occasional use.
After actively using ChatGPT Photoshop editing integration, the overall assessment is straightforward. This is a capable tool for fast, accessible editing, and a poor substitute for professional precision work. You need to understand which category your task falls into to determine how useful the combination will be.
The strongest argument for using it is time efficiency. For tasks that do not require pixel-level accuracy, like color grading, style presets, and quick selective adjustments, it delivers usable results faster than any traditional workflow. The weakest argument is versatility. The moment precise masking or high-resolution output is required, full Photoshop is the only practical option.
| Use Case | Best Option | Why |
|---|---|---|
|
Quick edits
|
ChatGPT + Photoshop
|
Fast, no setup
|
|
Social media
|
ChatGPT + Photoshop
|
Good enough quality
|
|
Idea testing
|
ChatGPT + Photoshop
|
Easy to experiment
|
|
Client work
|
Full Photoshop
|
Precision needed
|
|
Retouching
|
Full Photoshop
|
Clean details
|
|
Print / high-res
|
Full Photoshop
|
No resolution limits
|
The most effective approach is to use both tools in combination: ChatGPT for initial passes and concept exploration, Photoshop for finishing and tweaking accuracy. Neither replaces the other. They serve different stages of the same process.
For any output that must meet a professional standard, full Photoshop remains the definitive choice.
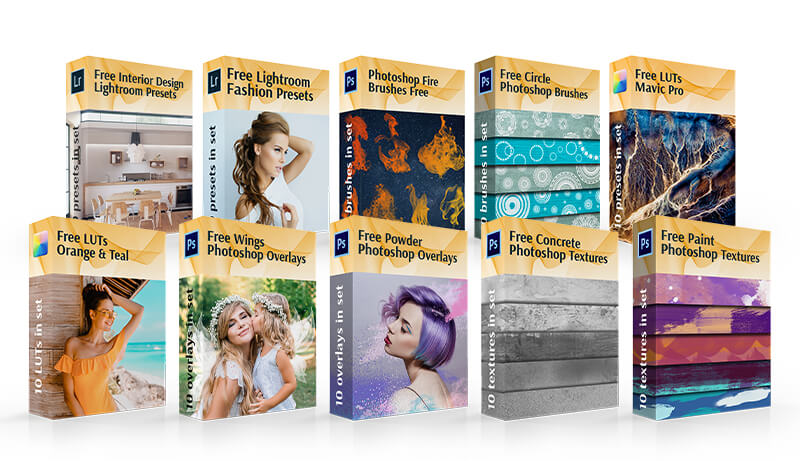
Free Photoshop resources can meaningfully reduce editing time for common tasks. The most useful categories include actions, overlays, PNG elements, and brushes. Each serves a distinct purpose within the editing process.
Actions are recorded sequences that apply multi-step edits with a single click. They are particularly effective for batch processing or maintaining a consistent style across a series of images. Overlays and textures add visual elements such as light leaks, film grain, bokeh, or atmospheric effects that would otherwise require significant time to create manually. They are widely used in portrait and event photography.
PNG elements are pre-cut objects that can be placed directly into an image. The most common types are clouds, foliage, lighting effects, and similar additions that were not present in the original shot. Brushes allow complex shapes and textures to be drawn or stamped onto an image instantly. Common applications include adding smoke, snow, hair detail, or organic textures without building each element from scratch.
It is a native integration between Adobe and ChatGPT that makes Photoshop's editing tools available within the ChatGPT interface. Instead of working through menus and panels, users upload an image and describe their desired edits in plain language. The integration processes the request and returns the edited image in the same chat window.
No installation is required. The integration operates through Adobe's cloud tools and your existing ChatGPT account. Once connected in settings, it is available immediately without any additional software on your device.
Color correction, brightness and contrast changes, tonal adjustments, style presets, and selective color edits are all well-supported. The experience is comparable to using the best Photoshop app, with a simpler input method.
No. It provides access to a curated subset of Photoshop capabilities, optimized for speed and ease of use. Tools that require manual intervention, like layers, advanced masking, content-aware fill, and precise selection tools, are not available through the integration.
For digital content, e.g., social media, websites, and internal presentations, the output quality is generally adequate. For print, client-facing deliverables, or any project with strict quality requirements, the full version of Photoshop is the appropriate tool.
Output is capped at approximately 2K resolution. Subject masking and edge detection are unreliable on complex images. Object removal produces inconsistent results. Plus, multi-step edits are less predictable than single-action requests.
It will please beginners who find Photoshop's interface complex, content creators who prioritize output speed, social media managers working with high volumes of images, and users who need occasional access to Photoshop features without a full subscription.


![Standard Business Card Size & Dimensions [Expert Guide]](/placeholder-450x300.svg)


