Not sure what to do with drawings to trace in Adobe Fresco? There is a very simple way to turn a raster image into a vector image without complex manipulations.
This step-by-step Adobe Fresco tutorial shows the best tools to use and what settings to apply to them to quickly trace an image.
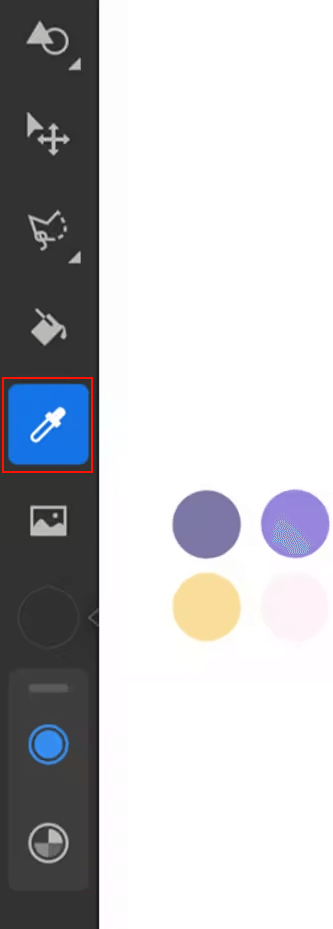
To start working with the drawings to trace over Adobe Fresco, I recommend selecting the standard black color as an outline. If you draw over a bitmap image, you will see where you match the shapes, and where you need to correct something.
You can also use the Eyedropper tool and select colors from the image to paint the objects according to the original.
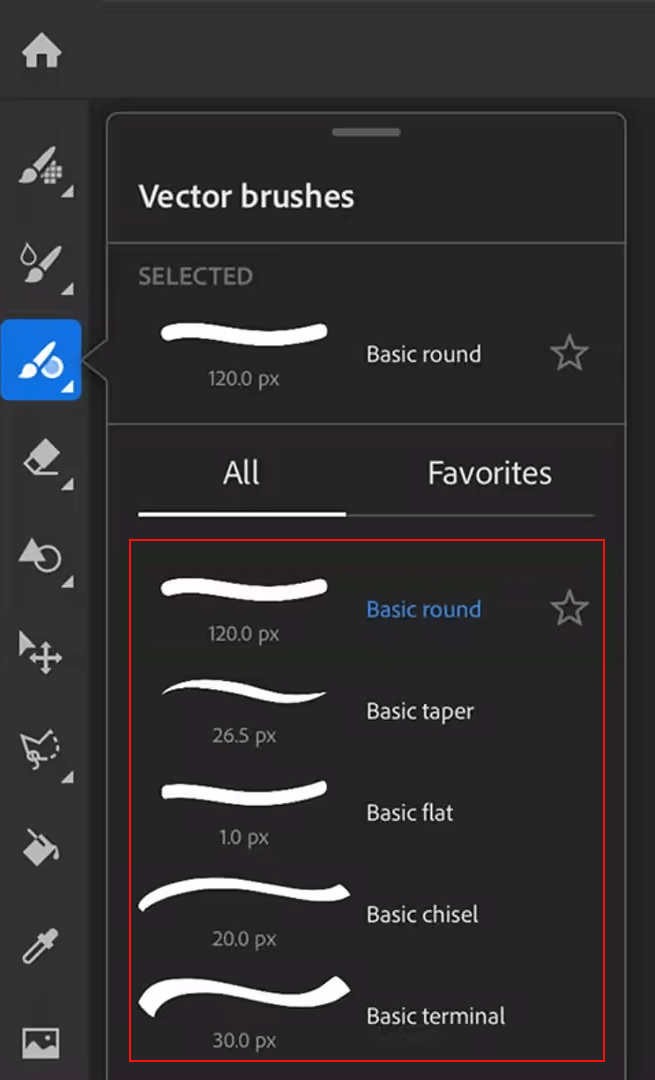
Before choosing among the many brushes in the Adobe Fresco library, think about which one will be most comfortable for you to work with in the initial stages. It is best to use a standard brush, without additional strokes.
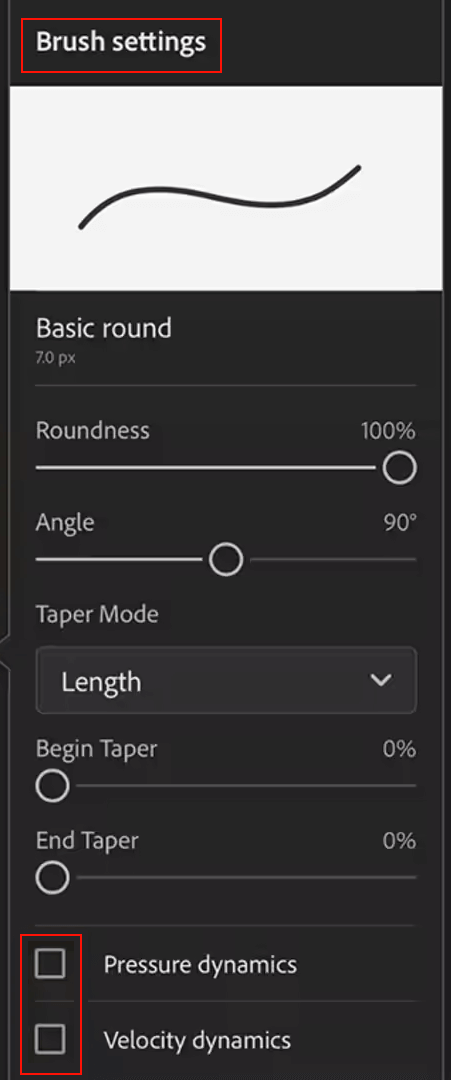
Now you need to adjust the vector brush at the bottom of the toolbar so that the drawn lines are clearer. Adjust the selected brush as you need for your drawings to trace in Adobe Fresco. Don’t be afraid to experiment to find the right fit.
Choose a small size of around 7 points and Smoothing to 85%. To make the lines smoother uncheck Pressure Dynamics and Velocity Dynamics under the Brush Settings.

Now you can start drawing the picture you have chosen along its outline. Move slowly to create as few broken lines as possible. If you’re working from Wacom tablet I recommend the Wacom pen as the handiest way to do this.
If something went wrong and you made a mistake, then just use the Eraser for unnecessary areas.
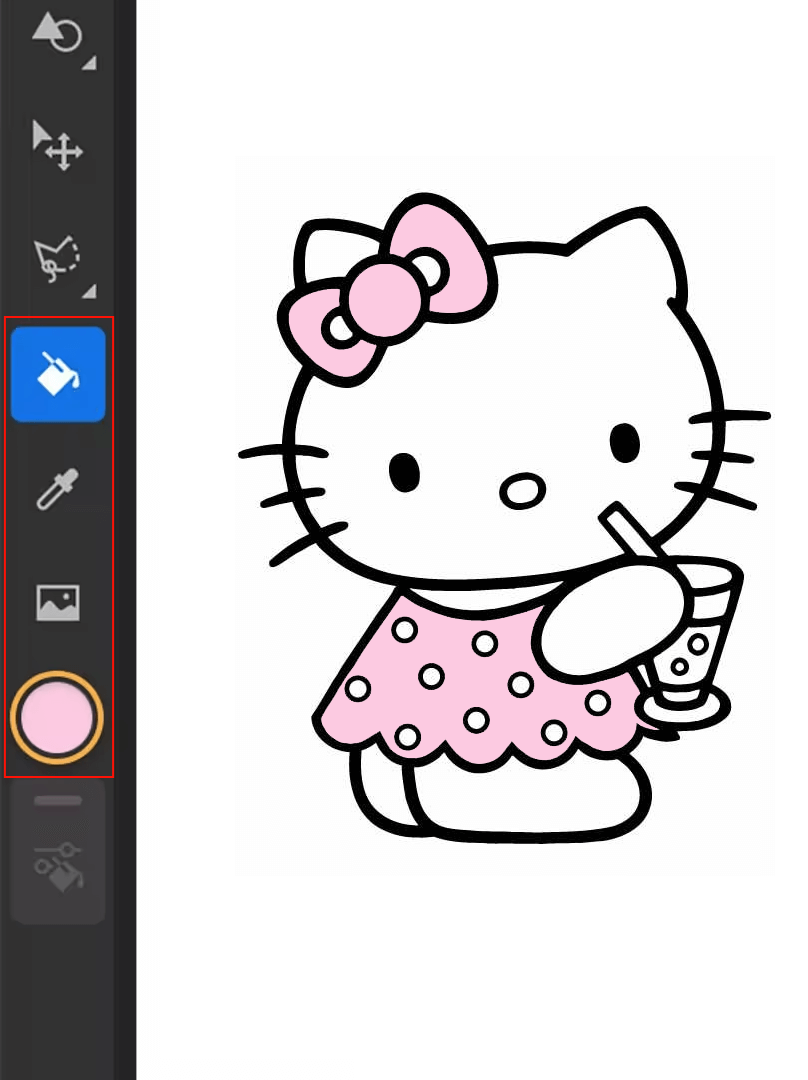
Now using the Eyedropper tool, colorize the resulting objects. The Fill tool will help you with this. Choose a color, then click on the paint can icon, which corresponds to the fill, and the selected object will be painted in one click.
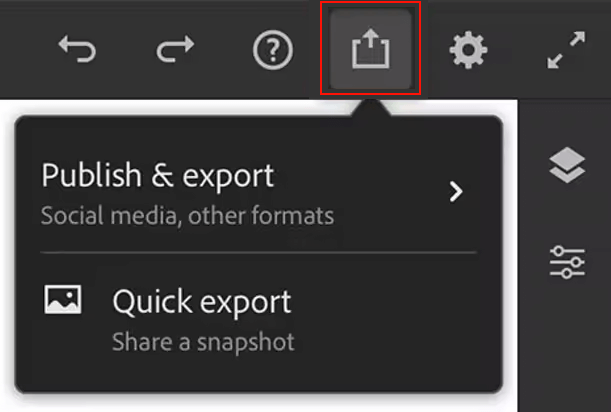
Now that your trace drawings in Adobe Fresco are ready, you can save them to your device or share them. Find the Share button, click and select – sharing to Behance, exporting to social networks, or saving the project in the required format.
If you double-click on the Vector Brushes icon, you will activate the vector tool. With it, you can create scalable drawings and trace images. All you need to do next is to choose the brush you like, and adjust its size and smoothing as you wish.
You can use many formats of drawings to trace in Adobe Fresco but it is preferable to choose PNG, JPG, and PDF.
Speaking of iOS devices, the developers have launched Adobe Fresco for iPad and iPhone for version 10 and above, which meet the minimum technical requirements. You can also work with it on Windows 10 or 11 versions.
The product adopts the freemium model. This means you can try the free starter plan first and then purchase the premium version to enjoy all the benefits without limits.
Exporting your projects created in Adobe Fresco is available in PNG, JPG, PSD, and PDF.
Yes, you can use Adobe Fresco offline to create and edit your artwork. However, some features that require internet connectivity, such as cloud syncing and accessing premium content, may be limited when offline.
With raster brushes in Adobe Fresco, you can create artwork composed of pixels, similar to traditional painting. Vector brushes, on the other hand, are used for making scalable artwork that can be resized without loss of quality, making them ideal for precise and flexible designs.