Since Adobe Fresco got released, it has become one of the most widely used graphic design and drawing apps for creating images on the go. It has an impressive set of advanced features that make it similar to professional software.
If you are just starting to learn the ropes of mobile digital drawing, read this Adobe Fresco tutorial for beginners. Those artists, designers, and illustrators who have already used Adobe products or other apps with pressure-sensitive drawing tools will easily master its features.
Fresco was created for sensor devices. It has a simple UI and a free version for those who want to test Adobe products. Here, you can use raster and vector Photoshop curated brushes. However, it is recommended to compare Adobe Fresco free vs paid versions to understand what suits you more. This app integrates with other graphic design and digital art software from Adobe. Whether you use a stylus for drawing or like a specific brush engine, this is the best tablet drawing software for a variety of tasks.
If you want to download Adobe Fresco, read on to learn how to create your first drawing. This basic drawing app is a perfect option for beginners.
Adobe Fresco runs on iPhone 6S and newer versions, iPad iOS 13 or newer versions, and some tablets with stylus and a sensor screen, like Wacom or Surface Pen with Windows 10. To use all the advanced brushes, you need to use the 2nd generation Apple Pencil compatible with an 11-inch iPad Pro.
You can download Adobe Fresco for free, but you need to pay to use the advanced options of the app. The free version includes 2 GB of cloud storage and a limited set of brushes. You can export files with a resolution suitable for the iPad.
However, you can’t save files in a format suitable for printing. If you want to download the full version of Fresco, you will need to pay $9,99 per month.
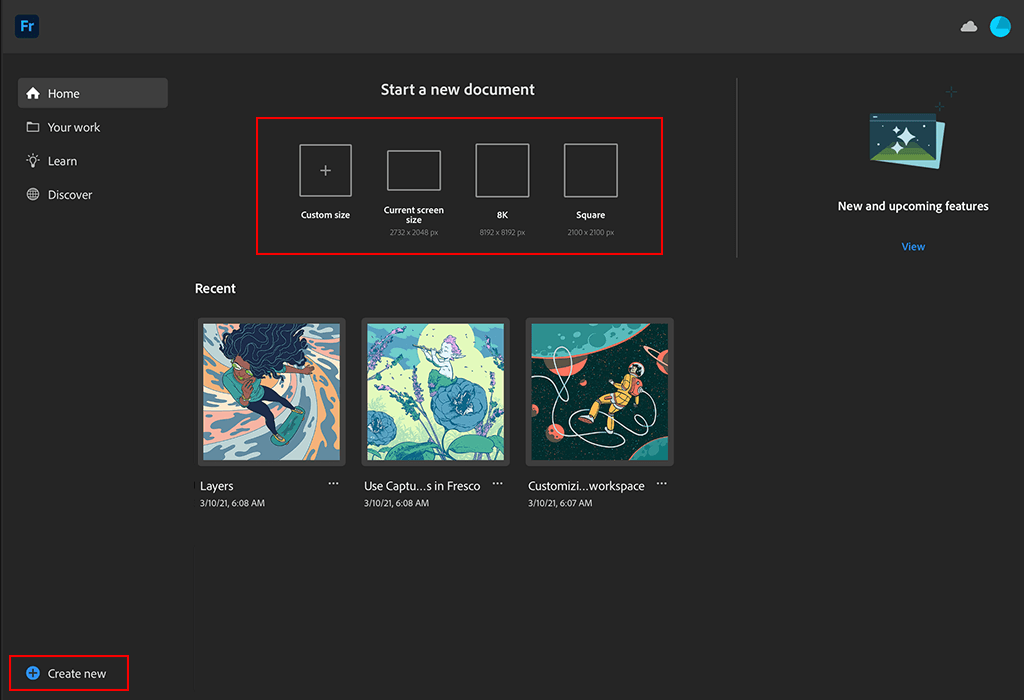
After downloading the app, register your Adobe ID if you don’t have it, run Fresco and create your first drawing by clicking on the Create new on the main screen. Select one of the available canvas and layout sizes or create a custom one.
Adobe has created Fresco as an easy-to-use solution for creating drawings on the go. It integrates with Creative Cloud apps, Adobe Stock and Library. If you have created a document in Photoshop, thanks to Adobe ID, you will access it in this app after downloading it from the cloud.
You can use Fresco to create raster, pixel-based images, scalable vector graphics. Besides, it allows you to export images to Photoshop, Illustrator and other software.
Before creating your first image, you can learn more about the available tools. On the home screen, you will find the Learn tab with a handy Adobe Fresco tutorial that will help you master the main features of the app. You can also pay for a subscription to get access to video lessons.
Under the Discover tab, you find various resources, such as streams and useful tips shared by other Adobe and Fresco users. After creating a canvas, you will be able to adjust various settings.
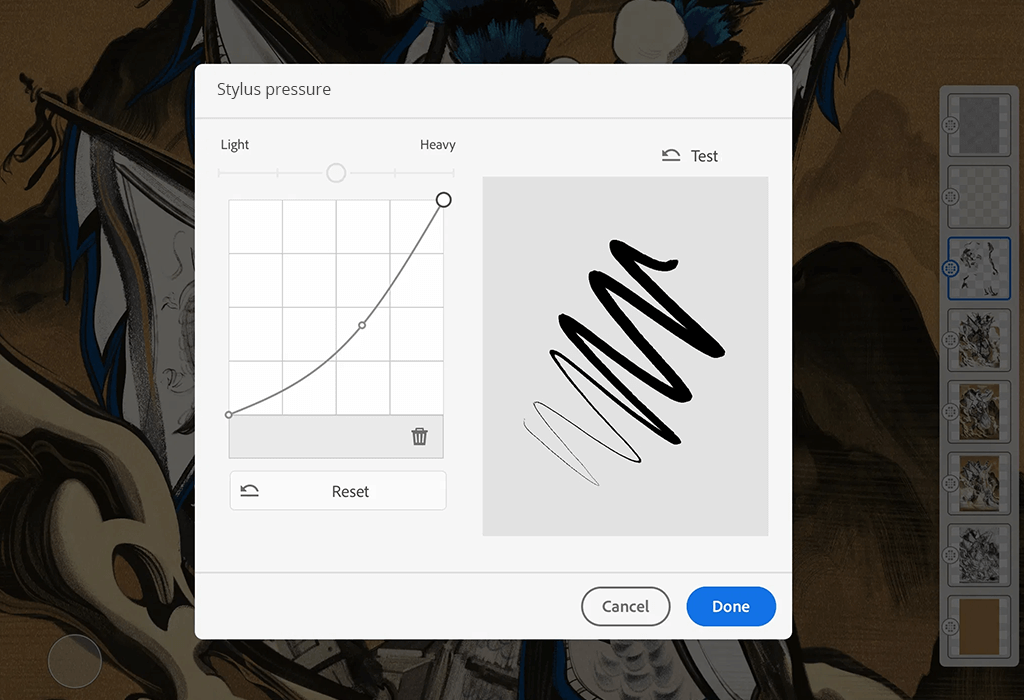
First, you need to test and adjust the stylus’ pressure sensitivity. You will find the Settings icon in the top right corner of your workspace. In the Input tab, you can adjust the pressure sensitivity and angle tilt curves. Here, you can also select a format, resolution, and set gestures if you don’t have a stylus.
Create a new layer by clicking on the “+” icon on the right sidebar. You can create and edit a line art without affecting the background layer. The app allows you to create an unlimited number of layers and apply various effects to them. Just like in other Creative Suite apps, you can adjust the transparency and use the blend mode.
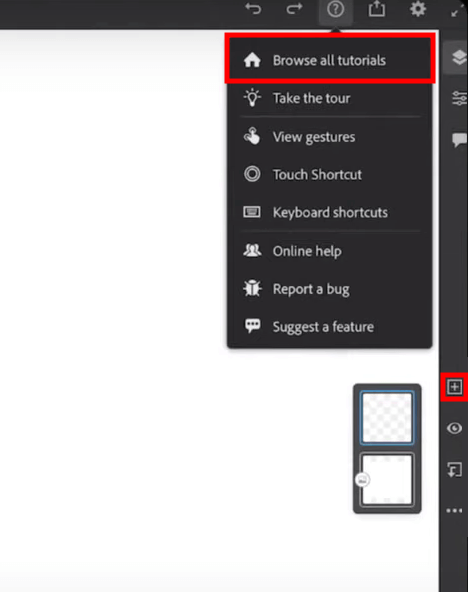
On the main screen, you will see the “?” icon. Tap on it to see the in-built Adobe Fresco tutorial and the list of gestures. Here, you will also see the Touch Shortcut floating button. It’s one of the newest features available in Fresco and other Adobe apps for iPad. This button can be used in the same way you use Shift in Windows.
With Touch Shortcut, you can access various features, including the Eraser. Some features have a secondary action assigned to them. You can activate it by tapping on the Touch icon and dragging it a bit. If you don’t want to hold the icon all the time, you can double-tap on it.
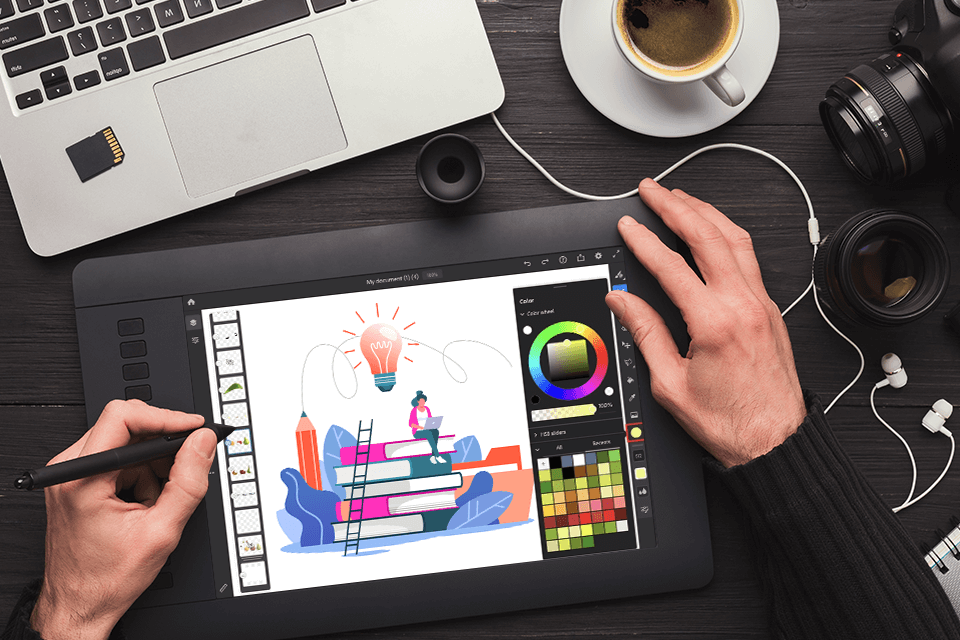
Let’s take a closer look at some tools that make Fresco so convenient to use and allow you to focus on drawing. The app will help you create a stunning digital drawing. With it, you can draw and color images on the go by using thousands of unique Photoshop brushes and new premium Live brushes for creating oil or watercolor paintings.
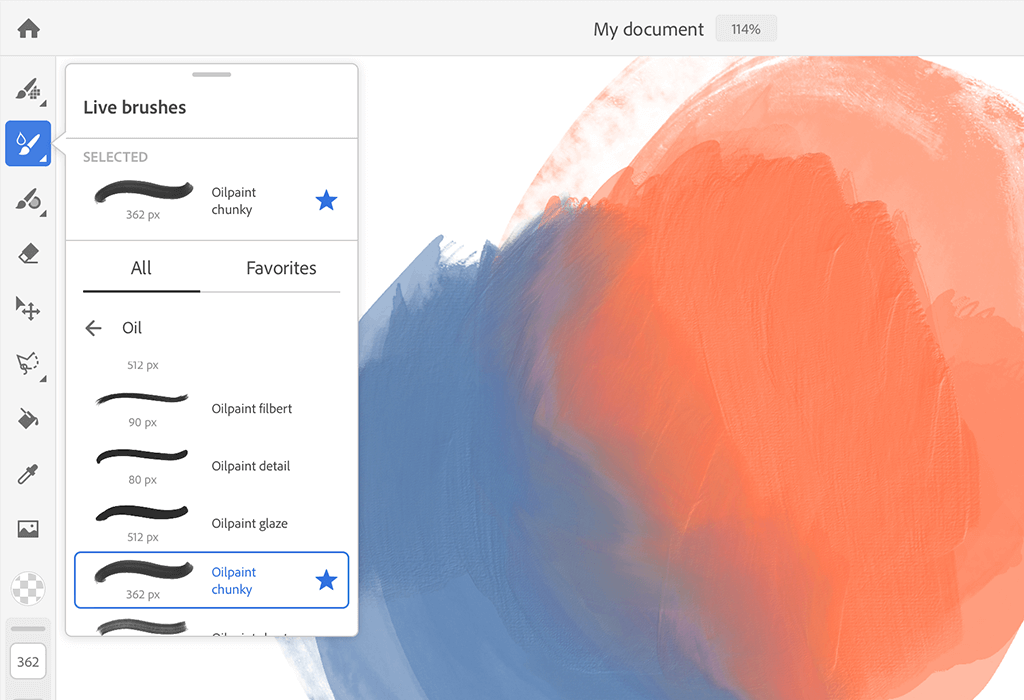
For many artists, live brushes are the main advantage of Fresco. You can use them to create watercolor and oil paintings in the same way you use actual brushes. Besides, there is no need to clean them up. While the app doesn’t allow you to select various textures of a canvas yet and the paint spread doesn’t change depending on the tilt of the tablet, these features might become available in the future.
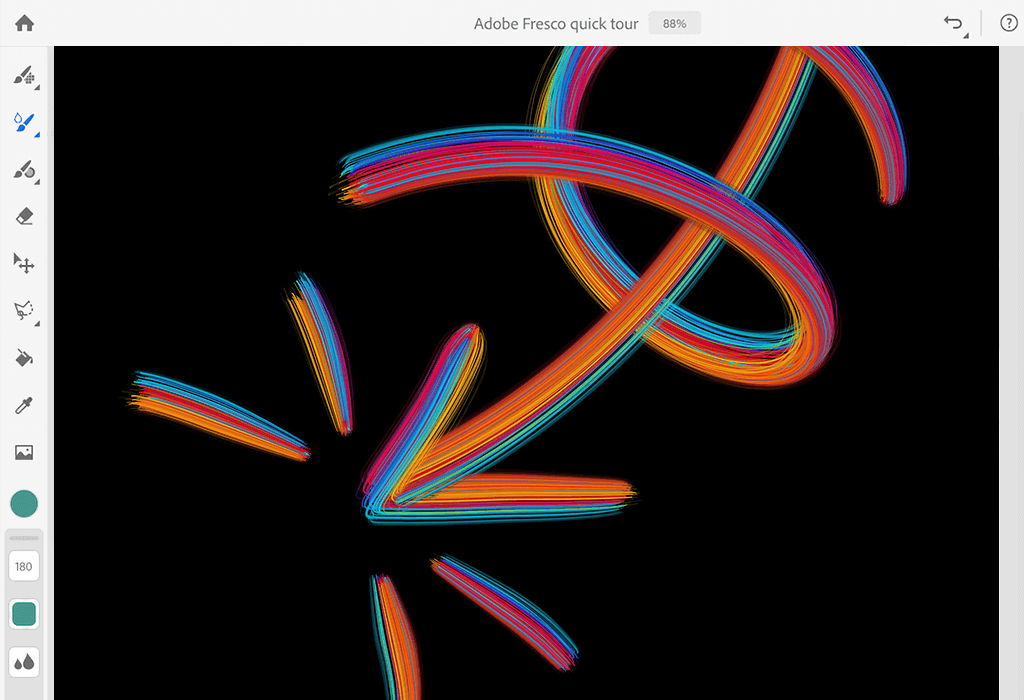
In Fresco, digital paints blend on virtual paper just like in real life. Watercolor paints spread on the surface as if they were real. Oil paints have a rich texture. Besides, your brush strokes will blend on the surface of the canvas.

You can scale linear vector graphics without quality loss, which makes it perfect for creating designs that you need to print or enlarge. The Fresco brushes allow you to work with different textures and styles to make vector lines and shapes unique.
There are 5 types of basic vector brushes in Fresco. You can adjust their roundness, angle, taper, pressure and velocity dynamics. Even if you are a beginner, you can use these brushes to create images that can be enhanced easily.
Similarly to Photoshop that is considered to be the best pixel art software, Fresco allows you to work with raster graphics and has a convenient UI. After studying a Fresco tutorial, you will be able to use vector, live, and pixel brushes depending on your needs. Fresco will automatically select a new layer when you start using a new brush, which makes this app convenient for users who need to switch between different tools.
Fresco has 10 categories of raster brushes. Besides, you can import Photoshop brushes to this app. Each brush can be easily customized. You can select various options and styles as well as adjust hardness, blend mode, shape dynamics, scattering, and transfer settings.
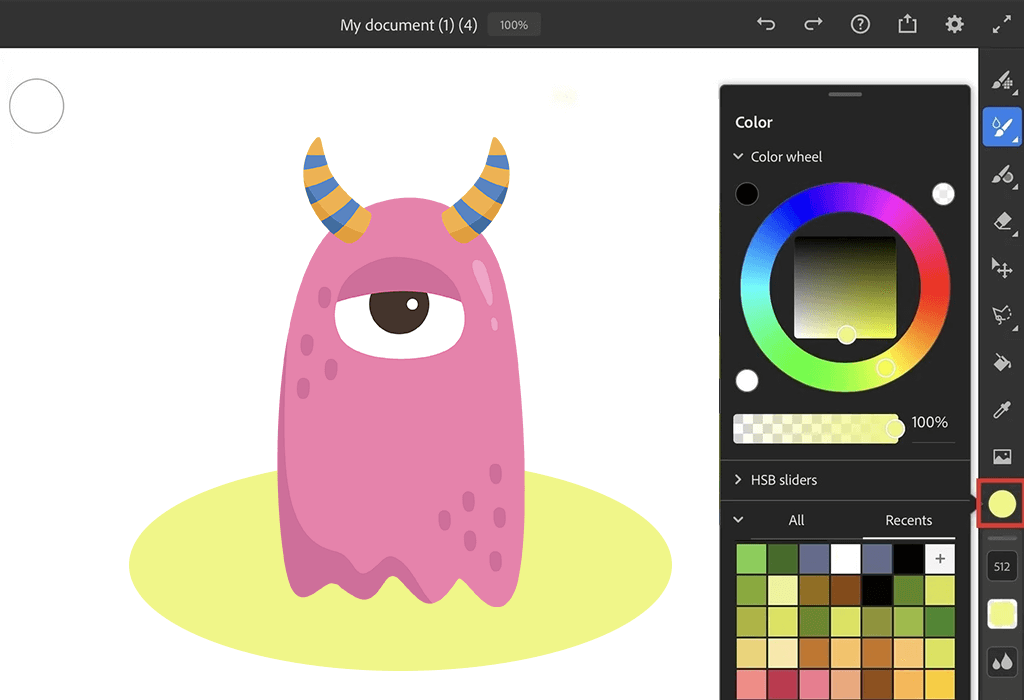
You can use the Color Picker panel to access the color wheel, adjust transparency, tone, brightness, saturation, recently used colors as well as any colors from the Creative Cloud library. Select a brush for watercolors or oil paintings, and then select the color by clicking on the circle icon on the left sidebar.
One of the main advantages of live brushes is that you can blend strokes as if you were using real paints. You can also prevent different paints from blending if you want. Just use borders to create a neat watercolor design. Besides, you can adjust the way any paint looks on your screen. For instance, you can change its flow, intensity, and the way it blends with other elements of the composition.
In the bottom part of the left side panel, you will see such options as Flow, Paint Mix and Brush Settings that allow you to control how much paint will be visible on canvas, how new brush strokes will blend with the existing ones, change their angle, and adjust pressure sensitivity. Experiment with different settings to find the best way to color your sketch.
Fresco allows you to use unique image editing techniques thanks to the Eyedropper tool and a rich color palette. With the Eyedropper, you can select any color. If you use the Touch Shortcut, you can sample several colors and patterns at the same time to draw and color your images with more than one color.
When working on digital paintings or retouching photographs, you can use the Eyedropper Tool to replicate real-world colors, making your work look more natural and lifelike.

The Shapes menu allows you to quickly create basic shapes. Click on the icon with a triangle and circle on the left side panel. You will see a list of the shapes that includes circles, polygons, and squares. There is an in-built library of various shapes that will help you create custom shapes and save them for further use.
Use the Drawing Aids menu on the bottom at the right to outline the edges of a circle, square, or polygon. You can use these shapes as borders and color the areas outside or inside them. You can also use these shapes as guides to create various lines.
To edit shapes, you can use four Selection tools. The Lasso option allows you to outline any shape by including it in a selected area. The Quick selection tool can be used as a brush. It will help you select any element by clicking on it. The Square and Circle Select tools are perfect for selecting various areas using the corresponding shapes.
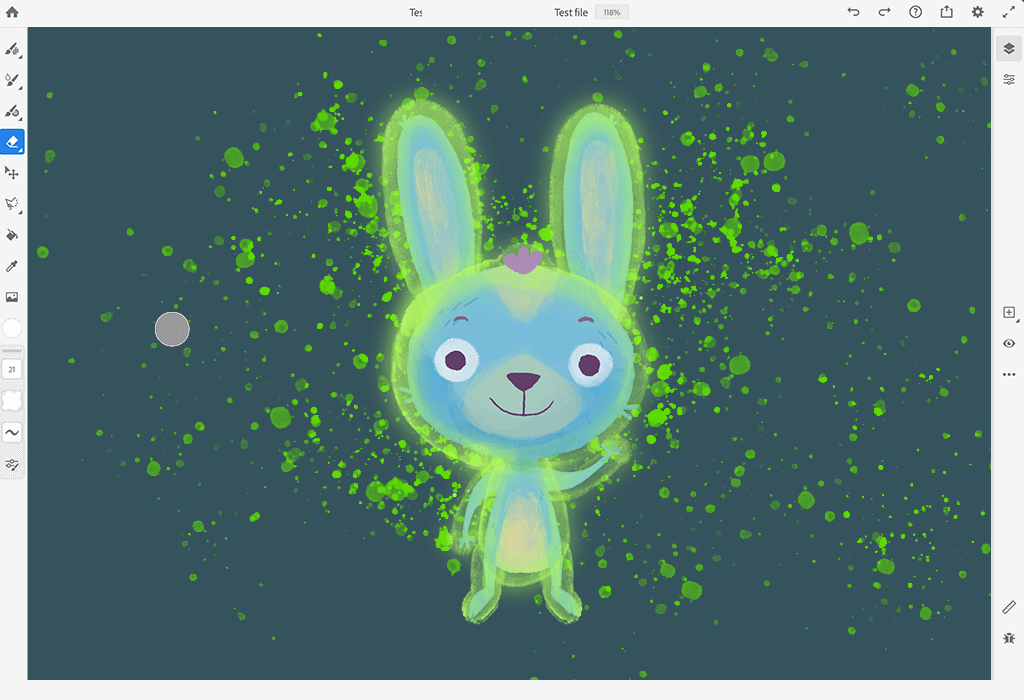
The Eraser tool is similar to Fresco brushes, which means that you can use custom erasers with different settings to remove colors from your image. Fresco allows you to use pixel and vector erasers, depending on the layer that you want to edit. To remove unwanted elements, follow this Fresco tutorial.
Double-click on the eraser to adjust its settings. Then, you can select its size or flow in the bottom part of the Tools panel. Unlike a physical eraser, a digital one can remove everything, including oil paint or ink. With the help of this tool, you can not only remove unwanted elements but also enhance your image with little to no effort.

Thanks to this app, you can use basic options that will come in handy for every traditional artist who doesn’t need to use masking tools and work with layers. Besides, you can further optimize your workflow by using free sets of Photoshop brushes.
Here, you will find art brushes that will help you make your image look like a painting, brushes for enhancing photos of natural and physical phenomena, and grange brushes for creating unique effects and backgrounds. This bundle will be especially useful for those who have installed a free version of Adobe Fresco with a limited set of tools.


