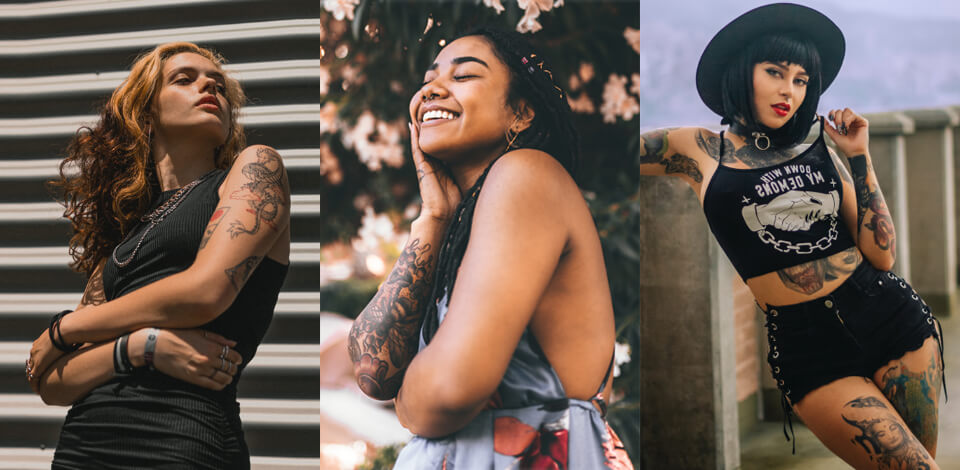
If you specialize in tattoo photography and want to take good photos, take care about lighting to avoid glare and exposure issues. You can experiment with different angles and minimize distracting details.
Remember, that this type of photography has a lot in common with portrait and boudoir shoots, which is why you may use some similar techniques. In this article, I will tell you how to photograph tattoos in detail and explain which camera settings and lighting setups will help you streamline your workflow.
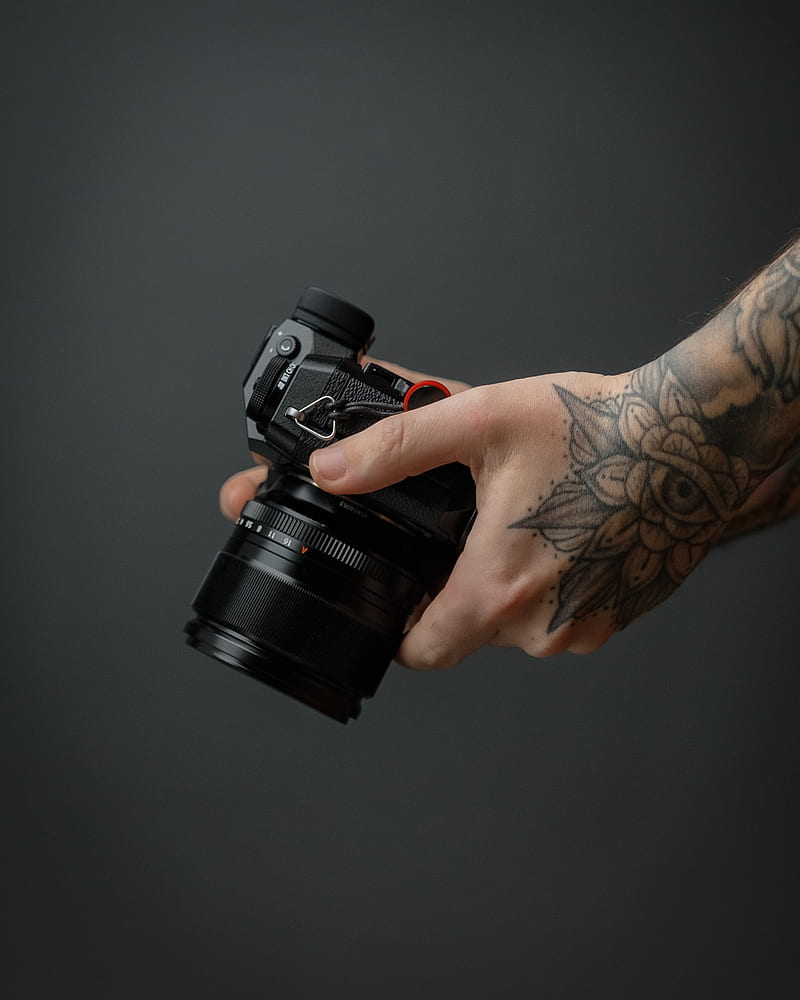
If you want to improve your skills, avoid using point-and-shoot cameras or smartphones since they are hardly suitable for taking high-quality tattoo photos. It’s better to use a more expensive DSLR camera or a mirrorless camera that can be used with interchangeable lenses. You can either purchase a full-frame camera or opt for an APS-C model. Your choice should depend on your budget and the type of photos that you want to take.
If you want to send your photos to your clients in a digital format, you can find many affordable camera models on the market. For instance, you can buy the Panasonic LUMIX ZS100 or Canon EOS M50 Mark II. If you want to improve your skills, avoid using point-and-shoot cameras or smartphones since they are hardly suitable for taking high-quality tattoo photos. It’s better to use a more expensive DSLR camera or a mirrorless camera that can be used with interchangeable lenses. You can either purchase a full-frame camera or opt for an APS-C model. Your choice should depend on your budget and the type of photos that you want to take.
If you want to send your photos to your clients in a digital format, you can find many affordable camera models on the market. For instance, you can buy the Panasonic LUMIX ZS100 or Canon EOS M50 Mark II.
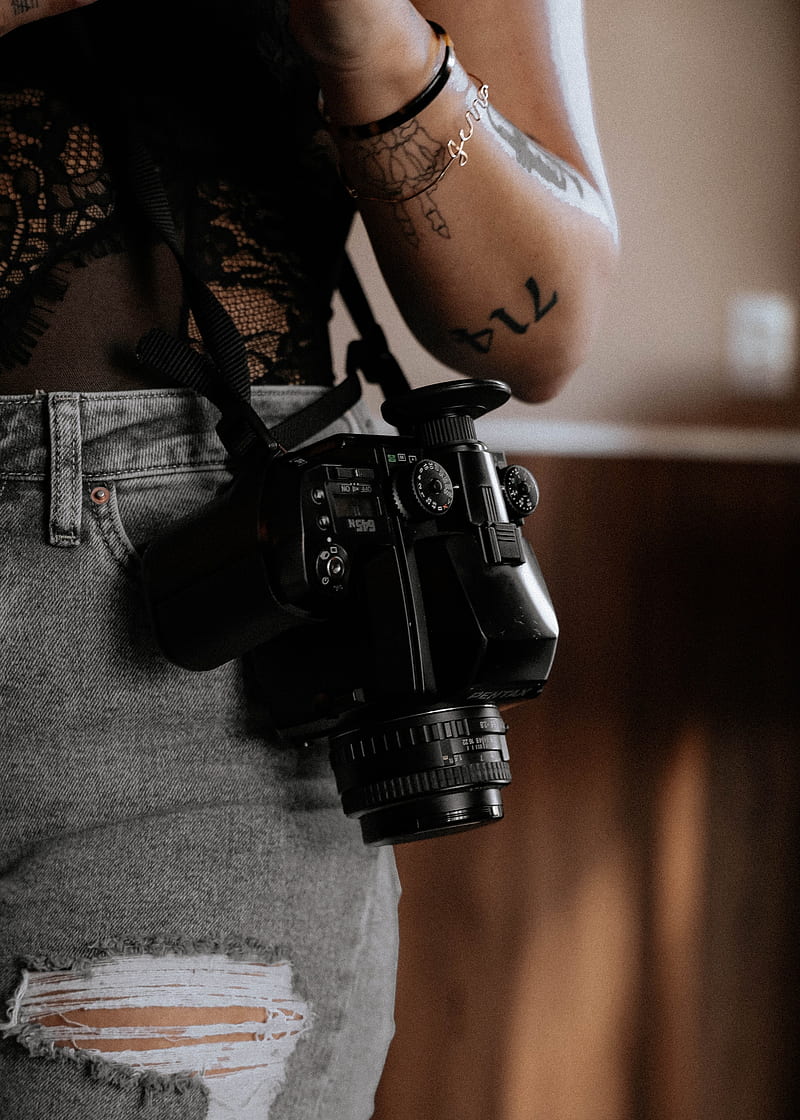
However, if you need to print your images first, you will need to use a more expensive camera that supports a high resolution. It will allow you to take more detailed images. The only disadvantage is that if a camera supports a high number of megapixels, your photos will take up more space. This is why you need to purchase SD or flashcards to ensure that you will never run out of free space.
For instance, you can purchase such high-resolution camera models: the Fujifilm GFX 100 or Sony Alpha 7R IV.
If you mostly work in your studio, it’s better to buy a camera that is more suitable for low-light conditions. The best models allow you to take low-noise photos at high ISO as they are fitted with sensitive sensors. I recommend you to use such cameras as the Nikon D6 or Sony a7S II.
If you want to capture the tattoo with a high level of detail, you need to use a lens that doesn’t distort objects in the frame. Thanks to it, the tattoo will look just as it looks in real life. To achieve such a result, you can purchase a standard lens.
Such lenses allow you to capture realistic photos without distorted details. For tattoo photography, it’s better to use a fixed millimeter lens. Such lenses have better quality than zoom lenses and let you take photos without any blur.
Besides, you can buy a wide-angle lens, portrait lens, or macro lens. When taking portrait photos of a model in a working environment, make sure to use a wide-angle lens.

To take pictures with a blurred background, use a portrait lens. If you want to intensify the blur effect, take photos at a bigger aperture. It will allow you to emphasize your subject.
A macro lens makes it easier to take photos with all the details of the tattoo clearly visible. While you can use a portrait lens, a macro lens is more suitable for this purpose.
If you are on a budget, you can buy a 50mm f/1.8 lens since it’s a great value for the money. Such lenses are released by all leading manufacturers, such as Canon, Nikon, and Sony.
When taking photos of tattoos, it’s recommended to use a focal length ranging from 18mm to 200mm. The shortest focal range is suitable for taking wide-angle photos, while the longer one can be used for close-up photos.

To ensure that your photos look professional, you need to use the right camera settings. When selecting a camera mode, you can either choose the Aperture Priority or Manual mode. As for exposure settings, it’s better to shoot at a low f-number and a shallow depth of field to make your subject stand out.
When taking photos in the Aperture priority mode, check whether you use a sufficient shutter speed to avoid camera shake. Then, set ISO to the lowest value that is suitable for your needs.
If you prefer shooting in Manual mode, use the lowest f-number and configure the ISO and shutter speed to achieve the right exposure levels. If you are wondering how to photograph tattoos without glare, it’s better to set the exposure value to 0.
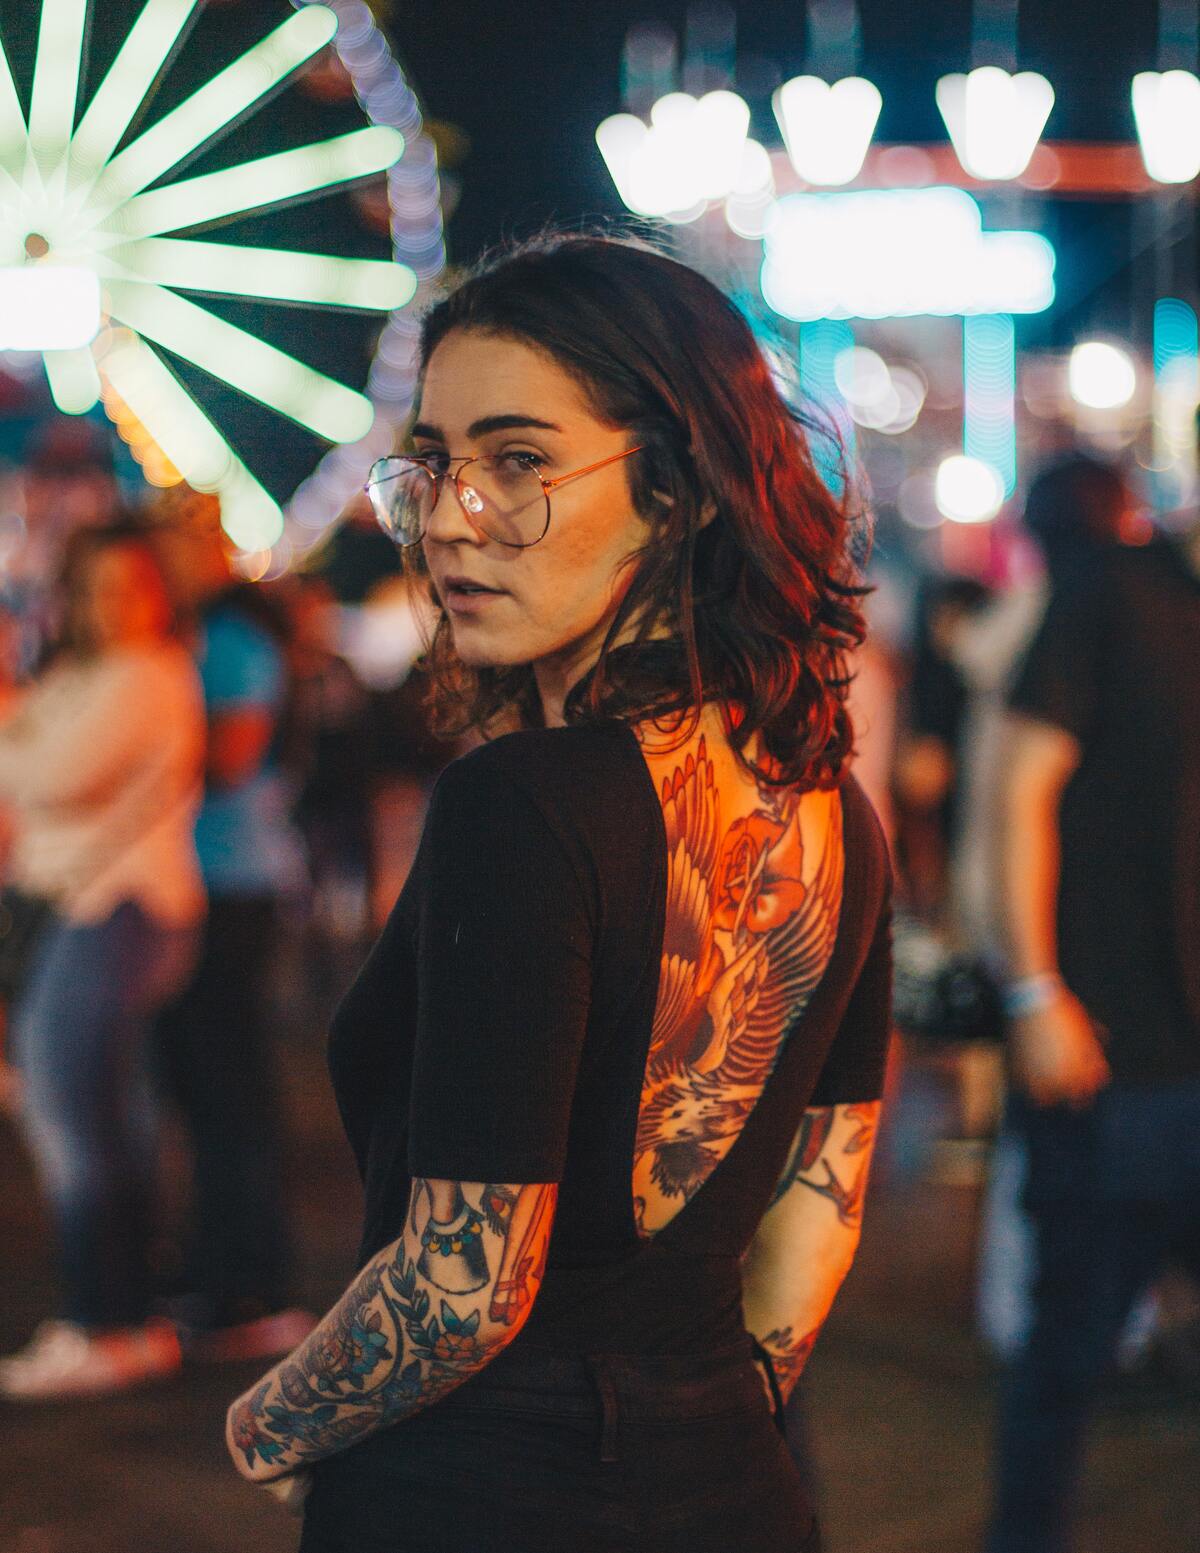
To avoid exposure issues, make sure to use the spot metering as it lets you accurately measure any area in the frame. You need to select this mode and half-press the shutter button. The camera will automatically adjust the exposure depending on the lighting. This method can be used in a variety of shooting modes. For instance, you can use it in Full Auto, Program, Aperture Priority, or Shutter Speed Priority modes.
Besides, I recommend you use single Auto Focus. If you don’t want to set the WB manually, use Auto White Balance. In case you aren’t satisfied with the result, you can adjust the color temperature during post-processing.

Over 70% of tattoo photos are taken indoors. This is why it’s important to set up lighting. You can use flash or buy a continuous light system to take professional photos.
To ensure that your subject is well lit, put the light source on the side of the subject at a 45-degree angle. You can make light softer using a diffuser. By positioning light sources in this way, you will ensure that the other side of your subject will be shadowed. You can experiment with different angles to take more attention-grabbing pics.
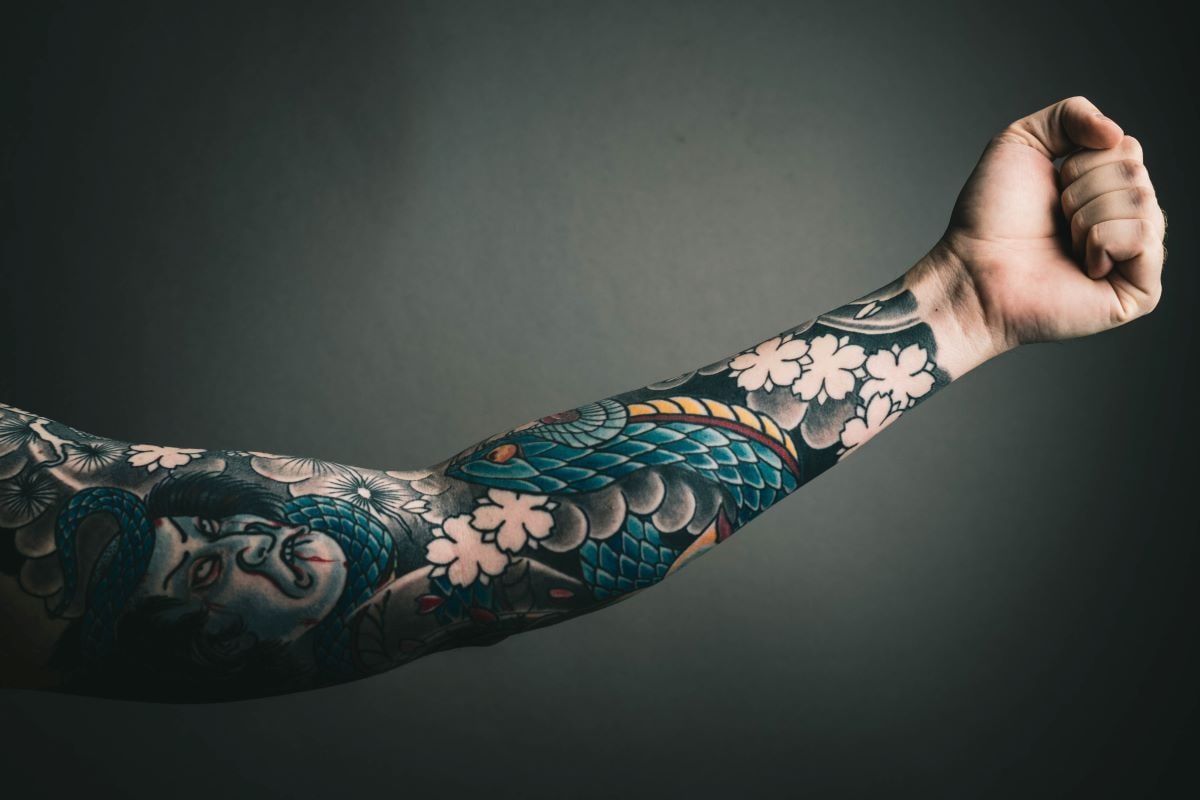
If you need to avoid shadows, you will need to use a reflector or an additional light source together with a diffuser. When using a portable light, put it behind the subject to emphasize the details.
You should also pay attention to how you position the tattoo in the frame and take into account the light source. While some inexperienced photographers use front lighting, it’s much better to make the light slightly angled. It will give your photo a voluminous feel.
When doing tattoo artist photography, avoid using the camera flash or pointing it directly at the subject. If you still decide to use it, make sure to use a diffuser as well. The in-built flash is less convenient since it is always directed at the subject. It’s better to take the external flash and use it with a diffuser at a 45-degree angle.

When taking photos outdoors, you need to pay attention to the lighting. The harsh daylight might make some details of the tattoo less visible. This is why it’s better to use soft lighting instead.
To achieve this, you may use the diffuser and a reflector. Even if you use only a diffuser, it will help you make the light softer. You just need to put any diffusing material between your model and the sun. Thanks to it, your subject will be lit with soft light regardless of the weather conditions.
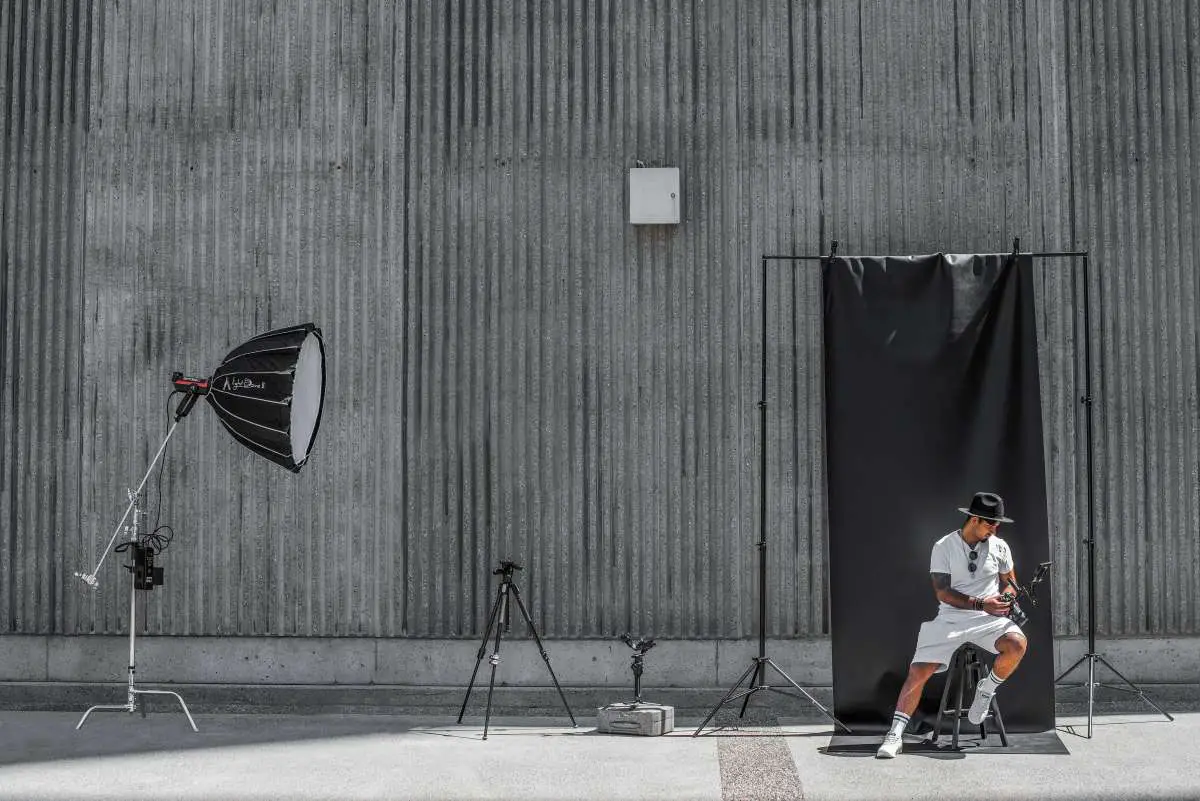
Most photographers carefully select the time of day to take pictures to avoid any issues with lighting. For instance, it’s better to take photos in the morning or late afternoon to avoid deep shadows and harsh light. On a cloudy day, light is usually softer and more diffused.

By using different poses, you may emphasize a tattoo and take impressive photos. It might be difficult to capture tattoos if a person is moving. Instead, it’s better to ask the model to cross their arms or stretch their back. Besides, you can take three-quarter view photos.
If you want to capture a sleeve tattoo, take several photos to show different details.
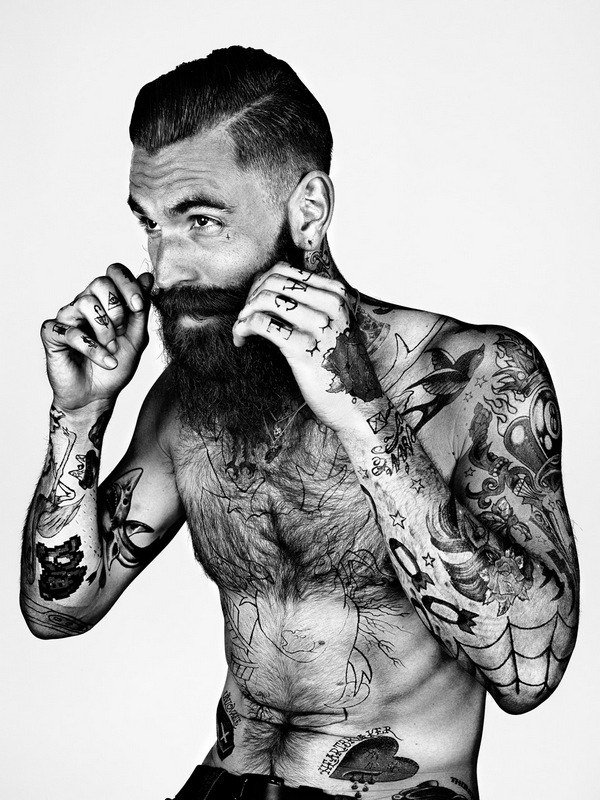
Here are some other ideas that you can use for taking your photos:
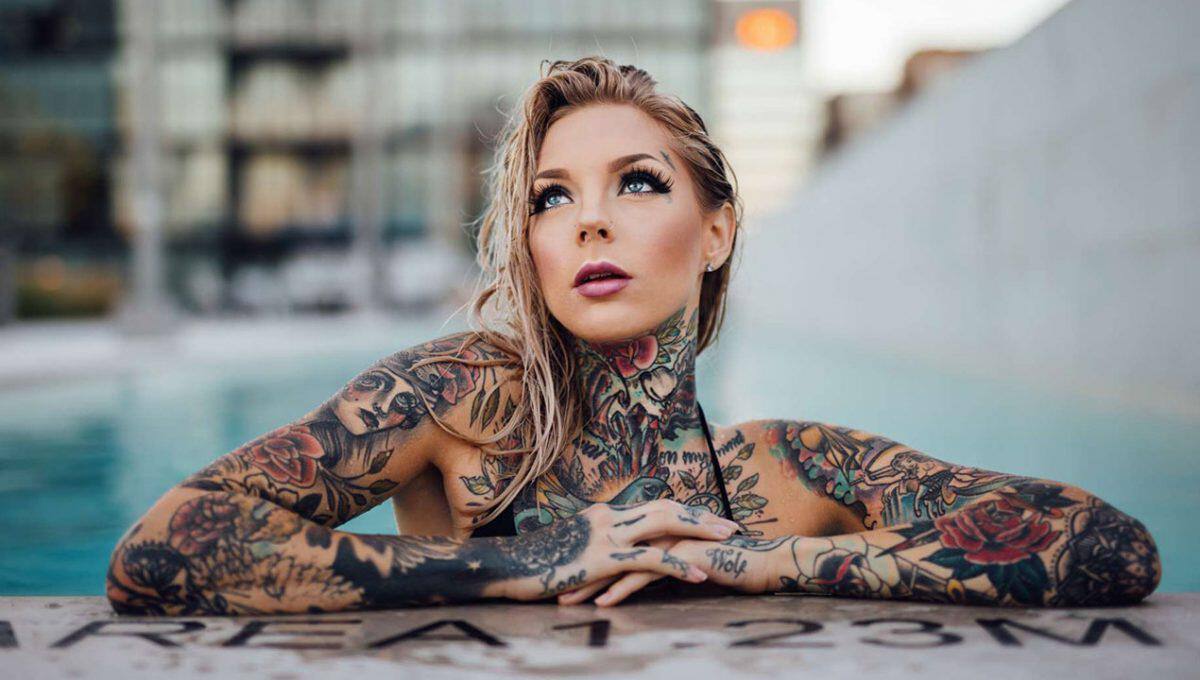
If you have never taken such photos before, make sure to use these handy tips to take attention-grabbing photos:
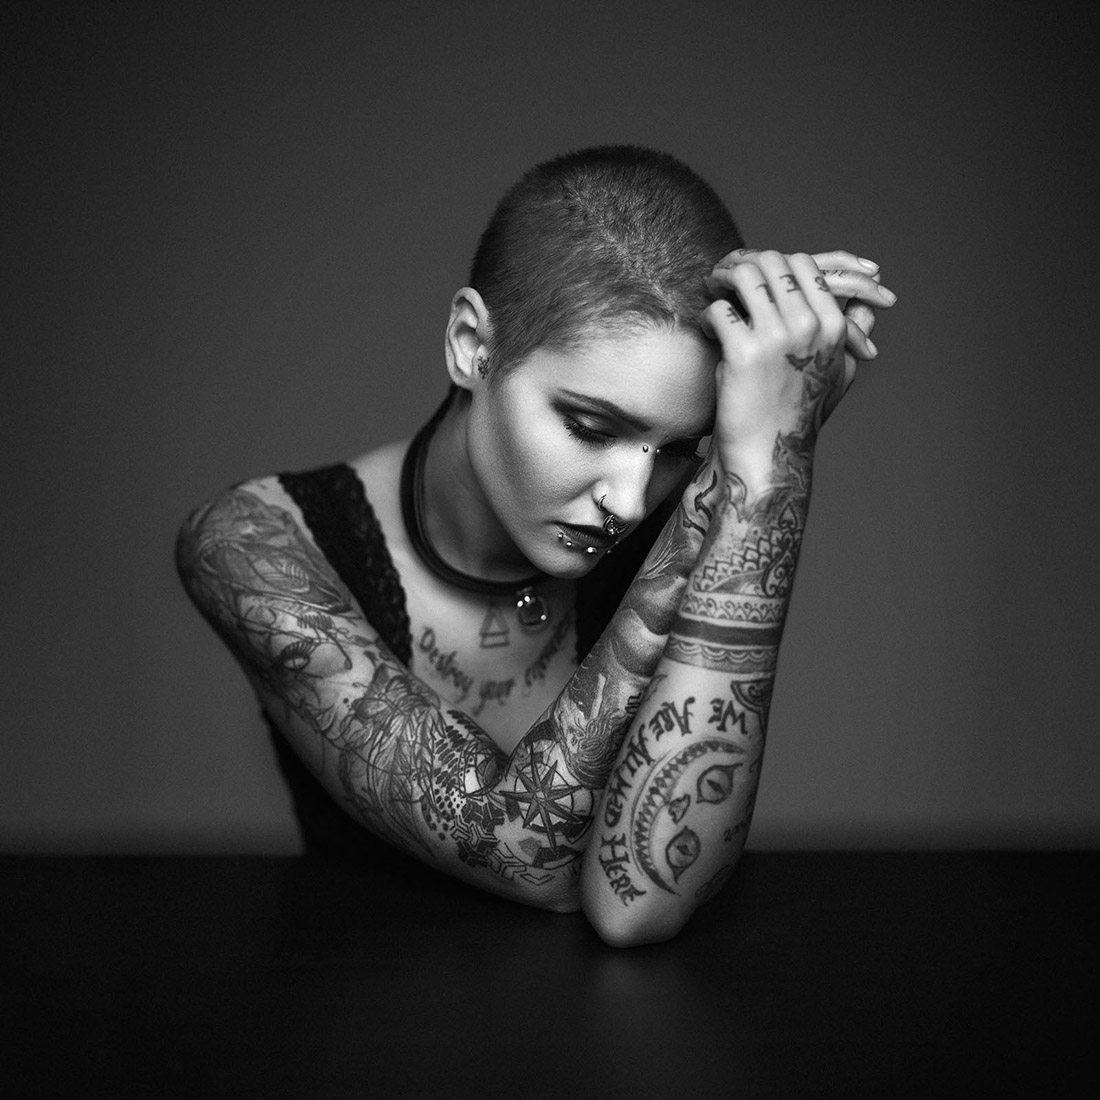
To emphasize the main object of your photo, it’s better to use a simple background. For instance, you may purchase a solid-color background that will be useful for taking portrait photos. It’s important to avoid anything that might distract a viewer from the main object.
Professionals who specialize in tattoo photography prefer using a matte background. Besides, you can use the black background for close-up photos, portraits and other images.

It’s better to avoid any elements that clutter the frame. By using a basic background that blends with your subject, you can take photos with large apertures. In some cases, a complex background is also possible, however, you need to experiment with different angles to make the tattoo stand out.

When importing tattoo photos to your photo editing software for PC and Mac, such as Photoshop or Lightroom, you might notice that some small details become blurred. This is why it’s important to ensure that the tattoo remains clearly visible.
Most filters for skin smoothing make the whole photo slightly blurrier. However, it might result in a distorted tattoo. To avoid this issue, you need to use layers and employ the selective adjustment technique.
Professional editing software usually has the Sharpening tool. You can use it on a tattoo to ensure that it will remain clearly visible.
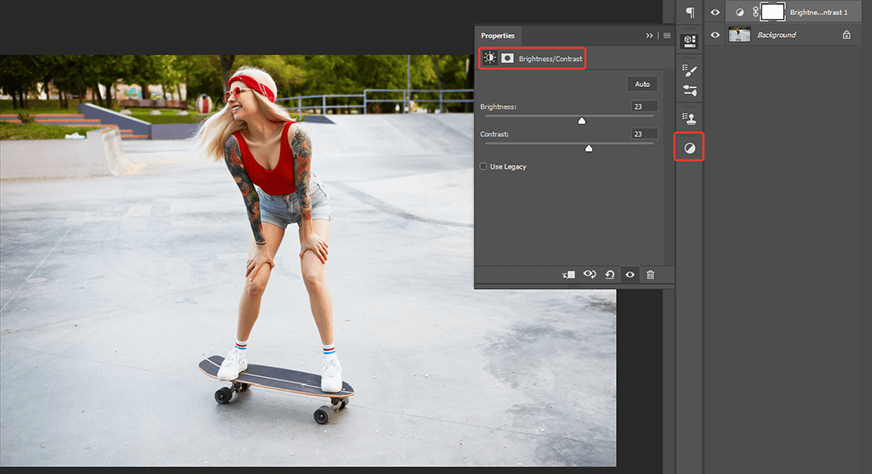
To make a tattoo more attention-grabbing, you need to adjust sharpness and contrast. By increasing contrast, you can make the colors pop. This way, your photo will get a more appealing look.
You can quickly raise contrast and brightness in Photoshop.
To do it, follow these steps:
When adjusting colors, make sure to consider tones. Just like product photography, tattoo photos should accurately represent your object.
Since it might be impossible to create perfect lighting conditions during a tattoo photoshoot, some details in your photos might look wrong. However, you can always fix issues with colors during post-processing. Make sure not to overdo it since your photo might acquire an overly edited look.
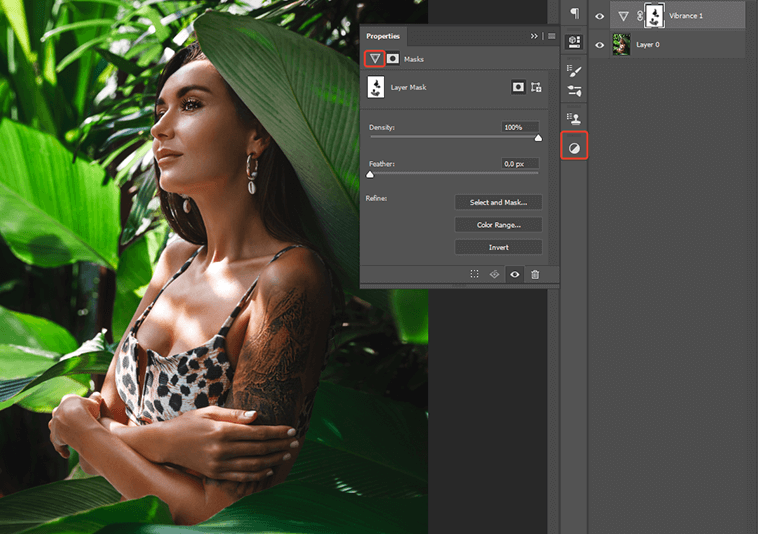
If you want to make colors pop and edit tones, use adjustment layers. They allow you to edit your image in a non-destructive way. All your edits will be saved in a new layer, while the source image will remain unchanged. To quickly access these tools, click on the dedicated icon in the Adjustment panel.
When using this panel, you can select any available tool for changing different settings:
After doing this, you can go to the Properties panel, to customize the adjustment layer tool.

You can suggest your model take photos in a tattoo studio to capture the process of inking in detail. Such photos might be quite engaging. Once the person gets a tattoo, ask them to pose while showing it. This way, you can take nice candid pics.

To take more attention-grabbing photos, you can ask your model to pose in their working environment. It will allow you to provide your viewers with context.
If you want to take photos of a sketching artist who has a tattoo on their hands, ask them to take the sketching pen and make it look as if they were creating a drawing. Some photographers prefer taking such photos from above to fit both hands and the tool in the frame. Alternatively, you can take a photo while standing in front of your subject.

When taking photos of a fitness trainer, it’s better to go to the gym. Ask them to pose when doing exercises. It’s important for their tattoos to remain visible. Such photos will look natural and unstaged.

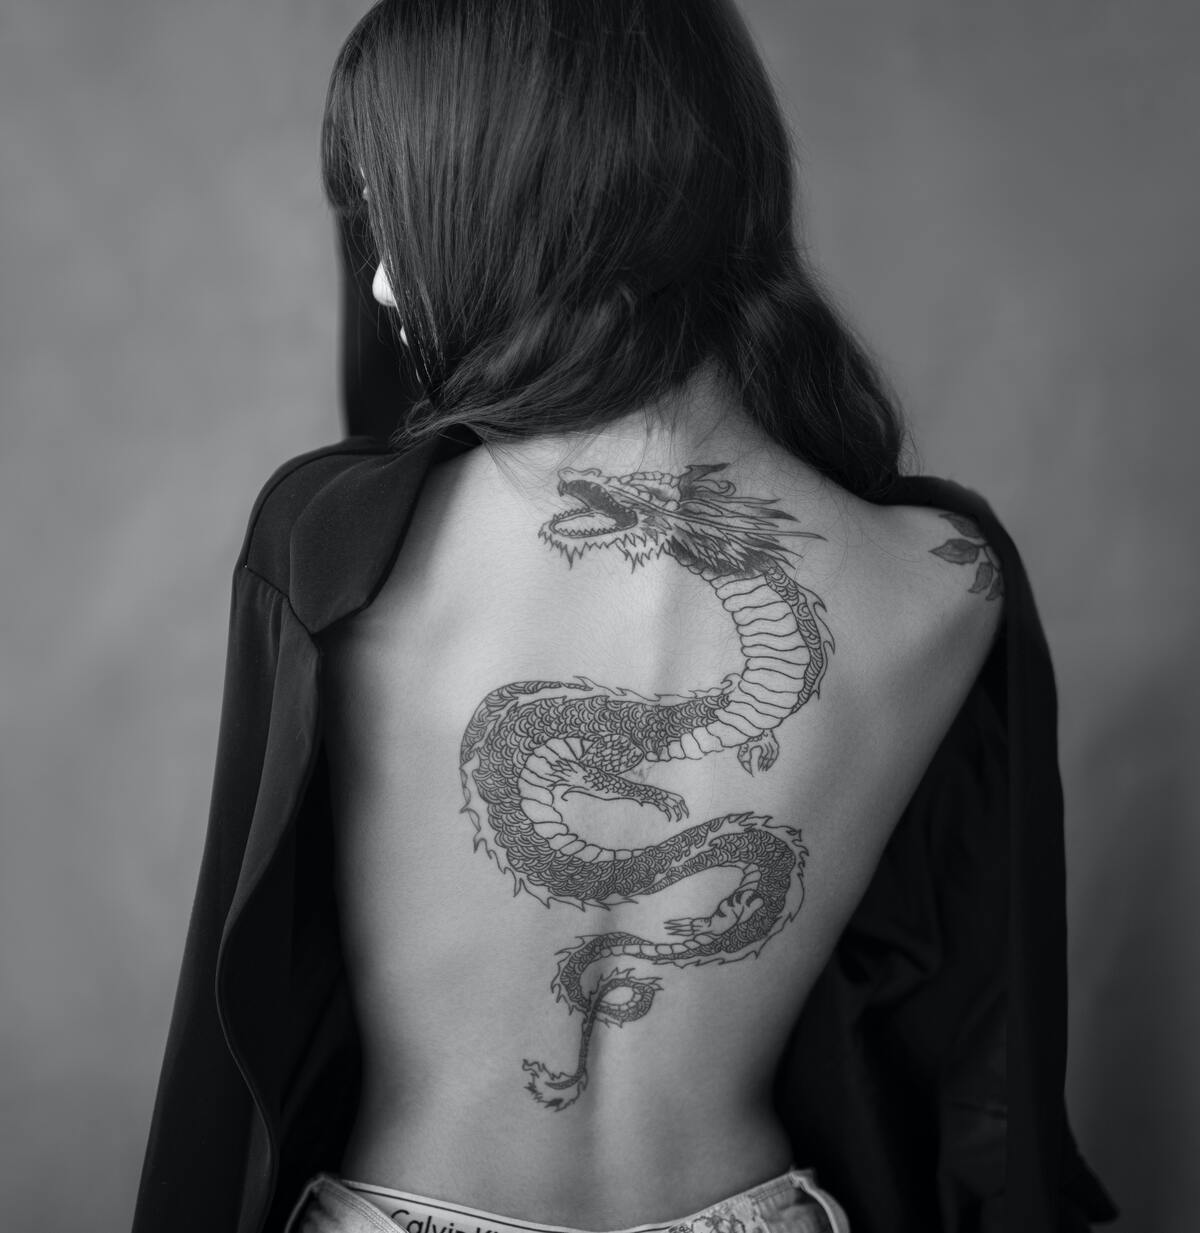
Most tattoos are single-colored, however, the most complex ones might be multi-colored. In the first case, you can experiment with various black and white photography techniques. The most important thing is to adjust the contrast to emphasize the important details.
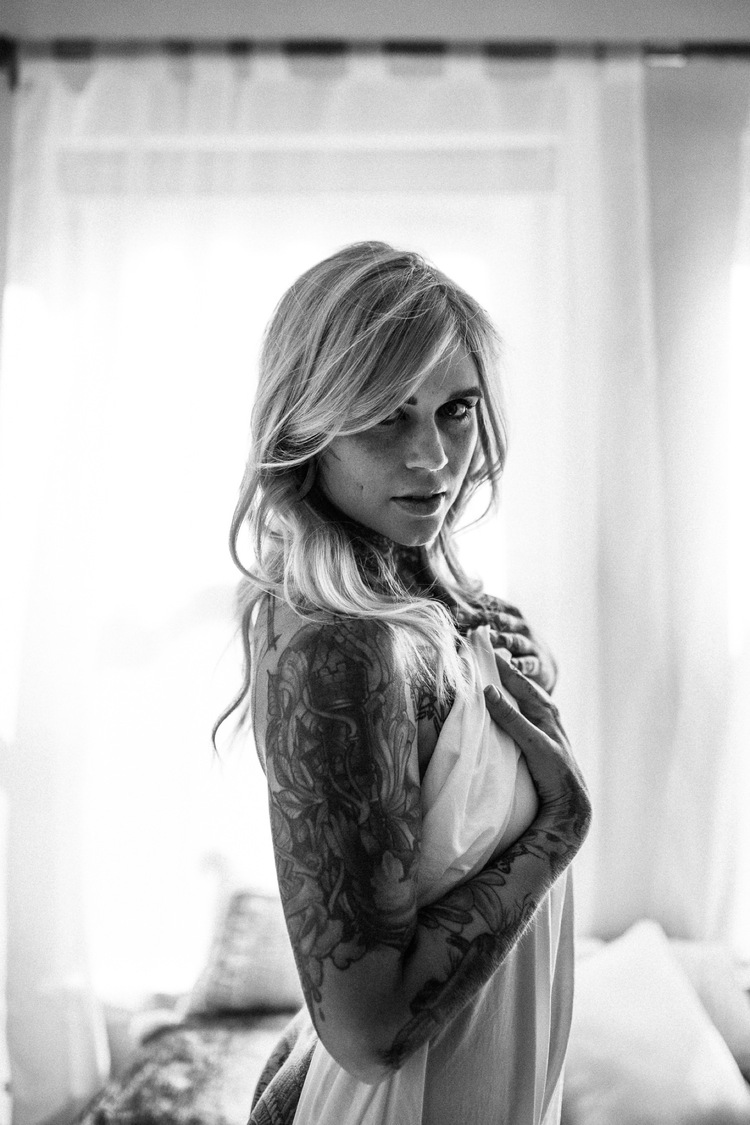
If you don’t have a lot of experience when it comes to taking monochrome photos, you can take RAW images and then turn them black-and-white during post-processing.
You can add smoke, flames, or bright lights to give your photos a more mysterious feel. By adding wisps of smoke, you can fully transform the atmosphere. In addition, you can use various props when taking photos or add them during post-processing.
You can do it in a few clicks if you use these ready-made effects. Using overlays, you can add flames, sun rays, or a bokeh effect to your photos. All these tools are compatible with all the versions of Photoshop.

If you want to make your pictures funnier, use animals during your tattoo photoshoot. For instance, you may ask your models to pose with a puppy or a kitten.

To create a mysterious atmosphere when taking photos of a girl, add a husky to the frame. Some photographers prefer taking photos of models with horses to evoke a feeling of freedom.
If you want to make your tattoo photos worthy of being published in glossy magazines, you can enhance them with the help of these actions. They will help you adjust brightness and contrast, emphasize blue tones and remove imperfections from portrait photos. In this collection, there are over 300 actions compatible with Photoshop CS 4-6 and Photoshop CC.