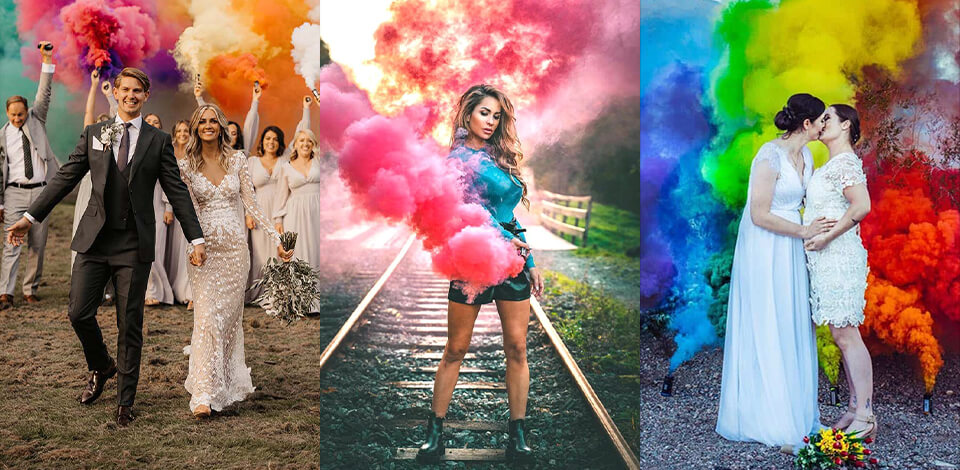
Note! Since smoke bombs are pyrotechnical devices, they can be explosive. That’s why you must be very careful. Read the instructions and follow them precisely. Even cold burn bombs can fail and you’ll have to make quick decisions to keep everybody safe.
Smoke bombs are products of the chemical industry that are actively used by photographers, who want to create arresting effects in images. The cost of one bomb varies from $6 to $20.
Smoke bomb photography became extremely popular in 2019 and since then more and more shooters have used such items during photo sessions. However, photographing smoke is a challenging task, and you have to devote some time to grasp the essence. If you want to make strides in this activity, our informative article will surely come in handy.

Long before you start taking smoke bomb pictures, it is paramount to choose proper products, which means you should opt for bombs with the inscription “cool-burning” on the package or the same words in the description list. Such smoke bombs are safe to hold while they are burning unlike alternatives, which may get too hot.
Of course, you may set bombs on the ground, but it is a common practice for models to hold such items in their hands, and the consequences can be very bad. In addition to this parameter, you should consider the burn duration, ease of use, and price.
You may see bombs that can be simultaneously lit at both ends. However, they make a poor choice for smoke bomb photography as they last twice as short as standard options. So, you will simply waste money and will end up with fewer pictures.
While shopping around, keep the following things in mind:
Presentation. The range of these pyrotechnic devices is truly mind-blowing and each of them creates a different effect. Currently, you can find smoke grenades, smoke sticks and cans, smoke tubes with single and double vents, smoke clouds, and more. Learn how all these products behave and chose the one that suits you most.
Ignition. To play it safe, you should opt for bombs with a ring or wire pull. Though they cost more, you will experience no issues while igniting them.
Duration. This parameter denotes the period when the smoke is visible. Typically, the duration varies from 40 seconds to 1 minute and a half.
Density. This factor is the most crucial for those, who are seriously involved in this photo genre. Some bombs create a fantastic foggy effect, while others provide a dense opaque coverage. Of course, you can find options in between. So, decide on the atmosphere you want to have in photos and choose a smoke bomb that can match your desire.
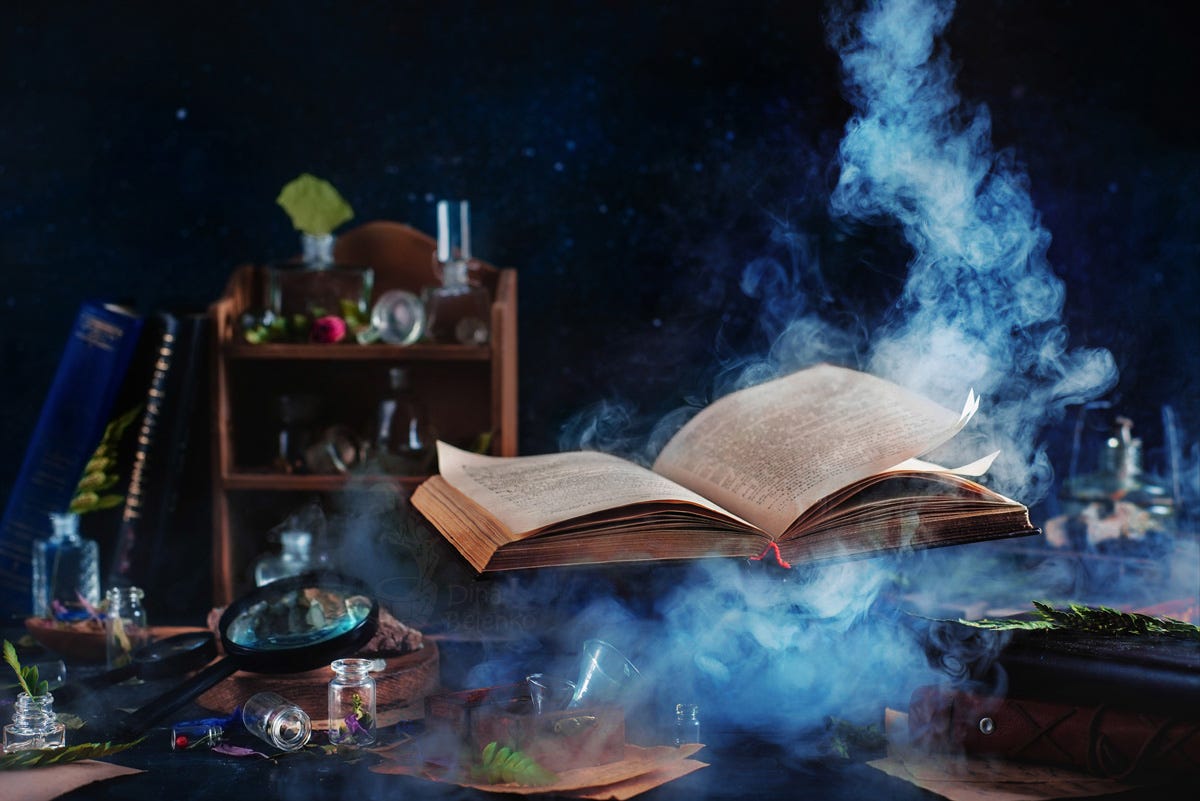
Photo taken with Enola Gaye smoke bomb
Considering all the above-mentioned factors, I prefer Shutter Bombs for Photography for my shooting adventures. A good alternative is Enola Gaye. Of course, there are lots of other brands that release up-to-standard products. You can visit firework shops, paintball suppliers, Wal-Marts, online platforms, e.g., Amazon, and other specialized services.

The success of a photoshoot with smoke bombs depends a lot on weather conditions. So, it makes sense to check out the weather forecast not to waste your time. If you jockey for creating a surreal and mellow look in images, you need wind that will diffuse the smoke as much as possible. If you take pictures on a windless day and still seek such an effect, you can use a fan. In fact, a wind of about 10-15 m/h is great for diffusing smoke in a gentle manner without creating heavy clouds.
If you want to have dense smoke clouds in pictures, you should wait for a calm day. This way, you can use smoke for arranging a beautiful composition and surrounding the needed objects. One more weather phenomenon to keep in mind is rain. If you use smoke bombs for photography during the dry season, there may appear accidental fire, which is very dangerous. Therefore, if you can’t postpone the shooting, you’d better arrange it in urban settings.
Anyway, you must monitor the temperatures very precisely. If it is too hot and there are some inflammable objects at the shooting spot, you have to be extra careful.
Lighting a smoke bomb, you should keep it at the distance from your body and other people. You should do so to avoid sparks that explode at this moment and may cause serious harm.
As with any fireworks, it is necessary to have a bucket of water nearby! Even cold-burning bombs may become hot after several seconds and once they burn out, you need to keep them somewhere. Never leave used smoke bombs on the ground, especially if you take photos in the forest, park, and similar locations.
It happens sometimes that smoke bombs don’t work as intended. For instance, if the outlet is clogged, it will lead to an explosion. You can figure out whether there is something wrong with a bomb if it emits little smoke. In such a case, throw it in a metal bucket and move away to a safe distance.

Those professionally engaged in smoke bomb photography state that scouting the photography location is a must even if you are going to work in your neck of the woods. Some areas aren’t available for public use, while others may have restrictions on such type of a photo session.
First and foremost, you should find an outdoor place with proper ventilation. Though the smoke emitted is non-toxic, there is no point in inhaling it. In fact, if too much smoke gets inside your body, you may feel groggy. This is particularly true for the grenade smoke.
Grenades can become extremely hot. Besides, they emit ash and sparks, which serve as a potential fire threat. So, it is better to use them outside without dry vegetation at a short distance. Even if you have ignited them several times before and everything was OK, you should always remember all the risks.
However, using grenades in crowded public places isn’t an option either. People usually perceive plumes of smoke as a sign of danger and there may appear real chaos.
This is the main gear you need to take smoke bomb pictures:
1 or several smoke bombs;
A camera with adjustable shooting modes. It is recommended to purchase a DSLR, so that you can set up the shutter speed, aperture, and focus. I prefer Canon 5D Mark IV for this type of shooting;
An external flash or strobe lights. I like Godox V860III-C as the modeling light at the front. It perfectly blends with ambient light and has 10 levels of brightness.
A fan for directing smoke.
A tripod. I recommend you to buy AmazonBasics as it ideally stabilizes your camera while you are practicing smoke bomb photography. If you can’t afford to buy a good tripod, you can ask your assistant or friend to direct smoke while you are taking photos in a “hand-hold” mode.
A metal bucket with water.
If you want to simplify the photo post-production, it is better to shoot in RAW format. You can also choose JPEG in case you don't intend to edit shots. Even though RAW images occupy a good deal of memory, they allow adjusting white balance and exposure more precisely. For the smoke to stay in focus, you will need to set an aperture approximately at f/8. The sync speed of a flash is supposed to match a shutter speed – usually approximately 1/200 or 1/250.
Your photos with smoke bombs won't have almost any noise if you set the ISO to 100. In case you need noise to be more noticeable, increase the ISO value. When you take photos in RAW format, white balance doesn't play a significant role, but you can set it auto just to be on the safe side. For a picture in warm tones, a white balance should be set to “shade”, for a picture in cool tones, it should be set to “tungsten”.

Before the beginning of a photoshoot, I advise you to discuss and explain all the necessary steps to a model, especially if you want to get dynamic shots. Ask a model to try certain poses firstly without an actual bomb, so that there won't be any misunderstanding. A model may not be able to realize all your smoke bomb photography ideas at the first attempt, so prepare extra grenades.

Smoke bombs can jazz up any photo session but when it comes to taking portraits, you are bound to receive terrific results. In fact, using a color smoke bomb for photography of people, you can highlight a specific mood, express a theme more vividly, present a particular epoch, and more. The possibilities are endless. So, if you have some unique portrait photo ideas on the brain, don’t miss a chance to use smoke bombs.

Smoke bomb photography is absolutely appropriate for Halloween-style photoshoots. A model dressed as a witch or other scary creatures surrounded by green smoke will look awesome.

Lighting is crucial for any photography genre. Not to spend many hours fixing lighting defects in Photoshop, you should stick to the rules of golden hour photography. Actually, this involves taking images during the last hour before sunset or the first hour after sunrise.
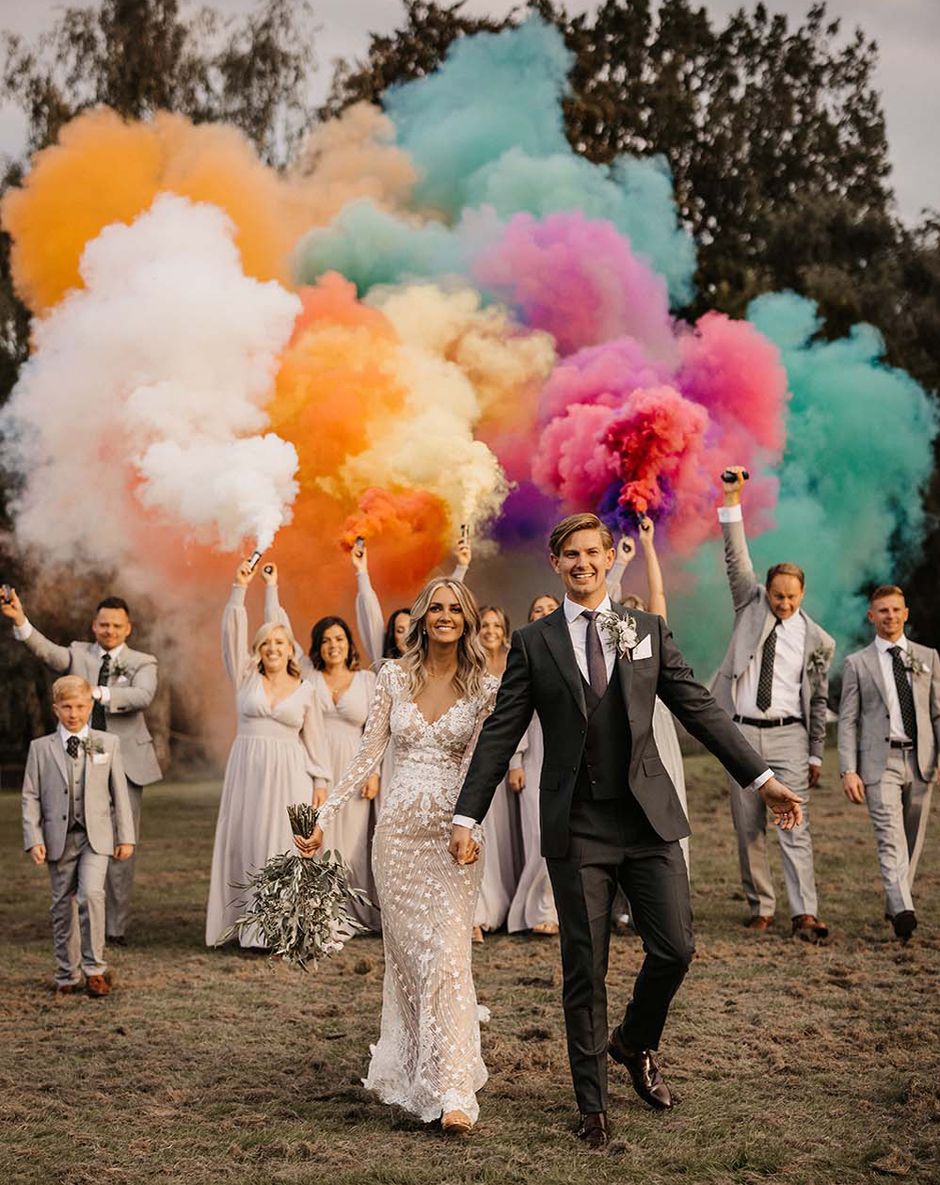
Smoke bombs can enliven any composition and this works particularly great for engagement and wedding celebrations. Depending on the general palette of decorations and props, you can choose smoke bombs of matching colors. Besides, you can choose pyrotechnic devices that help realize a particular couple photo idea by filling the frame with dense smoke clouds, gentle transient trails, etc.

There are 2 approaches to smoke bomb photography – you can use matching colors for a balanced, eye-pleasing scene, or contrasting colors to make the smoke more defined and create a fantasy-like look. Of course, there are no stringent rules concerning this aspect, but I highly recommend you experiment with both variants to understand what works best in your case.
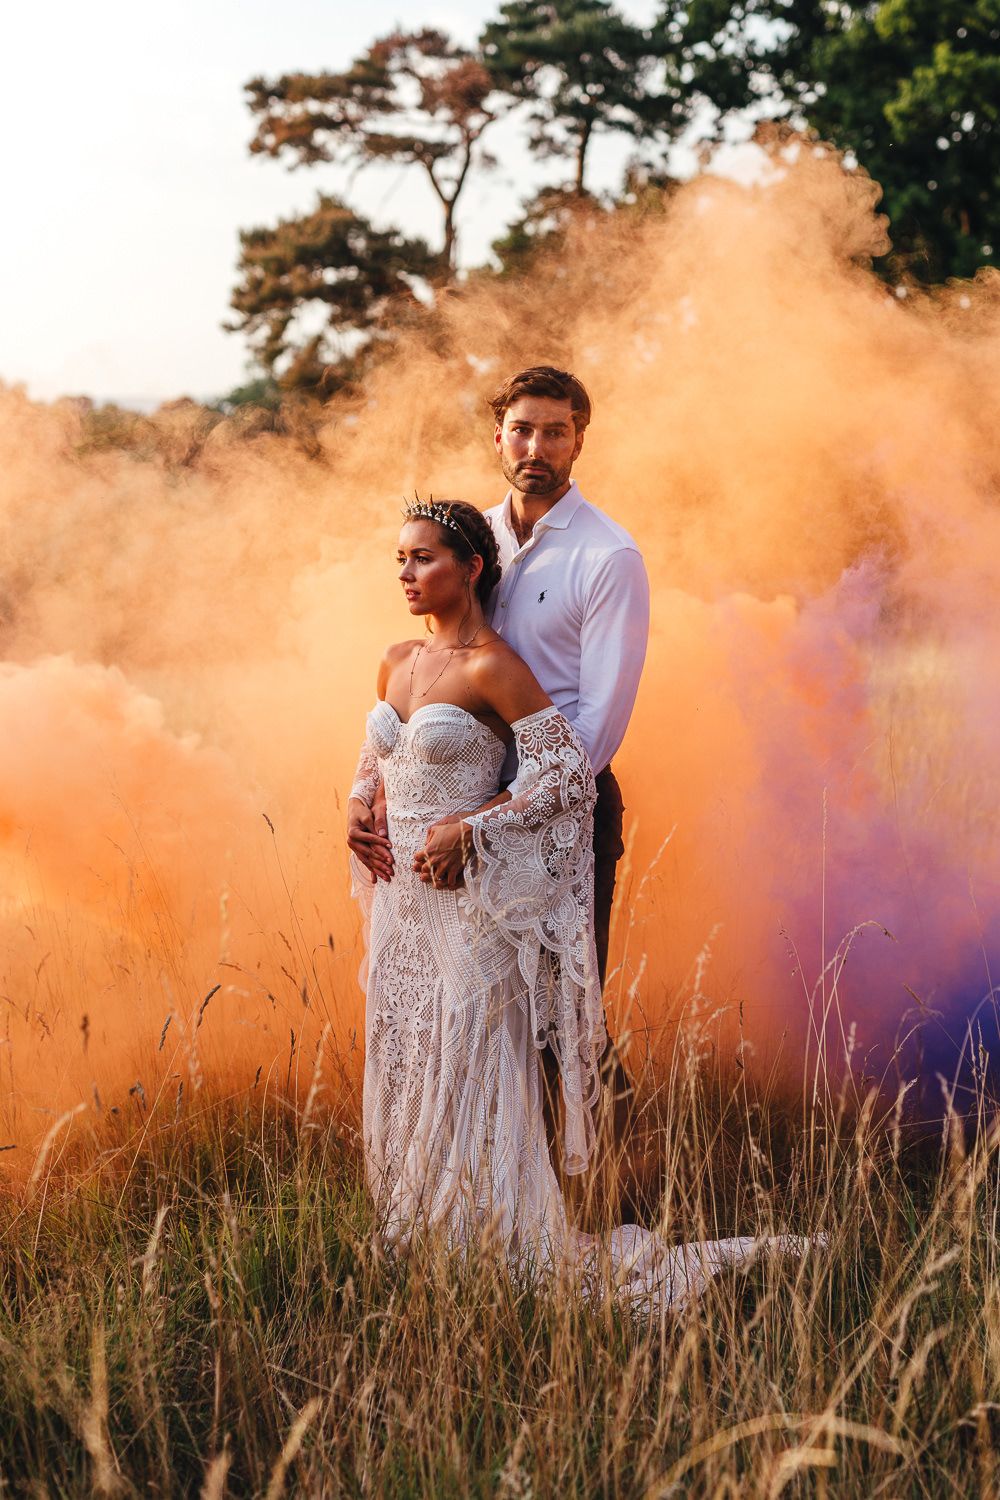
This is a wonderful idea if you want to add a bit of mystery to your photos. A model has to direct the smoke to the scene behind her and then move several steps forward, so that background is covered with smoke. The result is sure to be fascinating.

You know how difficult it may be to photograph a kid, who is capricious about doing what you ask him/her. However, if you use smoke bombs during shooting, your children will be happy to take any pose you ask for. Moreover, if you organize a thematic photo session and your child will be a historical character, superhero, prince or princess, etc., - smoke bombs will make the scene more organic.

You have probably seen images of people holding an object (lanterns, umbrellas, etc.) where color smoke comes from. This is a great way to diversify standard photo sessions but you need to ensure everything is safe.

Every element in smoke bomb pictures should perfectly match up with the rest of the scene. So, if you want to bring to life a specific idea, for example, take an image at a fancy ball, you should prepare a proper outfit for a model.

Though people mainly concentrate on portraits when using smoke bombs, you can try your hand at taking abstract pictures, conceptual shots, landscapes, and whatnot. There is no limit to creativity!

You can express a joyous mood of a winter holiday time by adding color smoke to your photos. Encourage models to put on unusual clothes and pose together with their relatives near the Christmas Tree. What’s more, they can take their pets to the photo session as well. Such winter photoshoot ideas are easy to bring to life while the resulting images will make people smile every time they look at them.

This is definitely one of the best gender reveal photo ideas. Everybody will be curious to learn the gender of a baby and you should photograph their faces once a smoke bomb is ignited and the smoke appears. Such images will become the centerpiece of any album. Parents can stay in the foreground while somebody lights up bombs behind them or at the sides. Remember that you need to find an open space for the shooting.

Reflection in water can add special charm to pictures if used properly. Arrange a romantic boat trip on the nearest lake or river, use colored smoke bombs and get unique shots.

If you want to take a step away from common approaches and techniques, you should definitely try smoke bomb photography. You can go to the neighboring forest and take photos there. Smoke will add mystery to images and natural landscapes will look absolutely arresting with color touches.
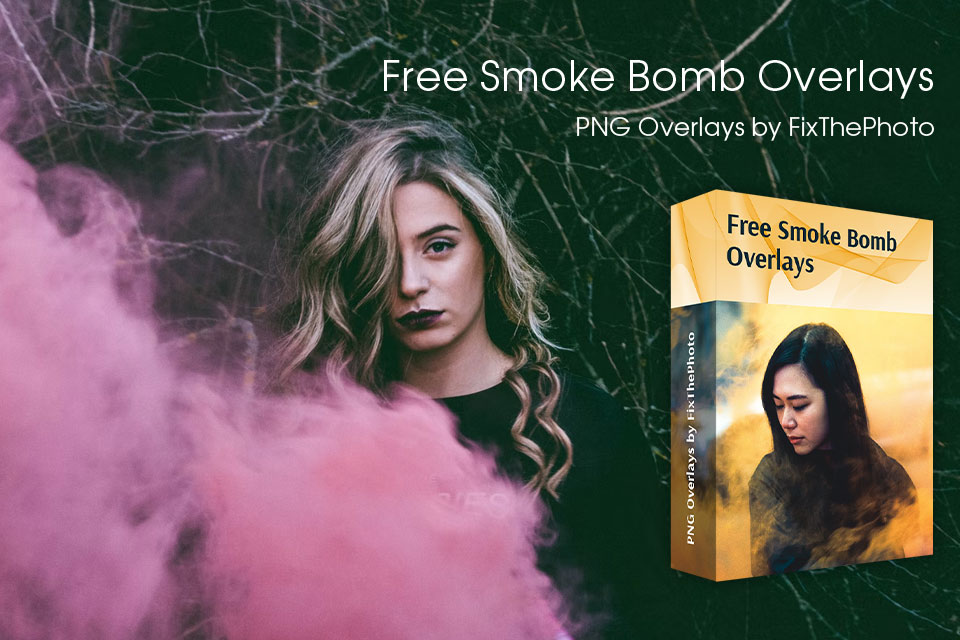
If you want to spruce up images with colorful effects during editing, feel free to apply these smoke bomb PNG overlays. The collection includes filters with the smoke of different colors, tones, sizes, and densities. You can use overlays to embellish the background, make pictures more vibrant, raise contrast, and create beguiling photos.