30 Seascape Photography Tips & Ideas

30 Tips for Sea Scape Photography
Loud ocean waves and picturesque landscapes make seascapes fantastic subjects for many landscape photographers. However, it is not easy to get the result you want. The sky may seem overexposed, it is hard to catch the moment the waves fall.
1. Have a Plan for Your Seascape Photoshoot

Just like for any photoshoot, planning is one of the key elements of success. There are a few strategies I like to use to make sure I’m 100% prepared for the next photoshoot.
First, check the weather forecast and the place itself (I prefer doing it with the help of Google Maps). As for the weather, I prefer it when it is quite cloudy. And don’t forget about the high and low tides. This will help you understand whether you have chosen the exact place you want to see in your seascape image. In addition, it will keep you safe.
- Read more about landscape photography.
2. Use a Wide-Angle Lens
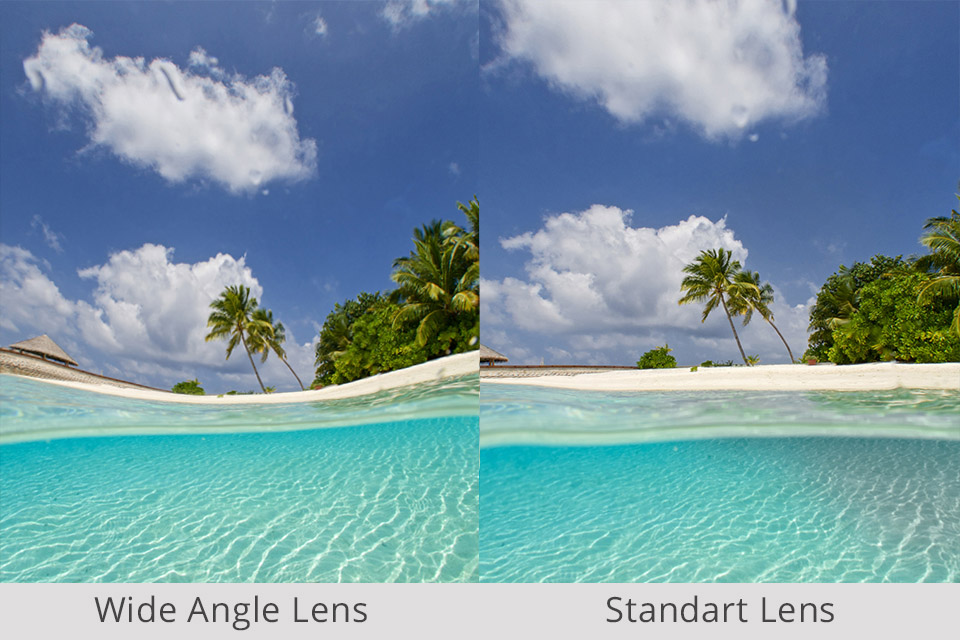
To capture the view in front of you in the best way possible, I recommend using a wide-angle lens, like Nikon AF-S Nikkor 14-24mm.
Short focal length will help you recreate all the grandeur and splendor of a seascape. There are many specifications you can use. With different shutter speed settings, you can change the texture of water on the images.
By using slow shutter speed, like 1/500, you can ‘stop’ the motion and capture the energy of the sea. To add the sense of motion or to show the flow of water, use faster shutter speed, like 1/2. By using a 1-second setting or an even faster speed, you will get the ‘white water’ or mist effect.
When taking a seascape photograph, you want every detail to be in focus. With the aperture of f/8 or less, you will get the sharpness of the objects both in the foreground and the background.
- View more best Canon wide angle lenses.
3. Use Fast Shutter Speed
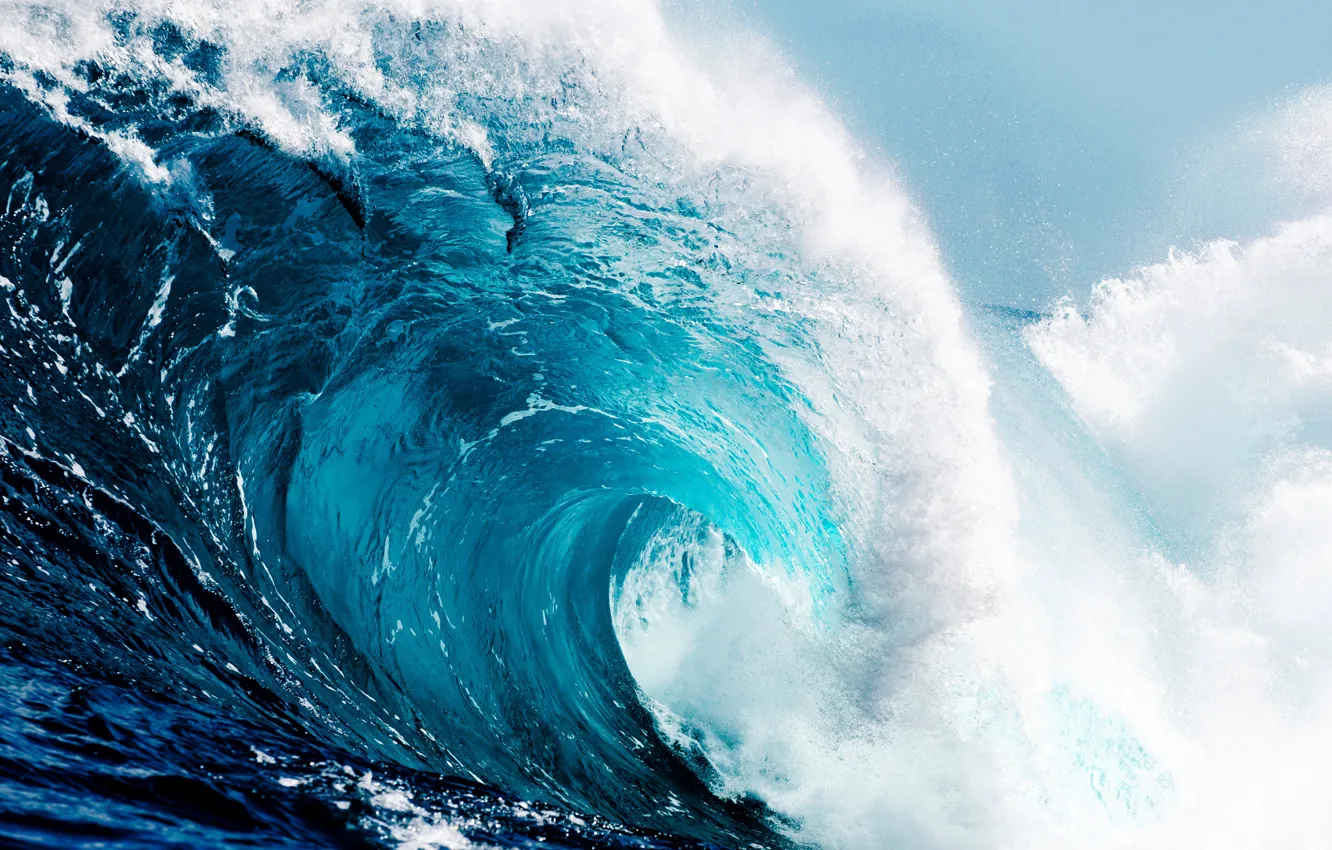
To take a shot of a curling wave, you need a frame freeze, use fast shutter speed for this (about 1/1000), try to avoid overexposure that can happen because of the sun reflections. Try underexposing the image 1 or 2 stops.
Use a waterproof case, like Meersee Universal Protector, which is universal because it fits both Nikon and Canon cameras. Use a telephoto lens to shoot at a long distance.
- Check out the best waterproof cameras.
4. Use a Tripod
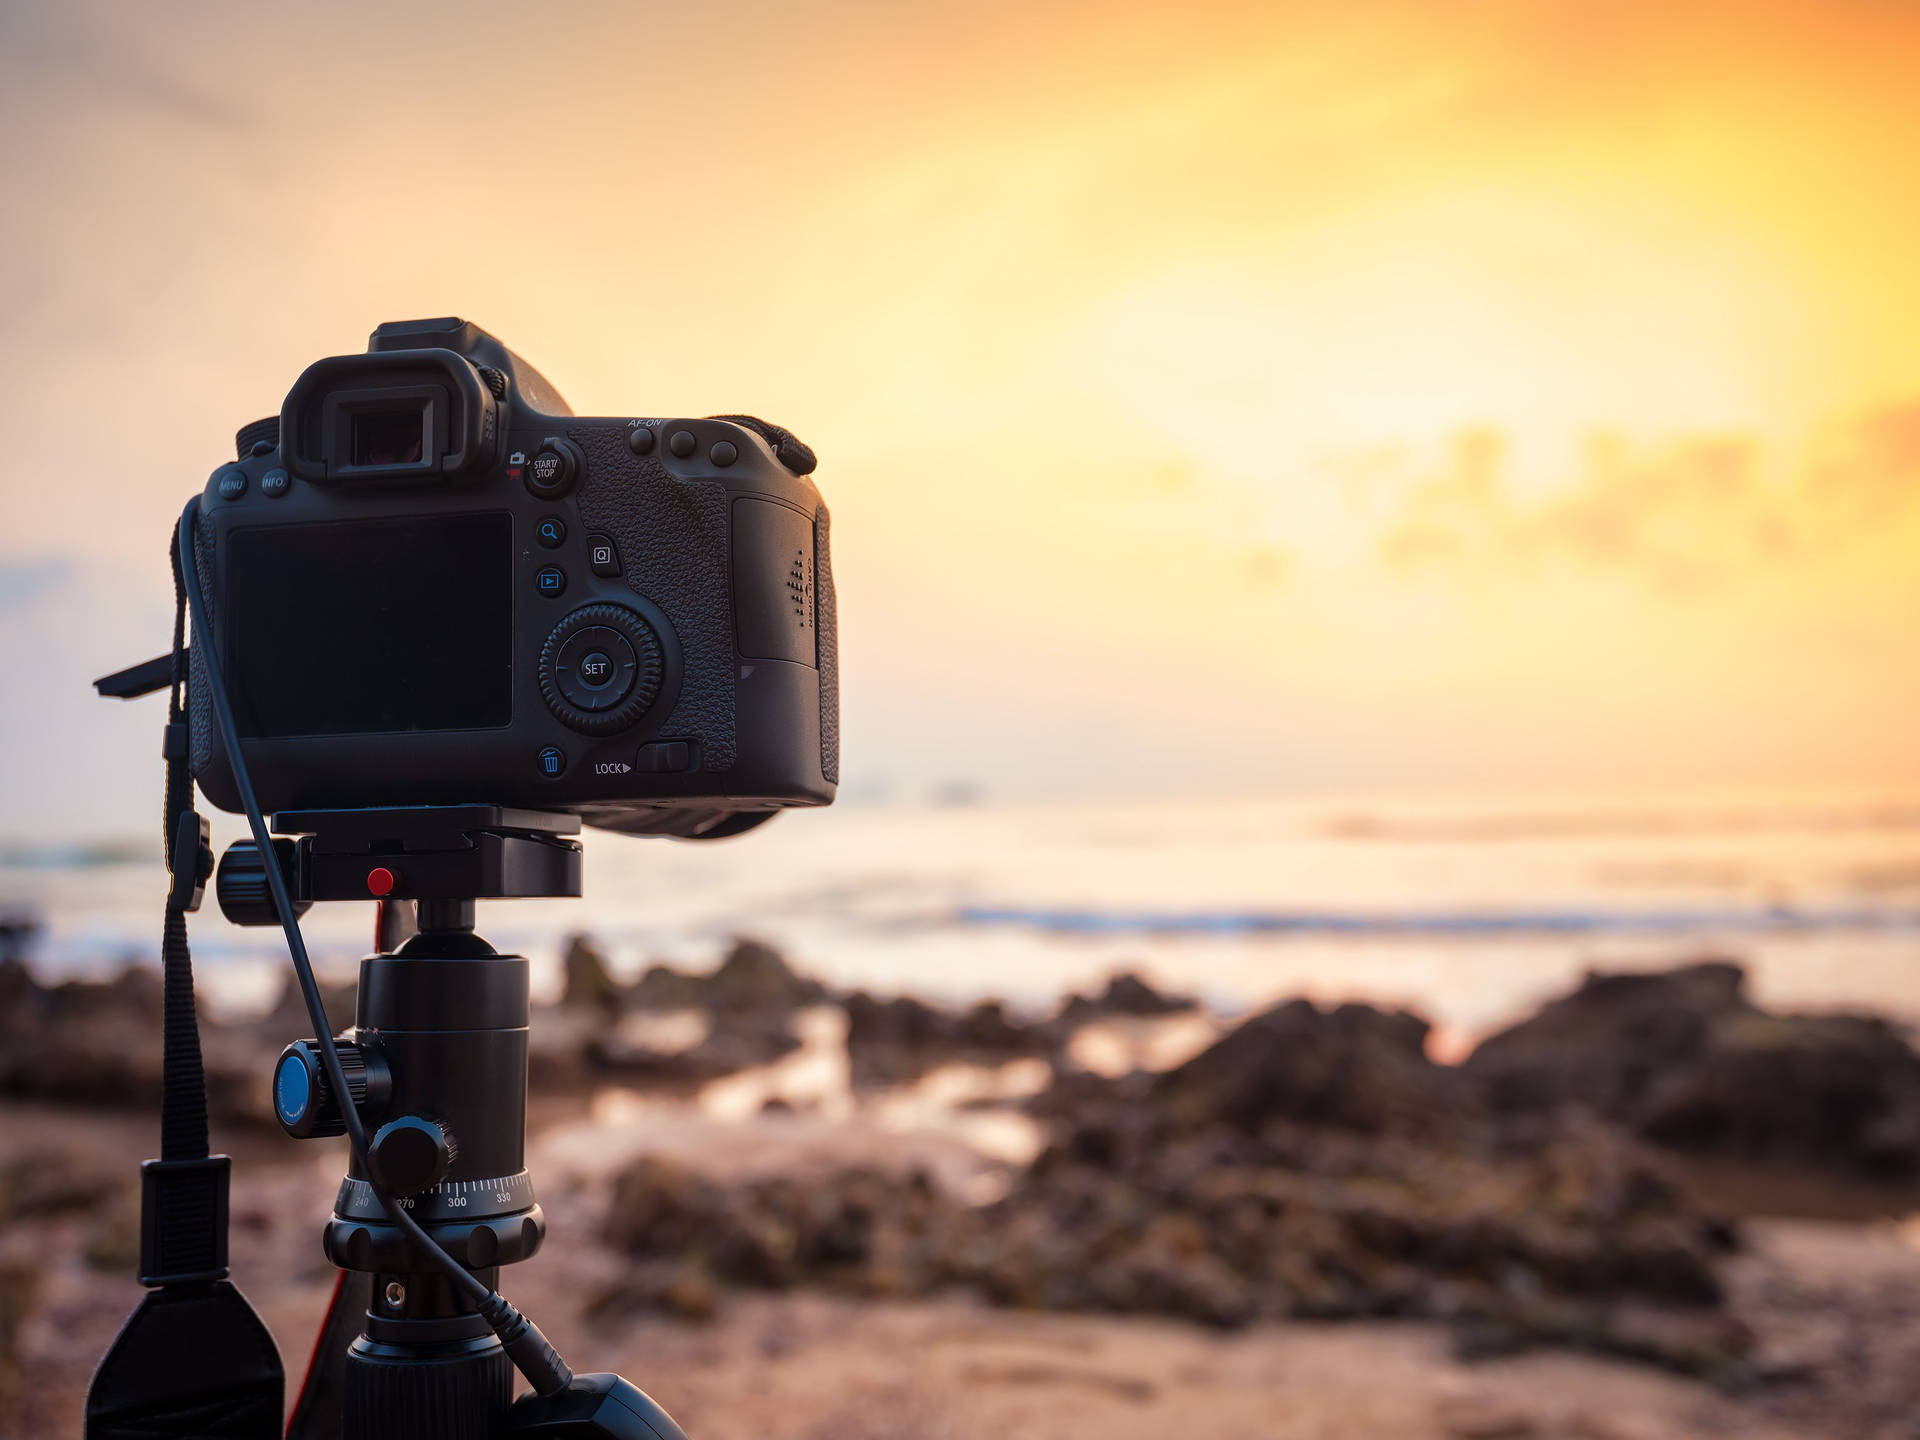
Since sea scape photography means you will be near or in the water, I highly recommend using a tripod. For this type of photography, a steady tripod is simply a must-have.
The reason is that taking impressive landscape or seascapes images often requires slow shutter speed and you shouldn’t rely on the steadiness of your hands. The slowest you can go without a tripod is between 1/80 and 1/50.
It means that you will only be able to take shots of perfectly calm water with a tripod.
- Check out the best backpacking tripods.
5. Make the List of the Necessary Gear
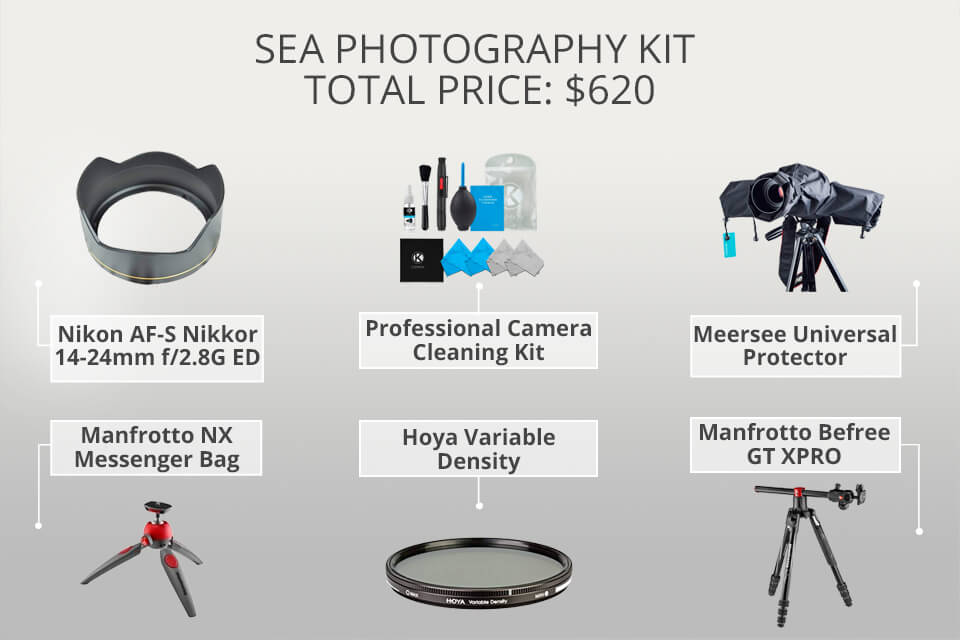
If you are not using your camera at any time, it will be better to put a lens filter in the bag to protect it from sand and salt. A great bag I can recommend is a Manfrotto NX Messenger Bag. Always have a lens filter on hand to cover it. This will make sure you do not scratch it, after all, filters are much less expensive than lenses.
Even if you are shooting on a perfectly calm day, there is still a chance of getting sand or salt water splashes on your gear. Use a clean cloth to wipe your camera after the photoshoot and make sure there are no grains of sand on it. Otherwise, there is a risk of ruining your camera.
Try avoiding salt water splashes as much as you can. To clean them off, you can use a special cleaning solution for lenses or some distilled water for the front of the camera. Keep the lens cap on until you are ready to shoot. I can also recommend a great Professional Camera Cleaning Kit.
- View more best camera bags.
6. Camera Settings for Shooting the Ocean
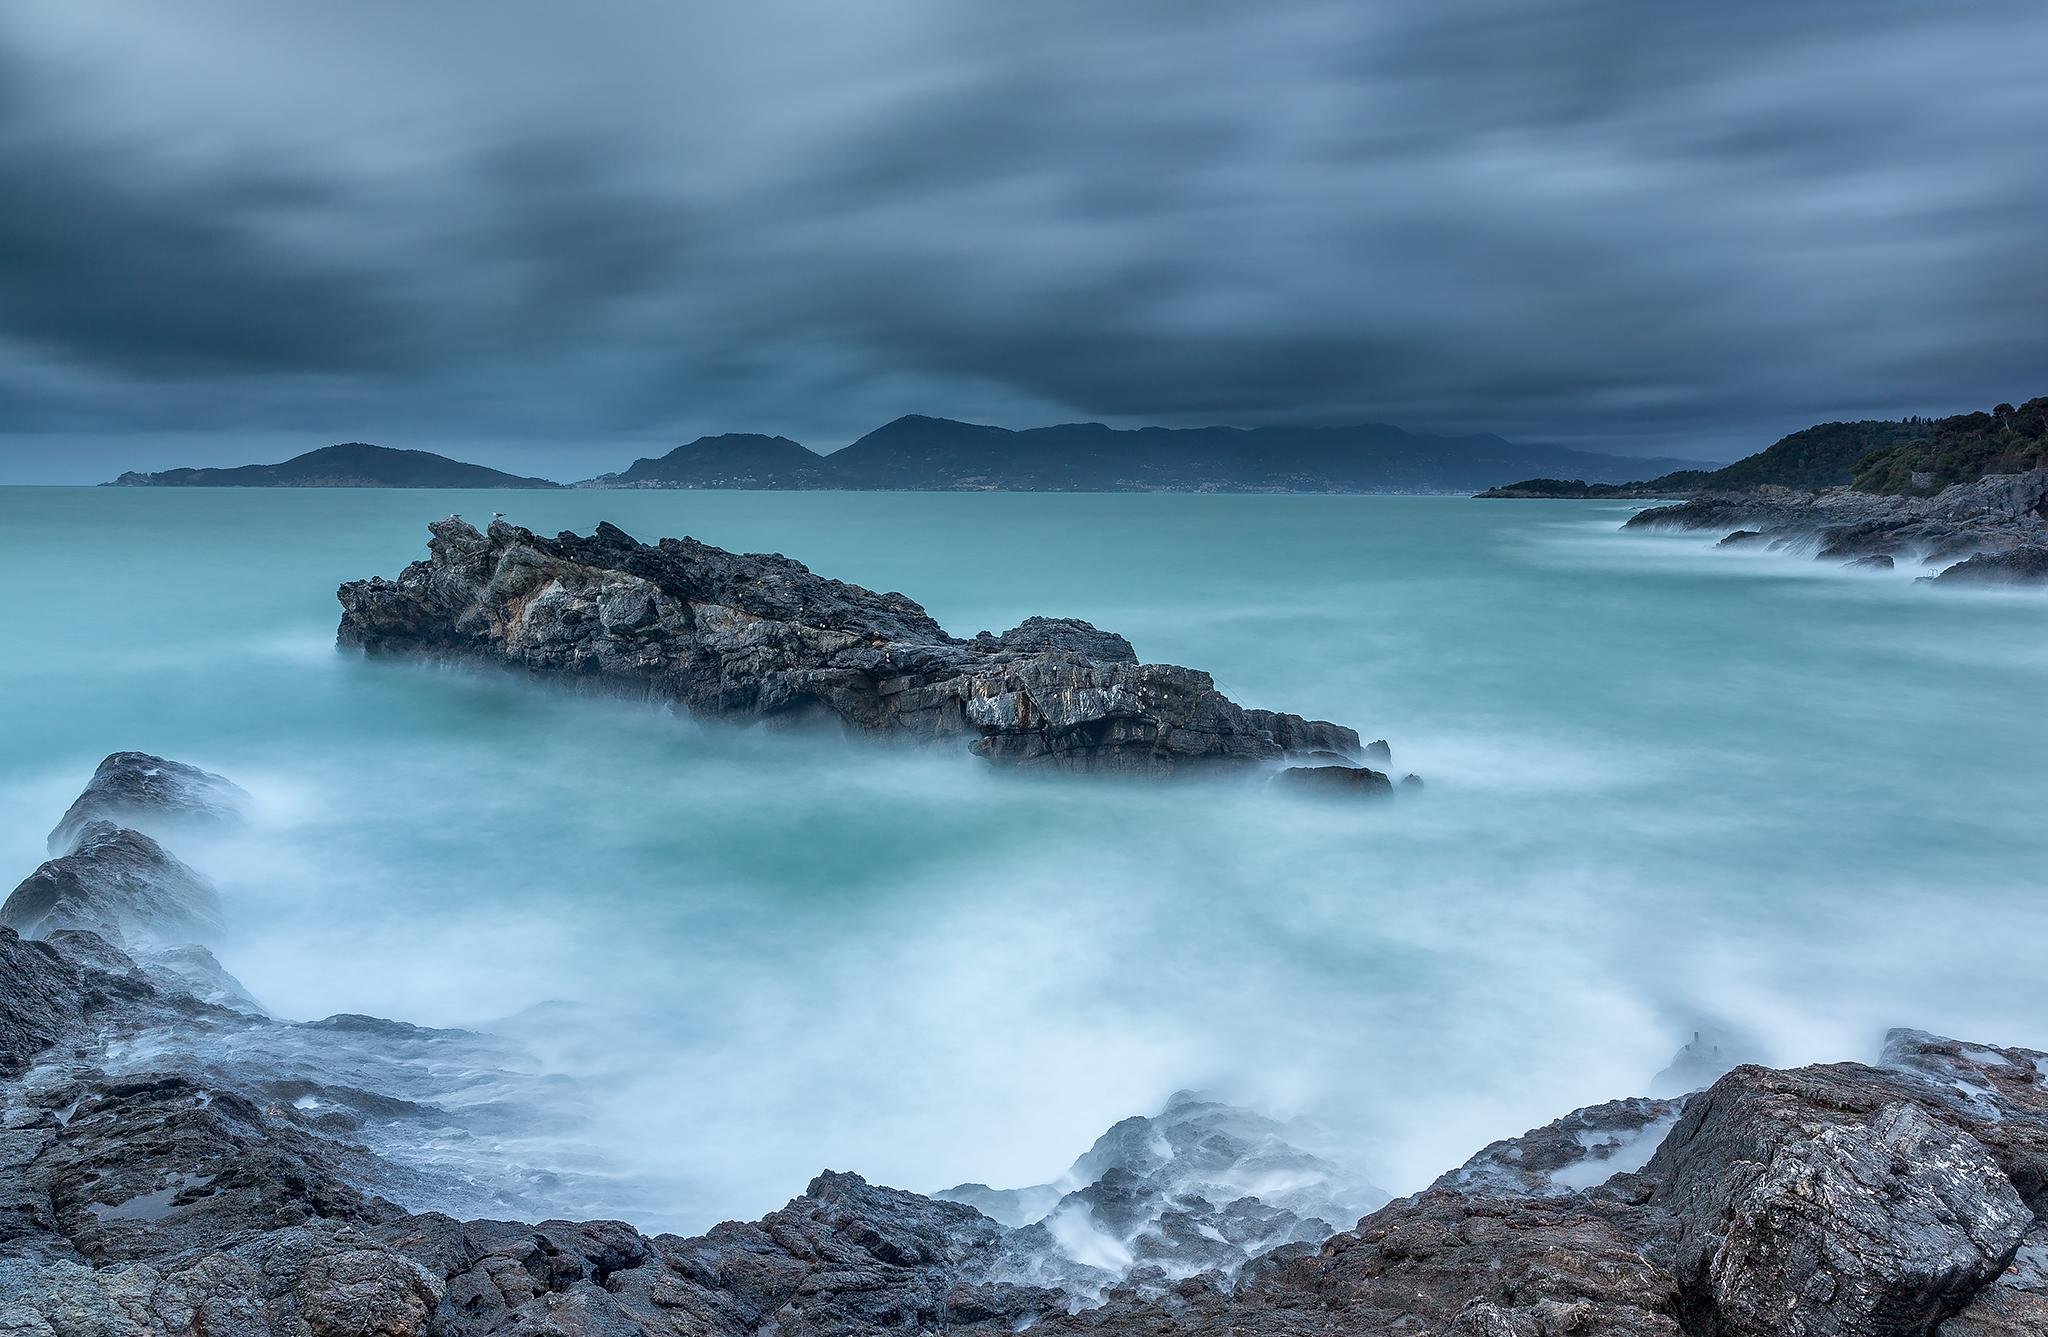
While shooting waves and water I use the shutter speed of about 0.5-2 seconds, depending on how fast the waves are. You can put the camera in aperture priority mode and set it to about f/14. If I want the objects in the foreground and background of your seascape picture to be equally sharp, I need a rather narrow aperture to give me a greater focal plane.
A narrower aperture will also allow you to shoot with slower shutter speed. If the light is too bright during the day, you won’t be able to set the necessary shutter speed and will have to use a filter. When the water looks dark, the filter can help fix it because it lets less light come through in the frame. If you want to be able to use long shutter speed, you need a neutral-density filter.
7. Use Lens Filters
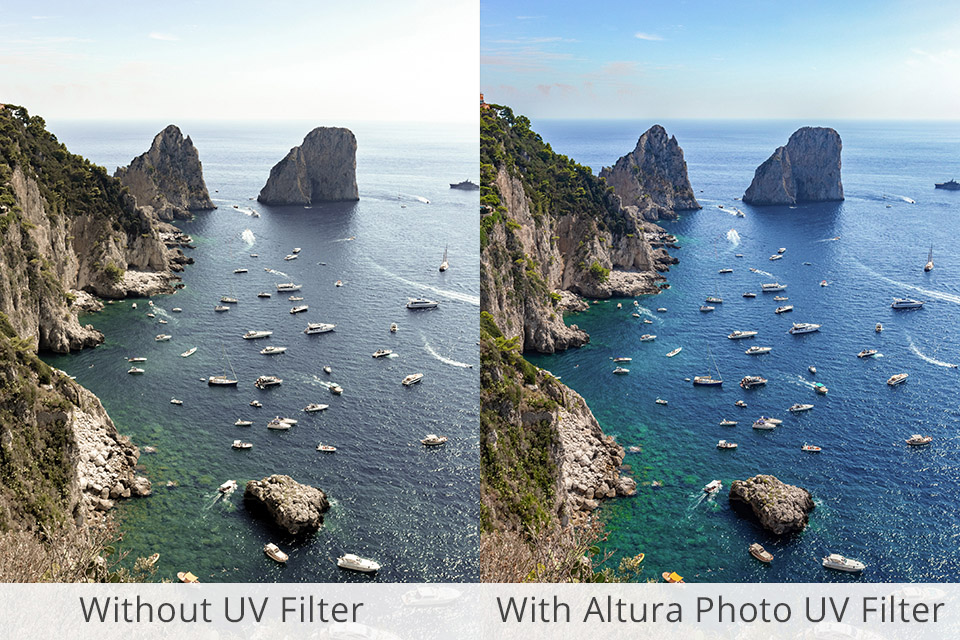
Filters are the best for landscape and seascape photographer, they will help you get the best seascape photo. I use neutral-density filters of 6 or 10 stops or the 2.5 or 5 stops. A great neutral-density filter I can recommend is HoyaVariableDensity, which is currently one of the most high-quality filters I have used.
With its help, you will get rid of harsh and bright light and will be able to use slow shutter speed. Its high quality will allow you to use it during professional video and photo shoots.
8. Maximize the Depth of Field

The depth of field is a very important technical aspect. For sea scape photography, it should be able to capture the whole picture. To have the whole image in focus, you need to set it to at least f/8. Quite often, a lens will have better quality with f/11-f/13, some will do great even with f/16, however, it’s the lowest aperture you can set. The lower it is, the more blurred the image will be.
- f/8 will be enough for a wide-angle lens.
- The lower the aperture, the greater the focal distance is. When increasing it, you should also increase the aperture. For example, the increase to an f/8 setting will make the background blurred.
- f/5.6 is enough if there are no objects in the foreground and all of them are at least 10 feet away.
9. Wait for the Right Time
Taking pictures of seascapes at midday is not the best idea. The sky during the day is pale blue, almost white and faded at the sea line, which makes it look bad in the photo. The bright and almost blinding sun creates flat and dull colors, bright highlights and shadows that lack detail.
If the sky is overcast, you will be able to use this soft diffused light for photographing beautiful seascapes. The main rule of shooting on a dull day is not letting the sky in the shot because it will usually look like a white overexposed patch, keep this in mind.
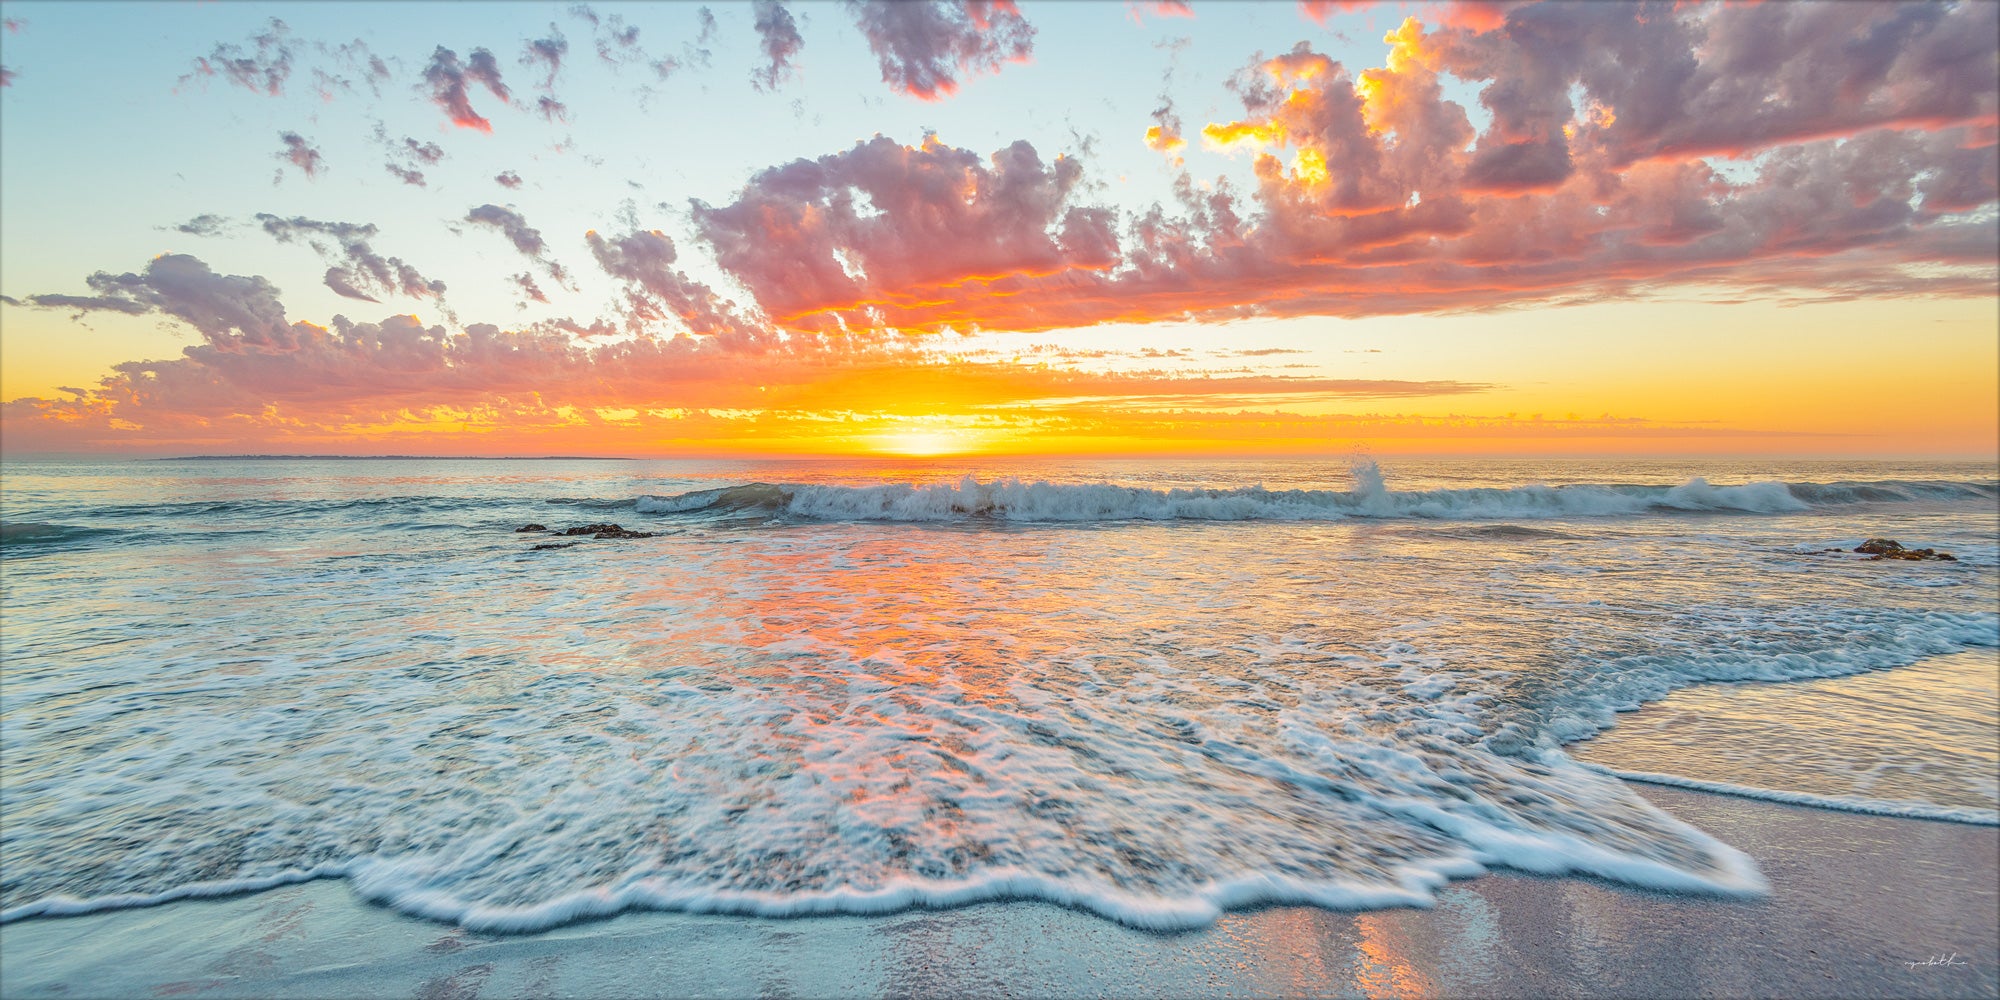
The last hour before the sunset is called the Golden hour. In the morning, it is about half an hour after the sunrise. This is the best time for shooting seascapes. The contrast is relatively soft, colors are more intense, the shadows bring out the texture.
If you are shooting something as stunning as a seascape, you will be rewarded with a shot that will make all the effort and time you spent on it worth it. To find the best time for the photoshoot, use the Golden Hour App. It uses your geolocation to identify the sunset and sunrise time. You can rely on the automatic setting of your geolocation or do it manually with the search option.
10. Never Forget About Your Safety
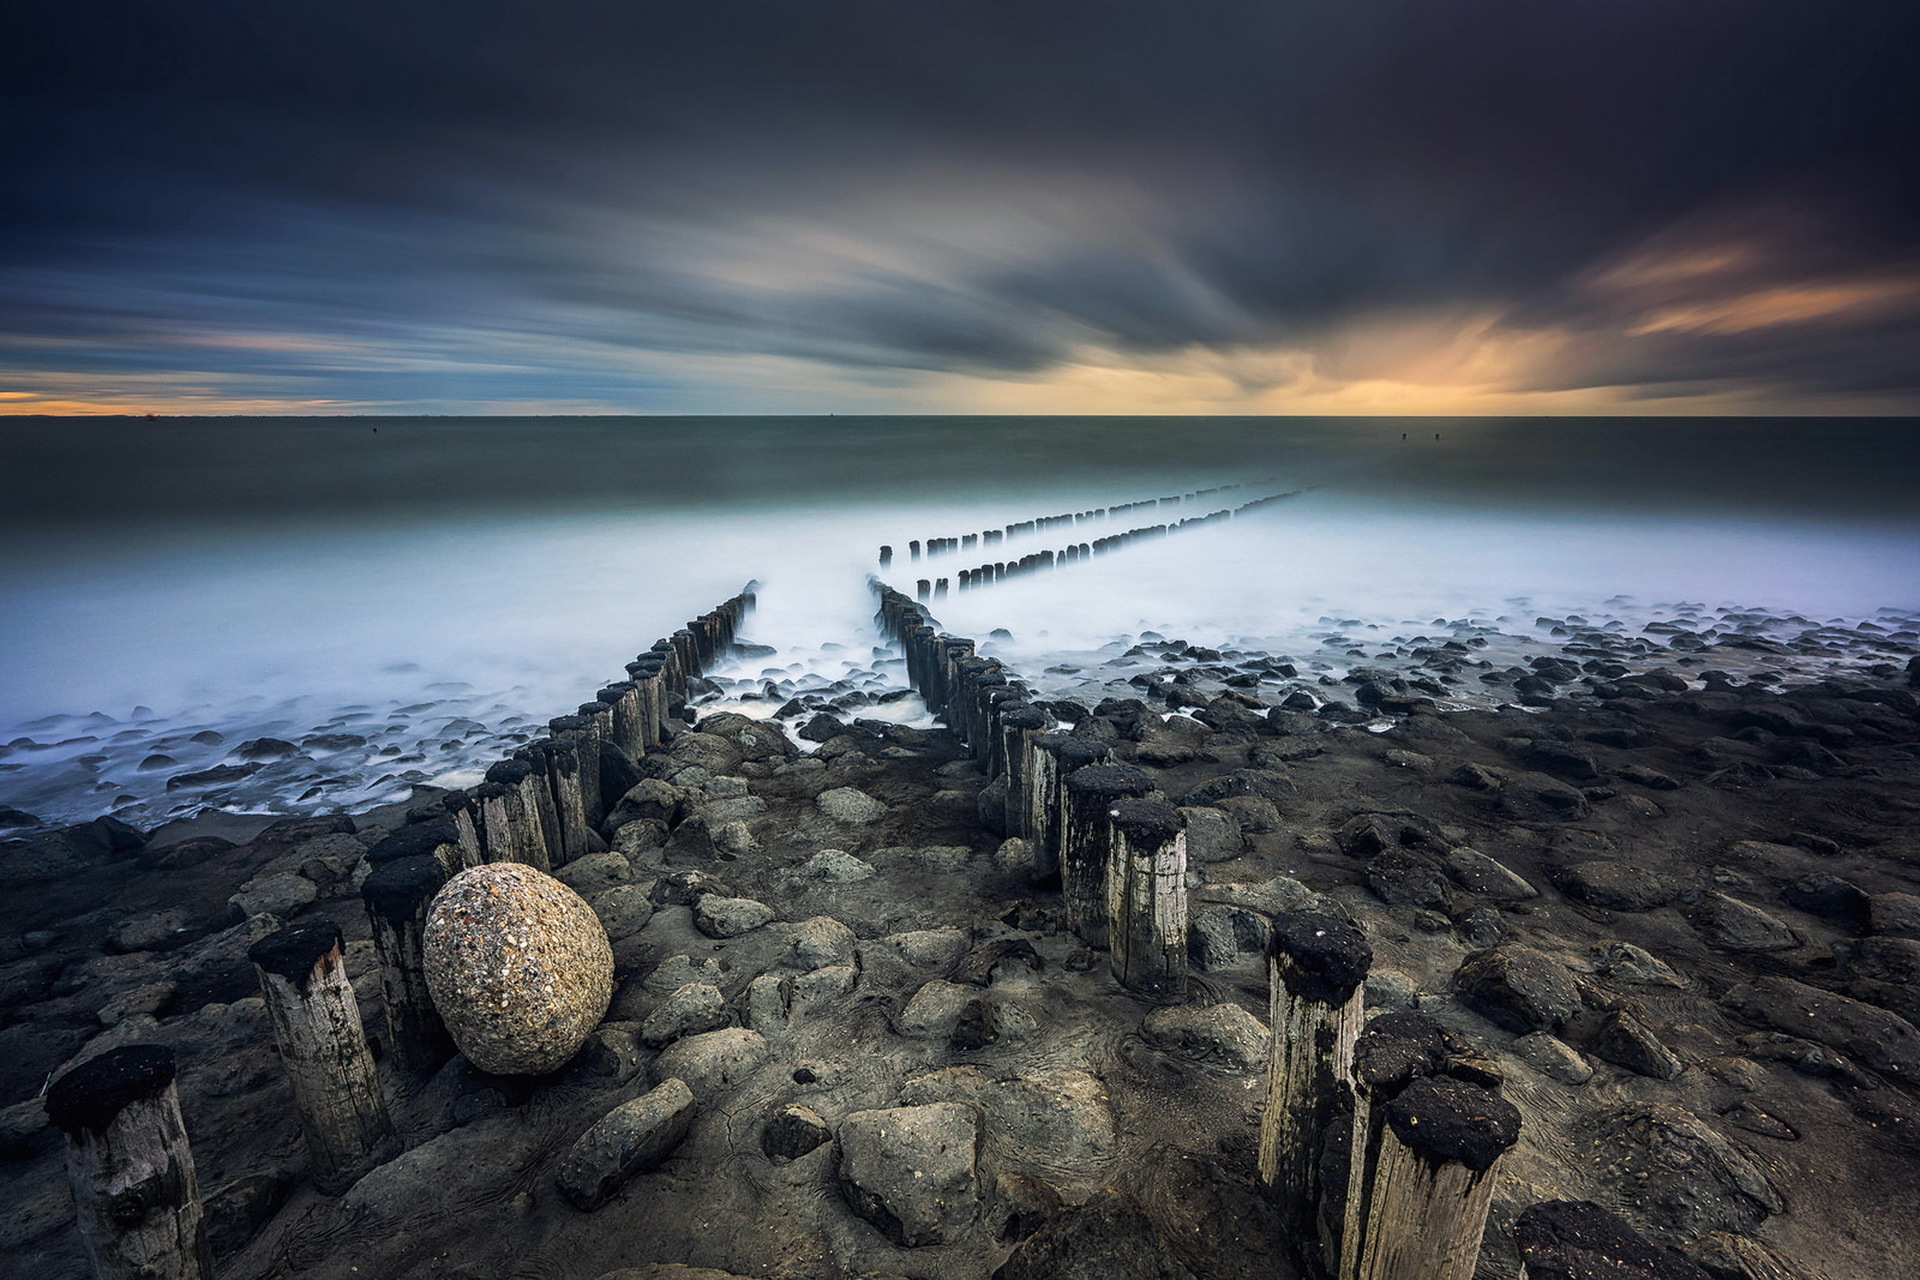
One of the most important tips you will get in any guidelines for photographers will be related to safety. And it’s especially important for sea scape photography. A beginner seascape photographer hardly ever thinks about what might happen.
Take this seriously, otherwise, you might have to pay a very high price. Always watch the ocean and the waves, never turn your back on it. You must always have an escape route if the waves are too big.
Never get too close to the point where the waves break, you can easily get knocked down and carried away into the water. Before starting shooting, take a careful look around and note where the waves break more often. This way you can identify the spot from which it will be the safest to shoot.
11. High and Low Tides

If you found a rock from which you want to photograph beautiful sunset, you might come back in the evening and not find it because of the high tide. Take some time to learn about the time of the high and low tides and you are guaranteed you will be able to take seascapes pictures you have in mind.
Every place on the Earth has its peculiarities. For example, some places can be reached only during the low tide, like a stone platform near Hornby Lighthouse in New South Wales, Australia.
There are places that look good regardless of the tide but will look their best only when the waves are big and strong. Remember that waves become bigger for a while during the sunrise when the sun has just appeared.
12. Be Ready to Get Wet
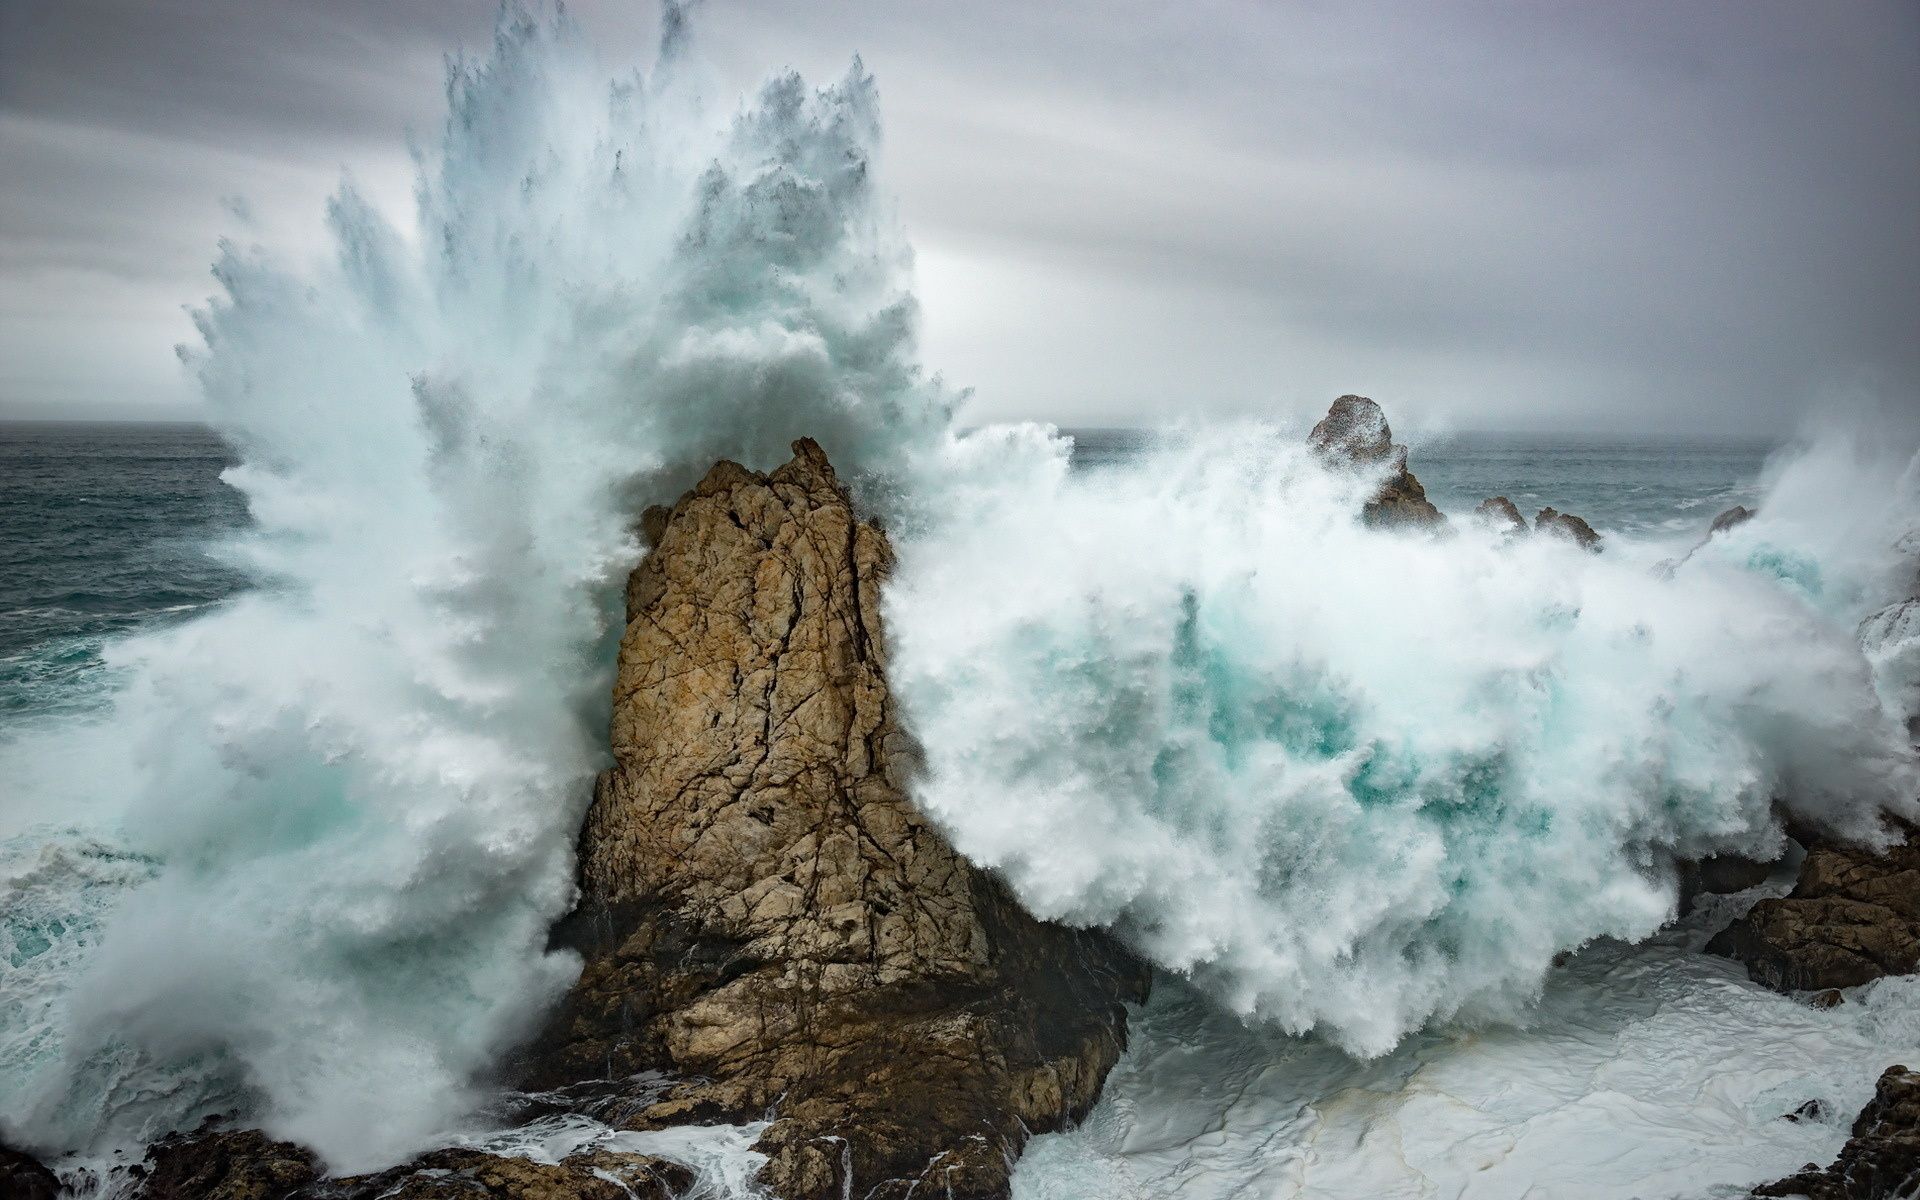
When shooting seascapes, you are might get soaked. You will need to be closer to the sea to capture its force and energy. If you go into the water, don’t go any further than knee depth, otherwise, you will lose your balance and a wave might drag you in the sea.
When taking photos on the rocks, be prepared for the splashes of water from waves crashing into them. Bring an extra set of clothes. The backpacks can often be waterproof and you can keep the dry clothes inside. You can use them to wipe the camera too.
13. Shoot in RAW
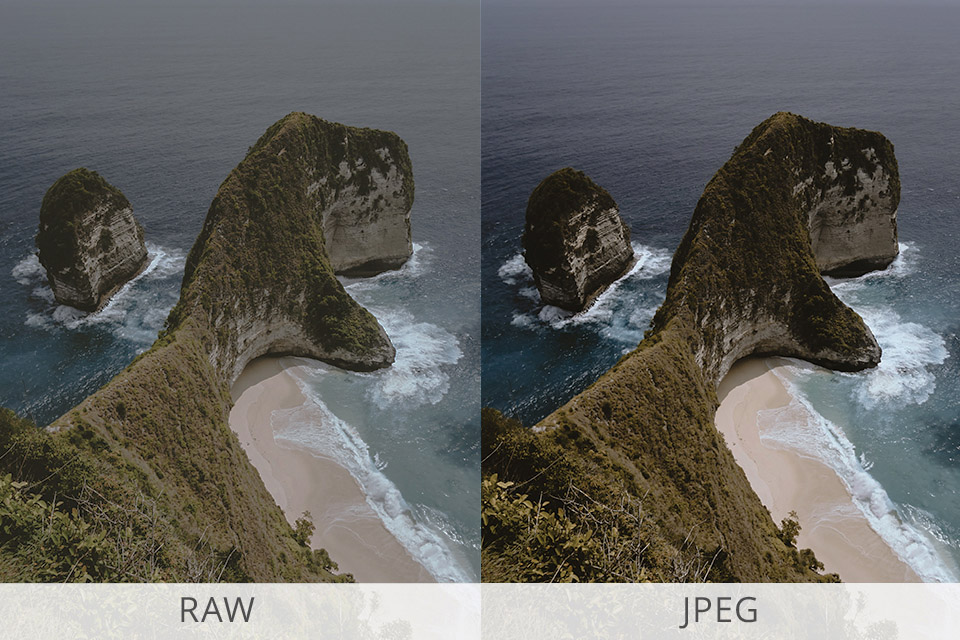
Make sure you shoot in RAW (it won’t work in JPG) and don’t forget to underexpose the photo. During the post-production, you will adjust the highlights and remove the shadows in the RAW file. With this technique, I must admit, you will have slightly poorer quality than when you have a correctly set-up image, especially in terms of color and contrast. However, I still prefer using it.
14. Try Bracketing
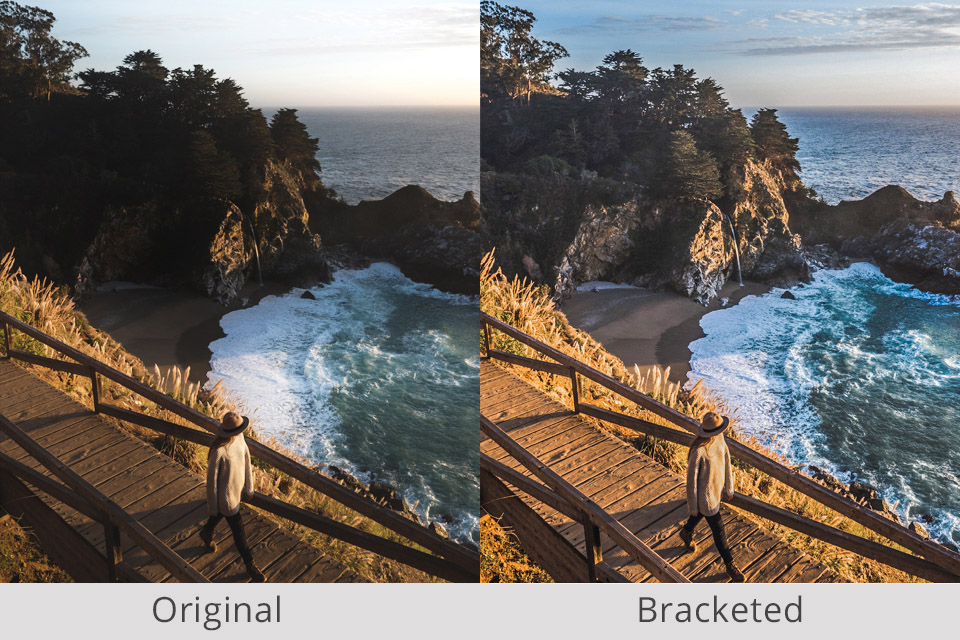
Bracketing is a way for photographers to create an image with different exposures taken in quick succession. It is an easy technique since all the DSLR cameras allow you to use bracketing. When setting up the camera, you will decide on the number of stops between the shots and the next time you take a photo, you will start these three images with different exposures.
They can be under- or overexposed. By editing the image in Photoshop or other photo editing program, you can get the final image with even exposure.
15. Take Many Photos of Waves

If you want to get closer to the waves, the first thing you need to take care of is acquiring a camera housing that will guarantee the safety of your gear. Here are a few tips for taking successful wave seascapes pictures:
- Use continuous focusing instead of fixed focus.
- If a wave is a part of the landscape, then you need to switch to f/16 to get a bigger depth of field.
- The larger the wave, the higher the shutter speed you need to use.
- If you have camera housing and get into the water, you’ll need f/16 to focus on the wave.
16. Try to Take Photos of a Lighthouse
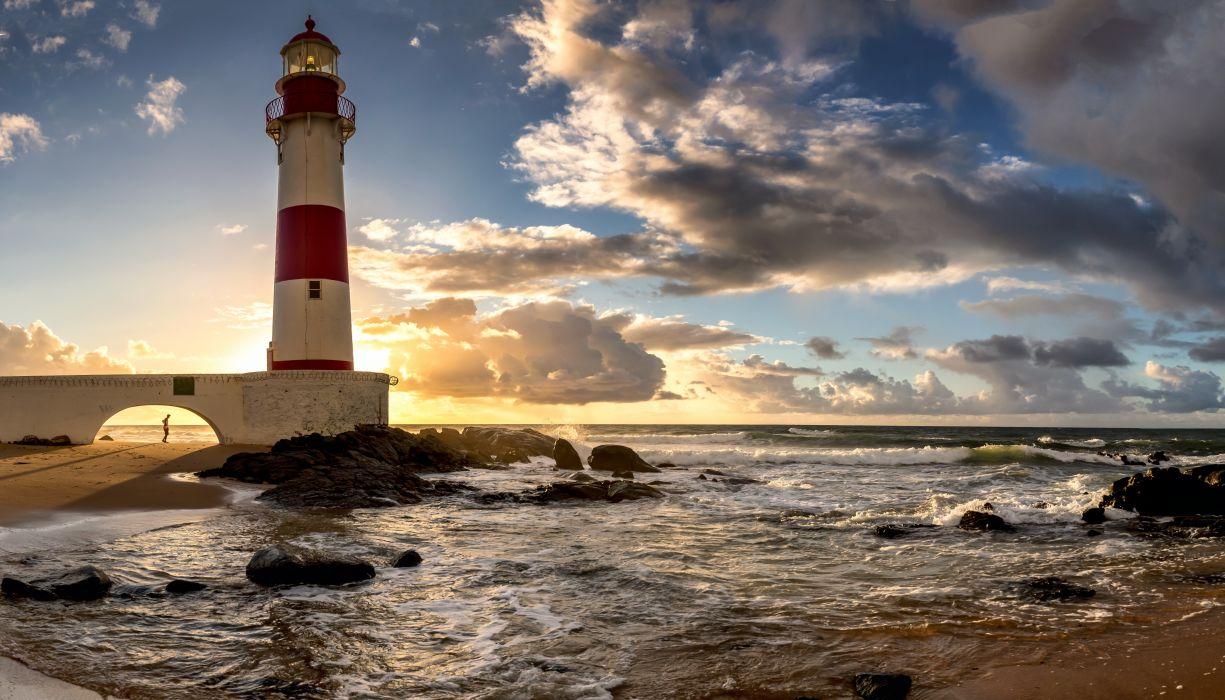
Sea scape photography isn’t just about the sea and the sky, you can also complement the photo with some sort of object like a lighthouse. Remember that to take a beautiful picture of a lighthouse, you need to create an appropriate composition.
It’s recommended to use a wide-angle lens and place the lighthouse in the far left or right corner so have the sea as another highlight in the photo that draws most of the attention to itself.
Use low shutter speed to make the lighting soft and pleasant. Set the aperture to about f/16 and put the camera on a tripod to avoid blur.
17. Take Your Time to Get the Composition Right
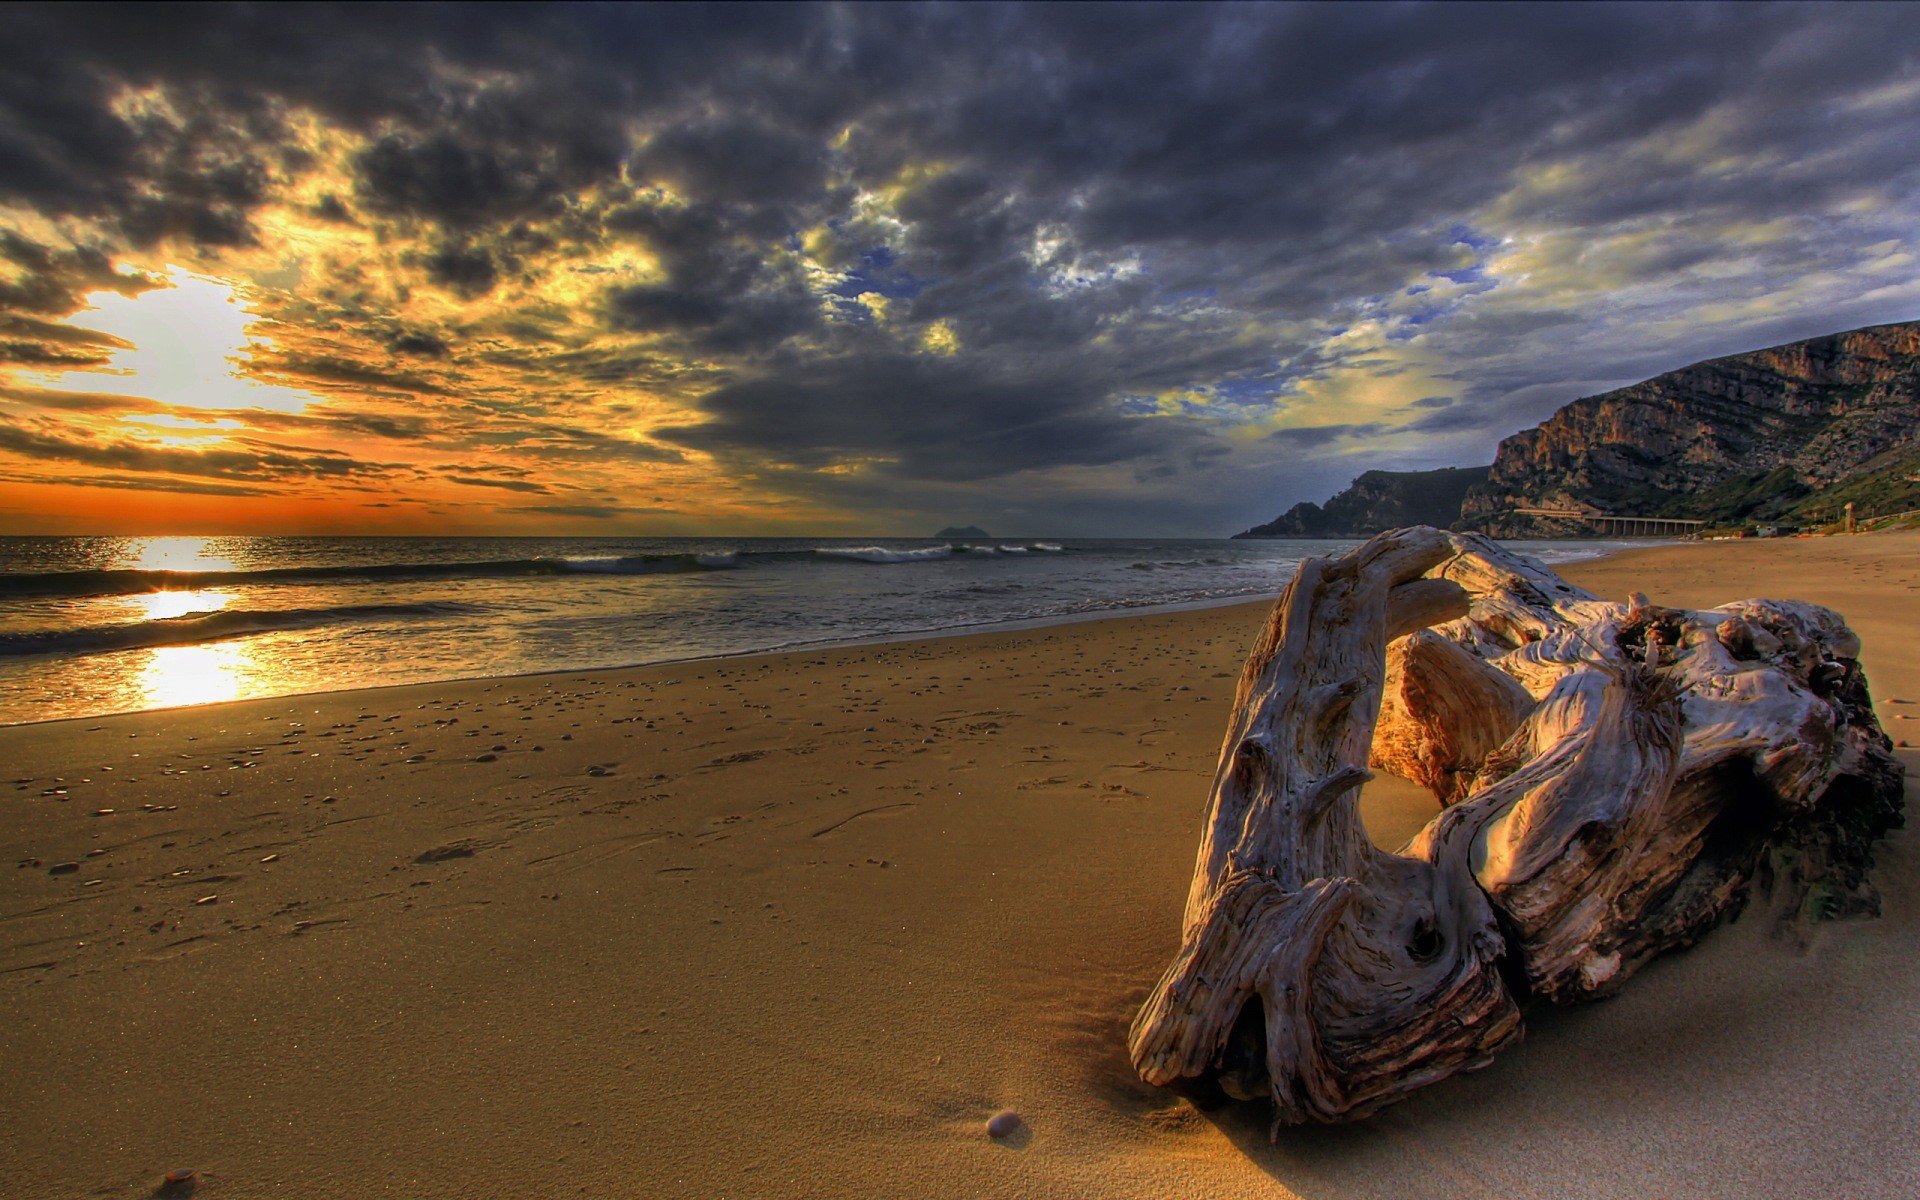
Composition is one of the most complex aspects of any photography genre, as it requires a lot of attention and a trial & error approach. The beauty of a photo or painting relies on composition since it determines what the viewer’s attention is focused on.
This is why some photos seem unsuccessful while others are captivating. All sea scape photography composition rules are made with human perception psychology in mind.
- Creative angles. Try to avoid taking all the photos from your own height. Lower yourself or take some photographs from above.
- Photo geometry. Look for geometrical objects around you. It can be either an architectural structure or an interestingly trimmed tree. The human eye is naturally drawn to geometrical shapes.
- Interesting foreground. When taking seascapes images, search for an object, like a rock or some driftwood, and place them in the foreground.
18. Choose Your Location

First, you have to decide where you want to stand. Do you want to shoot from a rock, the beach, or a clifftop? This will at least help you determine what kind of gear you should take with you. The perfect place would be a rocky bay with interesting cliffs and stones.
The chances of running into another photographer that will get in your way in a place like this are very low. Take a spare sweater and a raincoat with you as they will quickly become wet. Determine where the sun will set to avoid the disappointment of suddenly finding yourself in the shade.
Seascapes photography is very diverse when it comes to choosing a foreground. Similar to a regular landscape you can choose rocks, plants, cliffs, puddles, or any solid objects.
Additionally, you can put the water in the foreground. Depending on the environment, you can find several interesting subjects.
19. Try to Diversify the Shots

When talking about pictures of seascapes, you shouldn’t forget about the possibility of including ships. Featuring the sun in your photos is another way of diversifying the composition. Usually, when taking seascape photographs, we try to hide all signs of civilization to convey the strength of nature better.
However, by wisely using props in the foreground, you can receive surprisingly moving photos. Pay close attention to your surroundings and you’ll find plenty of ideas that will help you make the photos more emotional and financially-successful since stock image buyers love object photos, especially when the background is that beautiful.
20. Reflective Surfaces for Sea Scape Photography

One of the best times for sea scape photography is during sunset when the sun is creating reflections on the water. Use a tripod to receive a clearer shot and set the camera to AV mode. Go with a smaller aperture between f/16 and f/32 for a stronger depth of field. To make the photo more dramatic, use a polarizing filter that will help you improve the sky color and reduce the light reflected in the water.
21. Try Drawing in the Sand

A drawing on wet sand can be an excellent addition to your photo. Another great idea is writing a short message meant for the viewer, like “I miss you” or “I love you.”
22. Play Around with Shadows

If you don’t know how to make your seascape photo more interesting, try playing with shadows. They can make your beach photographs more eye-catching with their awesome and bizarre lines and curves.
- Read more about shadow photography.
23. Experiment with Lighting

If you like taking outdoor photos during sunrise or before the sun sets in the evening because of the soft lighting that doesn’t create harsh shadows, there’s something else you can try. When shooting at a beach, a great lighting technique is placing the subject between the camera and the sun. This way, you’ll get fantastic silhouettes for your photos.
24. Try to Take Photos with a Backlight
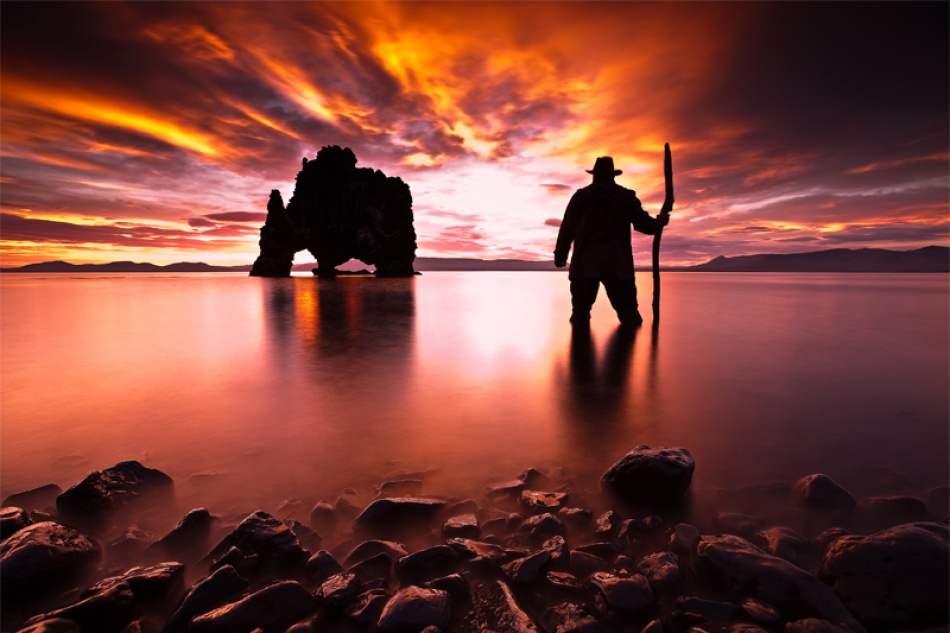
When taking a seascape photo, you can spice it up with a LED backlight. The perfect time for such a shoot is during either sunset or sunrise since you still get to enjoy natural lighting, but it’s very soft and won’t overshadow the LED lights.
25. Send a Message in a Bottle
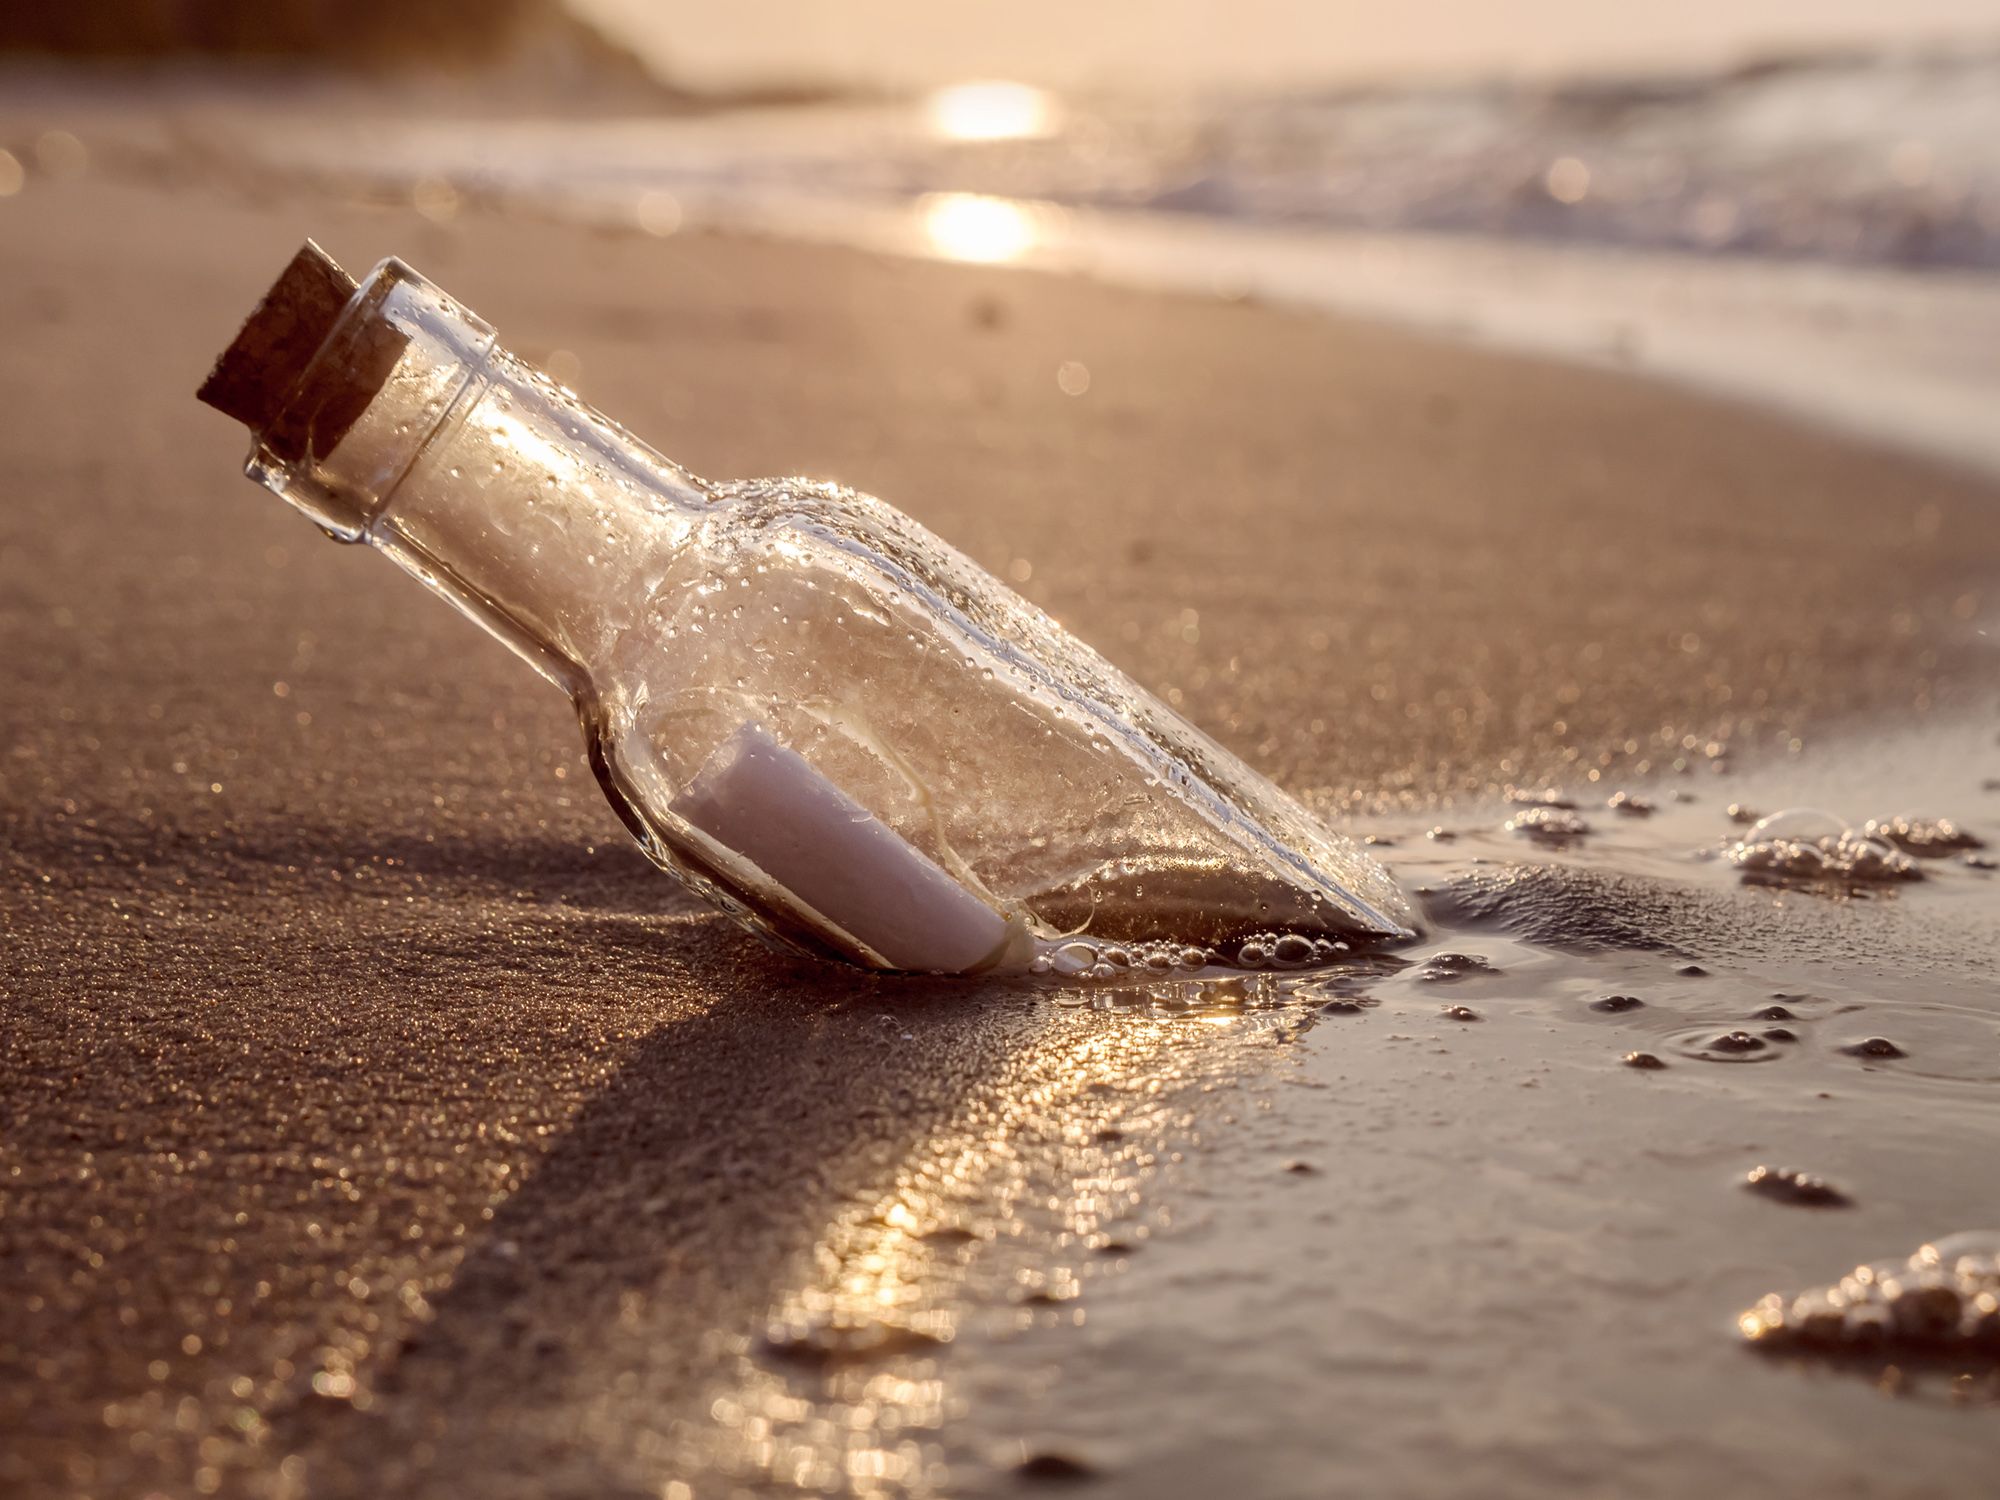
All you need for this idea is a transparent glass bottle, a sheet of paper, and some thread. Start by folding the paper and placing it inside the bottle. You can also write a message on it if you want. Next, put the bottle in the water or simply bury it in sand a little. Now it’s time to start taking photos.
26. Try Taking Underwater Photos
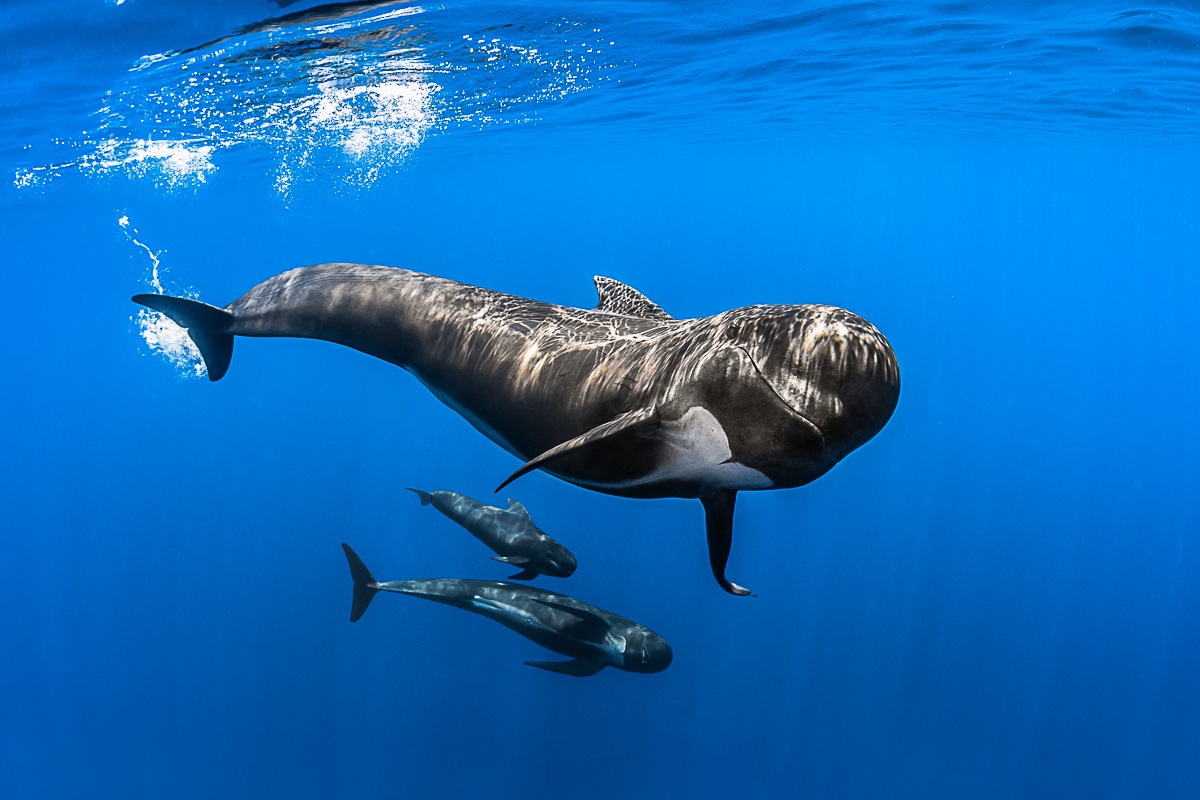
Underwater seascapes pictures are a fantastic idea as the underwater world is even richer and more interesting than what we can see above. For such a photoshoot, you’re going to need a waterproof camera if you plan on continuing using yours afterward.
- Read more underwater photography tips.
27. Take Photos of Footprints in the Sand

Remember to watch your step so that you can find various footprints or tracks that can become a cute part of a seascape picture.
28. Flowers Near Sea

If you’re taking flower photos at noon, the strong light can cause a lot of harsh shadows. You can avoid that problem by creating a bit of shade for the flower. I also use a small depth of field to make the background a bit blurry so that it doesn’t dominate the photo.
29. Capture the Water’s Movement
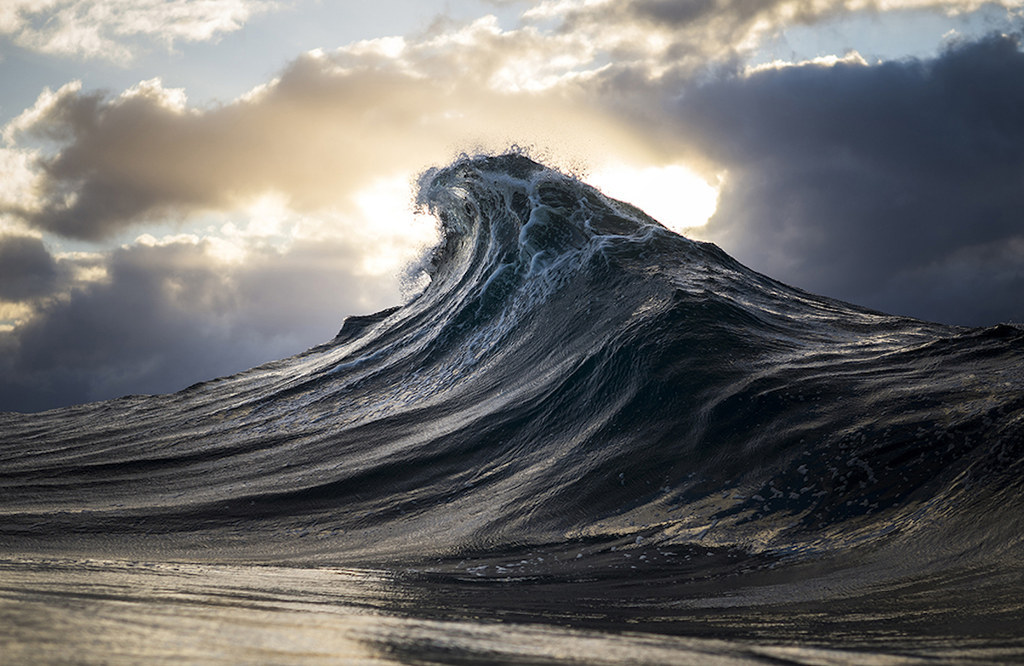
Seascapes images of water stripes instead of frozen drops help convey the water’s movement in a still image. Use a slow shutter speed and adjust it according to the water’s activity, but start at 1/5sec. To achieve such slow speeds in bright lighting, you’ll need to use a low ISO.
30. Take Cloud Photos

If possible, try decreasing the exposure on a cloudy day. Not only will this guarantee your photo won’t be overexposed, but capturing the clouds’ movement will make for a truly epic shot. Besides, clouds are also known to make sunsets even prettier.
Freebies for Seascape Photography
By using these image editing tools in Photoshop and Lightroom, you can create beautiful seascapes in a single mouse click. Download them and impress everyone with your photos.
White Balance
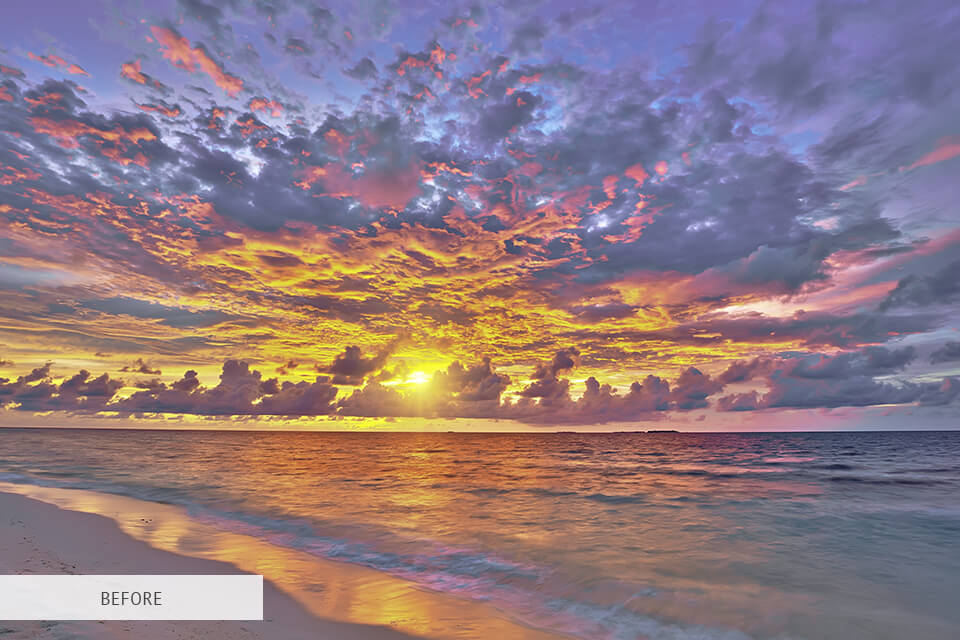
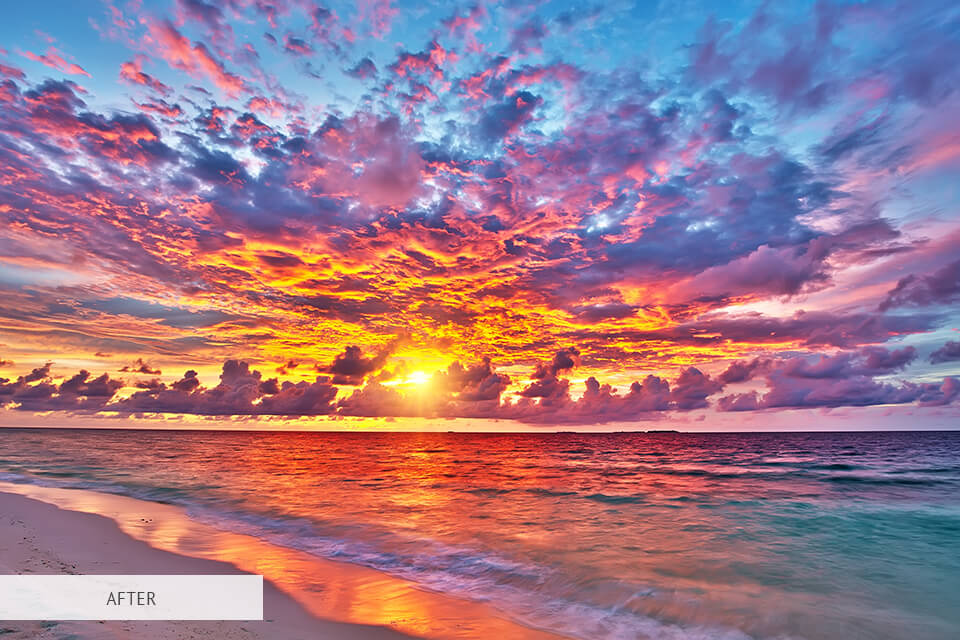
This free preset allows you to transform your photos completely. It adjusts white balance and makes the colors sharper and more saturated.
Warm Light
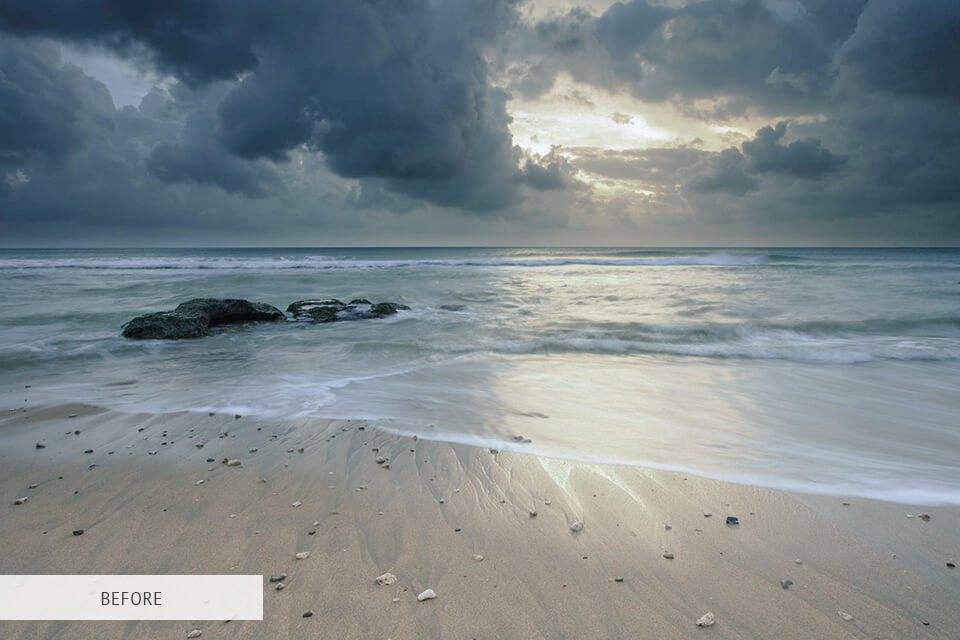
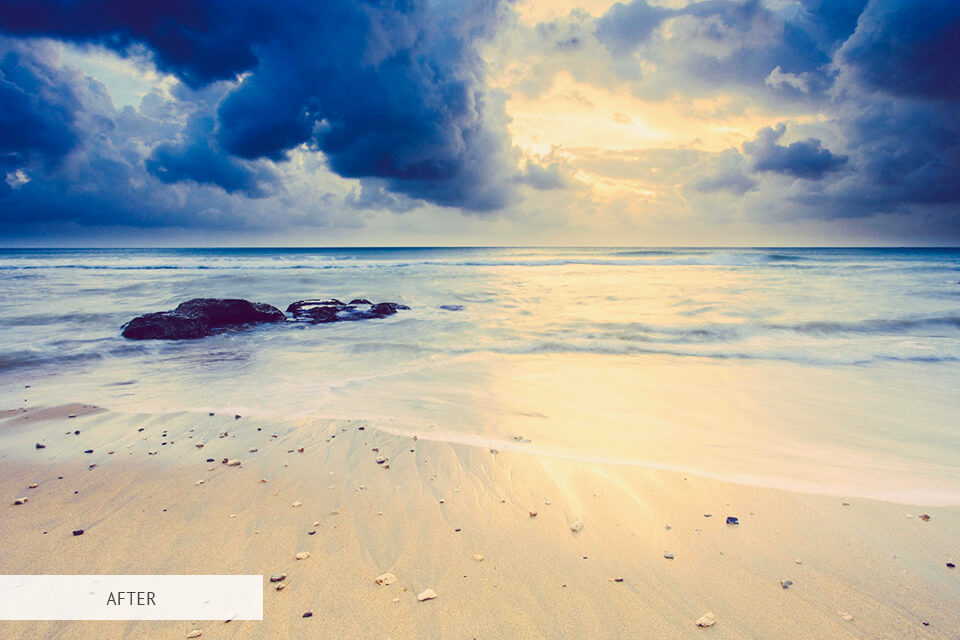
By applying this preset, you’ll receive a soft, warm effect. It’s perfectly suited for evening photoshoots as the preset beautifully highlights golden sunset rays.
Purple Gradient
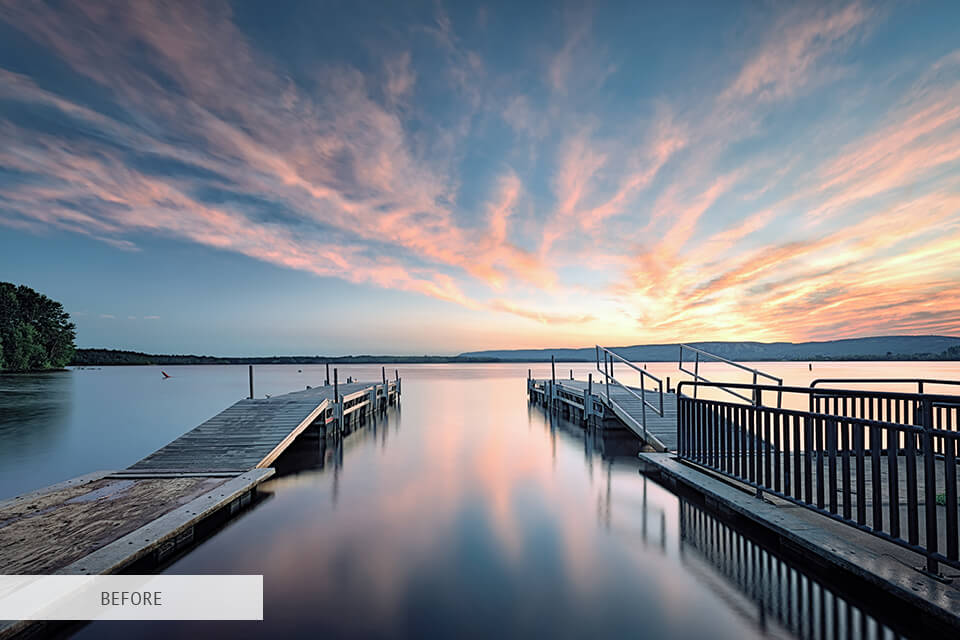
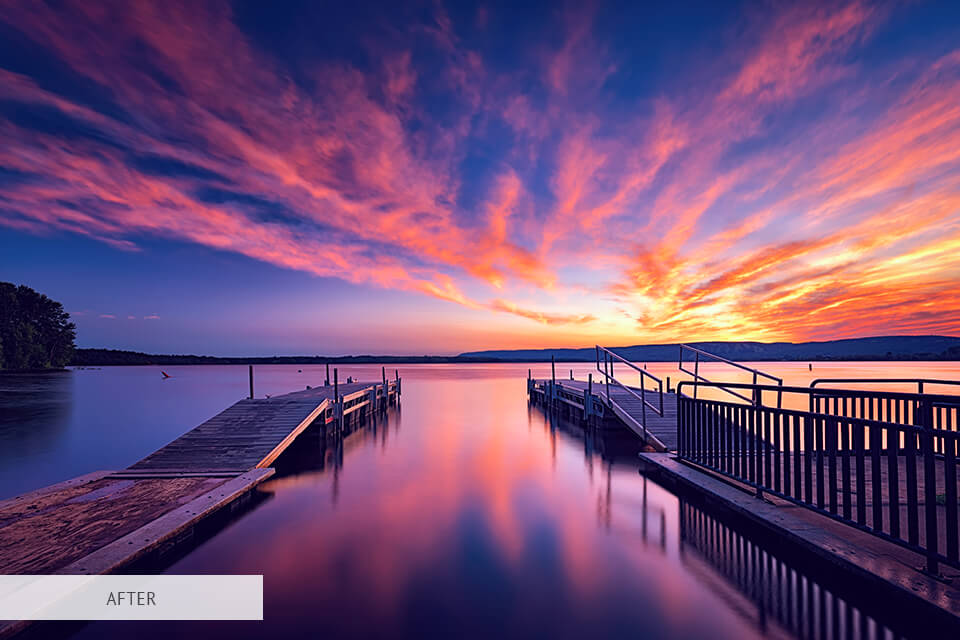
This action will help you boost the colors in your seascape image and add purple and blueish tones that complement an evening scene.
Warm Landscape
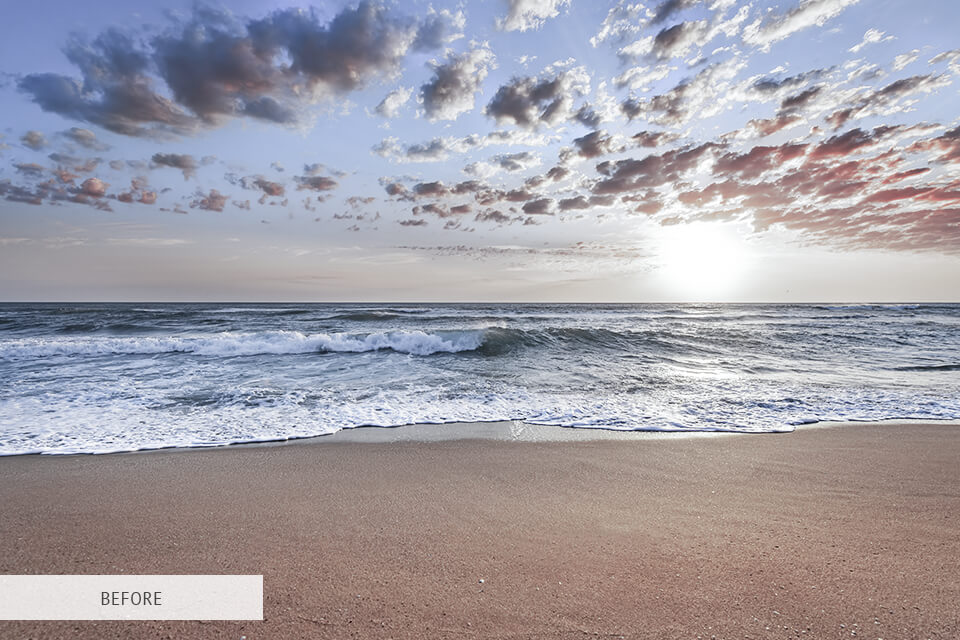
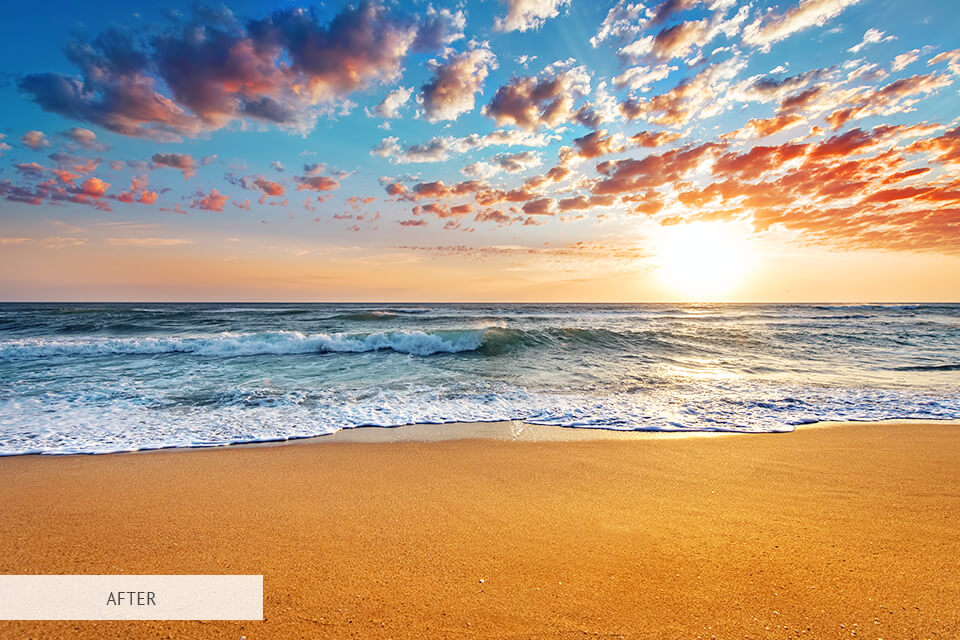
If your seascape photograph lacks contrast and warmth, then this action is what you need. It will boost the warm tones and add sharpness to your photo in a single click.
Big Waves
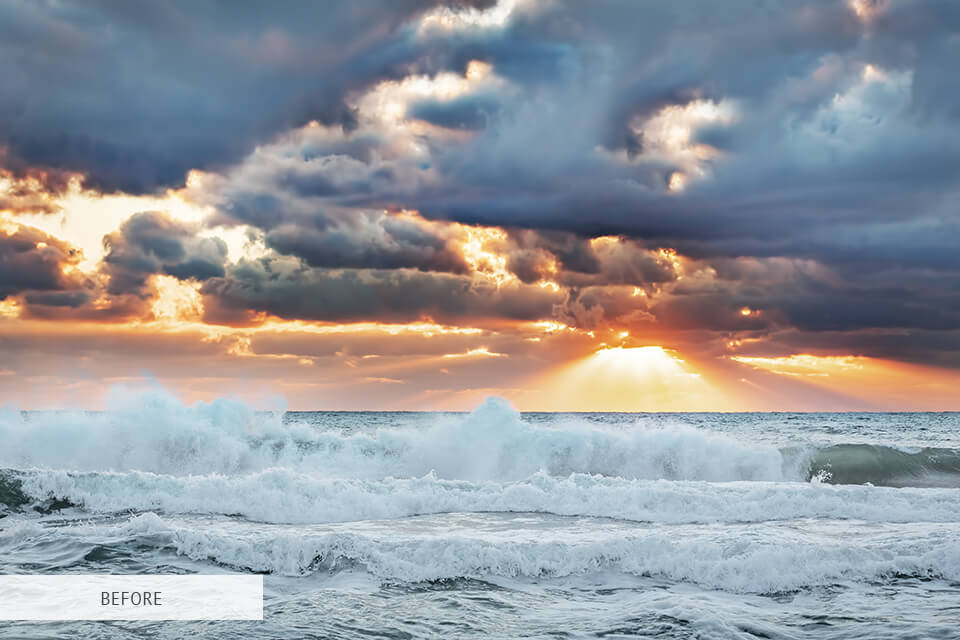
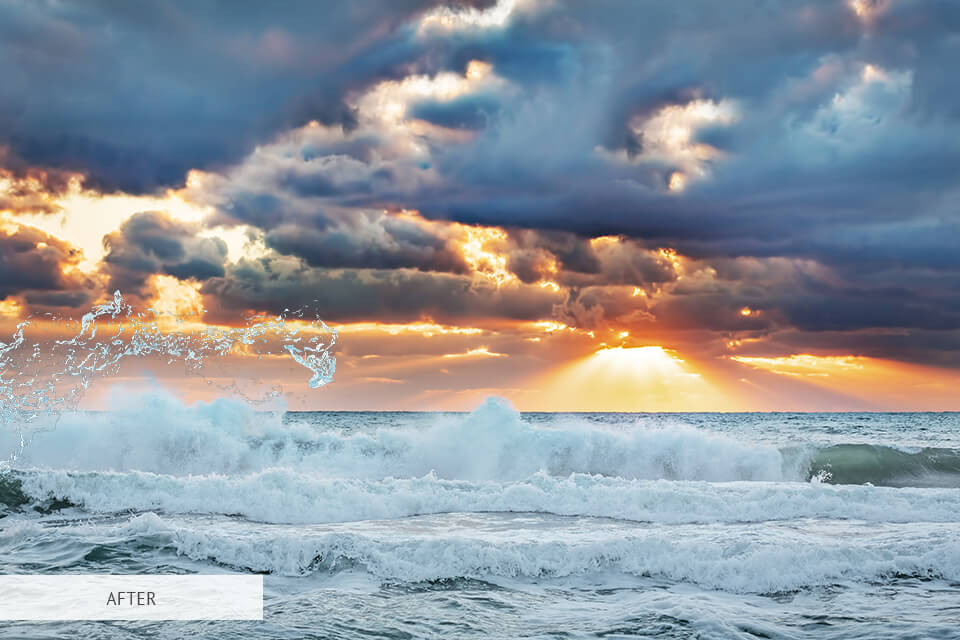
If your shot is missing water splashes, then this overlay will help you. It adds voluminous water splashes that increase the contrast and make the water more turquoise.


