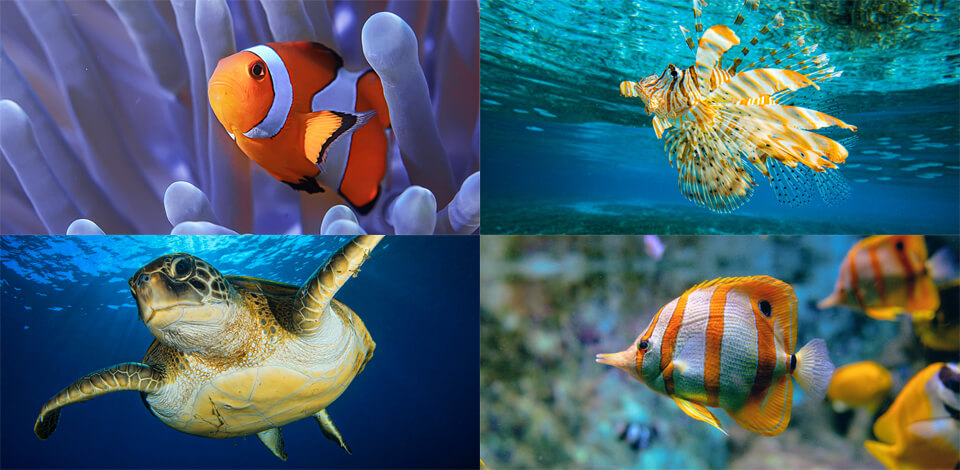
Underwater photography mainly involves taking images during scuba diving, but you can also combine such a photo session with swimming, snorkeling, and diving on the surface supply. Photographers either use automated cameras lowered from the surface or remotely operated underwater vehicles. This photography genre requires thorough preparation if you want to get great images.
You can’t just grab a camera and go with your gut, as things get really complicated underwater. Before submerging, it is obligatory to visualize a scene you’ll capture, how far you’ll stay from the main object, and decide on the underwater photography equipment you’ll use.
Taking images underwater is more challenging than on the surface, as you have a limited air supply and can’t photograph one scene for half an hour. Anyway, if you want to make strides in underwater photography, I highly recommend following the tips below.
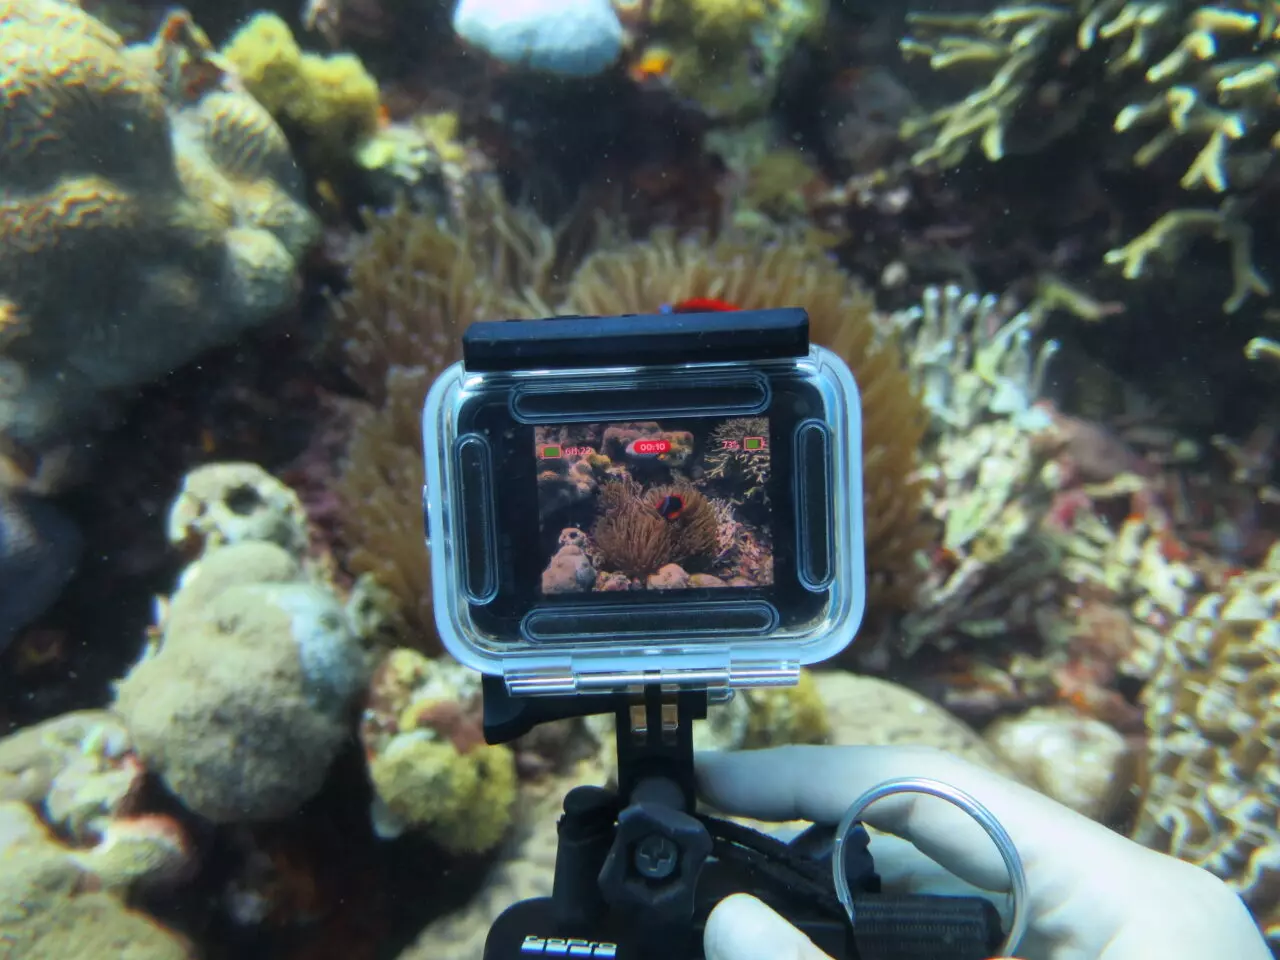
The centerpiece of any underwater photography equipment kit is a camera. If you are new to the genre, you should opt for an action camera or a compact waterproof camera.
If you are more inclined to purchase an action camera, have a closer look at GoPro HERO Session. It appeals to users with a compact size and small weight, and considering that you need to carry around lots of other devices, this is a sure advantage. Besides, the model perfectly copes with taking a series of stills, single 8MP pictures as well as producing cyclic recordings, you can instantly transform the HERO Session into a DVR. Its water-resistant design makes it a wonderful companion for different underwater shooting scenarios.
Another robust device for taking underwater shots is Olympus Tough TG-6. It can be used at the depth of 50 feet (15 meters) underwater, and you can go even lower if you put it into special housing. The controls are easy to reach and make the entire process hassle-free. If you want to record videos, you can take advantage of its 4K and Full HD capabilities.
Pro Tip: If you can’t afford to purchase the best underwater fishing camera, you can still take some images with the help of watertight mobile phones, e.g., iPhone 12. Depending on the camera or phone you own, you may need to buy a protective case to keep your device dry and functional. If the protection is not included, purchase one that is designed specifically for your model.
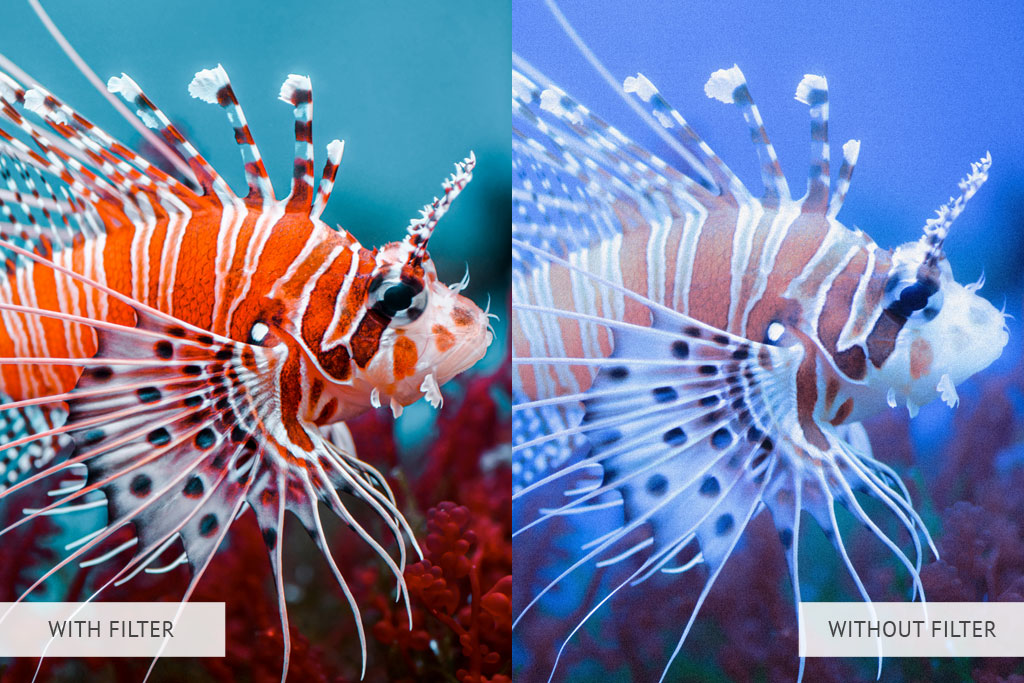
The lower you get underwater, the less light waves can penetrate the water surface. This usually leads to the lack of natural colors in images. Red is the first color that disappears, and the same happens to green and blue. A human brain instantly restores these colors when we are looking at pictures, but a digital camera can’t work this way. So, it simply replaces the missing red shades with blue and green tones. To retain natural colors in an underwater photo, you need to use Lupholue filters. The most popular ones are:
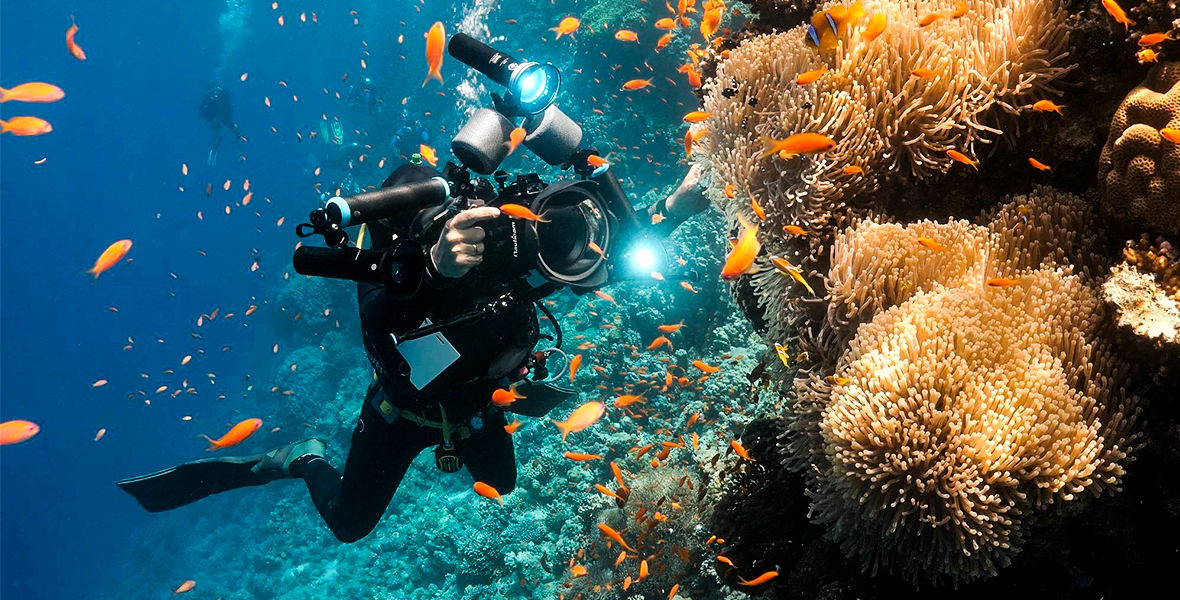
Those fond of underwater photography claim the most difficult part of the shooting process is to achieve proper lighting. Even if you are lucky to work in crystal clear water, you’ll notice that the light level drops off significantly if you go deeper than 5 feet underwater, as most light rays reflect off the surface. Another reason for such a problem is that the WB of ambient light tilts to the blue shade when you descend, so the colors of an object are screwed.
The most efficient way to shun such a problem is to use a flash. For example, you can try LetonPower Diving Flashlight 20000 if you are going to photograph at the depth of 5+ feet. Besides, you need to keep as close to the object as you can to minimize the amount of backscatter and prevent issues with WB. Another thing to keep in mind is the angle at which light reaches the object. It depends much on the period of the day when you organize an underwater photoshoot.
Purchasing high-quality underwater photography equipment is half a success. You also need to adjust it correcting to get arresting images. I have described the main settings you can use as a reference, but you may need to change them based on your current lighting, location, and personal requirements.
Shutter speed. Whether you are photographing on the surface or deep underwater, you are moving all the time. So, you should set the shutter speed to 1/250-1/500 second if you are taking images of fast-swimming fish, and 1/60 second if you are photographing stationary subjects.
ISO. Increasing ISO to tackle low light when working underwater isn’t really a good variant, as your images will become murky and acquire severe noise. A reasonable way out is to keep this parameter as low as possible and bring additional lights to the spot.
Aperture. To keep all the elements of the scene in focus, you should stick to f/8, when setting the aperture. In case, you want to highlight the distance between objects and make the scene lighter, you can choose an aperture in the range from f/2.8 to f/4.
Autofocus. Chances are high you’ll be photographing moving subjects, so it’s better to switch AF or tracking mode on to get sharp results.
Burst mode. This mode is highly feted by those involved in underwater photography professionally. Sometimes you need to take dozens of photos to get at least one worthy image, and with burst mode on, fulfilling this task becomes easier.
Mask, snorkel, and fins (diving suit, and other accessories) must definitely be in your collection. You also need such components as a mask (without it, you will not see anything, and dark glasses with a good clean nose of snot), the tube (without it, staying underwater will lose its charm and interest), and Slippers for walking on the coral. The rest is your personal choice.
Fins, for example, help dive deeper — you should toss them over the water, and they already give the right direction in depth; reinforce them when moving and they will help move on the surface faster.
Wearing a wetsuit, you will neither freeze nor stay on the corals for a long time. Even if the water is warm, you can start losing warmness after an hour. Even at 28°C, the body begins to feel cold. In African countries where the sun shines very intensively, you still need to put on a wetsuit to protect your body.
Gloves protect different body parts from scratches on the corals (you can wear additional protection).
Modern masks are made of durable latex. Now you can choose masks of different sizes and qualities. Many of them ensure dual-skin contact, letting less water inside.
Pro Tip: Though you may think it is a trifle, having good rest and eating healthy food is also important for every photographer. Spending several hours near water, you may feel really starving, so it makes sense to bring something nutritious with you.
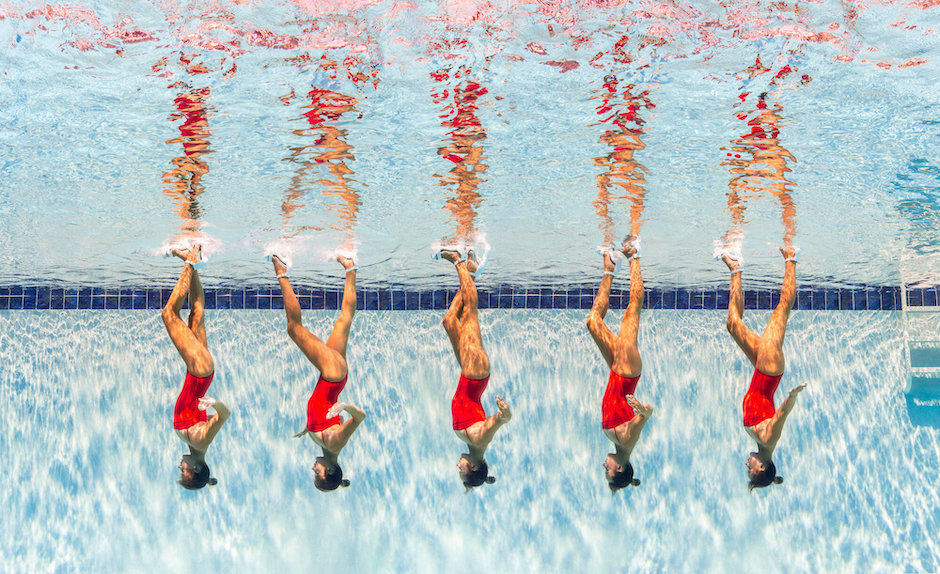
Before arranging an underwater photoshoot in the ocean or the sea, you’d better visit the local swimming pool and take several images there. Of course, you need special equipment to achieve great results. Most modern compact and DSLR cameras come with plastic cases that protect equipment from water. Since they are water-resistant, you can be sure your gear won’t be damaged.
Pro Tip: If you need to stay in the water for quite a while, especially in a chlorinated pool, you should take care of your eyes to avoid redness. I always have eye drops with me, but you may contact your ophthalmologist to get professional recommendations and prescriptions.
The quality of your underwater shoots depends on only on your equipment and shooting skills, but also on how confident you feel in such an environment. This means you need to devote some time to diving and snorkeling either together with a certified instructor or a knowledgeable friend, who can organize a master class for you.
If you are going to work in an unknown diving location, make sure to visit it in advance and learn how deep you can go there. This is obligatory both in terms of safety and possibilities for capturing really winsome scenes. This way, you will understand the environment, wildlife, and habitats. Making such meticulous preparations, you will be able to fully concentrate on objects in front of you rather than worrying about possible dangers.
Pro Tip: The ideal time for an underwater photo session is late in the morning, between 8 am and 11 am. However, this interval varies depending on the region.
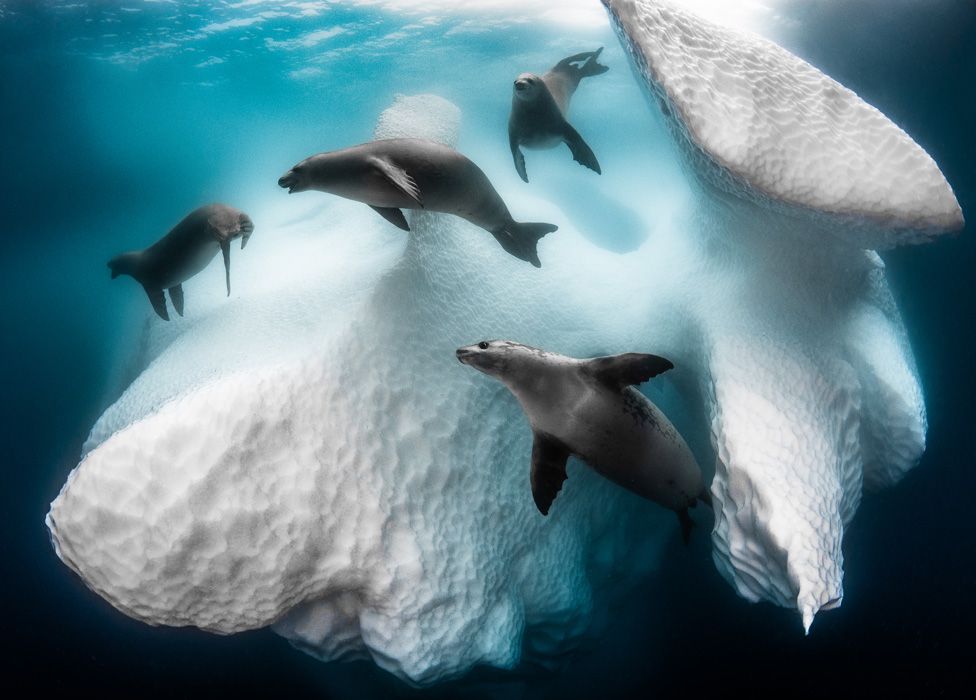
What is the most suitable place for diving, where you can also take some underwater shoots? In fact, there are many breathtaking photography locations to see the rich underwater world.
Australia. The Great Barrier Reef is one of the most famous places to explore the underwater world. Here you can see lots of corals and marine life in its full diversity. The best time to visit this location is from October to December.
The Maldives. This is a real paradise in the Indian Ocean where you can not only have memorable holidays but also examine the richest oceanic flora and fauna. The water is crystal clear there, so you can see the smallest ocean creatures. The best time to travel to the Maldives is from late January to April.
Egypt. The many-sided world of the coral reef, underwater grottoes and even the vertical cave "Blue Hole" are awaiting underwater photography enthusiasts. The sea near the Egyptian city of Dahab has hidden surprises for both beginners and experienced divers. All spots are incredibly picturesque, so don’t miss a chance to take images there. Egypt is a wonderful shooting location all year round.
Canada. The schooner Sweepstakes in Lake Ontario is located at a shallow depth - you can see it without even plunging into the water. But to take a beautiful photo, you have to wear a mask and a swimsuit. Expeditions to the ship start from the city of Tobermory.
Cyprus. The ferry Zenobia, which sank near the city of Larnaca, is one of the main local attractions. To see it, you need to dive to a depth of at least 18 meters.
If you shoot in such unpopular diving areas where water is not always crystal clear, you should keep this recommendation in mind. Places near the coast may have bad visibility due to runoff or the unclear sea bottom, totally agitated from breaking waves. The most difficult task is to photograph dark objects in the open water.
A reverse wave may cause a lot of trouble. Depending on the situation, you can avoid the backflow using "noisy" backgrounds that can hide the flaws of water, and using the light nearer to the subject.
The desire of beginners to shoot with maximum magnification is understandable. As a result, everything in a picture may come out blurred: at full zoom, the depth of field is catastrophically low, and equal fractions of a millimeter.
Thus, viewers will hardly love your underwater shoots. Even scrutinizing them, they will not see anything, as all objects will merge into one mass.
How to avoid such an outcome? First of all, you can shoot at lower magnifications, such as 1:2. The depth of field will increase greatly, and you’ll be able to work out all the little details.
When you print such images out, you will only need to zoom twice the normal size, and crop the excess. The procedure is quite simple. In the end, the effect is the same as when shooting macro 1:1, but with better sharpness.
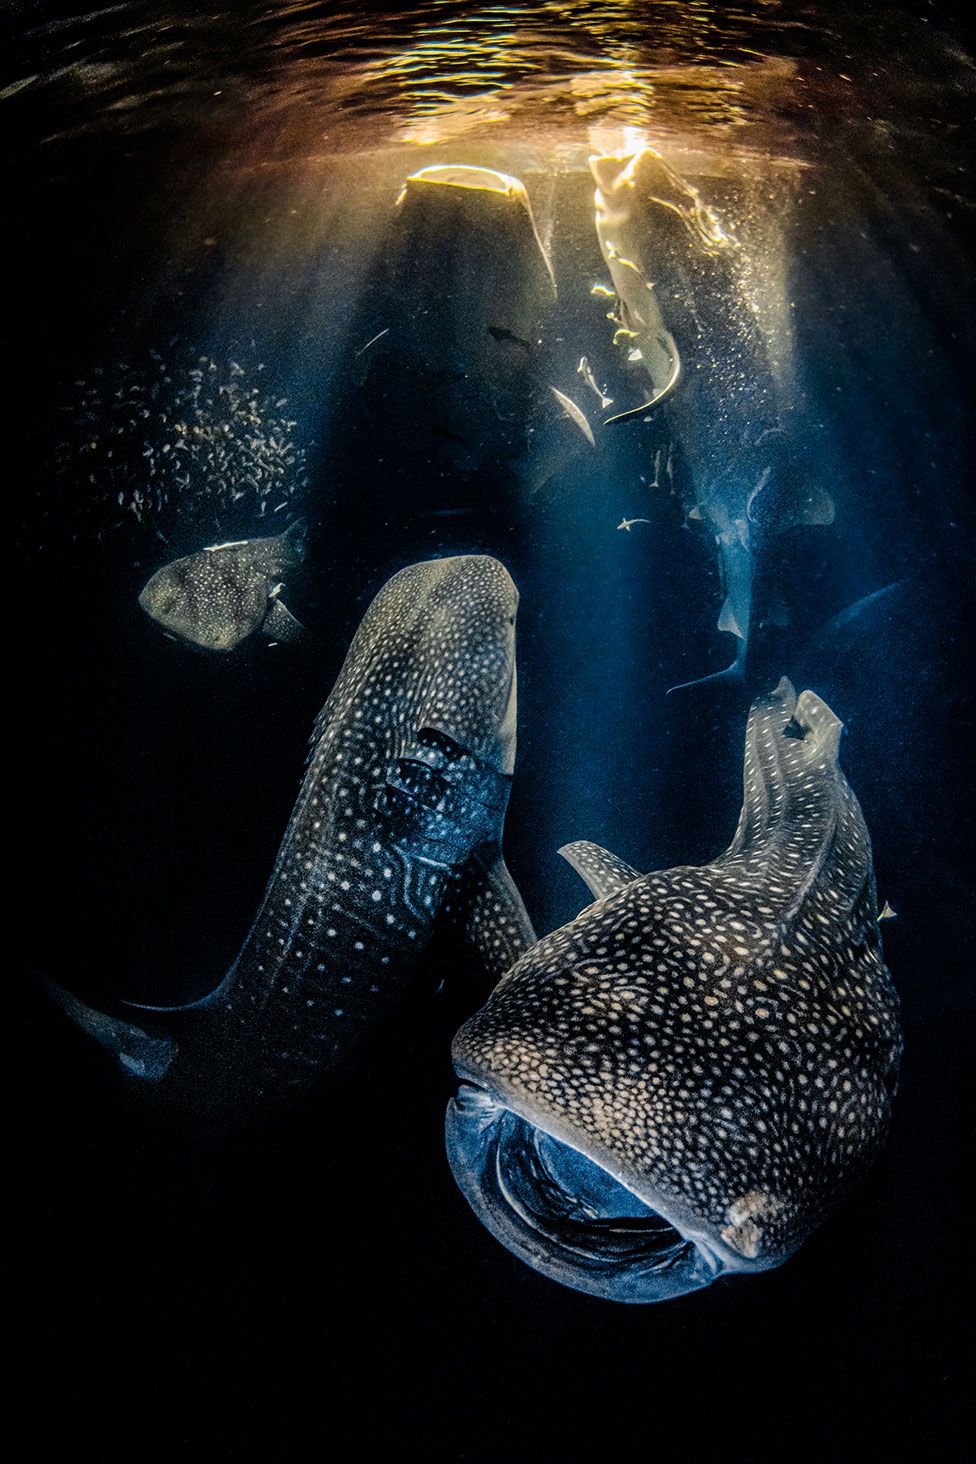
While photographing the underwater world, you need to play with angles, taking several photos below your subjects and then do the same from above. Besides, pay attention to the background and how well it matches the story you are going to tell. For instance, taking pictures of fish from underneath, you can take awe-inspiring silhouette-style images.
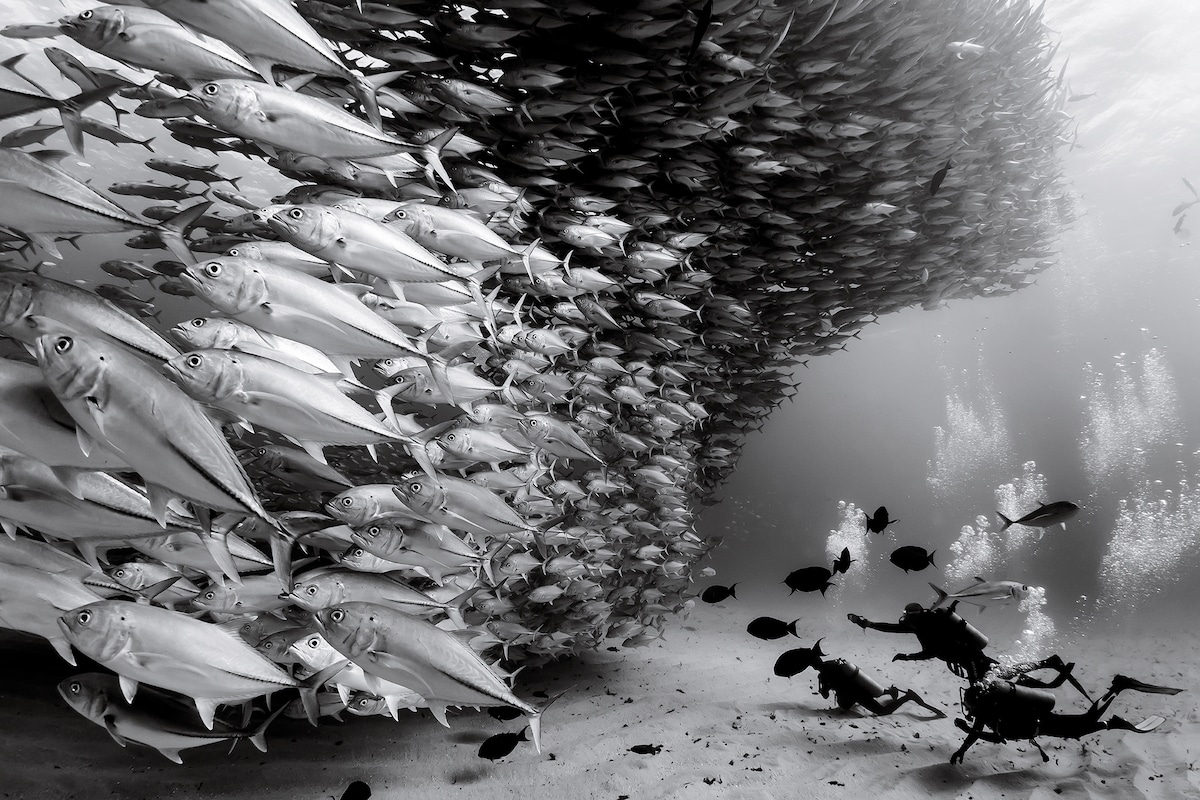
Though an underwater world abounds with colors, sometimes you can achieve more striking results, following the principles of black and white photography. In fact, ocean scenes have a lot of powerful contrasts and taking B&W photos, you can show them in the most beautiful way.
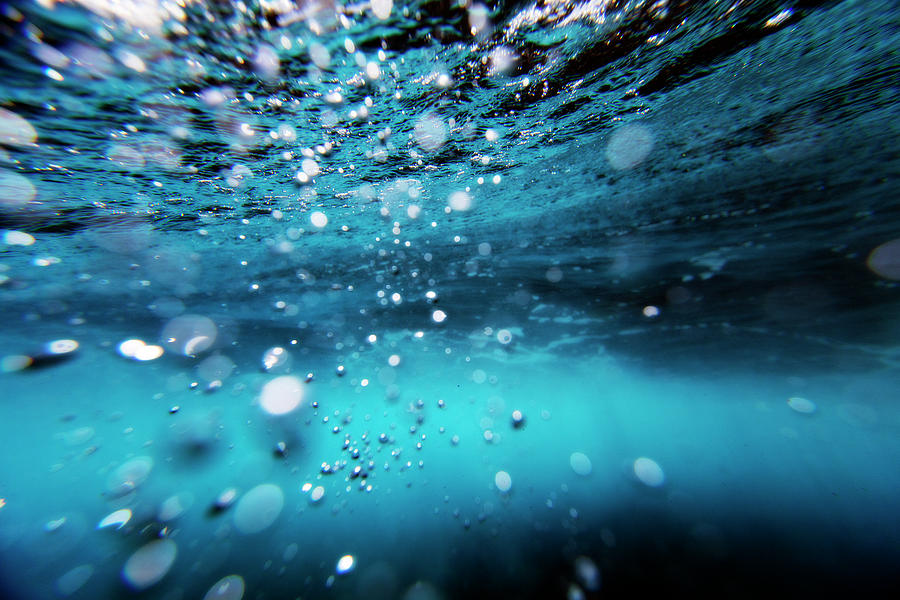
Air bubbles are something you can’t control, but can either avoid or turn into an interesting photo effect. Of course, the latter requires some practice, so make sure you understand how they appear and how they look in images in order to use them to your advantage.

Looking for an eye-catching background is definitely worth the effort. If you have an interesting texture or a textured background like coral polyps, kelp leaves and anemones in your pictures, they are bound to attract viewers’ attention. Sometimes colorful or, on the contrary, one-color background is nearly 80% of picture success.
The rule is simple. If there is no background, there is no main object. Impressive coral in the background of the dark blue sea, will look good with yellow-blue contrasts. You may also take images of people posing against such arresting backgrounds if you are after aesthetic photography. Use the rule of thirds, even fourths for the main thing to look balanced.
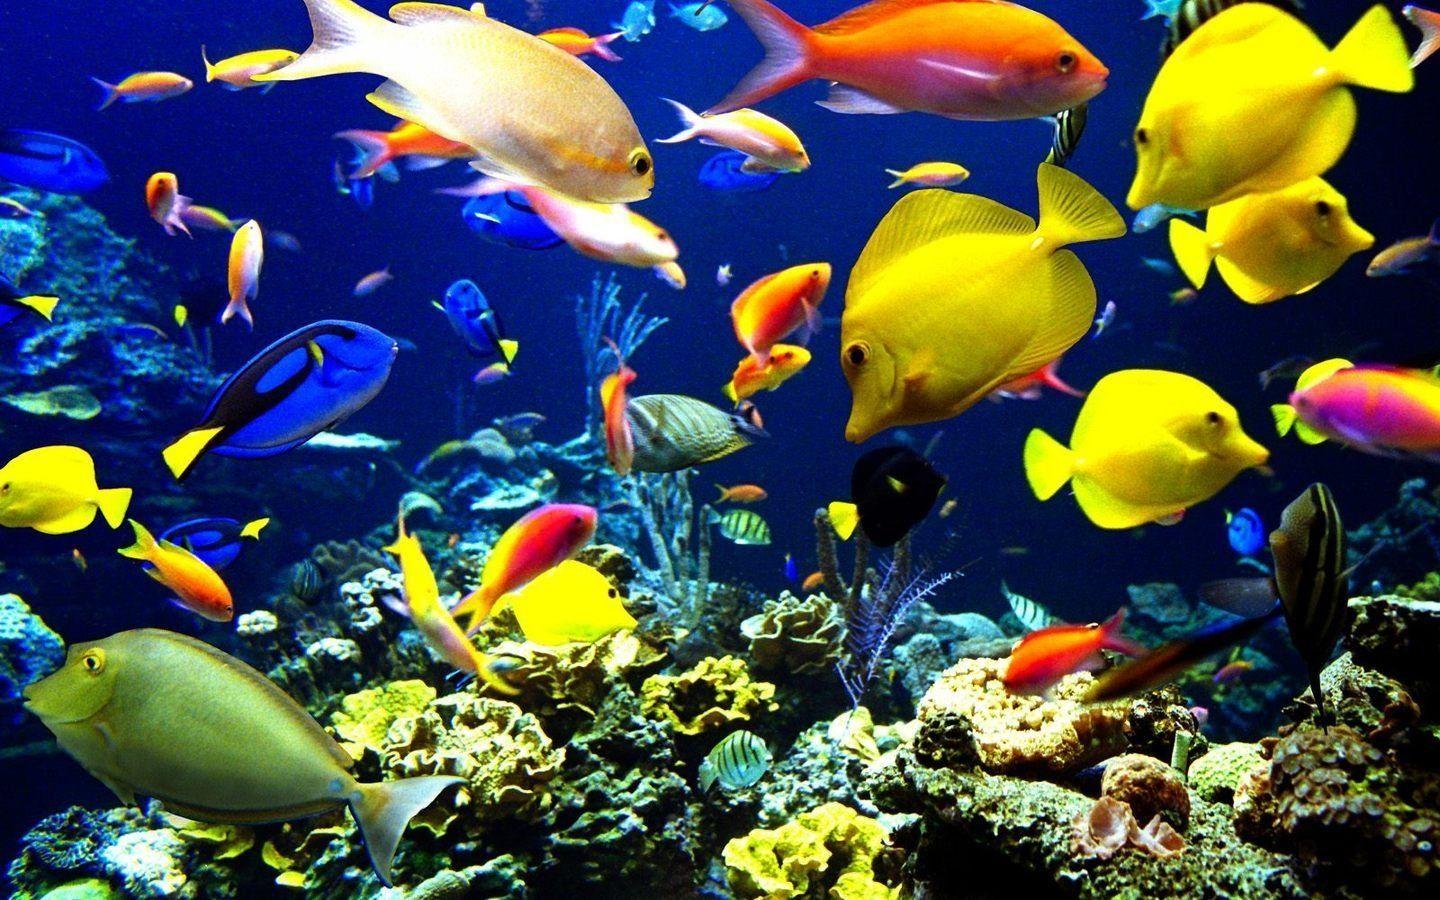
Communicating with indigenous people, you can learn the habits of local marine life and creatures. You may want to hire a local guide and have excursions across the location. He/she will take you from place to place, showing interesting peculiarities, the most fascinating places, etc.

Think you are close enough to your subject? If yes, you have good chances to take detailed and captivating underwater shoots. At a short distance, you will see a reptile or fish, capturing its unusual colors, patterns, and textures. Besides, you will be able to choose the right angle, distance and build a proper composition.

While taking photos, you have to grapple with the refraction process, meaning that the exposure below and above the water surface differs. Of course, this can have a negative impact on the overall focus of the surface segment, but you can solve the issue by using split diopter filters.

If you want to stand out from the crowd being a representative of the underwater photography genre, you should head to the place with artifacts and take images there. Capturing ancient ships or even architectural pieces underwater is no easy task, but such pictures will surely bring you the deserved fame.

You have probably seen portraits of Keira Knightley, Lily Cole and Kelly Brook taken underwater. These pictures received many complimentary words thanks to cool ideas, fantastic scenes, and costumes. If you want to mix underwater and portrait photography, this is a sure way to go.
Pro Tip: Skin tones look best at the depth of 30-100 cm under the surface. If you go deeper, the skin starts losing warmth and red undertones.

There are many couple photo ideas on the net but if you want to take a unique image and don’t mind going the extra mile, encourage your models to pose underwater. Of course, such a photo session requires thorough preparation but the result is worth it.

An ocean amazes with the diversity of colors and textures, so if you can, grab your camera and capture that splendor. You can photograph details and textures of plants, coral reefs, fish, and other creatures. However, don’t touch representatives of flora and fauna not to frighten and harm them.
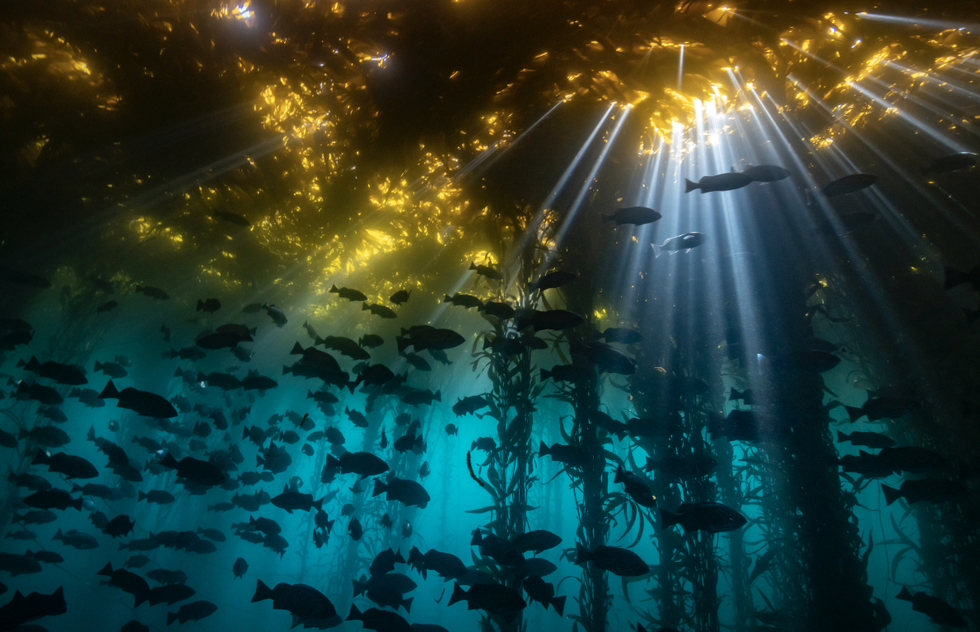
If you have an underwater photoshoot on a sunny day, devote some time to capturing sun rays penetrating the water surface and going deeper. This way, you will add a beautiful effect to your images. However, the brightness of the light can be different depending on how close you are to the surface.

Another handy trick is to photograph upwards or at the very least level with your subject. Sometimes, there is no possibility to take images in such a direction but if you want to get professional results, you need to avoid shooting downwards.
The upwards position guarantees better lighting and allows you to frame your subject against a blue-water background.
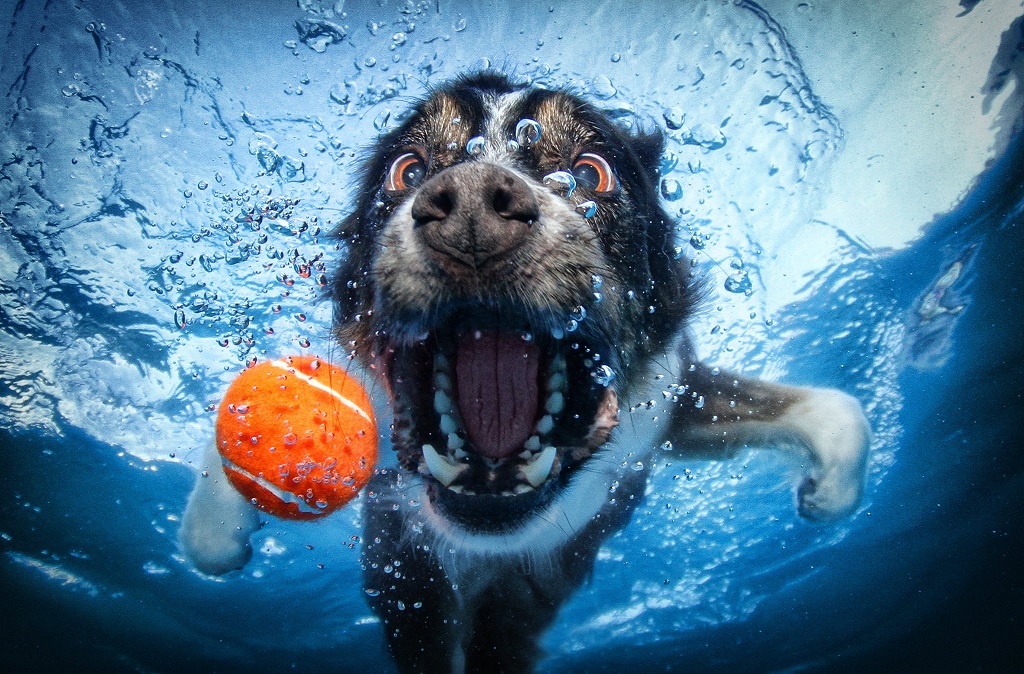
Dogs usually love spending some time in the water, and if this is true for your furry friend, you can have a really fun time together. Refresh your knowledge of pet photography and take your dog to the nearby coast to take some dynamic shots there.
Editing underwater shoots is a time-consuming process, as you have to adjust many parameters. Fortunately, there are great filters that can significantly simplify your life. Some of them fix lighting defects, while others make colors more saturated. Designed with the peculiarities of underwater photography in mind, they are sure to satisfy your needs. Every filter was tested on multiple photos, including those taken in a lake, river, and ocean.
David Doubilet is known for his extensive work with National Geographic and his stunning captures of marine life. Brian Skerry is another notable photographer specializing in marine wildlife conservation, with his work appearing in National Geographic. Laurent Ballesta, a French biologist and photographer, has gained recognition for his ambitious expeditions and breathtaking images of marine environments.
When choosing an underwater camera, consider factors such as image quality, durability, and ease of use. Look for a camera with high resolution and good low-light performance to capture clear and detailed images underwater, and ensure that it is designed to withstand the conditions of fishing, such as being waterproof and shockproof.
The earnings of underwater photographers can vary significantly depending on factors such as their level of experience, reputation, clientele, and the specific projects they undertake. While some underwater photographers may earn a modest income, others who have established themselves in the industry and work on high-profile assignments or commercial projects can potentially earn a substantial income.