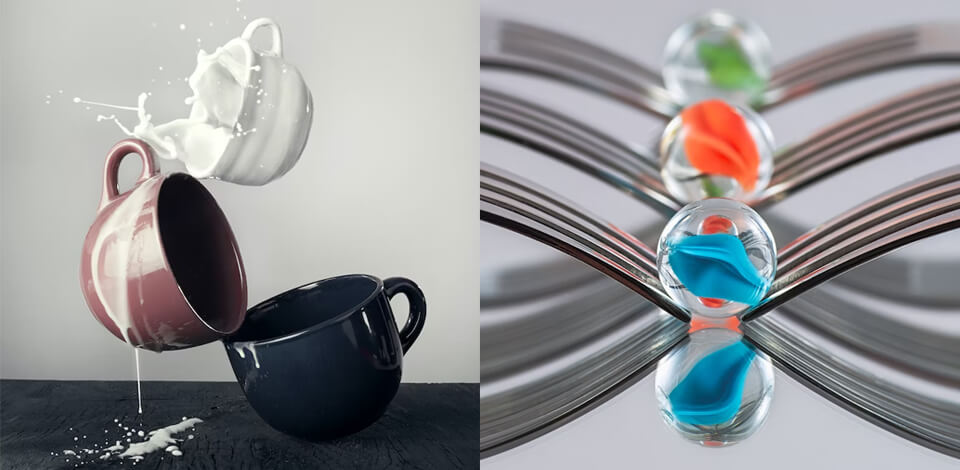
The Rule of Odds in photography is a compositional technique that involves taking a picture of a group of subjects while ensuring there’s an odd number of them since that is more pleasing to the human eye.
An uneven number of elements is easier to balance than an even number. This is mostly explained by the fact that one of the subjects can be placed in the center of the shot. This rule can be paired with other compositional techniques, for instance, with the rule of thirds.
There’s an array of different ways in which you can arrange an uneven number of subjects. For example, you can leverage prominent compositional elements like lines or triangles. One of the most popular approaches is to employ the triangle photo composition technique for arranging 3 subjects within the shot.
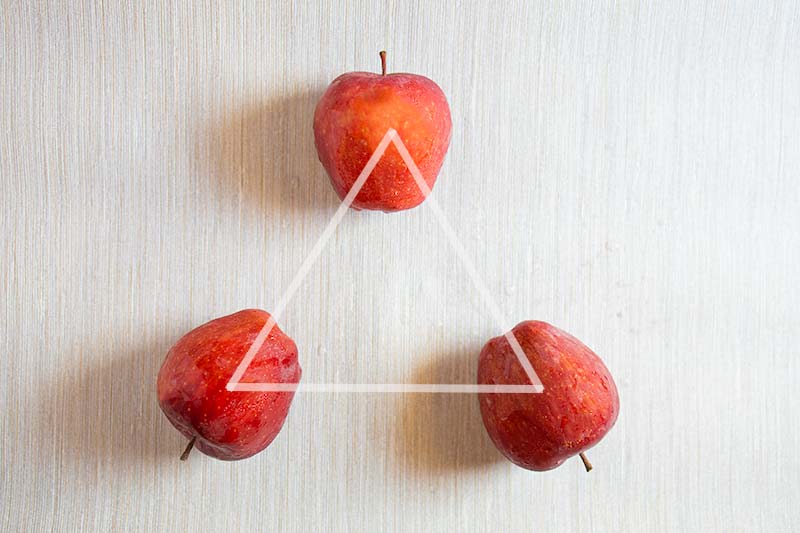
The perfect number of objects for rule of odds photography is 3. Five and seven are also great options for composing photos. However, if you feature more than 9 elements, the average person’s brain will begin to interpret them as a regular group, making this technique lose its strength.
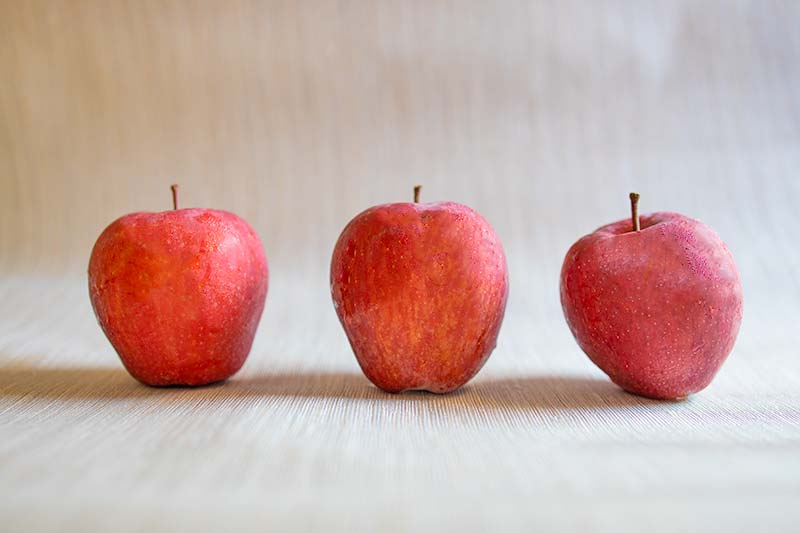
When arranging subjects in a row, remember that the line can either be horizontal, vertical, or diagonal in relation to the frame. Taking advantage of geometrical shapes is another technique that will help you engage the viewer’s brain, as it strives to locate lines and repetition in photography.

You can apply the rule of odds to your group and family portraiture. Consider featuring an uneven number of subjects in the shot to achieve a more aesthetically pleasing composition. If the parents have two kids, you can ask one kid to stand in front of the other to achieve an uneven number of separate figures.

Another application for the rule of odds in photography are street and architectural pictures. You can take photos of 3 pedestrians in a row or when they are walking close to each other.

If you split up the guests into more manageable groups, you can leverage the rule of odds to make the wedding party pictures more engaging. Another trick you can use is to arrange the smaller elements and props in a way that guides the viewer's glance to the newlywed couple.

This rule is very popular among professionals involved with floral, forest, and wildlife photography. During such a photo shoot, you have to frequently be on the move to shift your perspective or find a better angle.
When taking nature photos, you can rearrange the subjects a bit to achieve a better composition. If it’s impossible to do so, remember that you can simply crop the picture during the editing stage to achieve the perfect shot.
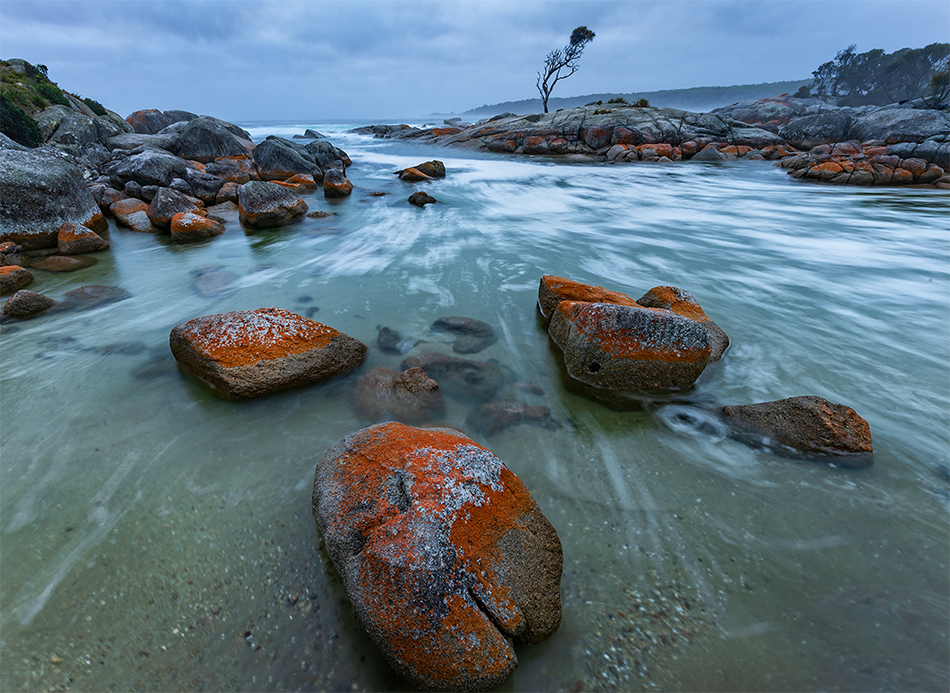
When taking photos in the great outdoors, try to compose your shots in a way that features an uneven number of large objects like mountain tops, trees, boulders, or eye-catching clouds.
Keep in mind that you can also apply the rule of odds in photography during image editing. If a photo has 4 elements, you can simply delete one of them with the help of such apps to remove objects from photo as Adobe Photoshop Fix or Clip Studio Paint.
If you don't want to waste time removing objects yourself, use the services of professional retouchers.

Another genre that can benefit from this technique is food and product photography. It applies to all small subjects like board game figures, fruit, mugs, jewelry, pebbles, pens, and so on.
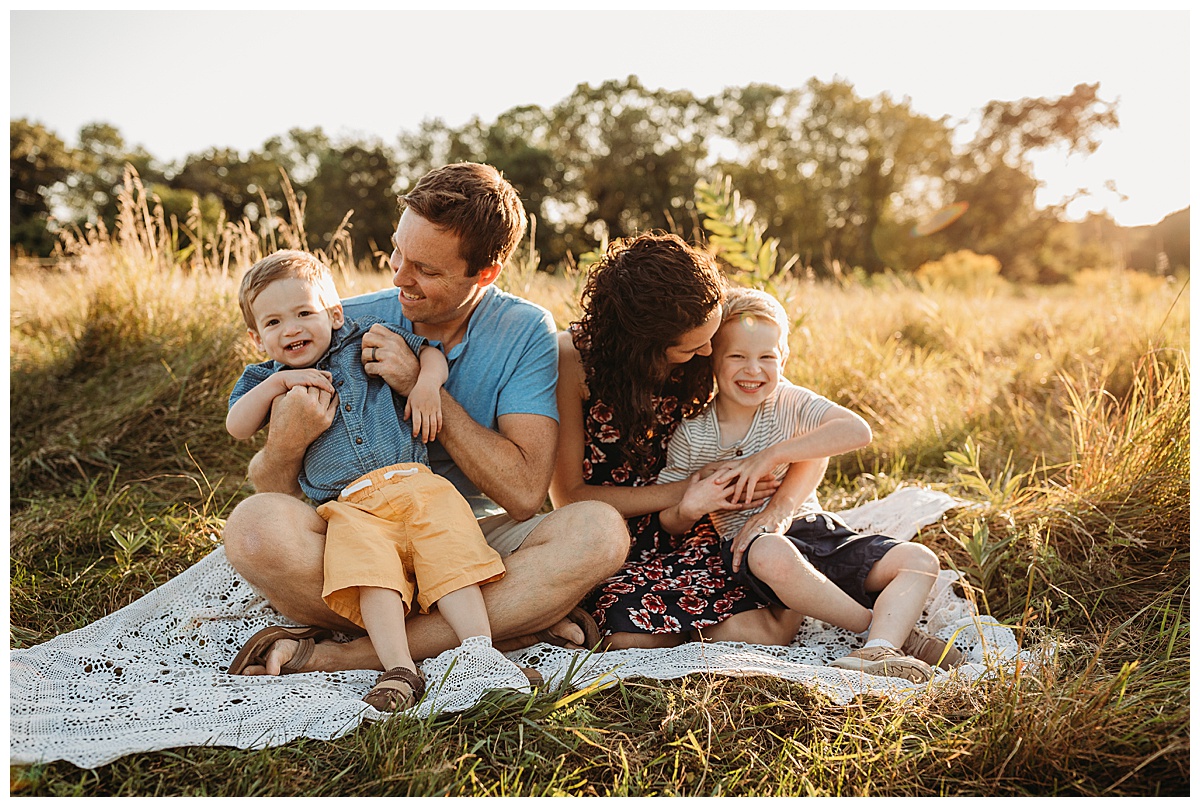
Occasionally, even when you’re dealing with an even number of objects, you can still implement the rule of odds. To do so, you have to group and arrange similar or identical subjects in a way that makes it look like there’s an uneven number of them. For instance, you can stack objects on top of each other.
This approach isn’t restricted to still life or abstract photos. A similar trick can be used for portrait photoshoots as well. To make two people come across as one subject, you can have one person sit on the shoulders of the other, hug them from behind, or simply lean against them.

While the photography rule of odds is usually a solid guideline to stick to if you want to take more aesthetically pleasing photos, there are also various scenarios when this technique isn’t applicable:
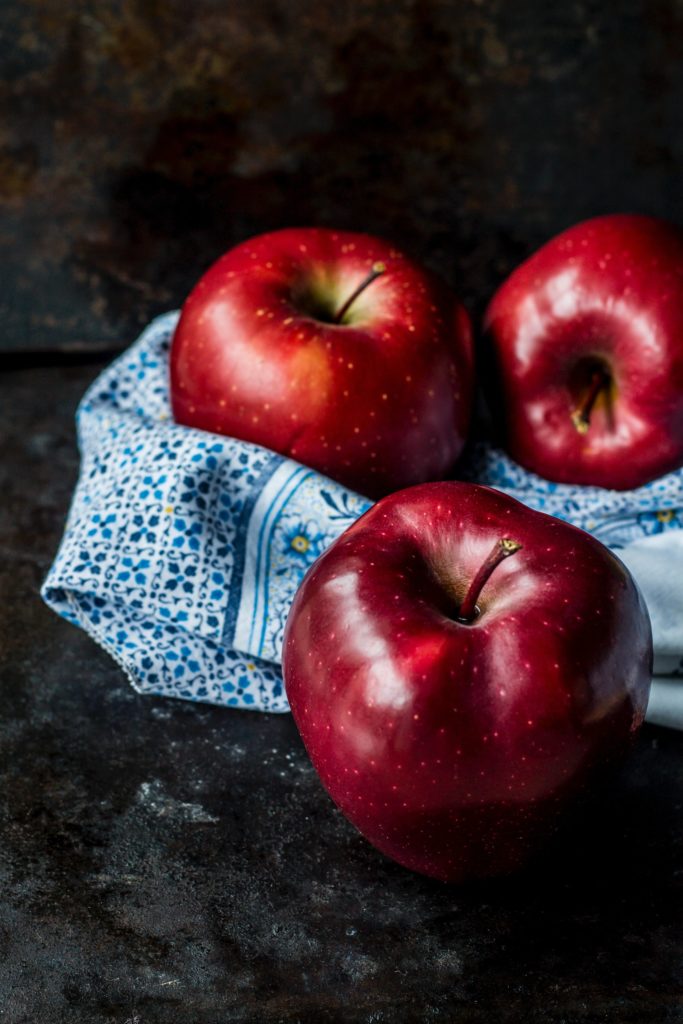
Isolate the main three subjects by increasing their sharpness and clarity and blurring the backdrop.

Experiment with macro photography. You can achieve particularly great results by setting up high-contrast scenes that feature bright subjects against a dark background.
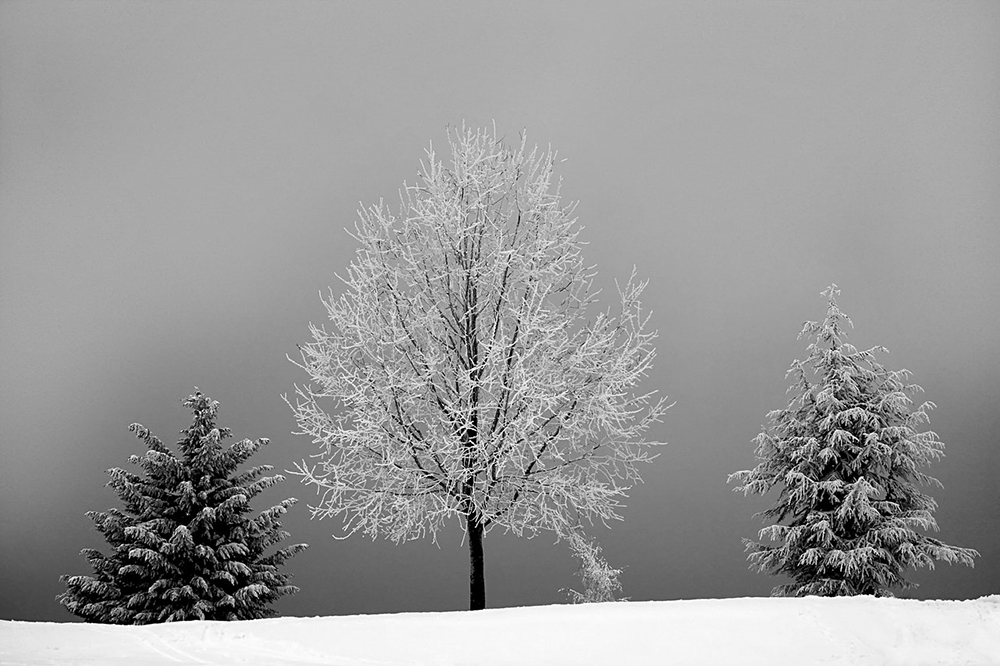
These can be 3 different types of animals or 2 identical subjects and one different one. Such an idea can be used for wildlife photos or shoots covering sports events.
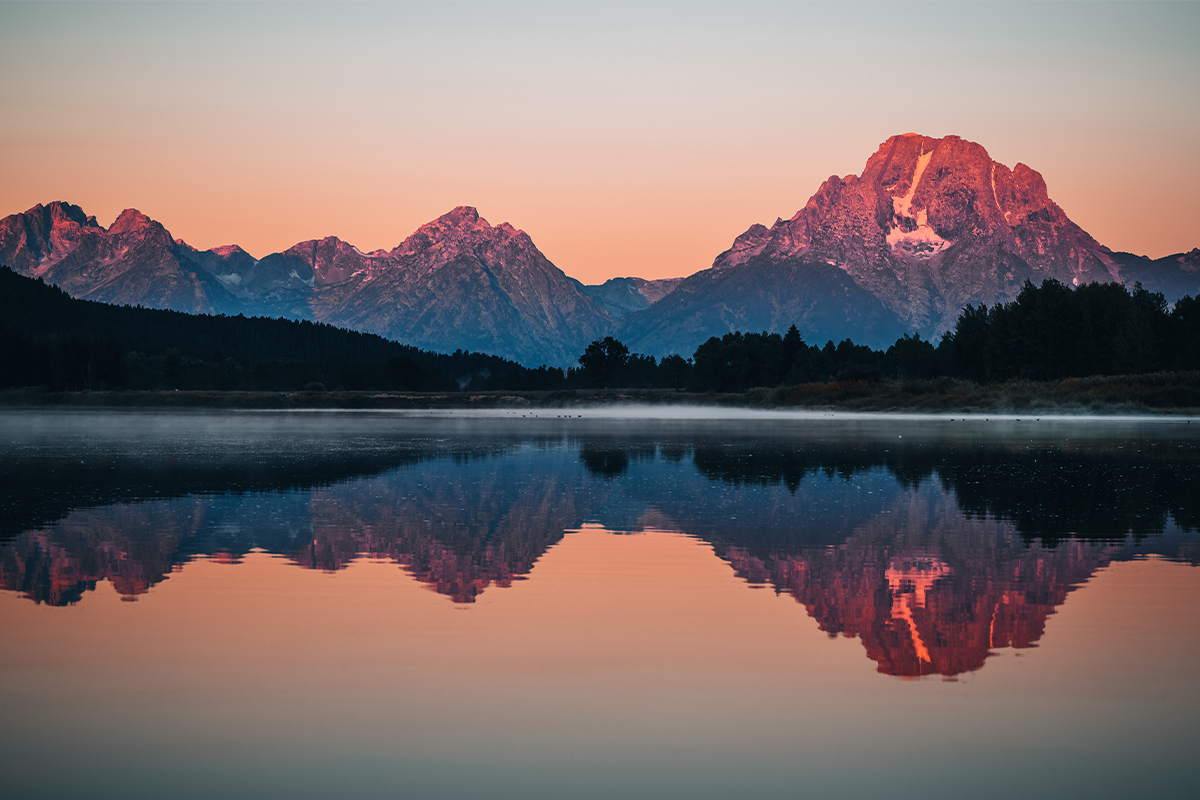
Beautiful reflections already look like a finished composition on their own and the inclusion of odd-numbered subjects will only strengthen that effect.

Instead of taking a photo of a flock of birds or a herd of animals, reduce the shot to just 3 subjects to adhere to the rule of odds in photography.

This can be a triple-trunked tree, interestingly-placed cliffs, or harmoniously arranged boulders.

When staging a still-life scene, it's up to you to decide what elements to include in the shot. You can combine a piano, notes, and a bouquet, or an oil lamp, coal, and a pickaxe to make the viewer come up with a fitting story on their own.

This way you’ll be able to draw the viewer’s attention to the composition of the photo. By properly arranging the foreground, middle-ground, and background, you’ll ensure the viewer’s focus gradually moves across the scene, allowing them to appreciate the entire shot.

Try to take a photo of trees while aiming the camera upward so that only their crowns are visible.

Arrange the subjects and light source in a way that makes the shadows one of the main heroes of the photo. Utilize simple objects with interesting shadows like forks or wine glasses.