
The income of jewelry online sellers directly depends on "beautiful pictures" but how to photograph jewelry that shines and receive eye-catching necklaces, rings and earrings? You have many challenges: different shapes of jewelry, light, perfect angles, background, etc.
After a layout was created in jewelry design software, it is brought to life and then needs to be photographed in a professional way.
If you want to get a luxurious jewelry image for your catalogue, you need to know some details and shooting tricks. I’ve made a list of most important things to consider while taking photos of jewelry.

Jewelry photography requires getting close to a piece of jewelry, that’s why you need high resolution camera body - a DSLR, because of having the option of changing lenses. Your camera for jewelry photography choice depends on what kind of results you want to receive.
If you want to take high-resolution photos for detailed post production and have the ability to change lenses, then a DSLR camera is the perfect choice for your needs. If you are shooting for a store, for example for Etsy, then you can make jewelry photography with iPhone, any model, starting with 8, will suit you. If you prefer Android devices, then find something with similar camera characteristics.

In order that your photos will look more clearly, you need to get as close to your object as possible without using the optical approximation. A good pick for jewelry photography kit will be a 50mm or 60mm lenses. They allow you not to get too close to the subject, so do not literally get into a box and your face with the camera will not be mirrored in the reflection of the metal.
Since you don’t need to have a blurred background, you can make do with any lens for product photography that doesn’t provide distortions (like a wide-angle one). To take highly detailed shots, you can use a macro lens like Nikon 105mm f/2.8 Micro Nikkor or Tamron SP 90mm F/2.8 Di Macro VC USD, but that’s more of an extra option rather than a necessity.
To do product photography on a white background at home, you’ll need to buy lamps, the more, the better. The main advice is not to use one lamp; if this occurs, only one side of your subject will be sufficiently illuminated; besides it will create a huge shadow. Also, you should close the territory of the photo as much as possible. That’s why think about making a DIY lightbox.
.jpg)
Alternatively, you can purchase a factory-made lightbox for jewelry photography. The purchase of a lightbox will replace the table, lamps, and backgrounds. It is much easier to dole out about $100 and have a ready-made studio for product photography jewelry at hand, which can be disassembled and placed under the sofa at any time.
It is easy to assemble and disassemble, since all its corners are velcro, it has a reflective surface on the walls, light is even enough at the smallest ISO values, there is the possibility of photographing from above and from the side, in the jewelry photography kit there are 2-4 backgrounds: white, black, gray and blue.
A good tripod frees up your hands in every sense of the word. Firstly, you’ll be able to interact with the subject in any way you see fit.
Secondly, you’ll be free to shoot with a closed aperture for maximum clarity since you can compensate with a longer exposure time. I use a small Manfrotto Compact Light but only because it’s easy to fit in a backpack, you can use any other tripod brand you want.
Of course, it’s possible to take terrific photos even without a tripod. I’ve shot many of the pictures featured in this article manually. However, quite soon you’ll find yourself unable to take the photo you want without having a tripod at hand.
While you take pictures, dozens of ideas and interesting camera angles will come to your head and you will need to constantly move, the main thing is to stop before taking a picture, hold your breath and press the trigger, as you need the sharpest and clearest photos, even the smallest noise is not permissible.
.jpg)
Incorrect camera settings for product photography can ruin all your photos since they can come out blurry/dark/overexposed when you look at them after returning home. That’s why you should dedicate as much of your time to this aspect as needed to guarantee quality results.
ISO determines the sensitiveness of your camera sensor to light. High ISO settings can create grainy or noise in photos. Since you are shooting in a controlled environment, you can regulate the light, that allows to use a lower ISO. Use minimum ISO (100) for maximum noise reduction.
.jpg)
Aperture checks the amount of light that comes through the lens to the camera and set the depth of field in the photo. Depth of field is a part of your photo in a focus, affecting the aesthetics of your final result. For e-commerce and magazine photos, use a closed aperture (F11 and higher) to ensure the entire subject is in focus. If you need to blur the background or the objects surrounding the jewelry – set the lowest possible setting instead (F2.2 or lower).
Shutter Speed depends on the aperture setting but when working with a tripod, you can set it to any value you want, as even 1/2 will produce terrific photos. Look at the result, if the shot looks dark – increase the shutter speed, if it’s too bright – reduce it.
However, if you want to do this more professionally, use the following equation– mm (Lens length) * 2 = Required Shutter Speed. Meaning, that when shooting with a 50mm lens, you need to set the speed to at least 1/100 to receive clear photos.
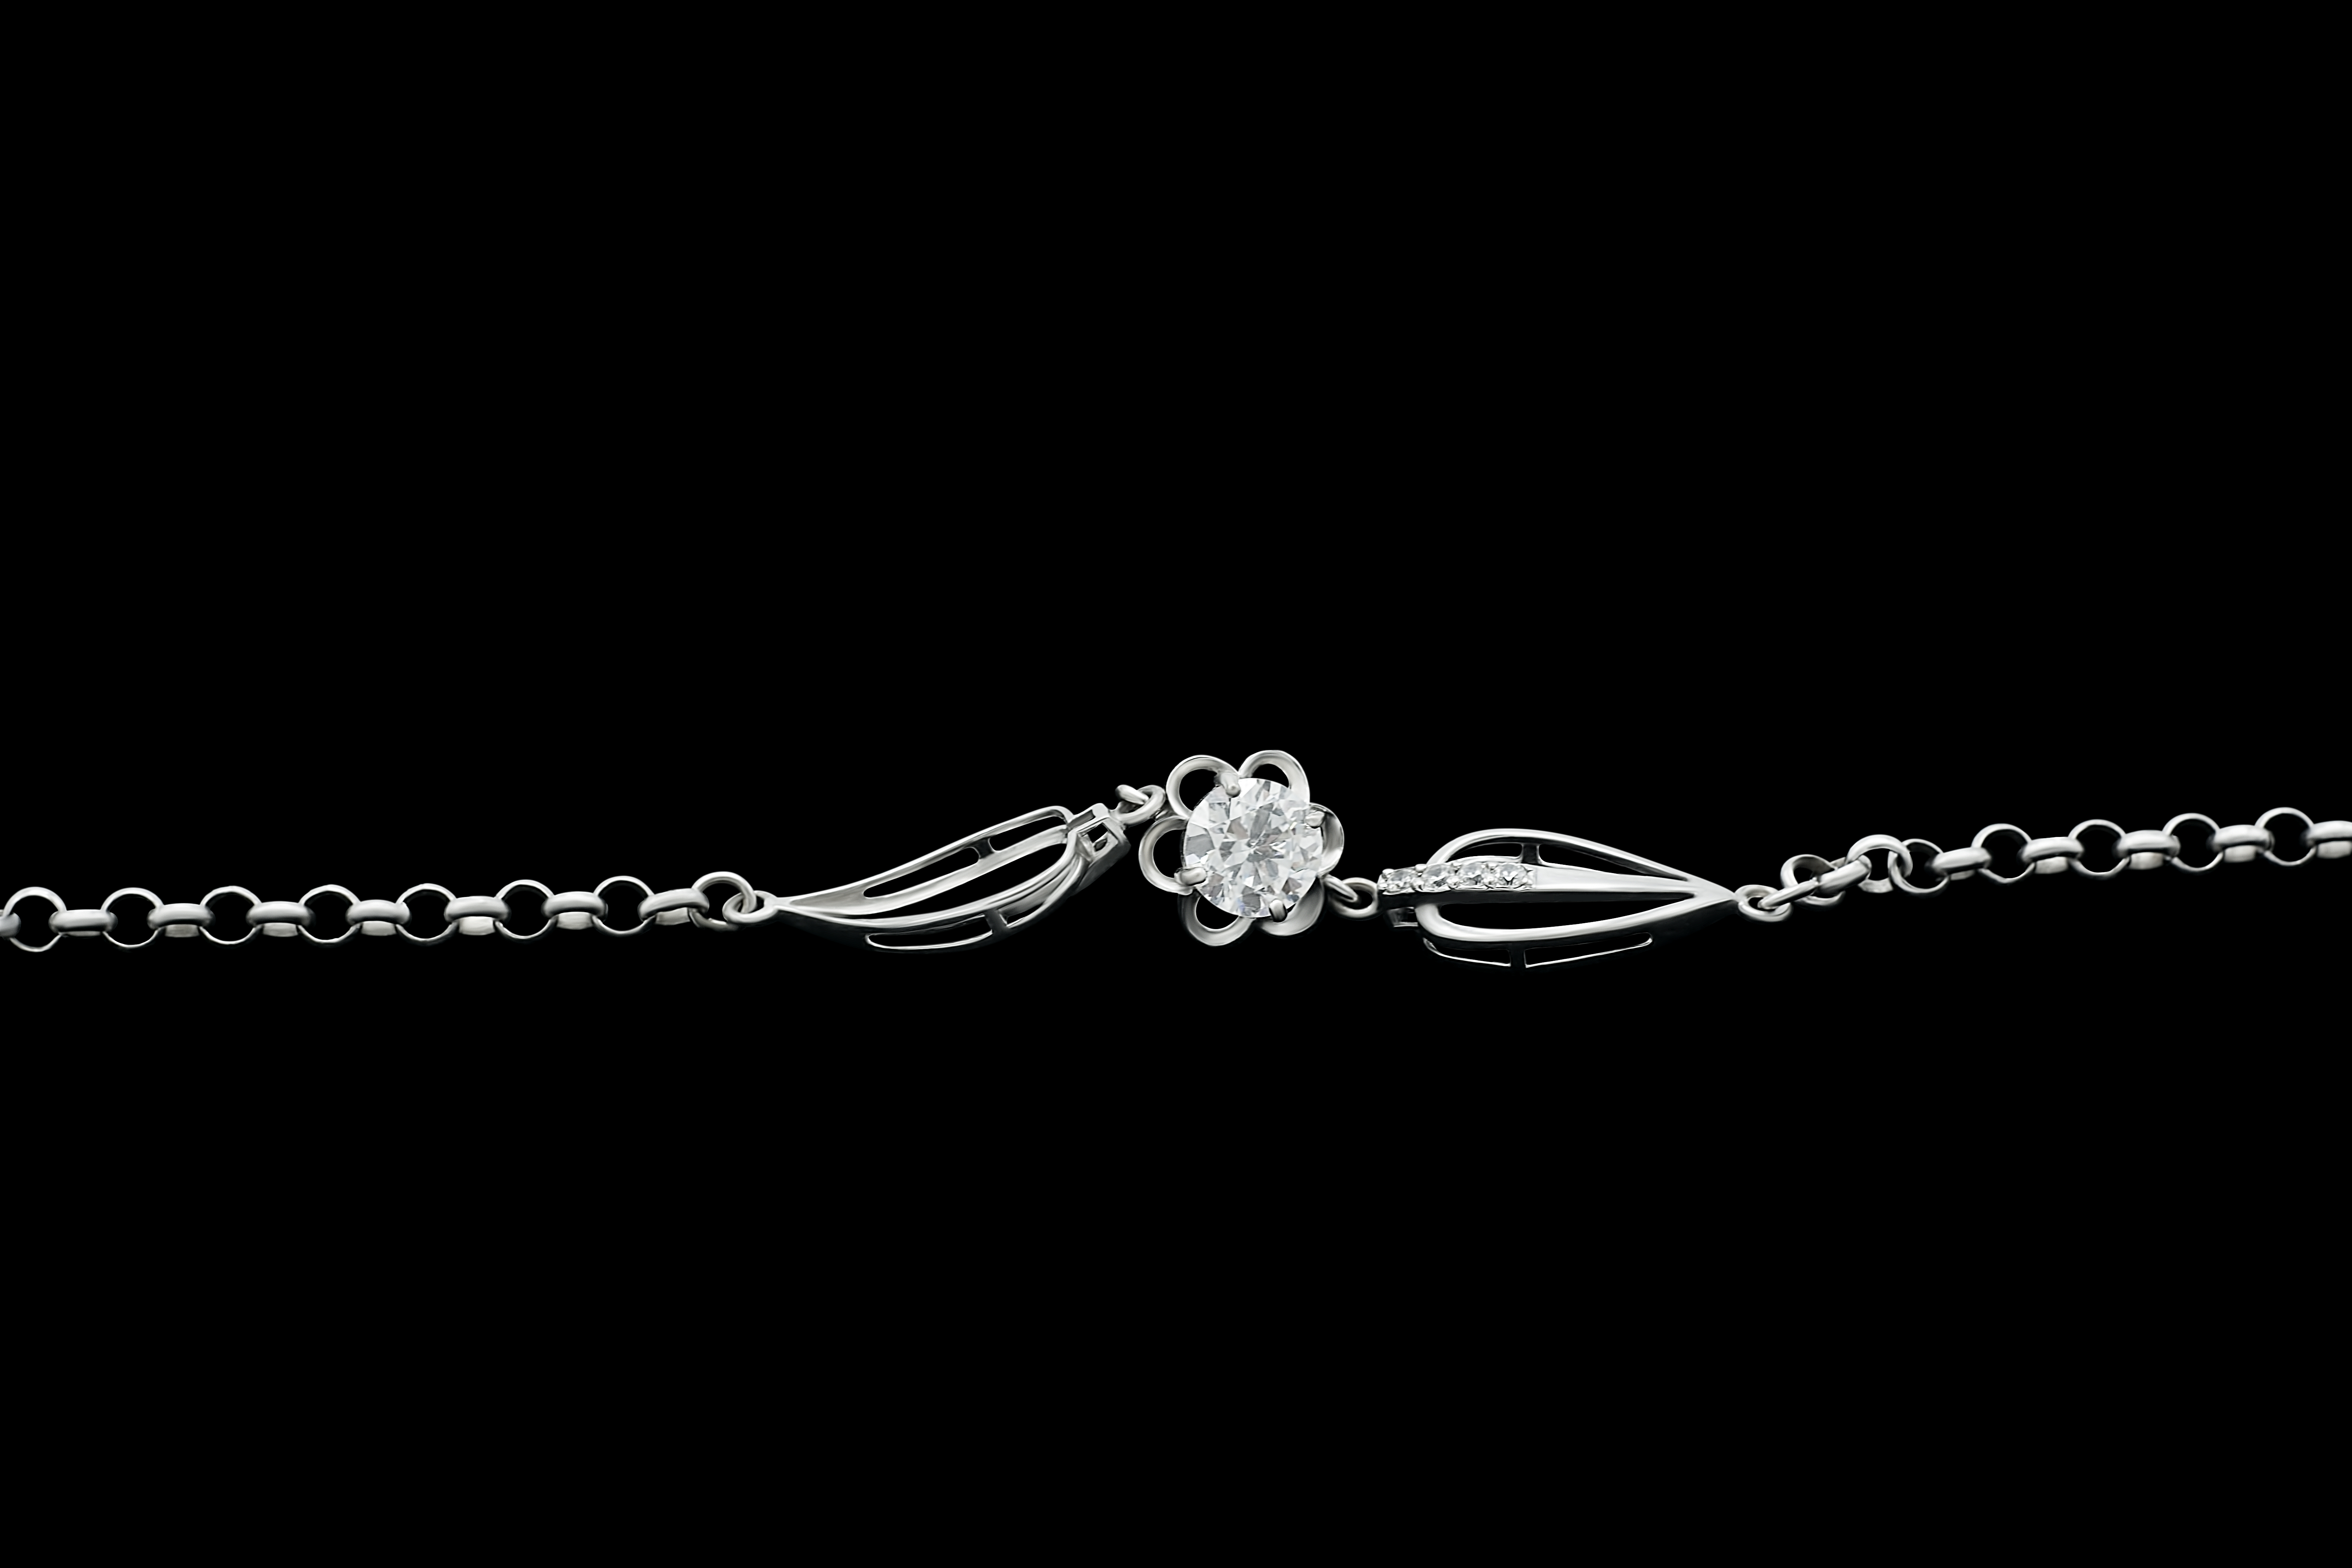
You surely know that tricks aren’t just used for food photography, where they can replace milk with glue, but for jewelry photos as well. Start by purchasing a jewelry photography kit that comes with all the essentials props – stands, busts, reflective surfaces, bracelet and earring holders, etc. All of those can be later removed during image post production.
.jpg)
The first thing you have to do is to lay a piece of napkin or paper under this cube of wax for jewelry photography since the wax covers the surface on which it stands, and then everything sticks to it. You can also use wax to support your jewelry, as it helps keep the rings vertical without any special holders.
.jpg)
Another popular trick is to send a string along the lightbox and use it for hanging earrings or a necklace. If you need to take a shot of floating jewelry, you won’t find anything better. Just remember to account for the weight of the jewelry when picking the thread/wire.
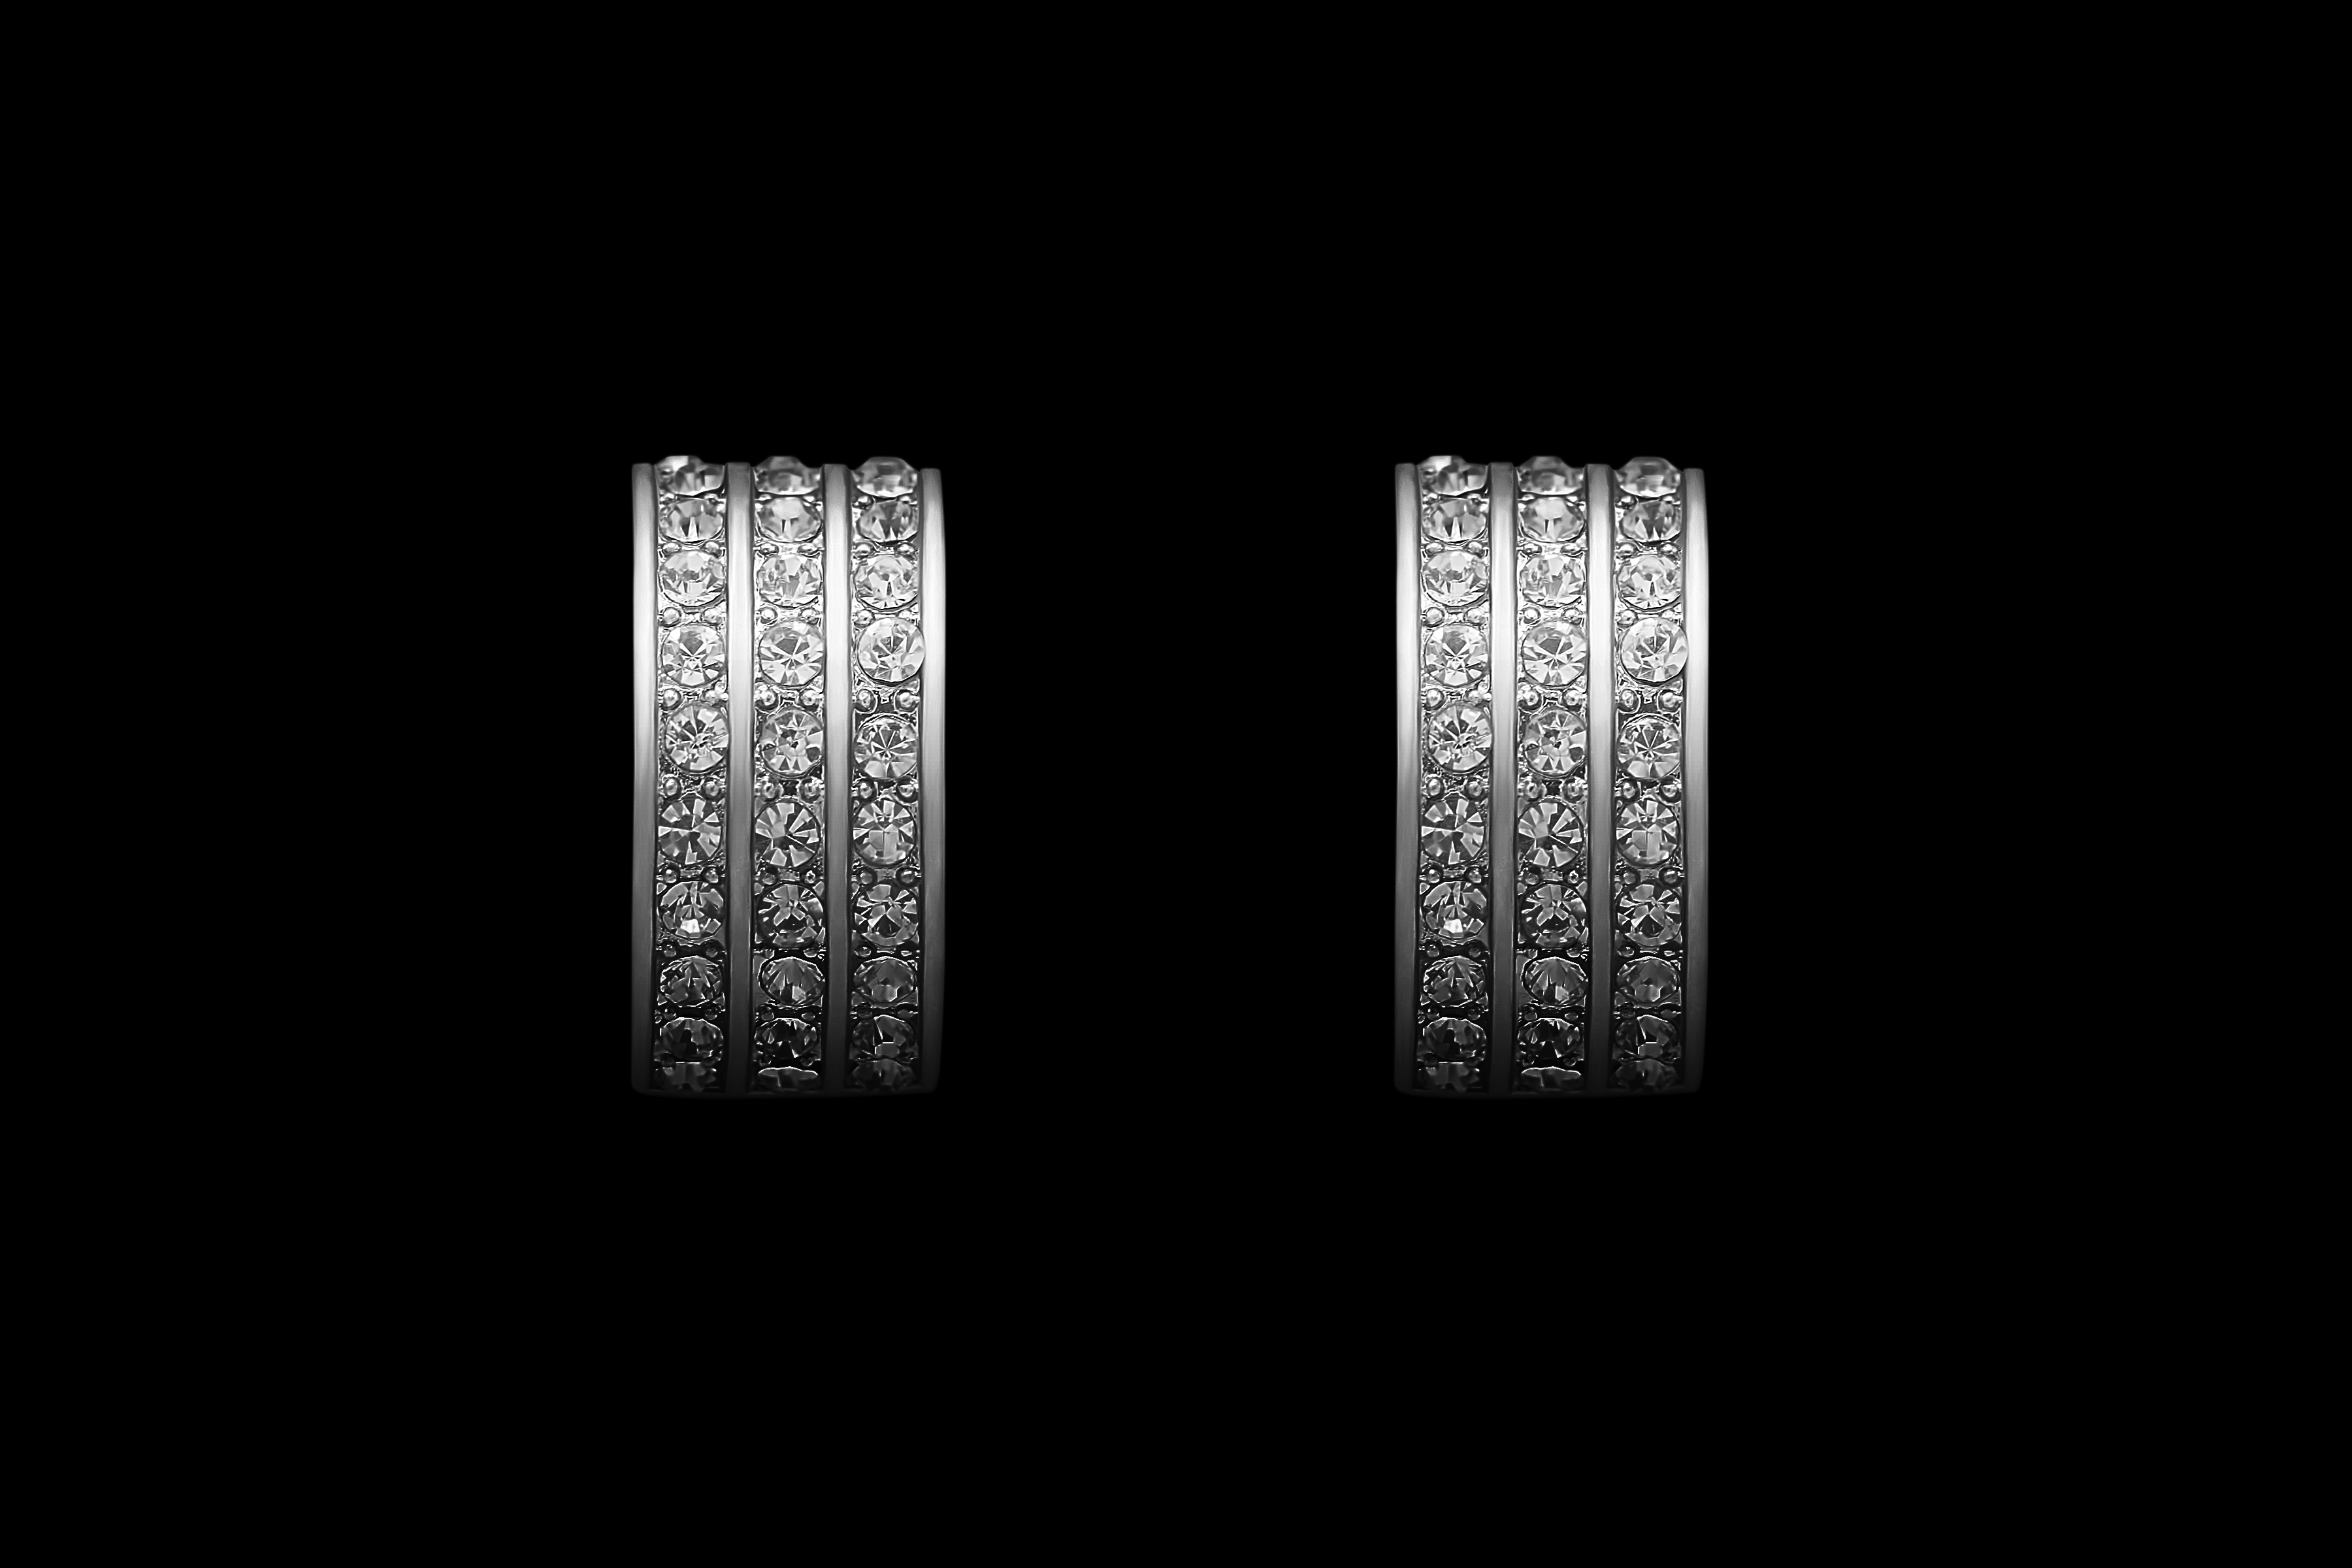
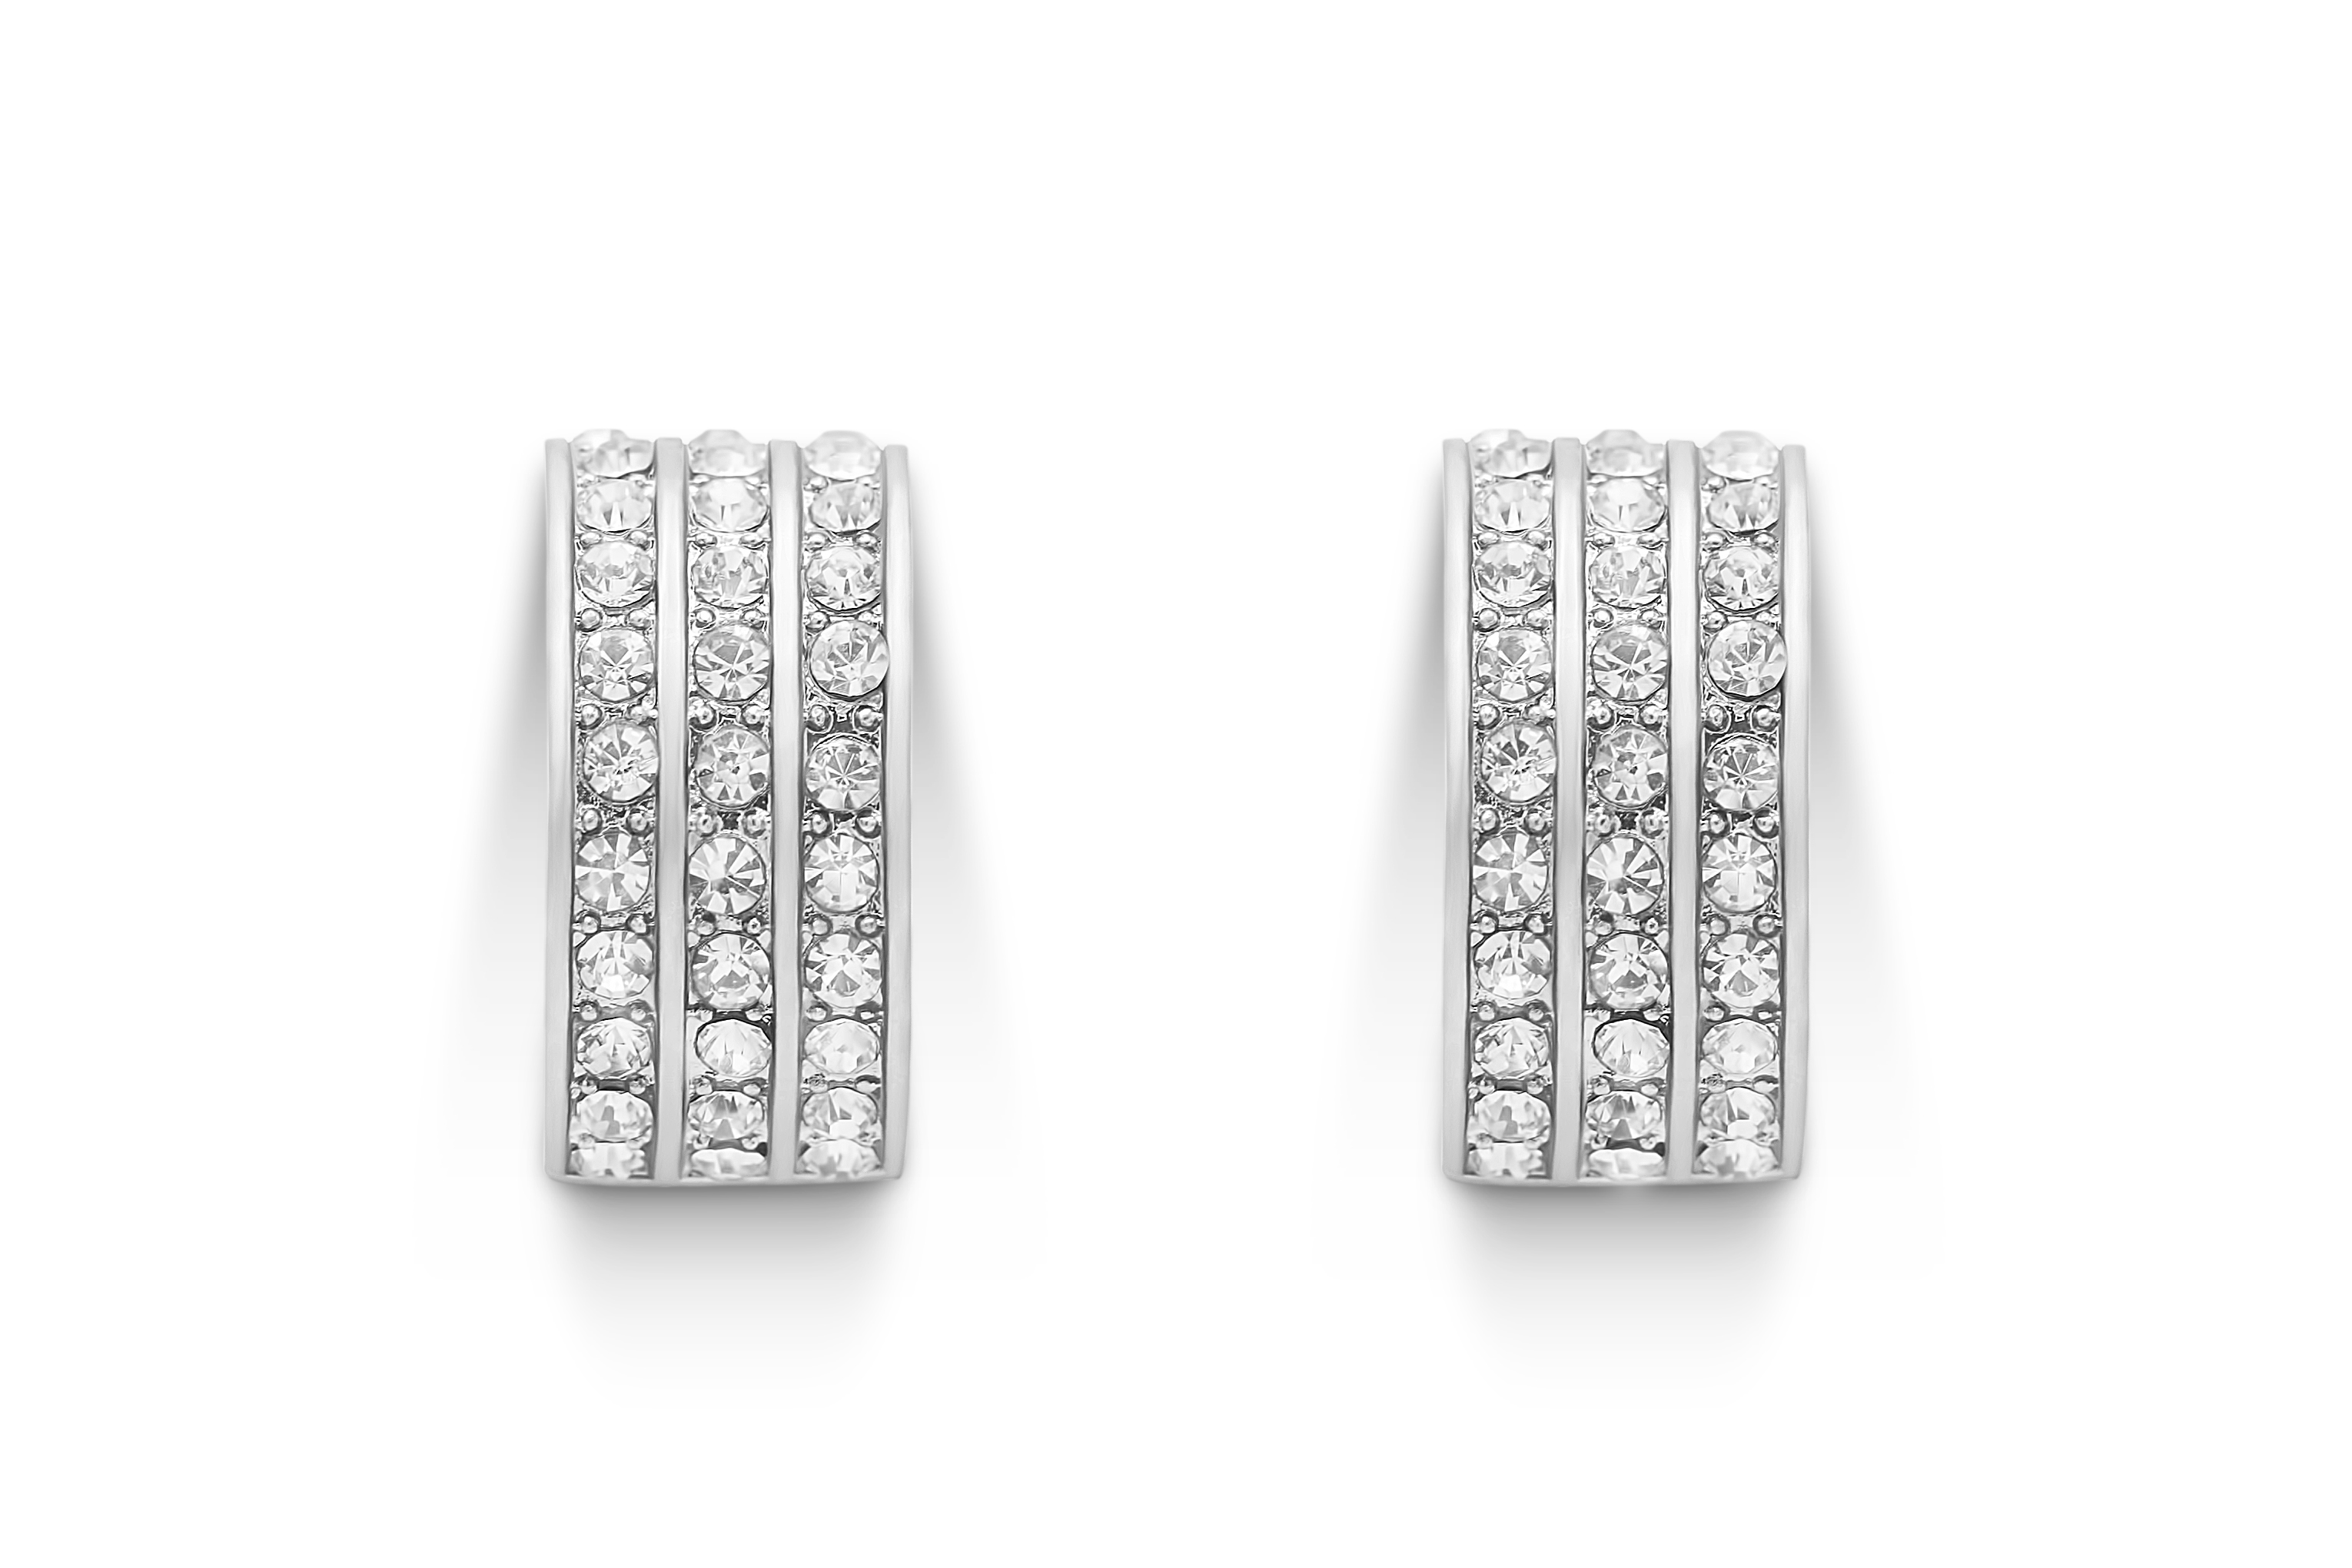
Such a background instantly changes the perception of the photo since an image with a black backdrop catches your eye with all its details. Golden jewelry against a black background looks particularly appealing since black environments complement gold. However, such photos require a lot more light as well as longer exposure times, which is why I don’t recommend using a black backdrop without a tripod.
If you have a dark-colored background, you should try shooting all your jewelry against it since the result will look more creative and will be closer to an artistic photo for a magazine rather than a regular picture from a product catalog.
The photo of the jewelry on the acrylic stand, with all the ornaments, usually looks especially attractive. You can see such images on advertising stands of not only jewelry items but also perfumes, alcoholic beverages, etc. Depending on the jewelry, it can look better against either a dark or a light acrylic board.
It is very difficult to achieve a good reflection on the white panel since most of these reflections are illuminated. Darker rings can produce a more intense reflection while golden ones are more subtle, but you can always fix the reflection in Photoshop and make it stronger.

To work with the reflection on the black surface is much easier, the colors are very juicy, and the picture looks expensive. The main thing is to make sure that your LED lights for jewelry photography or lamps are not reflected on the surface. It’s also advised to work in gloves since acrylic surfaces are easily marred and you don’t want to see your fingerprints in the shot.
.jpg)
You can complement the image with various jewelry photography props like pebbles, wood, fabric, plants, ice, or even sand. I tried using a cloth. You can use different types of fabric, textures, and colors.
I used a red cotton cloth. You can also use satin fabric, but be careful, it has glares. Try it because the texture of the fabric in the photo looks very smooth, without unnecessary threads.
Photos taken against this fabric look very interesting but you have to account for several problems. Firstly, such a fabric is very light and gives way under heavy jewelry, which is why it’s better to put a pillow or something similar under the cloth for support.
Secondly, be careful with the color of the fabric since red had a strong effect on the color of the jewelry item, particularly its white stones that looked pink in some images.
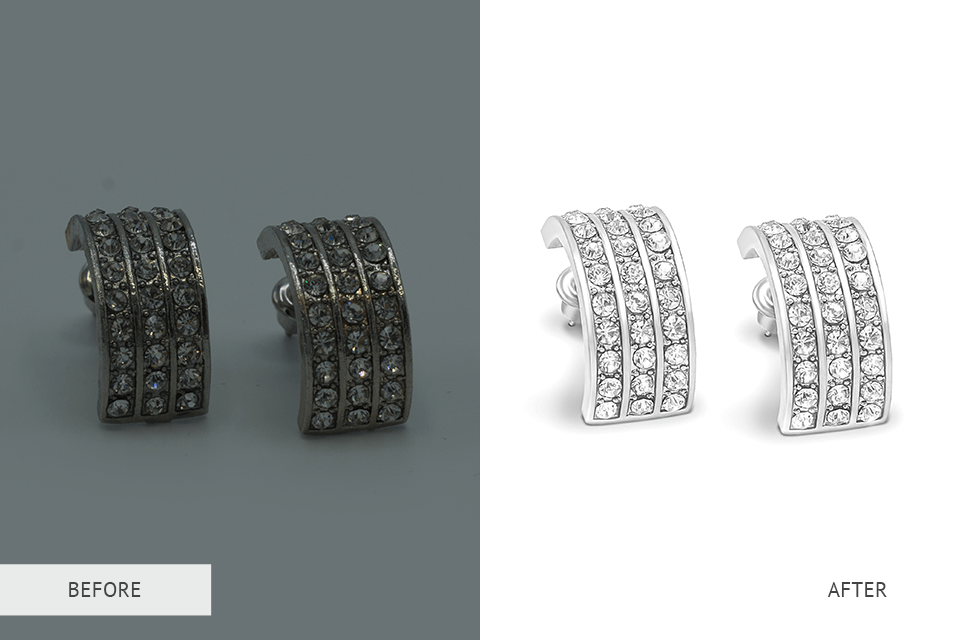
If you take not new jewelry or making Etsy jewelry photography for sale, you need to thoroughly clean them of all the dirt and opacities. Yes, you can change this in photo editing software after the photo session, but it's extremely difficult to add shine to stones or metal in image post-processing. There is one-way how-to photography jewelry and do not waste time on digital cleaning, it is performing manual pre-cleaning of all details.
The whole procedure will take no more than 5 minutes. To do this, pour water in a bowl, put it on the fire, put all the jewel things there, add soda and bring to a boil. You immediately notice sediment that does not give shine to the jewelry. To improve the result, I give a little clue; put the aluminum foil on the bottom of the bowl.
Don’t settle for a single jewelry placement and one angle. Browse the web for various creative product photography ideas and try to implement the ones you’ve liked. A standard list of mandatory photos includes a frontal, top-down, and ¾ shot. After that, you can experiment to your heart’s content – put the jewelry on a model/mannequin, place it vertically, take photos of it midair, etc.

It is insufficient to know the principles of how to photography jewelry because any photo needs post-processing. You can try to do this yourself, but it will be a while before you achieve great results. That’s why jewelry photographers often reach out to professionals for help.
However, if you just want to sell your jewelry on eBay or Etsy, where the image requirements aren’t that strict, nothing is stopping you from tackling this task yourself as long as you know all the basics of image editing.
Moderate color correction and background removal. This includes the standard editing of jewelry photography, where you slightly change the color to the one that you see in reality if it is overexposed or darkish. You also remove the background, making it the color you need, or leave it white.
Cleaning jewelry, repairing minor damage. If you use not new items for commercial jewelry photography but want to give them a new look, then you need to get rid of scratches, add gemstones, fix a deformed shape, etc. during digital jewelry photography preparation.
Complex post-processing. It gives the jewel elements a little better than it is in fact; the colors are more saturated and contrasting (e.g. the photos from the covers of magazines or on billboards).
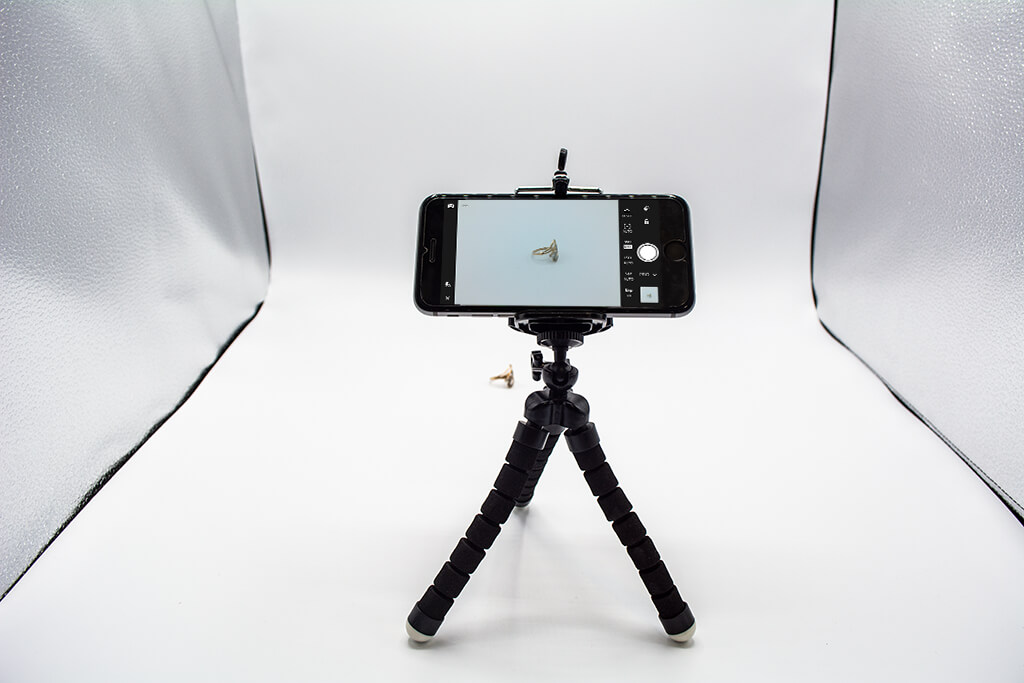
Strangely enough, but most of the Etsy jewelry photography on a white background is taken with the help of iPhone. You can just grab your smartphone and start shooting.
Window light will do just fine. The camera of a phone is not so sensitive to lighting, so even at low ISO you do not need as much light as you need for the camera. You may also need mirrors for the concentration of light. I used the same jewelry photography lightbox in which I photographed before. It conveniently allows you to adjust the lighting, and I did not even need its full power.
There is no need to use a tripod. You can use a tripod for smartphones if you want. But the built-in autofocus is fast enough and you will definitely get clear images. If you want to fix the phone, set up its camera and just click on the button to take photos only changing the jewelry, get a tripod. If you want it just to hold your phone tightly, then you do not need something special, take a medium-sized tripod, like Tripod for smartphones from UBeesize.
Use a dedicated app. You can take photos on the built-in application in your phone, but the best choice is to download an application that allows you to regulate each characteristic of your camera necessary for the jewelry photography. You have two free options: Snapseed or Lightroom Mobile.
Edit the image on your phone. You can use one of the photo editing apps available for your smartphone to adjust white balance, the color of the background or the jewelry item itself, crop the photo, or increase saturation.


