Product photography on a white background is integral to successful online sales. A customer wants to see a product from all sides without being distracted by unwanted elements, which is why a clean, white background is a perfect option. If you take a closer look at most photo editing requirements for marketplaces, you will see that popular platforms, such as Amazon and eBay, accept only product images with a white background.
While you can always contact professional product photography services, it’s not always a good option for budget-conscious people as the price tag for a photo session can reach up to several hundred dollars. If you have a limited budget, try taking professional product images by yourself. Follow these tips and take pro-level photos of your product without leaving home.
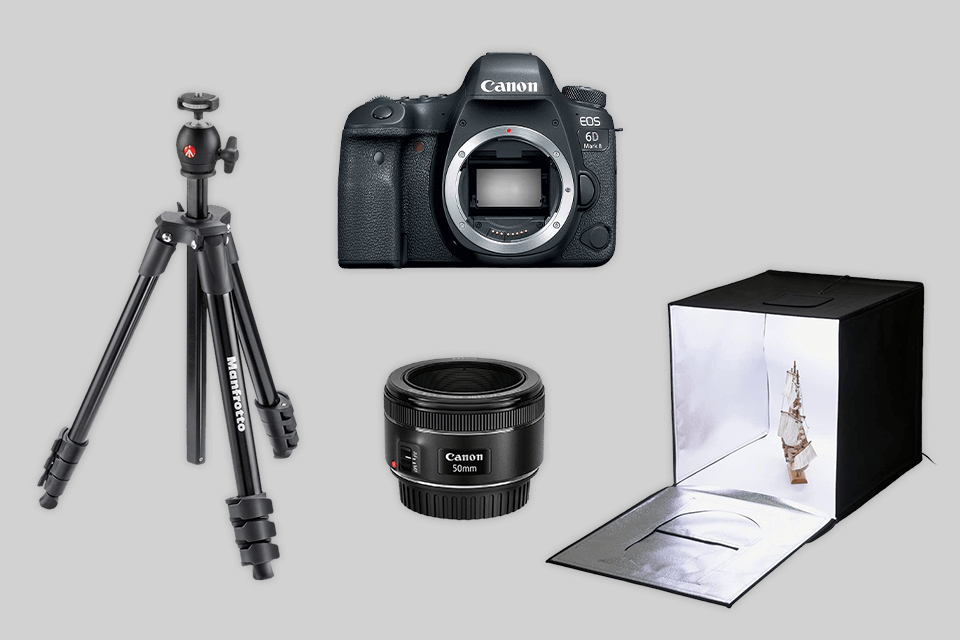
Contrary to popular opinion, you don’t need to rent a studio with a professional lighting setup to take product photos. You need to use specific photography gear that you can buy even with a limited budget.
As you can see, white background product photography doesn’t require you to spend much money. However, you need to have a good camera and lens, which might be quite expensive.
If you already have a camera, you can avoid buying other pieces of equipment by using natural lighting, a white paper background and a stack of books instead of a tripod.
If you have never photographed products before, select a simple object without any reflective surfaces. It should stand out against the white background. When you are shooting photos of food, it’s better to select a product that can last for a long time.
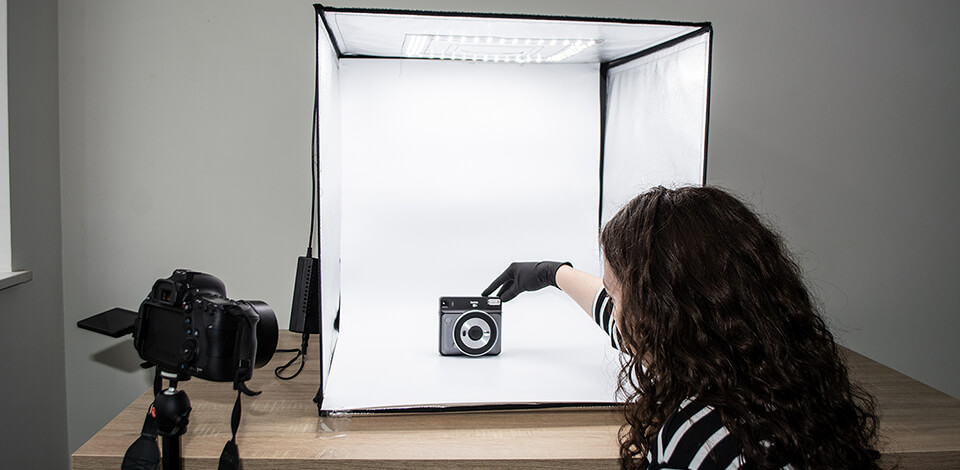
I use the Fotodiox Pro 24x24 lightbox. It will come in handy in 90% of cases thanks to its large size and convenient design. Besides, it is easy to assemble. Usually, I remove the front wall since it allows me to experiment with the angle.
For product photography white background is crucial as it ensures that your object will be well lit. Attach the white background to the back wall so that there are no creases on it. The background should look seamless. If you see that your object is insufficiently lit, try using the desk lamp to lit it from the front. You can also raise the front wall of the lightbox.
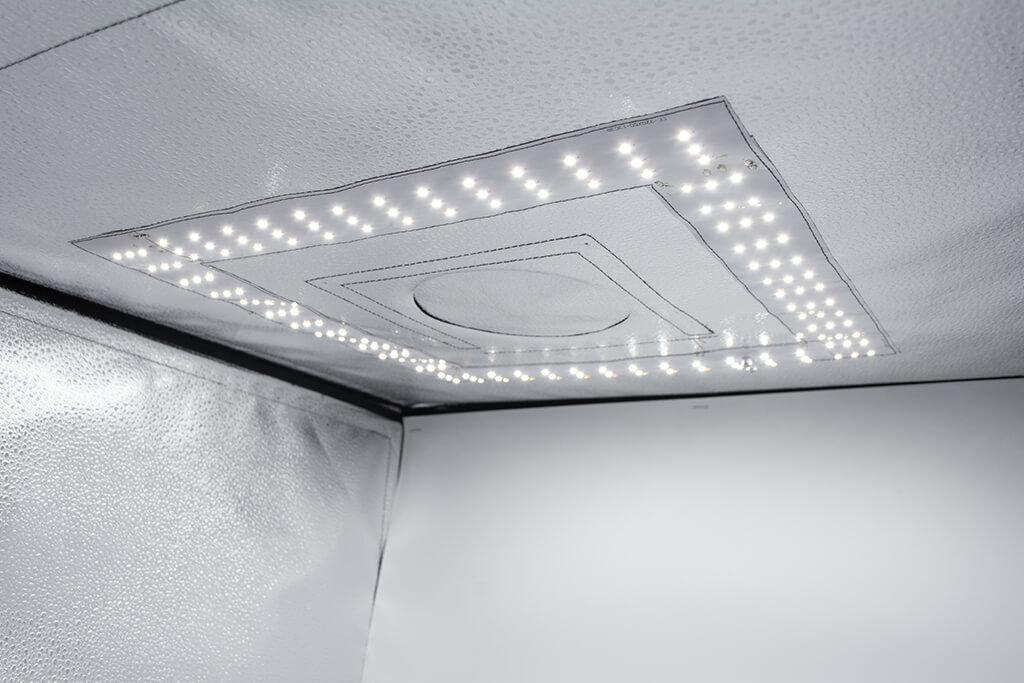
Use the maximum amount of light. The better lit your subject is, the lower ISU values you can use. You can also close the aperture more to obtain sharper images. A lightbox usually has LED lights and reflective walls that disperse the light and ensure that your subject is well lit. It’s a perfect option for your needs.
If you want to take a photo with natural lighting, use a sheet of paper instead of a reflector and place it opposite the window. When using a desk lamp, place the sheet of paper in front of the light source to disperse the light.
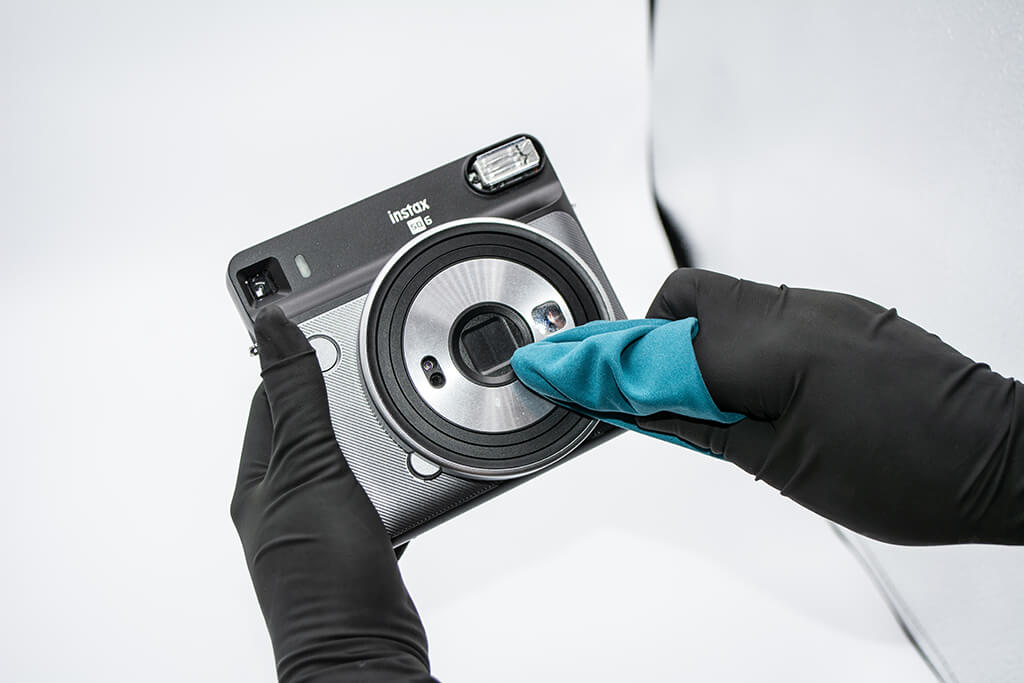
Specks of dust, fingerprints, or spots will be clearly visible on an object in high-resolution photos. This is why you need to purchase latex gloves to avoid leaving fingerprints when moving the object.
Besides, you need to clean the object with a microfiber cloth. If your object is made of glass or steel, it’s better to polish it using special cleaning products.
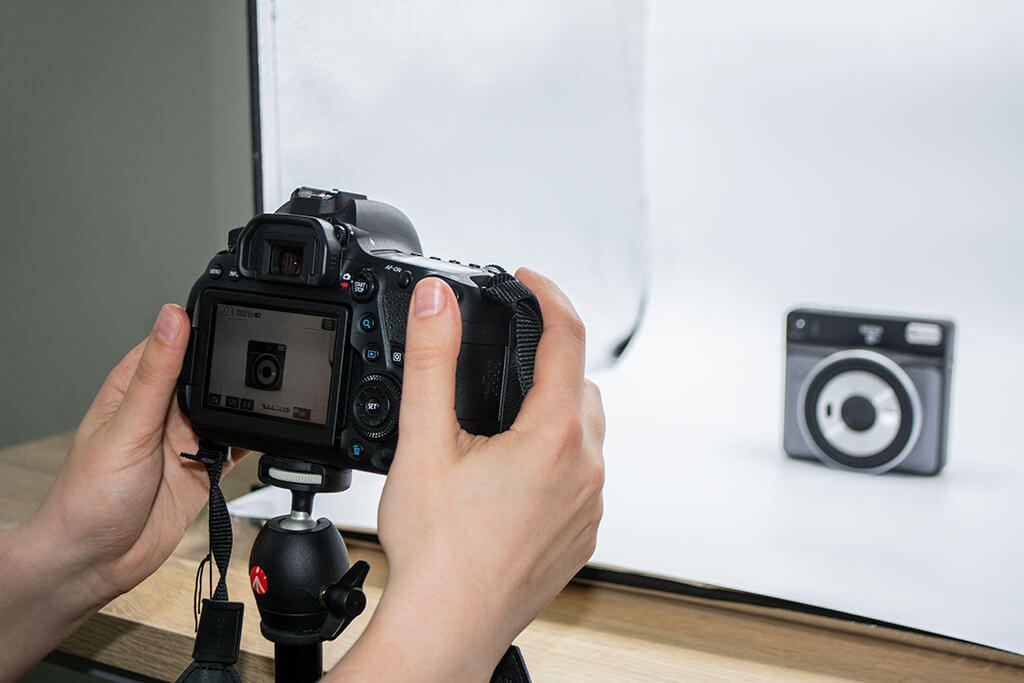
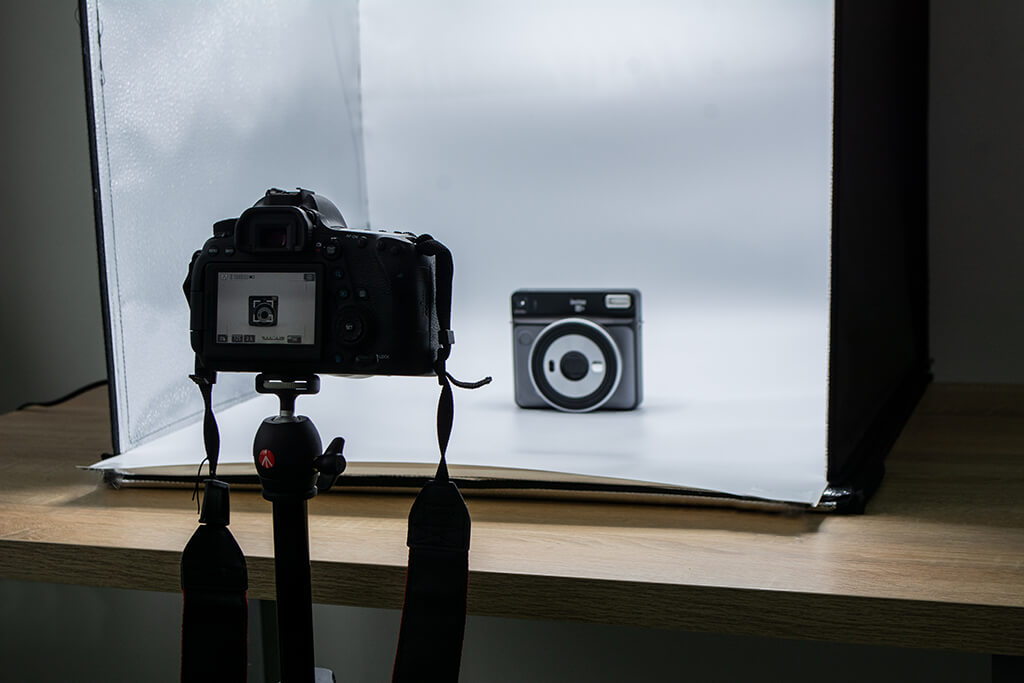
I use the Manfrotto Compact Light tripod since it’s quite small, which makes it perfect for white background photography. Before, I used books or a chair instead of a stand. It was quite convenient, and I got nice photos. Put your camera opposite the object, however, avoid placing it too close as it might cause some distortions.

You can find a lot of handy tips that will help you understand which camera settings for product photography you need to use. Below, you will see the most widely used settings that are suitable for most cases:
ISO: 100
Shutter speed: 1/4
Aperture settings: f/14
Picture format: RAW
If your product is too dark or if the lighting is insufficient, try raising ISO to no more than 200-400, otherwise, it might create unnecessary noise. The Aperture value directly affects the sharpness of an image.
If the F value is high, it will allow you to take photos with a high level of detail. It’s better to take photos at low shutter speeds if you don’t want to make them too dark.
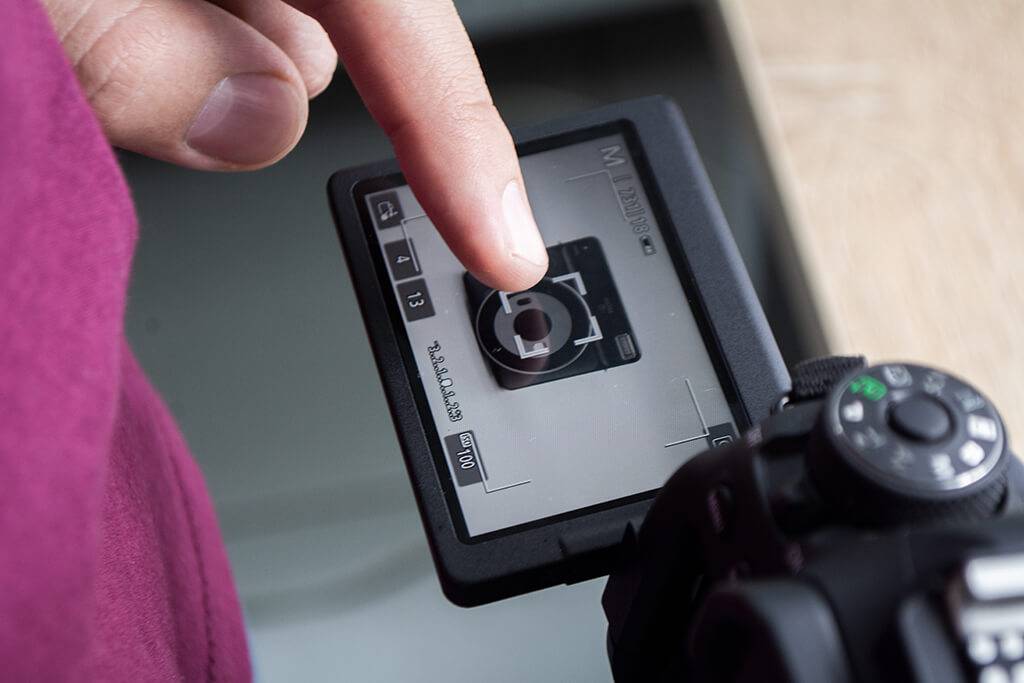
When everything is ready, you just need to press the shutter button. For instance, my Canon 6D Mark II is fitted with a sensor screen and a remote shutter release. If you have a similar camera, make sure to use these options.
When you are shooting in a handheld mode, the slightest movement might make your pictures blurry if you take them at a low shutter speed.
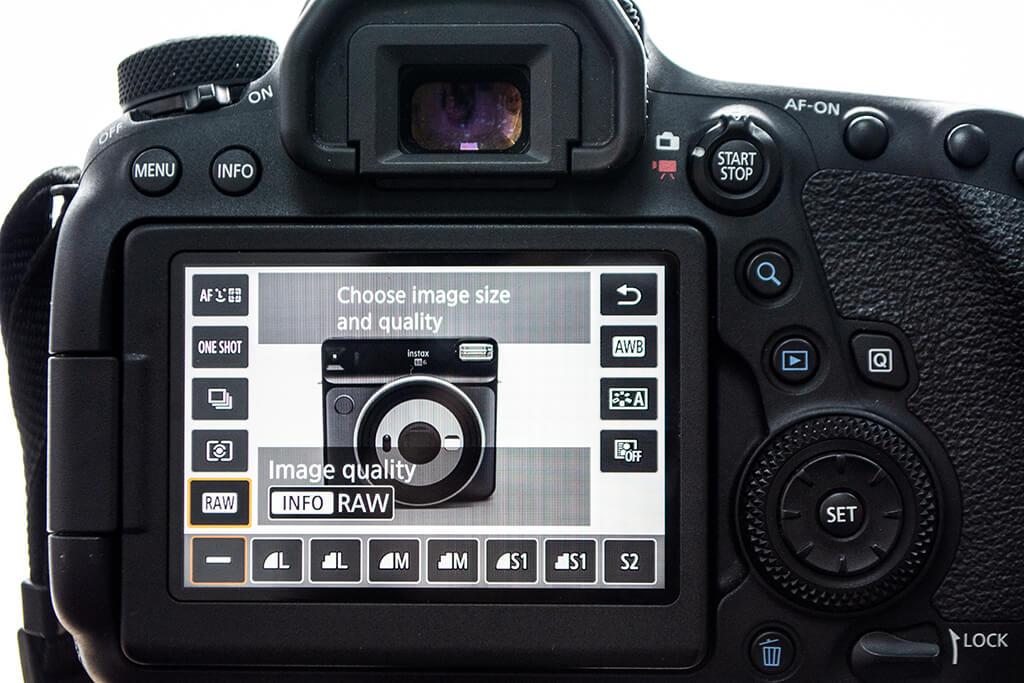
When shooting white product photography, I take photos in RAW as it will make it easier to edit them afterward. Besides, you will be able to make dark and light areas of your images more detailed.
Now, when you have learned how to take product photos, you can implement various creative product photography ideas, change the background color, take pictures from various angles, use interesting props and create eye-catching compositions.

To take a photo means to get a job half done. With the help of photo editing software, you can improve the quality of your image and remove small defects. If you need to edit photos to upload them to a website, start by tweaking colors. Then, adjust the white balance, make shadows lighter and make the background perfectly white.
If you have noticed any defect on your object or background, you can remove them by using the Stamp and Healing tools in Photoshop. However, if you don’t want to spend much time post-processing your images, you can contact professional photo editing services and get edited images in less than one day. It costs about $2/per photo, which makes these services quite affordable.
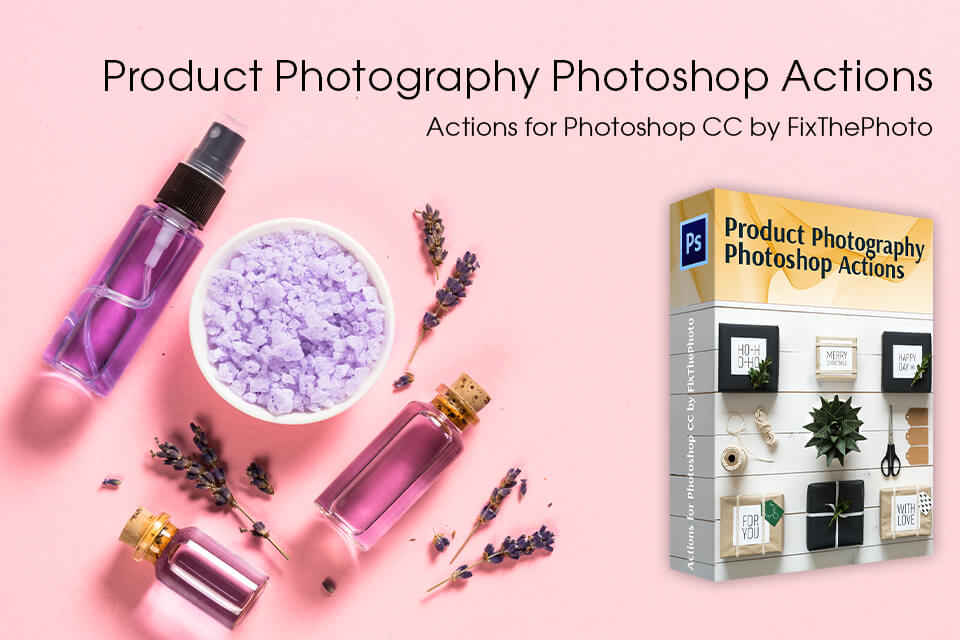
If you want to enhance your photos by yourself but don’t want to waste time adjusting colors, try using these actions for Photoshop. They will help you clear the background, adjust the white balance, make colors richer and more saturated.


