How to Photograph Storms [Prep & Shooting]

By Tata Rossi 16 days ago, Photography Tips

When you purchase through affiliate links on our site, we may earn a commission. Here’s how it works.

Severe weather makes it challenging to select the right camera settings and snap the perfect pic, as the lighting changes quickly, and you may need to find a cover.

Besides, you need to take care of your equipment and select the right timing for your storms photos to capture dynamic moments like a lightning strike. However, by honing your skills and preparing for a trip carefully, you are likely to succeed.
1. Focus on Research and Preparation

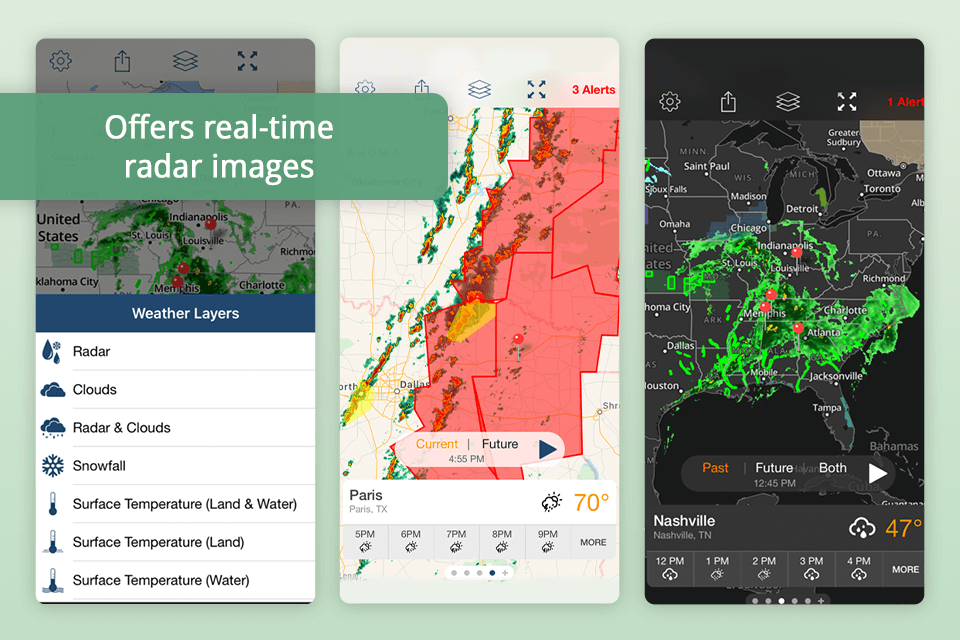
storm shield app to photograph storms

I always analyze weather and storm forecasts before venturing outside to take photos. Using apps like RadarScope and Storm Shield, I can forecasts based on data provided by radars. It allows me to analyze wind patterns and see warnings in time to estimate the direction and intensity of an approaching storm. For instance, if I want to do snow storm photography, use such apps to select the right clothes for cold weather.
Pro Tip: Consider the storm's development by checking updates from trusted meteorological organizations like the NCEP GFS or the FNO. Subscribe to alerts for your location to get notified if the weather changes rapidly.

2. Pay Attention to Timing

storm photography golden hour

The best time to capture a landscape in the right light conditions is just before or immediately after a storm. If you choose the right timing, it will allow you to capture the magical interplay of light and shadow.

I prefer to prepare to shoot pics when the storm comes closer and recedes. The peak stage is also a great time to take photos, but you will need to find a shelter first.
Pro Tip: Taking pictures during the “golden hour” after sunrise or just before sunset after the storm will allow you to capture a beautiful atmosphere. Focus on the rays of sunlight, as it will allow you to achieve the right contrast. During such hours, you can take excellent high-contrast shots with rich colors.

3. Stay Safe

storm photography stay safe

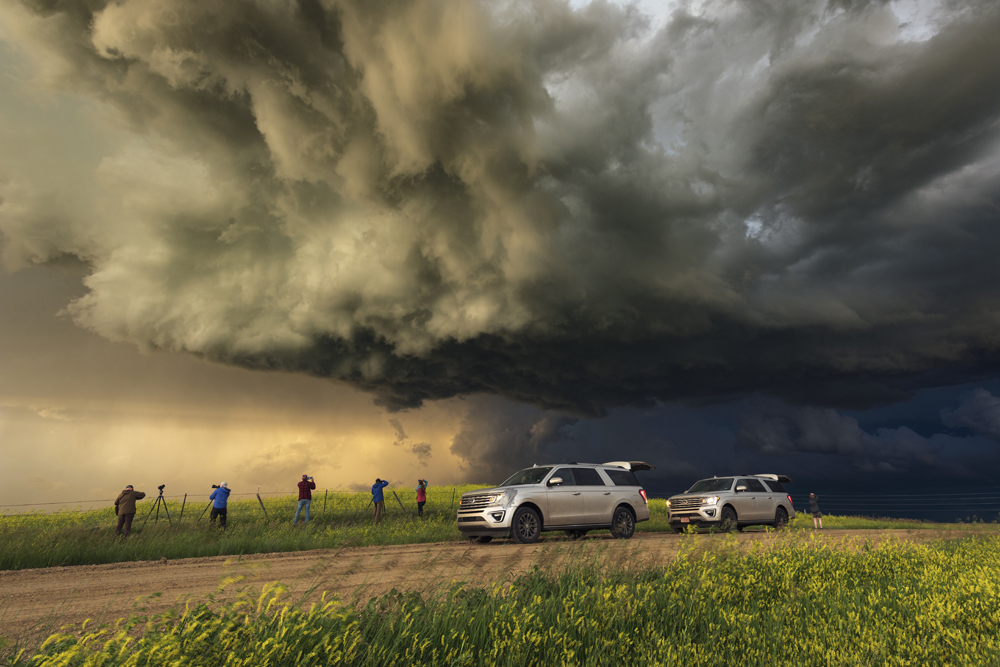
Just like when you are doing rain photography, you need to prioritize your safety when capturing storm photos. Lighting strikes are deadly, so it is recommended to stay at least 10 miles away from the center, as eye of the storm photography is extremely dangerous. Do not go to the open fields, avoid hilltops, and do not approach trees and metal structures to stay safe.

If you want to take photos of a tornado, check weather forecasts to estimate the speed and direction of a storm. Flooded roads may be especially dangerous as well. The torrents of water may sweep a car away.
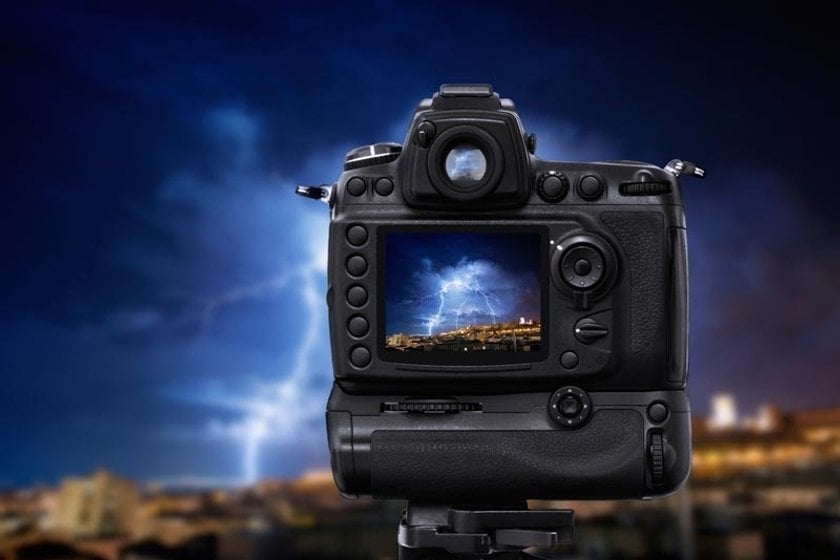
Pro Tip: Buy a portable lightning detector to get notified when you approach close to the area where lightning could strike. It will help you in situations when you are so immersed in the process of taking photos that may fail to notice the immediate danger.

4. Collect the Right Gear

storm photography choose right gear

Sturdy Tripod: A reliable tripod will help you stabilize your camera to take long-exposure shots, especially if it is windy. Using a shaky tripod will result in blurry photos, so pick a model with a hook. Using your camera bag as a weight, you will be able to further stabilize the tripod.

Pro Tip: I recommend using a tripod with spiked feet, as it will make it easier for you to stabilize your camera on uneven terrain and take stunning photos of a storm. I prefer to use Neewer 79.

Camera Body: Utilizing a low light video camera at high ISO settings will be useful if you decide to do storm photography in poor light conditions. Full-frame sensors are perfect for low light situations, as they allow photographers to reduce noise. Do not use your camera in auto mode, as you will need to configure its aperture, shutter speed, and ISO for a better result.

Pro Tip: It may also be a good idea to utilize a camera with built-in image stabilization to minimize shake. This feature will come in handy when you need to quickly take handheld shots or work in difficult weather conditions. It will allow you to take excellent photos of dynamic elements like lightning. This technique is also useful for those who wonder how to photograph in a snow storm. I like using the Sony Alpha 7S III.

Wide-Angle Lens: If you want to capture the whole sky in detail when taking photos of a storm, use a wide-angle lens. I recommend you utilize lenses with focal lengths ranging from 14mm to 24mm. They are best suited for storm photography as they enable you to take pics of the landscape and the sky above with little to no effort.

Pro Tip: If you want to make your pics more immersive, you may utilize a fisheye lens to create a spherical effect. It will allow you to emphasize the curvature of the horizon and show the true scale of the storm. For this purpose, I prefer to use the Sony 24mm F1.4.

Weather Protection: When implementing various photography storm ideas, you often need to capture images in severe conditions. This is why you need to take the necessary steps to protect yourself from rain, wind, and hail. Using weather-sealed cameras and lenses will allow you to avoid unnecessary risks. You may also consider buying dedicated rain covers and waterproof bags to keep your equipment safe.

Pro Tip: Put silica gel packets in your camera bag to protect your gear from moisture and ensure that there is no condensation. Besides, you may use a microfiber cloth to remove water droplets from the lens surface. If you use your gear when practicing photography inside a dust storm, be careful to avoid sand getting on your camera’s sensor.

5. Use the Proper Values

When configuring your camera’s settings, be sure to consider the weather, as it will allow you to achieve better results. I have prepared for you a table with the most important camera settings, the values I recommend using, and the results they will allow you to achieve.
Setting Value Result

1/30

Facilitates capturing cloud movement and lightning and achieving the right balance to avoid overexposure.
f/8 to f/16
Impacts deep depth of field, keeping foreground and background sharp.

ISO

100-400
Reduces noise, especially in poor light conditions. Use native ISO for best quality.

6. Experiment with Composition

how to photograph storms rule of thirds

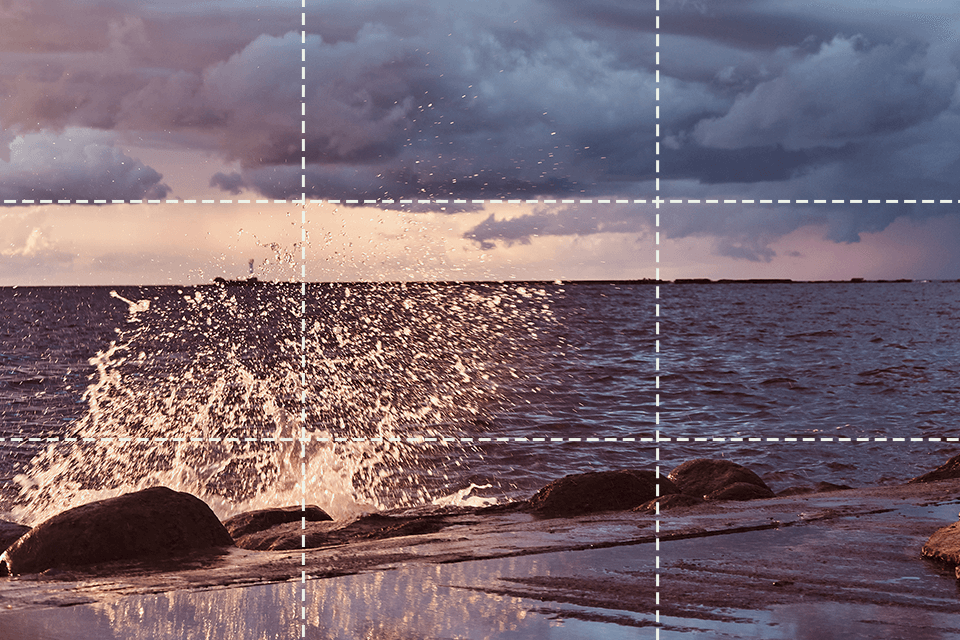
Rule of Thirds: Using the rule of thirds, you can easily capture a well-balanced composition that will grab the attention of your audience. The horizon should remain in the lower or upper third of the frame to allow you to emphasize the sky or your surroundings depending on the goal you want to achieve.

Pro Tip: You may also need to stop following the rule of thirds under specific conditions. In some cases, especially when you need to capture reflections, it makes sense to put the horizon in the center to achieve better symmetry.

how to photograph storms leading lines

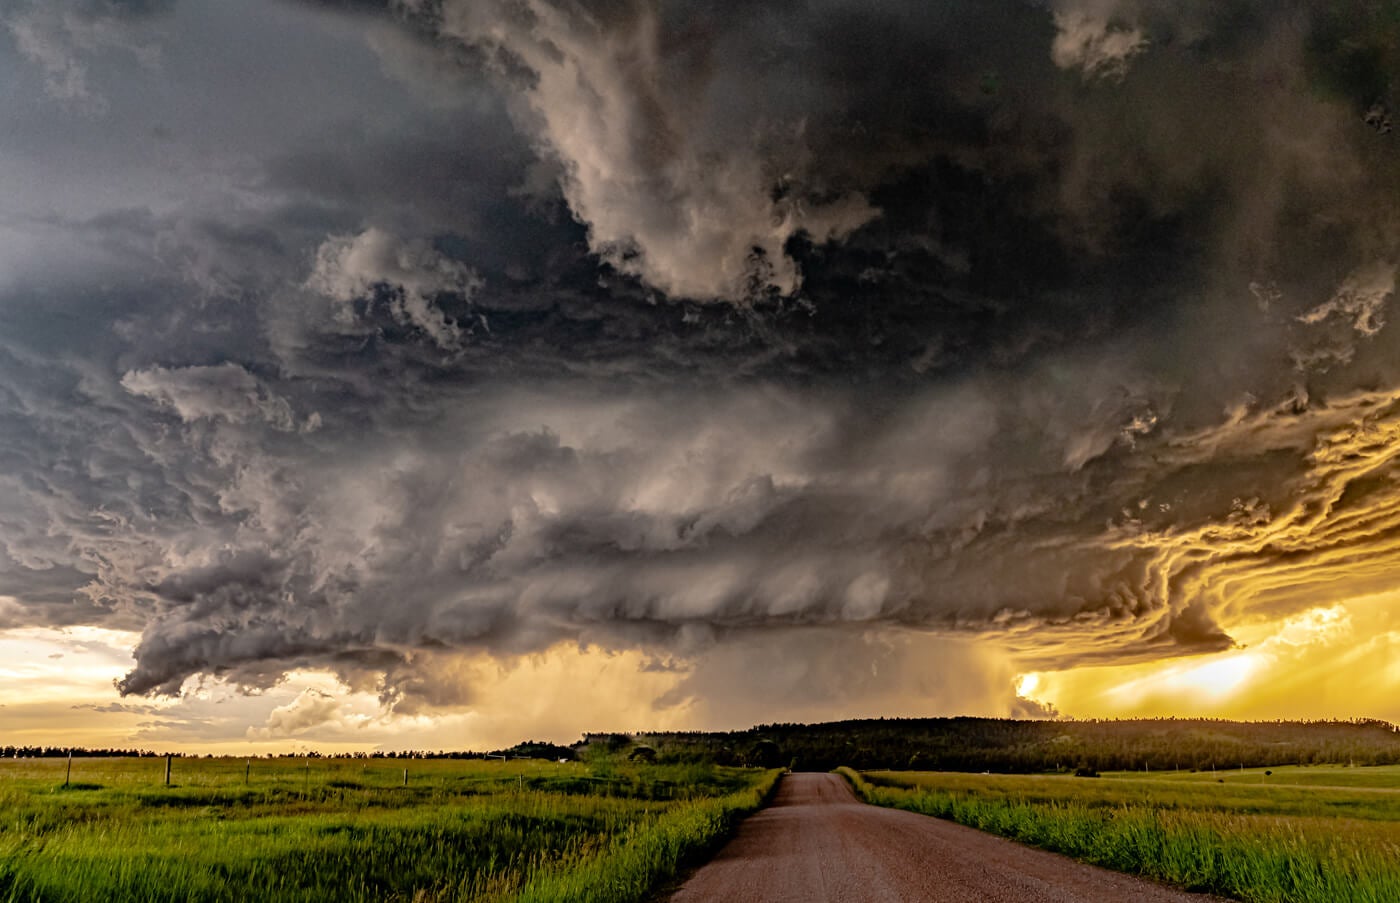
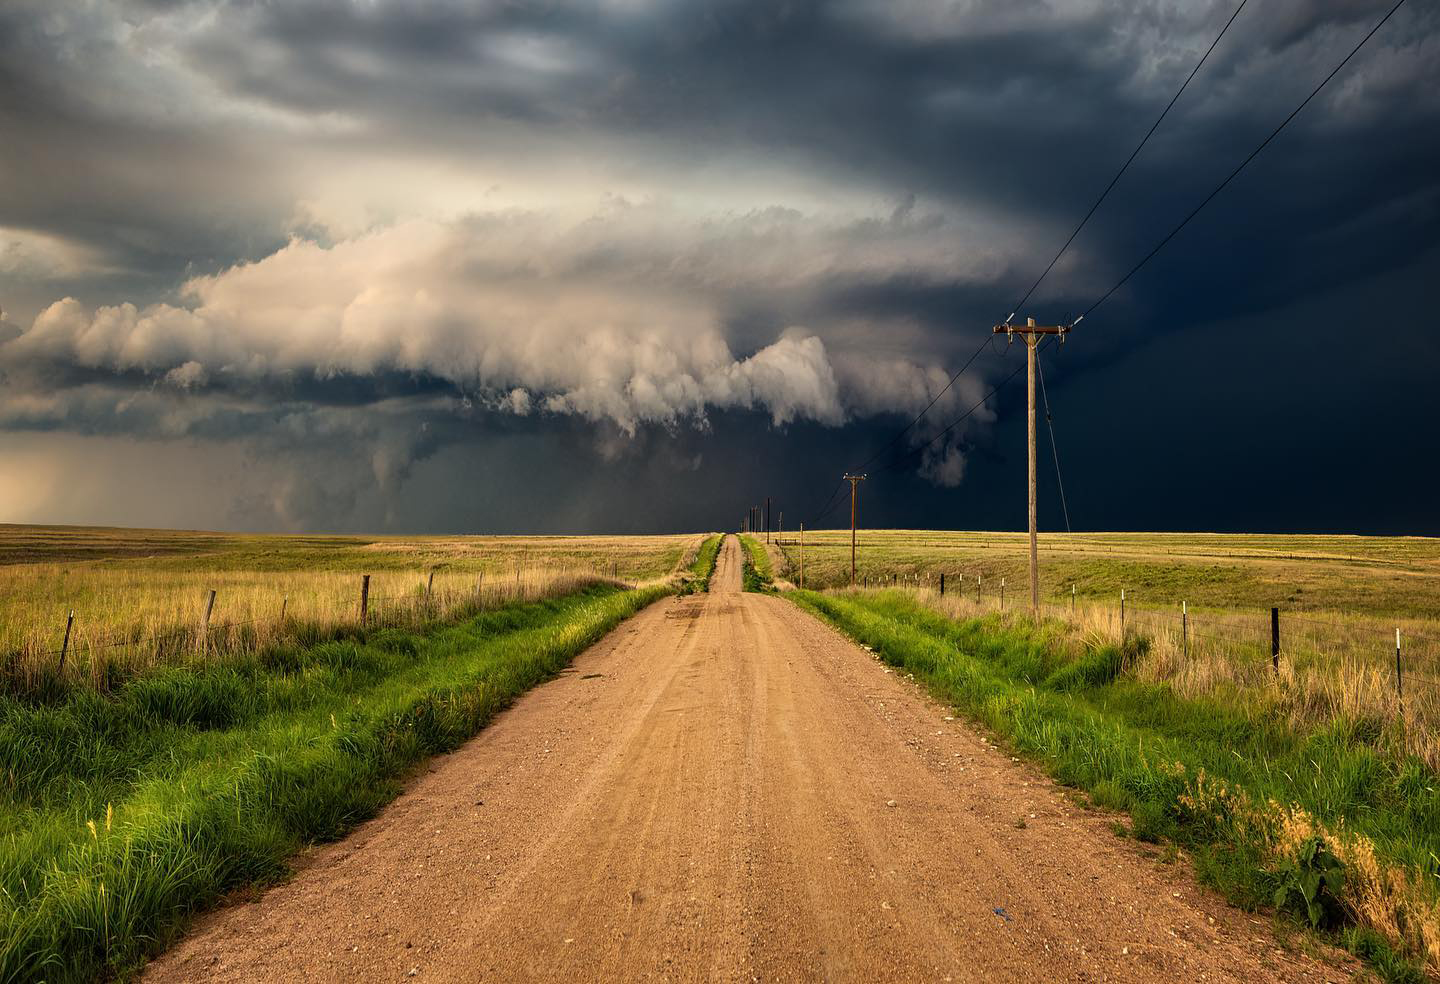
Leading Lines: Pay attention to the leading lines, such as roads, fences, or rivers. They will allow you to create a composition that focuses on the storm. These lines will allow you to emphasize the most dramatic and magnificent moments of a storm and capture photos with a dynamic feel.

Pro Tip: Find the right position so that the leading lines converge towards the area you want to focus on. It will allow you to capture various events, including a lightning strike, a stunning cloud, or a rain shaft. This technique is used by professional photographers as it allows them to create a powerful composition.

fixthephoto color correction service fixthephoto color correction service

Want a Enhance Your Storm Photography?

Entrust this task to the professional editors working at FixThePhoto. When testing out their services, you will get masterfully improved photos without paying a dime. Our experts will carefully edit the texture, make the colors richer, fix white balance issues, and edit highlights and shadows to achieve the perfect lighting.

7. Don’t Forget about Post-Processing

When doing storm photography, I always focus on post-processing. It may involve enhancing contrast, fixing white balance, and reducing noise. Adobe Photoshop has all the tools I need to give my photos a professional look.
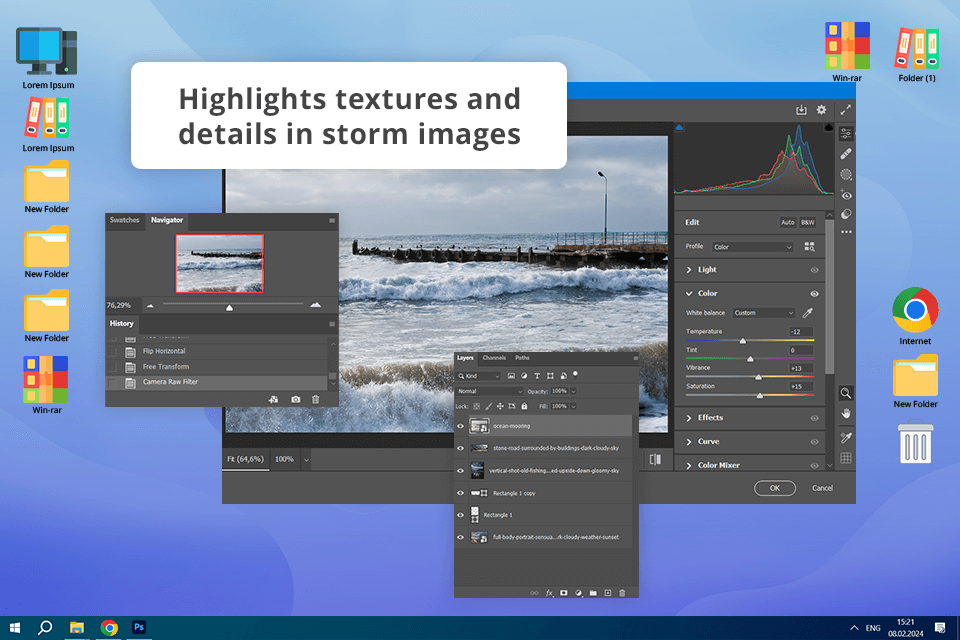
✔️ Enhance Contrast: Use Adobe Lightroom or Photoshop to emphasize textures and details when taking photos of a storm.

  • Photoshop Tools: Adjust Brightness/Contrast, Curves, or Levels for fine-tuning the settings.

✔️ Adjust White Balance: Transform the atmosphere in your photo using cooler or warmer tones.

  • Photoshop Tools: Use Color Balance, Hue/Saturation, or Camera Raw Filter to adjust temperature and tint.

✔️ Reduce Noise: Apply noise reduction to smooth areas while preserving detail.

  • Photoshop Tools: Use Reduce Noise filter or Camera Raw Filter to diminish noise in specific areas.
editing storm photo in adobe photoshop

8. Lightning Strike Over Cityscape

storm photography lightning strike over cityscape

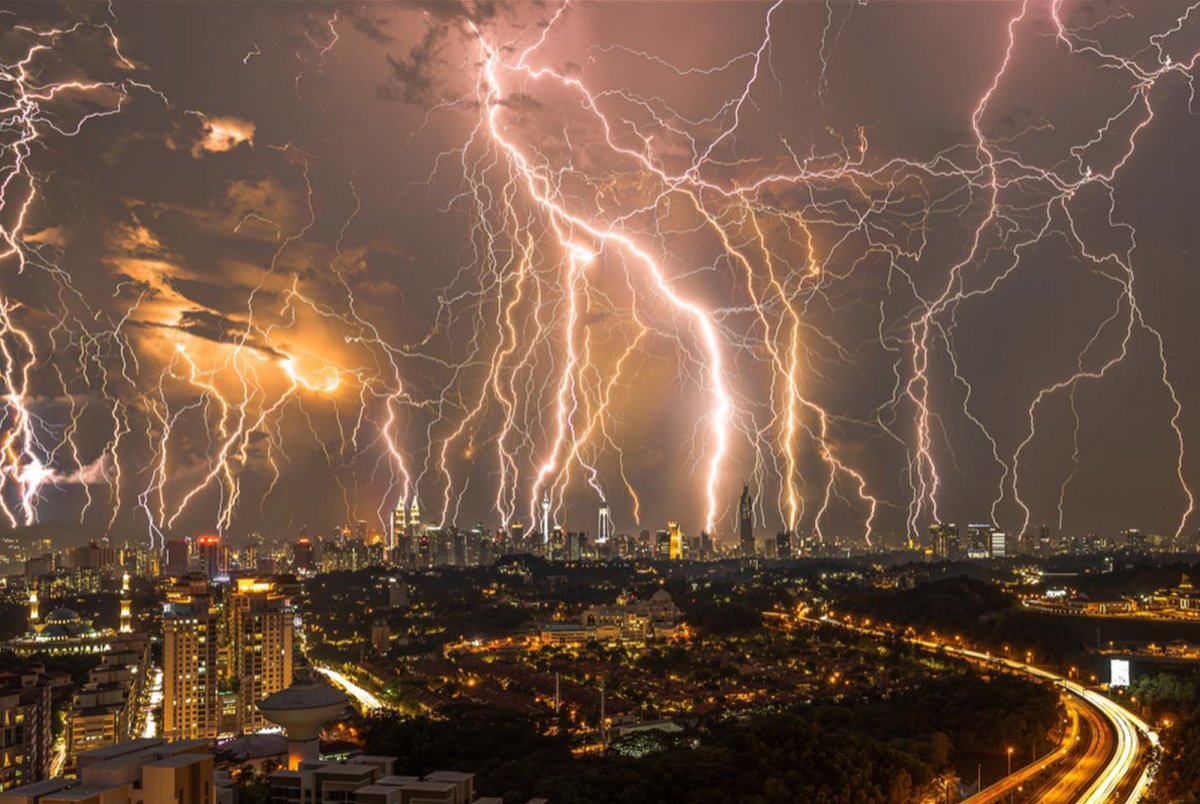
If you want to learn how to photograph lightning storms over a city, you can capture stunning pics after nightfall. Being one of the best night photo ideas, it is easy to implement if you manage to achieve the right contrast between the storm and the artificial lighting. Including landmarks or important buildings in the frame will allow you to take attention-grabbing pics and emphasize the scale of the lighting by capturing it in the context.
Pro Tip: A long exposure will allow you to capture several lightning bolts simultaneously. Stabilize your camera using a sturdy tripod, set an ISO to 100-200, and use an f/8-f/11 aperture to improve the sharpness of your shots. Use a shutter speed of 5-10 seconds to capture lighting in all its glory.

9. Storm Over Rural Landscape

storm photography over rural landscape

When traveling across the countryside, you can take excellent shots of a thunderstorm in a rural area. Be sure to select a location with buildings to capture a picturesque scene. While this composition is often used by photographers, you can make your photos unique by emphasizing the contrast between the magnificent forces of nature and the beauty of the rural area. You may also use time-tested photography lighthouse storm techniques.

Pro Tip: Utilize time-tested HDR techniques to achieve the perfect exposure between highlights and shadows. When doing landscape photography during the late afternoon or early evening, you can benefit from natural light, as it will enable you to demonstrate the true beauty of a storm.

10. Tornado in Action

storm photography tornado in action

Taking photos of an approaching tornado may be extremely dangerous. However, if you remain cautious and use some desert storm photography methods, you still can capture the moment when a tornado comes closer to a field. It will allow you to demonstrate the power of the wind and show that it destroys everything it touches. You need to select the right equipment to capture such shots from afar and remain safe.

Pro Tip: A telephoto lens will allow you to zoom in on the tornado without approaching to it. Use a high shutter speed (1/500 to 1/1000 sec) to capture the dynamic movement of the wind and emphasize its unique nature. Stabilize your camera to avoid motion blur and select the right aperture to focus on the tornado without making the landscape blurry.

11. Storm Clouds Over Mountains

storm photography clouds over mountains

You can capture stunning photos in the mountains during cloudy weather. The clouds will be juxtaposed with dark peaks, which will enable you to showcase the natural beauty of the rugged landscape. This photography technique is preferred by those who often travel in the mountains. Black and white storm photography may also be a great solution for those who like hiking in the mountains.
Pro Tip: Choose a suitable polarizing filter to avoid glare and emphasize the contrast between the clouds and the mountain ridge. When doing mountain photography, be sure to take a walk during the golden or blue hour, as it will allow you to capture mesmerizing colors and snap beautiful pics of a location in a dramatic light. A wide aperture set to f/8-f/16 will allow you to achieve a better depth of field. This way, the cloud and the mountains will remain in focus, giving your pics a professional feel.

12. Reflection of Storm in a Lake

storm photography reflection in a lake

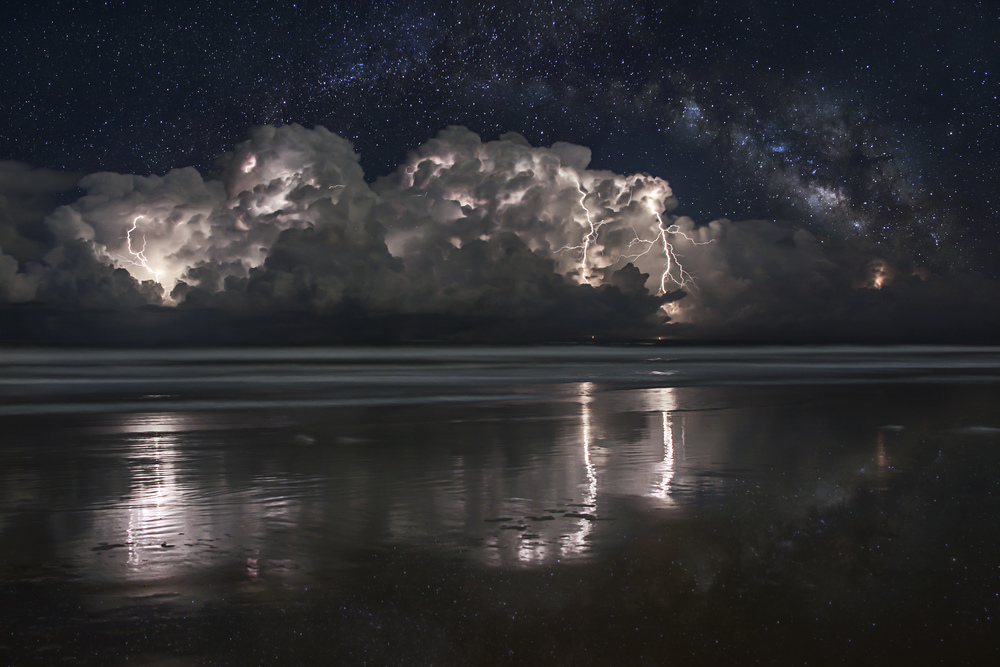
Taking photos of a stormy sky reflected in the water will allow you to emphasize its hidden beauty and capture mesmerizing lighting. Such photos will have a serene feel despite the stormy weather. This solution allows photographers to emphasize the tranquil beauty of a pond, river, or any other water body by juxtaposing it with stormy skies.

Pro Tip: Take pics at the beginning of the storm when the water is still clear, as it will enable you to capture reflections without any sign of blur. Using a wide-angle lens, you can capture the whole location, including the reflection. It’s recommended to use an f/8-f/11 aperture, as it will enable you to focus on the sky and the reflection at the same time. Capture pics from various angles to achieve symmetry and create an attention-grabbing composition in the frame.

13. Rainbow After the Storm

storm photography with rainbow

When a storm has passed, you have an excellent chance of capturing the rich colors of a rainbow and the vibrant beauty of a magnificent landscape or cityscape in the soft light. It will allow you to take photos with a nice contrast perfectly capturing the beauty of the location.

Pro Tip: Take pictures shortly after the storm, as it will allow you to capture the magical colors of a rainbow against clear skies. With the help of a polarizing filter, you can tweak the colors of the rainbow and avoid reflections. Set your aperture to around f/8-f/11 to capture clear nature image with nice details. Be sure to snap photos from various angles to create a well-balanced composition.

FREE Bonus Tools

free lightning overlays from fixthephoto

If you enjoy doing photography of storms, these free tools will help you highlight lighting in your pics. They will be especially useful for situations when it may be challenging to capture a landscape in the best light during a photoshoot. If you want to create storm effect in Photoshop, these effects will allow you to achieve more impressive results and give a dynamic feel to your photos.

In case you don’t have a lot of prior experience, I recommend you learn how to use overlays in Photoshop to enhance your photos like a pro.

Contents:
SAVE UP TO 66% OFF SAVE UP TO 66% OFF