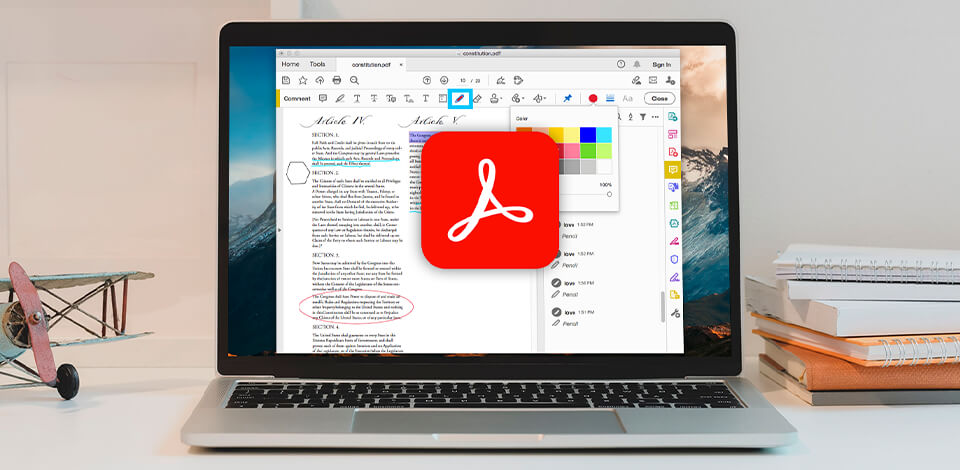
There are several methods of drawing on a PDF in Adobe Acrobat: users can try the desktop version of the tool or simple online tools. Using the online version is an easier option, suitable for beginners. With the help of Adobe Acrobat, it is possible to explain complex PDF markups without saying a word.
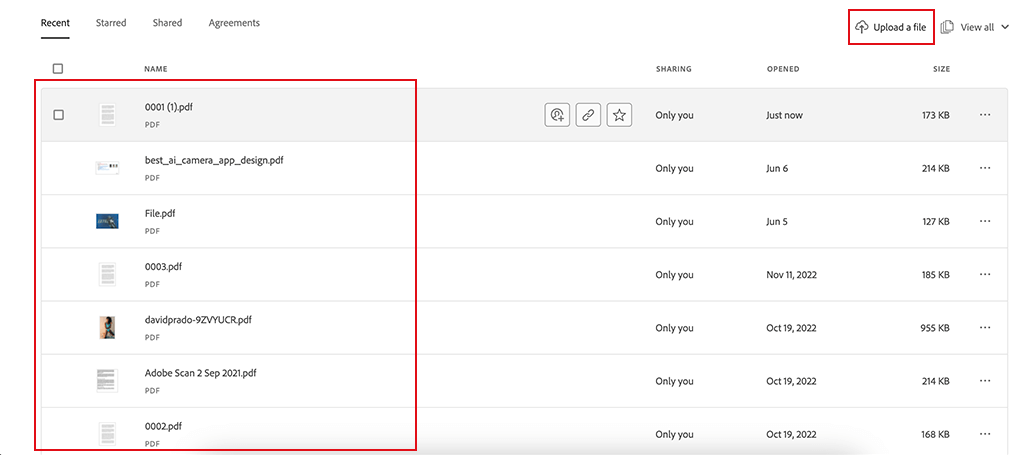
It is great that this method does not require installation of Adobe software on your PC. You will only need to upload your file to the online version of the program and add markings using the Comment tool.
At first, upload a PDF file where you are going to work.
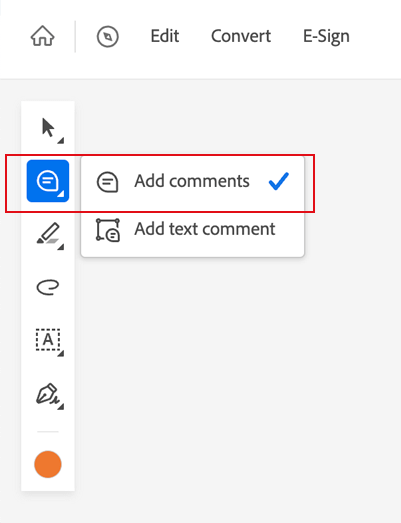
Pick Comment from the right menu bar.
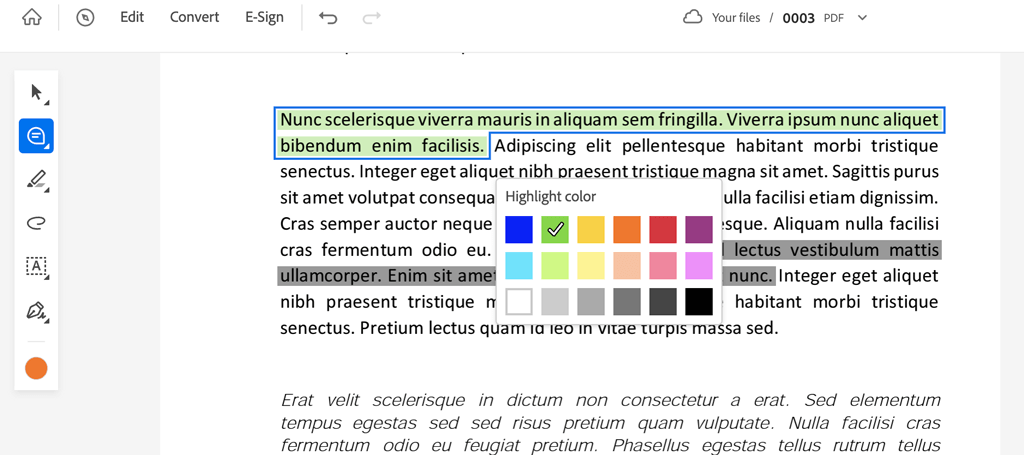
Now you can draw lines and change their colors to your liking.
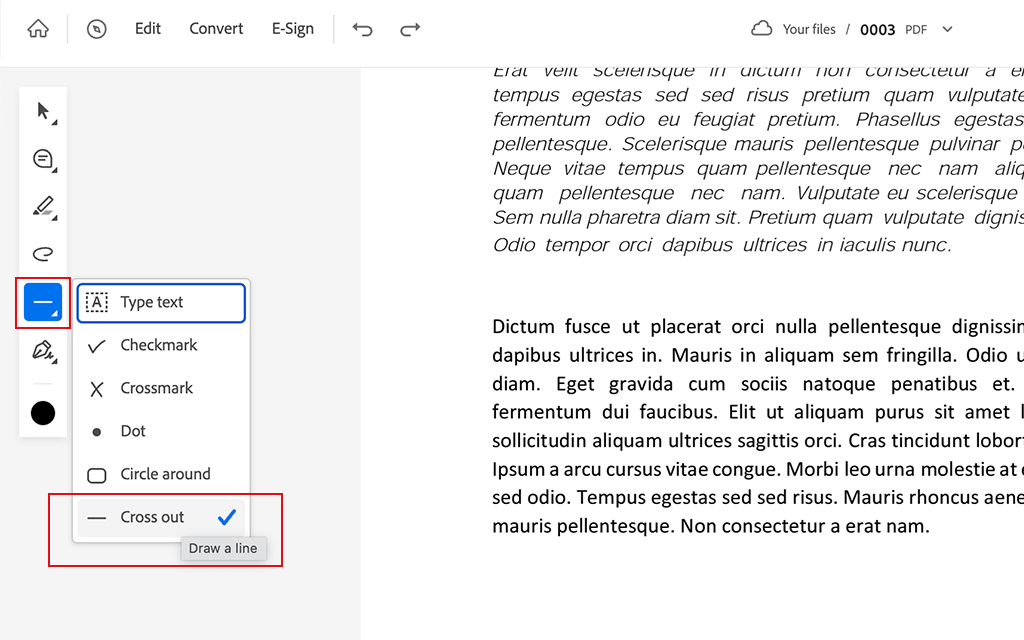
Now choose the Drawing Tools and select Line. Using the Line tool, it is possible to cross out the paragraph with mistakes. Besides, it is easy to adjust the length of lines.
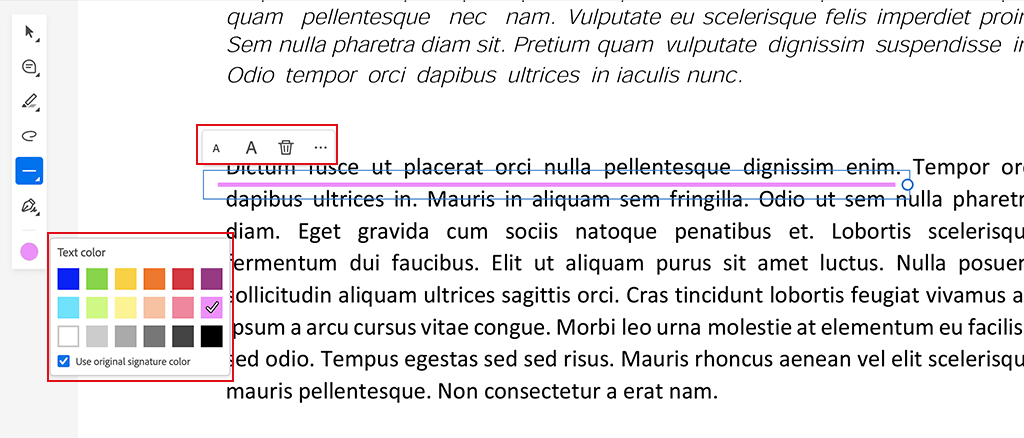
To get a straight line, hold the Shift key while drawing. In addition, you can customize the thickness of lines using the icon with four lines, which you can find on the right side of the comment panel.

Find the Draw tool in the Comment toolbar.
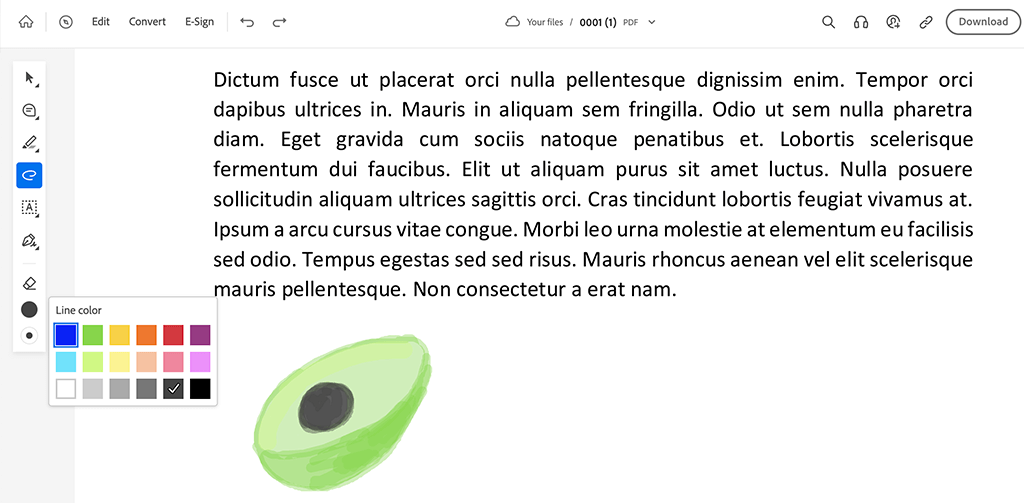
There are different colors available for your drawings. Find the Properties command in a context menu. In the Properties dialog box, choose the Appearance tab and select the required style, color, and opacity. Confirm your adjustments with the OK button.
You can freely relocate or resize your drawing. Click on it to make the bounding box appear around your sketch. By dragging the resizing handles, the adjustment of the size of your drawing will only take several clicks.
Clicking the border of the box lets change the position of your drawing. With the help of the resizing handle at the narrow edge, it is possible to put your creation anywhere on the page.
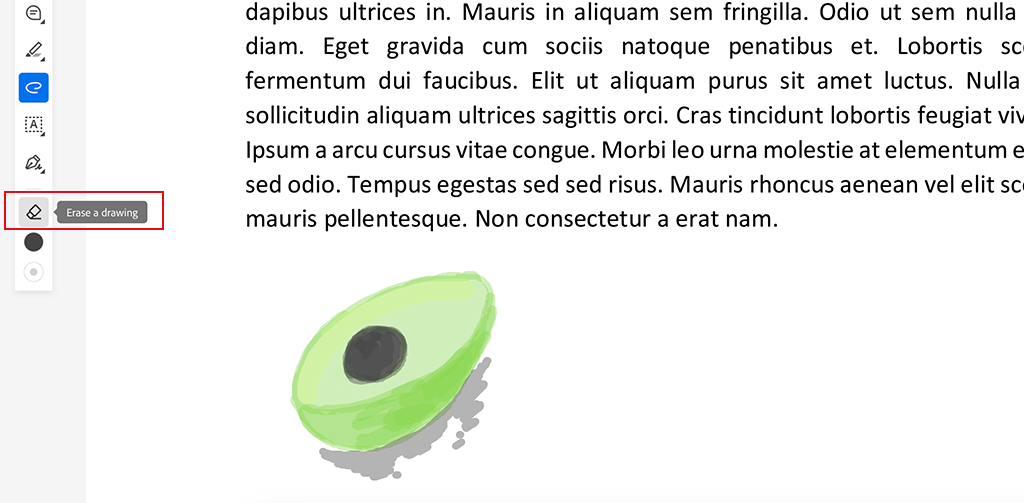
The Eraser tool is what you need in this case.
If you want to remove a drawing, click its borders to select it, then hit the Delete key on your keyboard or activate the context menu by clicking the drawing with the right mouse button and picking the Delete command.
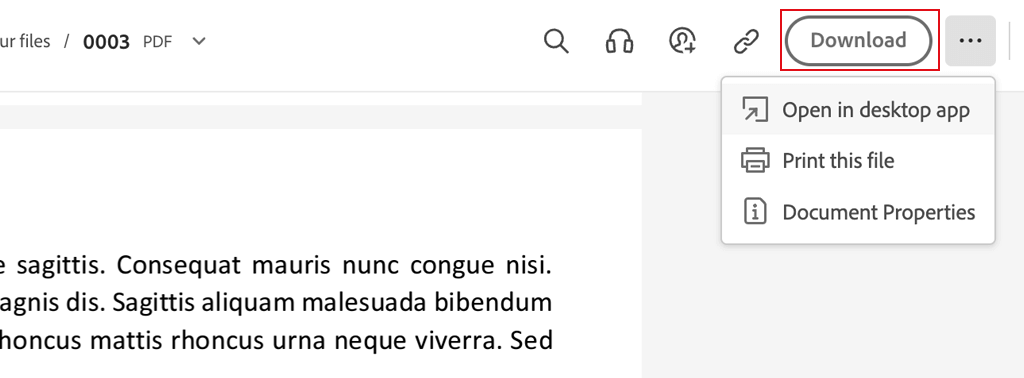
Besides, after editing, you can merge PDFs or rearrange PDF pages in Adobe Acrobat.
Save the result when you are done. The program also allows printing your drawing. Drawing in Adobe Acrobat is almost the same as with online tools.
Yes, the procedure is identical to the algorithm you’d follow when working on a computer or a laptop. This process will be even more convenient when using Adobe Acrobat mobile app.
Both versions of the tool are easy to use. Besides, the developers let everyone try the functionality of both tools for free. The web version comes with a basic toolkit. For instance, you can convert online JPG to PDF with Adobe Acrobat. If you require more pro-level options, the desktop program is the best option. Using Adobe Acrobat on a computer, you can customize PDF texts and pics, add annotation, benefit from OCR to recognize text, add and delete pages, include page numbers and bookmarks, convert PDFs, combine files, split PDFs, compress docs, sign PDFs, and more.