If you want to turn yourself into a cartoon character, create a unique photo for your social network profiles, or just apply an unusual effect to your photo, read this step-by-step tutorial. You will learn how to cartoon yourself in Adobe Illustrator by outlining the details of your image.
While there are several ways for achieving a similar result, in this article, I will tell you about the easiest method of cartoonizing your photos in Adobe Illustrator. By using the Brush tool, you can create simple or complex outlines to turn your portrait photo into a cartoon image without putting in much effort.

After running Illustrator, you will get access to the Start workspace. To create a new document, click on the Create new option. You can also use the Ctrl+N/Cmd+N key combination. After opening the New Document dialog box, you can select a range of options. For instance, you can choose any type of document depending on its purpose of use, like Print, Mobile, Web, or Film & Video.
By selecting one of the options above, you choose the default settings of your file, like CMYK for files that you need to print and RGB for mobile, web, or video content. You will also see a list of preset sizes. At this stage, you can set a custom size as well by indicating the width and height. For instance, you can create a 800х1000px project. After selecting the parameters of your document, click on Create.
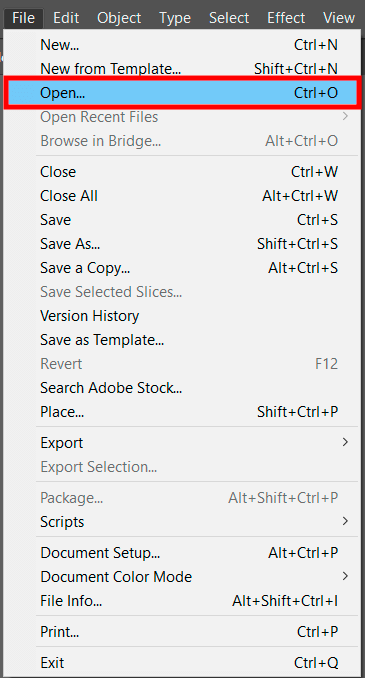
In a new layer, open a photo that you want to cartoonize. Go to File > Open and select a portrait that you need to edit. You can also use the Ctrl+O/Cmd+O key combination. It’s better to use a large photo since it will be easier to create an outline of a model.
This software allows you to work with vector images, so you can easily scale the result without affecting the quality of your image. You can resize an output photo to your liking.
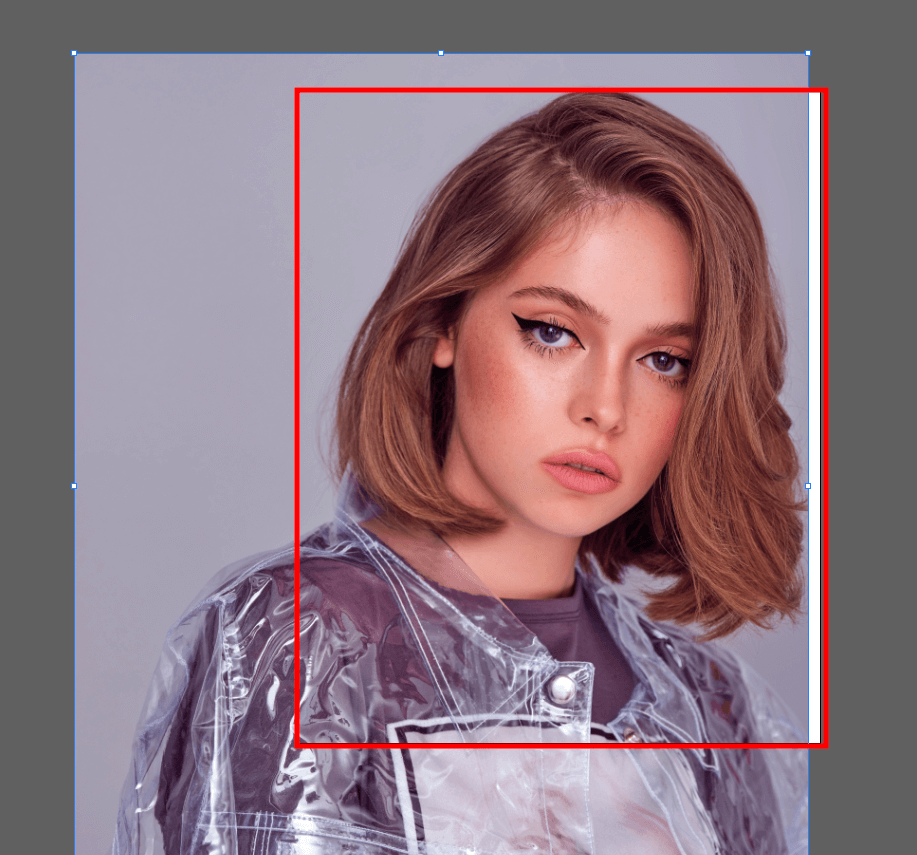
On the artboard, you will see an image with a red frame. In some cases, you might need to drag the corners of the photo to change its size or adjust the alignment using the Transform Palette. Place a photo on the artboard so that the face of the model remains inside the red frame.
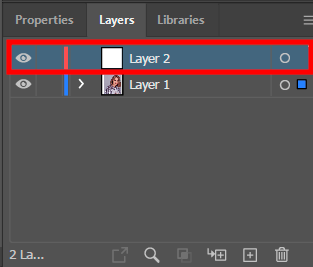
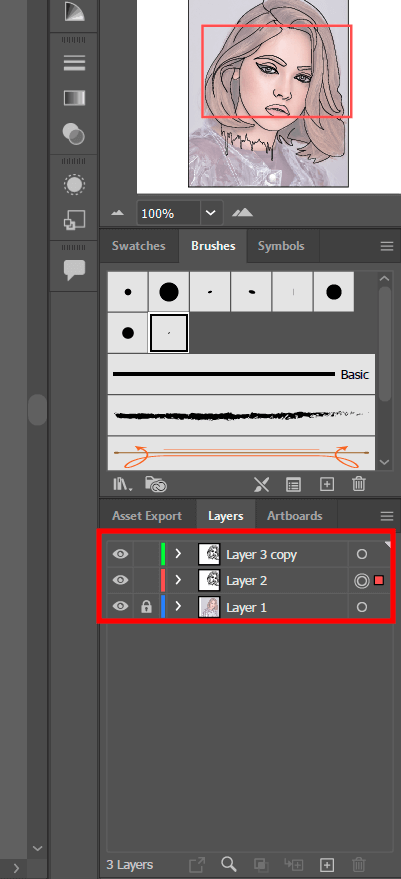
Go to the Layers panel under the Tabs menu on the right. Above it, you will see the icon with two overlapping squares. If you don’t see the Layers panel, select Window in the menu bar and choose Layers from the drop-down menu.
Click on the New Layer icon that looks like a sheet of paper. After creating a new layer, you can use it to perform further adjustments.
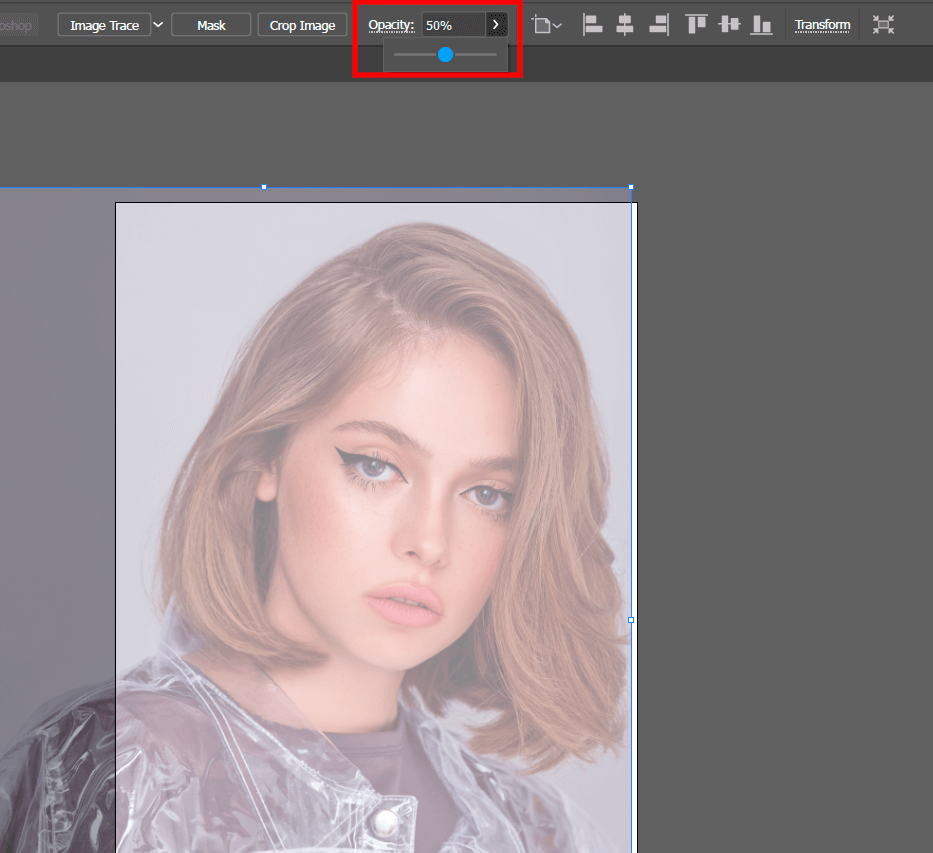
Set the opacity for the layer with the photo to 50%.
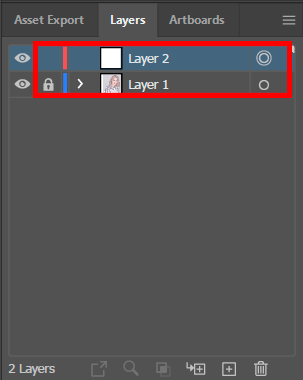
Go to the Layer panel and click on an empty square box to lock the layer. You will find it between an eye icon and the name of the layer. If you have locked it successfully, you will see a corresponding icon. Then, go to the empty layer.
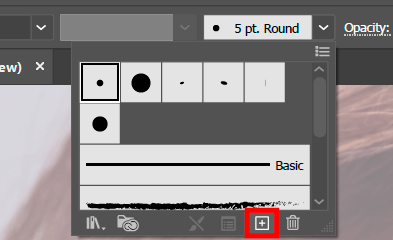
Go to the Brushes Panel (Window > Brushes). Click on the “+” icon to create a new brush.
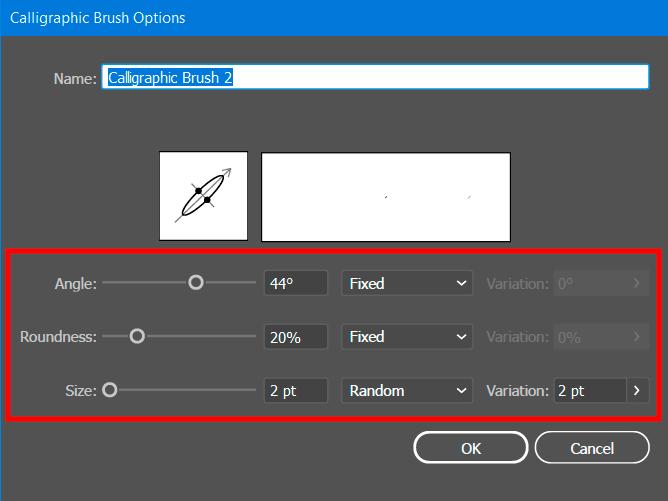
You will see a pop-up window where you can customize the settings of the new brush. When adjusting the settings, you can use the values you see in the screenshot above. Then, save the settings and set the color to black.
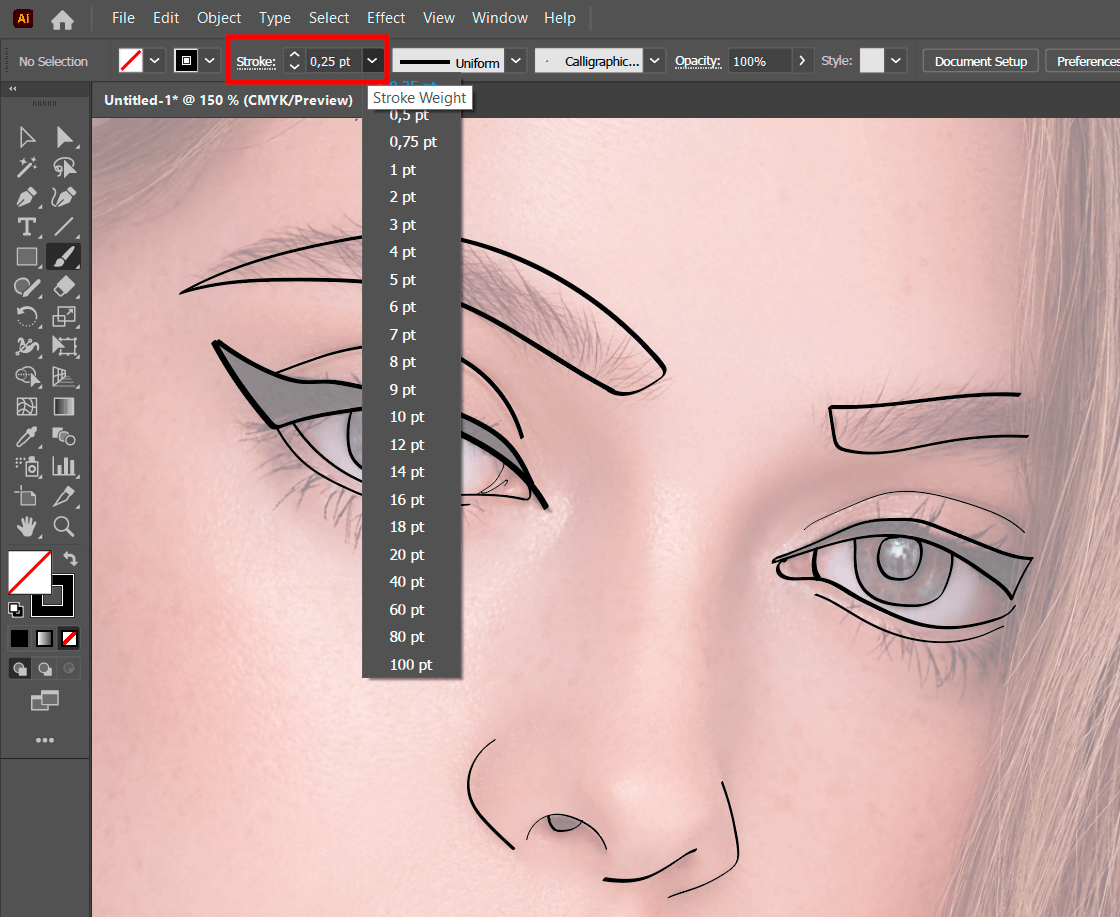
Select a suitable brush size and carefully draw the outlines of the main elements of the source photo. At this stage, you can select any level of detail. If you are a beginner and want to cartoon yourself in Illustrator with little to no effort, opt for a simple outline. Advanced users can create a more detailed outline.
After outlining the face, select the layer with the outline and copy it. To do it, go to the Options menu and select the Duplicate layer. You can also solve the same task by dragging the layer with the outline to the Create New Layer icon.
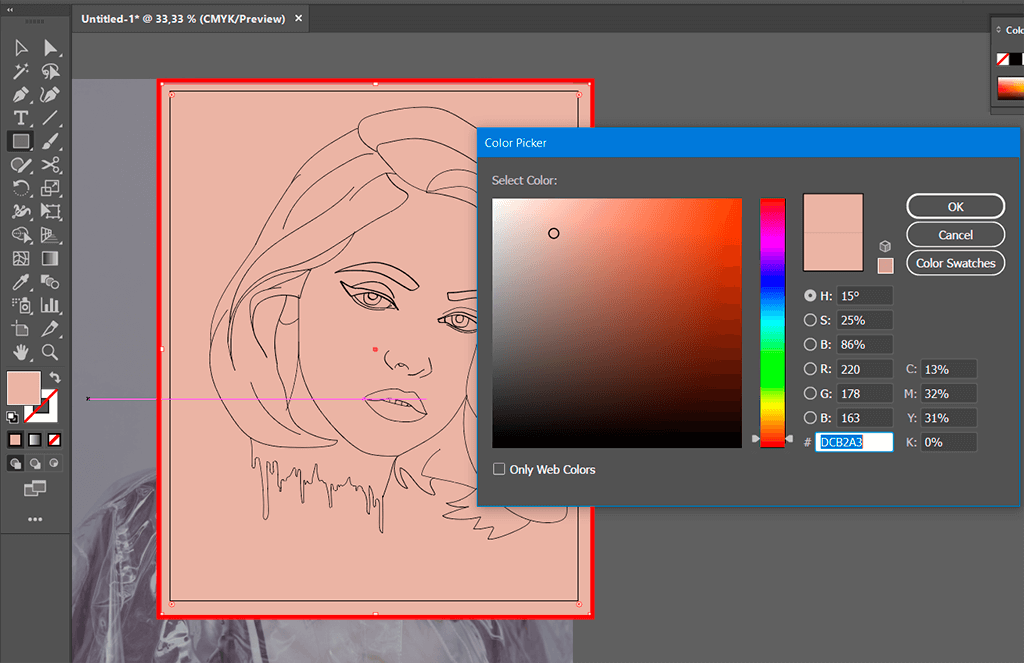
Select the Rectangle and select the skin tone using Сolor Picker. Then, drag the rectangle above the portrait.
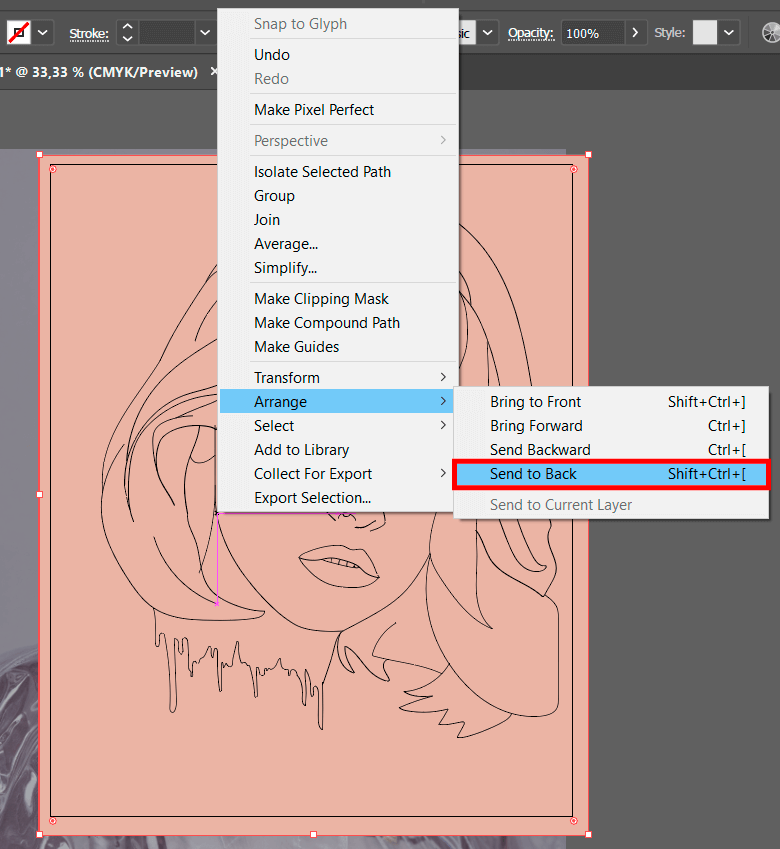
Then, drag the rectangle lower. To move an object to the back, click on it, and select Object > Arrange > Send To Back. You can also use the Shift+Ctrl+[/Shift+Cmd+[ key combination.
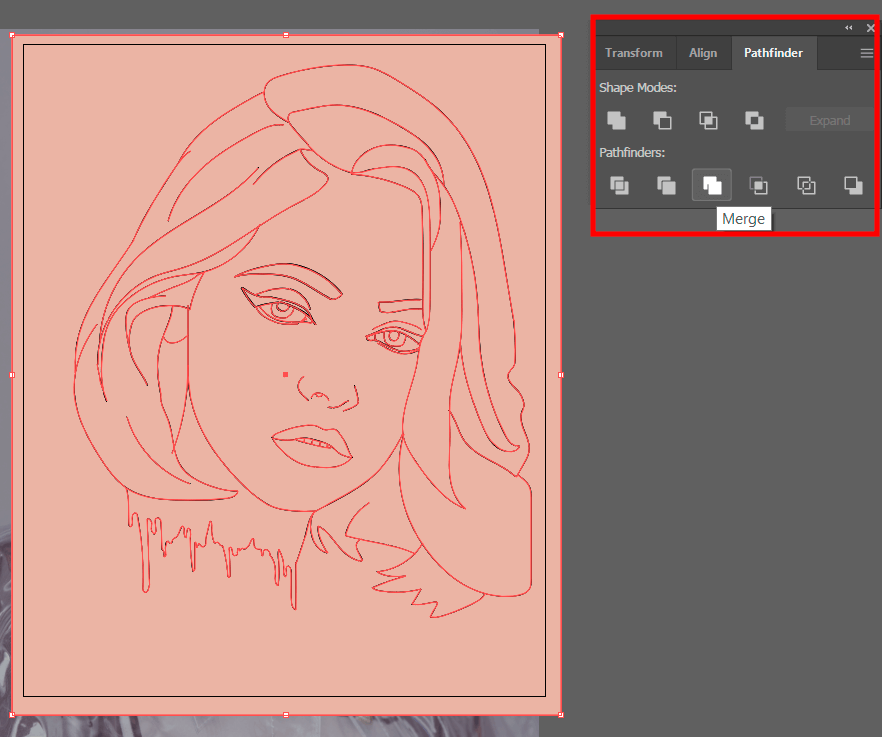
To cartoon yourself in Illustrator, select the whole portrait and use the tools from the Pathfinder panel (Window > Pathfinder) to combine objects in Illustrator. This way, you can combine several elements with the help of interaction modes.
Then, click on Merge. You can delete a hidden part of the filled object, merge similarly colored overlapping elements, and delete strokes.
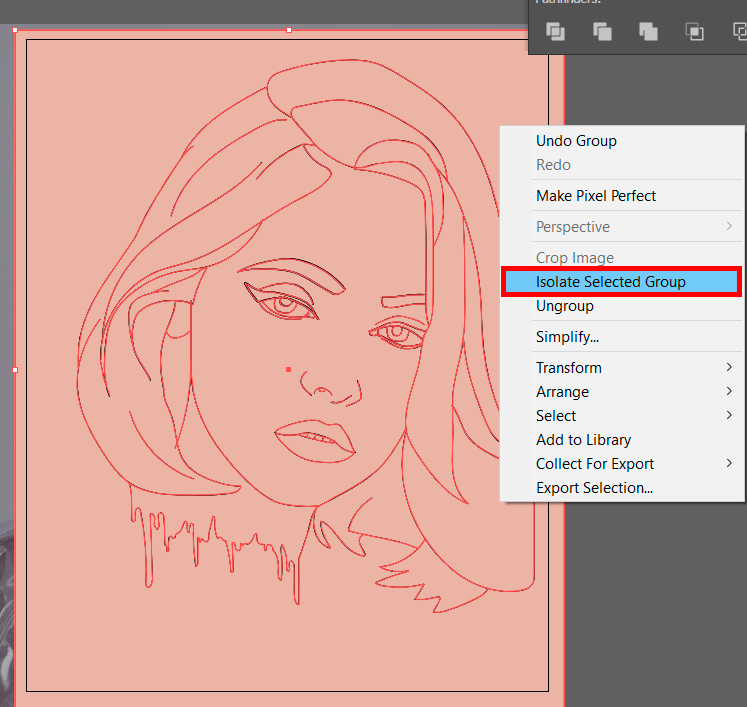
Right-click on the portrait and select the Isolate Selected Group option from the new menu.
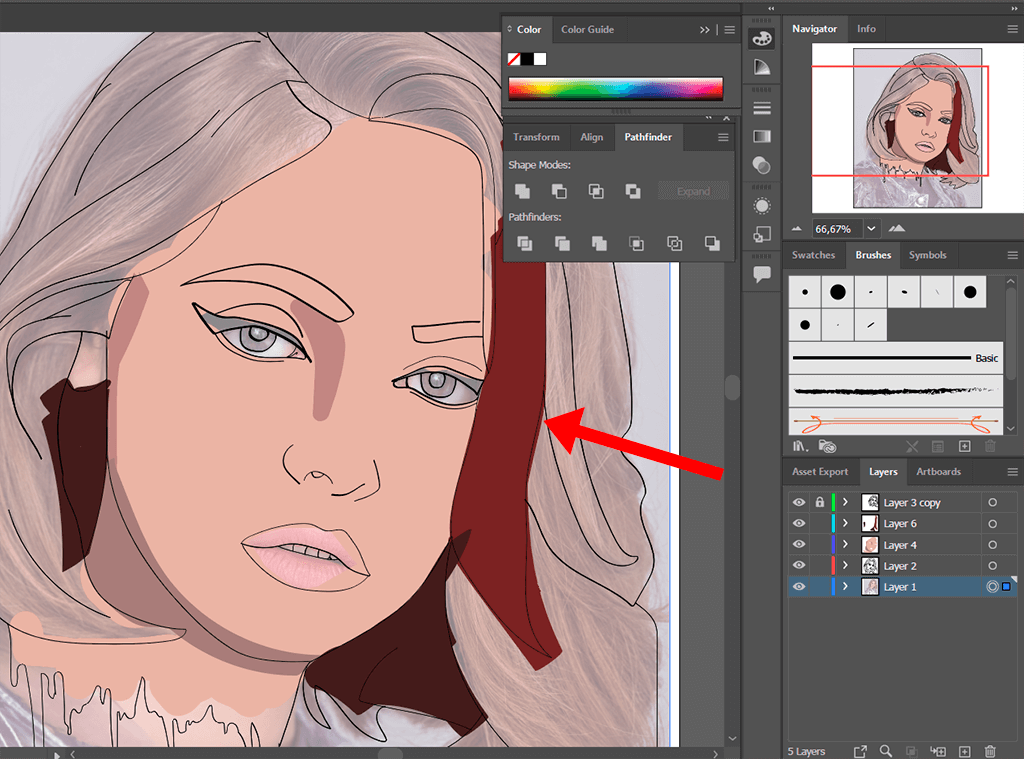
Now, you can start coloring empty areas of the face. It’s better to use shades that are similar to the colors in the source photo unless you want to achieve a weird effect.
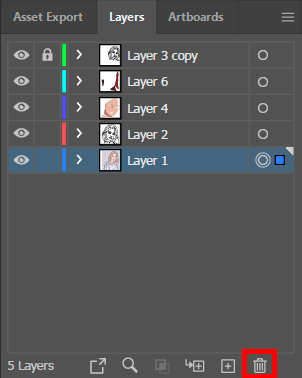
After outlining the model in your photo, you can delete the layer with the source photo. Deleting the original layer helps you create a cleaner composition by removing the reference image. This is especially important if you plan to share or export the cartoon illustration without the original photo being visible.
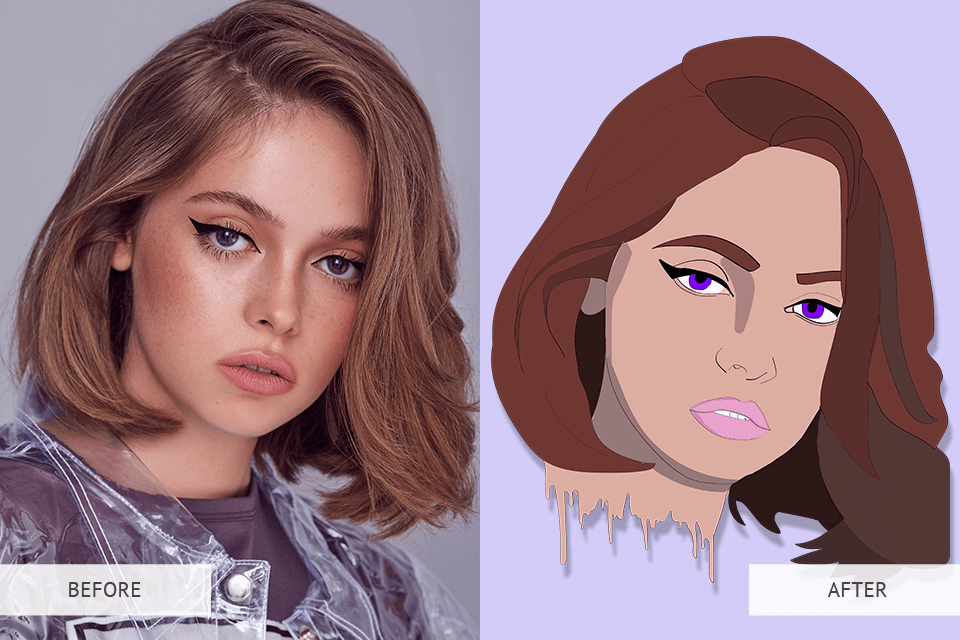
Now that your portrait has been converted to a cartoon, you can try using other Adobe Illustrator tutorials to enhance your images even more.
If this tutorial is too difficult for you or if you have failed to achieve a realistic result in this software to draw cartoons, make sure to contact a professional editing service. It will help you save time. Such services have affordable prices and a quick turnaround time. You will receive a cartoonized photo in no time. When placing an order, you can specify what colors you want to see in it, or how detailed you want your cartoon version to be.
Now that you know how to cartoon yourself in Illustrator, you can speed up your workflow by downloading this collection of brushes. With it, you can easily create complex patterns and use them to embellish your cartoonized portraits. If you have never used such tools before, make sure to learn how to add brushes to Illustrator and find out how to use them to enhance your images.


