Want to learn how to add texture in Illustrator? I have prepared an understandable guide, so that you can understand the process and speed up your image enhancing routine.
This method of adding textures in Illustrator works for those who want to work with textures professionally. Using this option, you can not only apply a texture, but also resize and recolor the selected textured element.
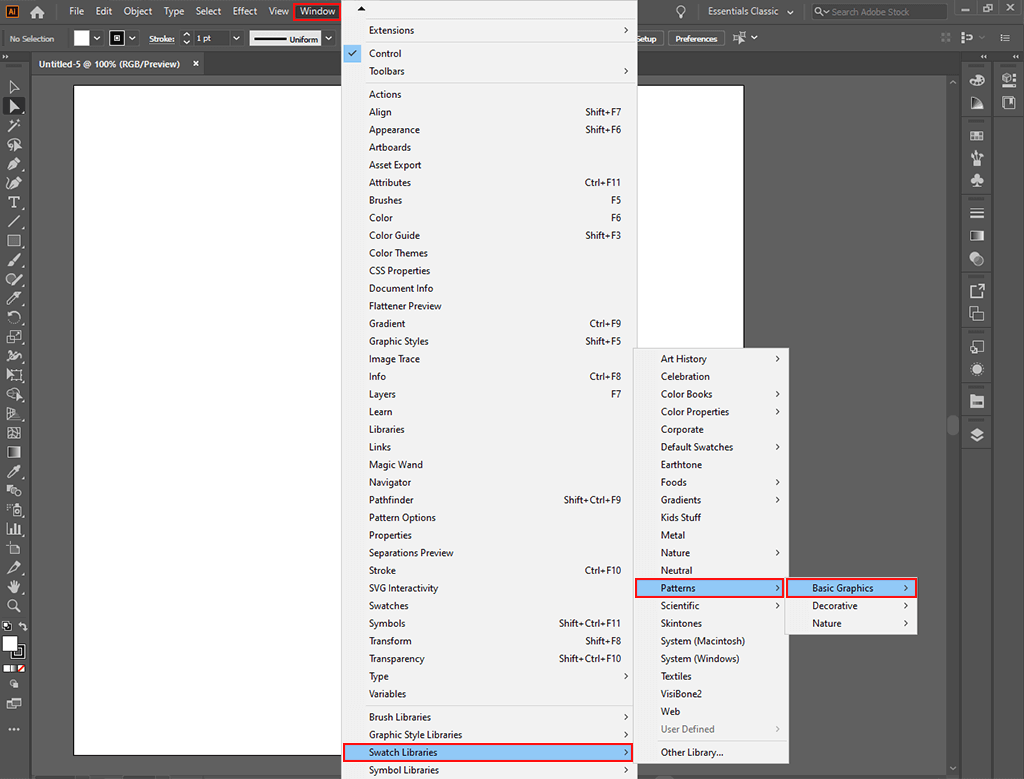
You need to create a new Artboard > Basic Graphics Textures with the Window command. Find the Swatch Libraries at the bottom of the list, and hover the mouse over it.
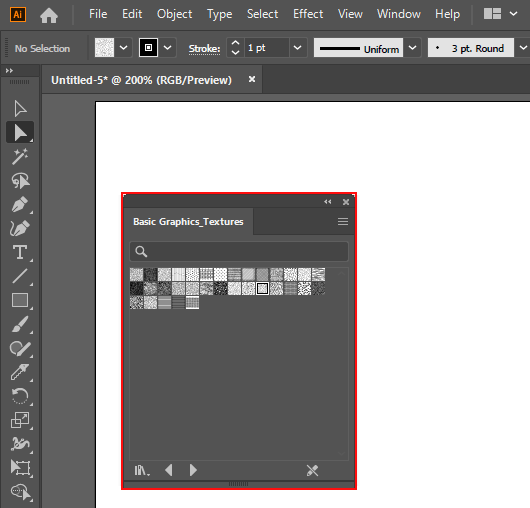
Then you should run the Patterns-Basic Graphics command. You will see a standard set of textures available in the Illustrator free trial version.
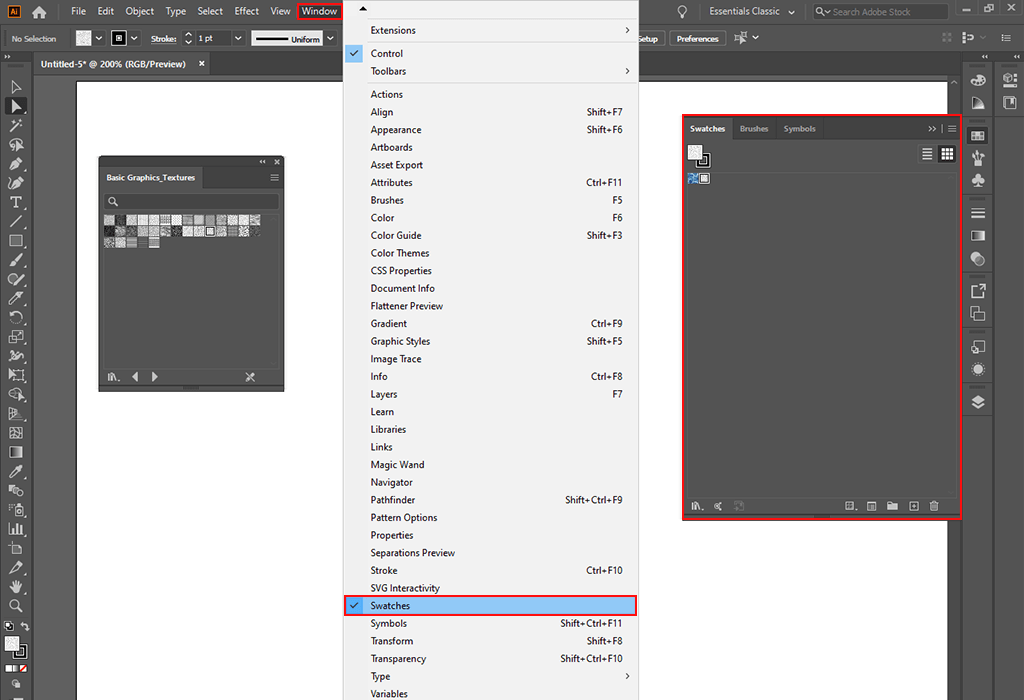
To change the color of the basic texture, open the Swatches bar in the Window tab.
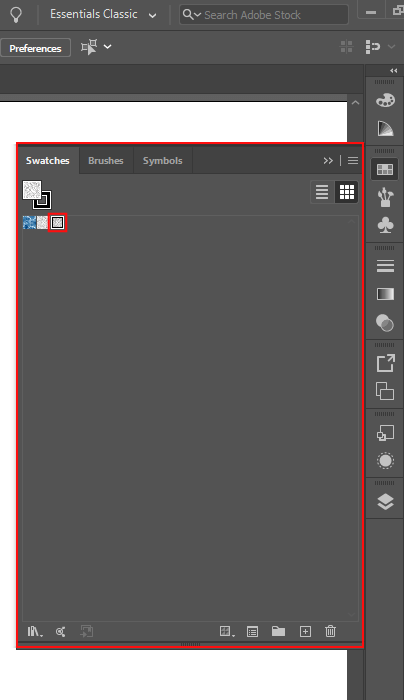
Put the Texture and the Swatches windows side by side. Then, using the drag-and-drop option, place the desired texture onto the Swatches panel.
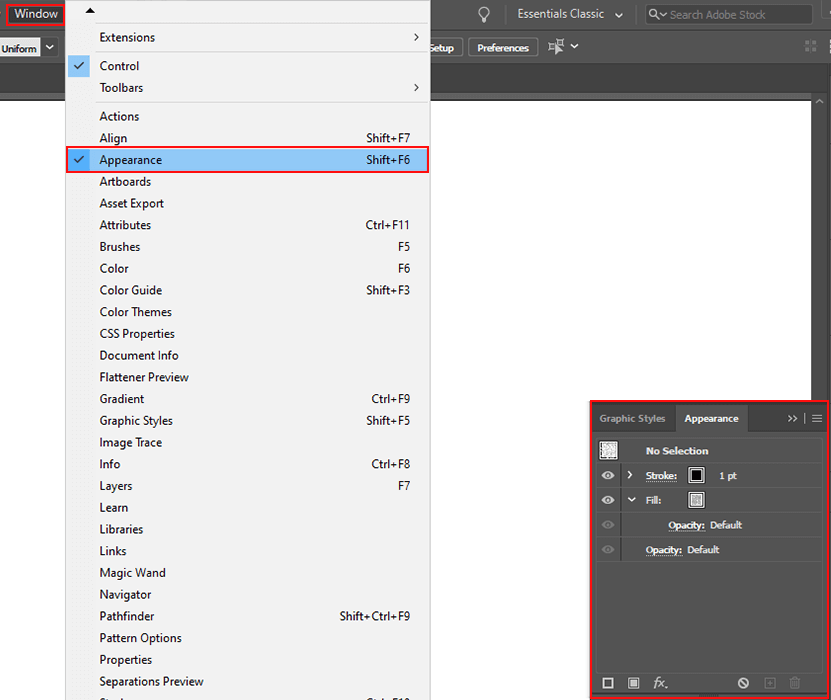
Open the Appearance panel on the Window tab. This panel helps you explore the elements of the chosen texture. Thus, you can learn if it’s possible to change their fill or stroke color when necessary.
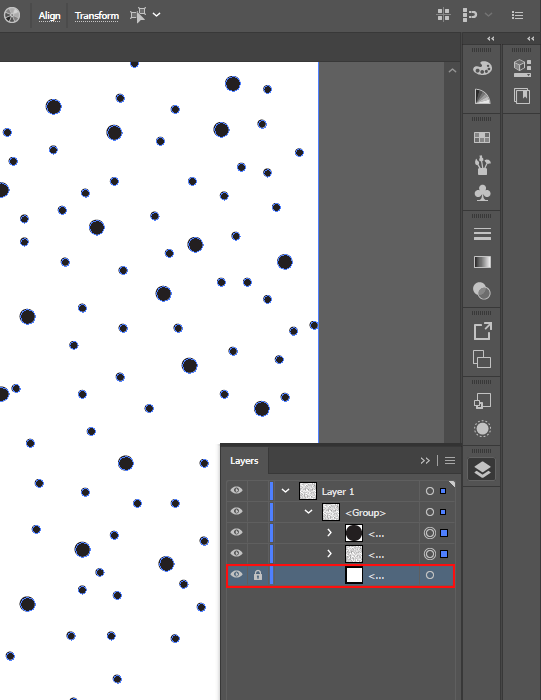
Press CTRL + A for Windows or CMD + A for Mac to select all texture objects. Then you should go to the Layers panel and click on the lower rectangle without fill and stroke to lock it.
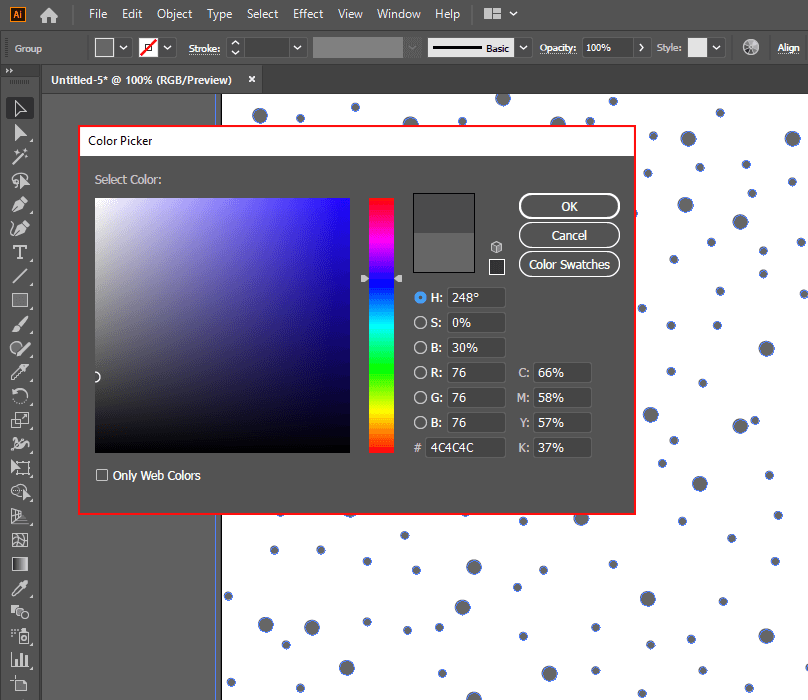
You can replace the stroke and fill color if needed. To proceed, you can use either the Swatches bar or the Color Picker when you need a specific tint. When you create shapes in Illustrator, you can add custom elements to the texture.
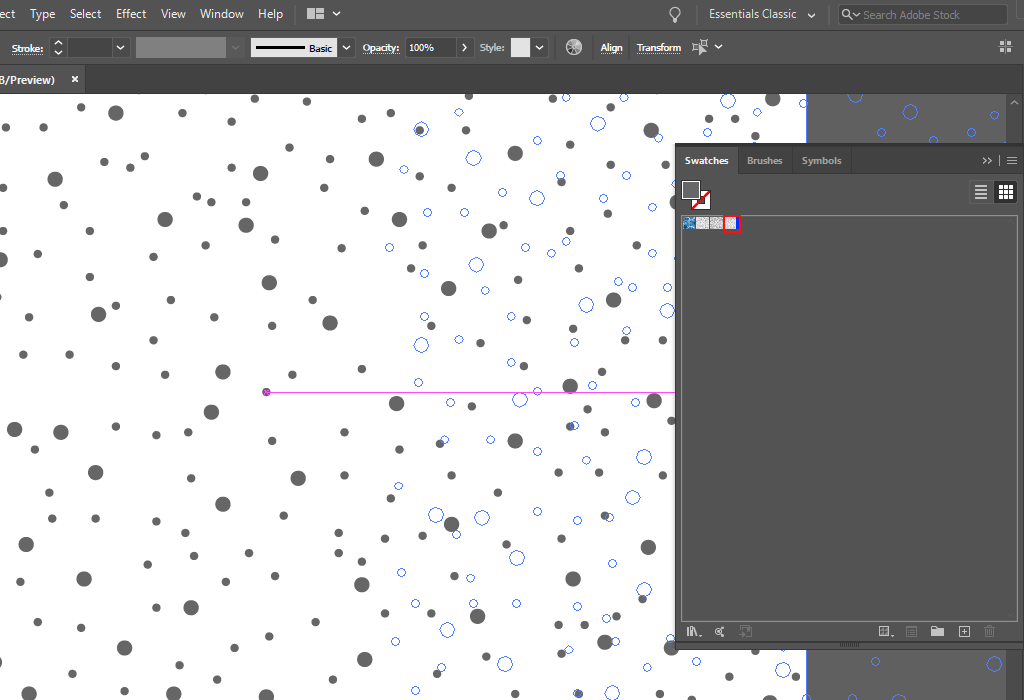
Once you unlock the rectangle with no fill or stroke, you need to select all the elements of the tile pattern. Then, drag the tile back to the Swatches panel.
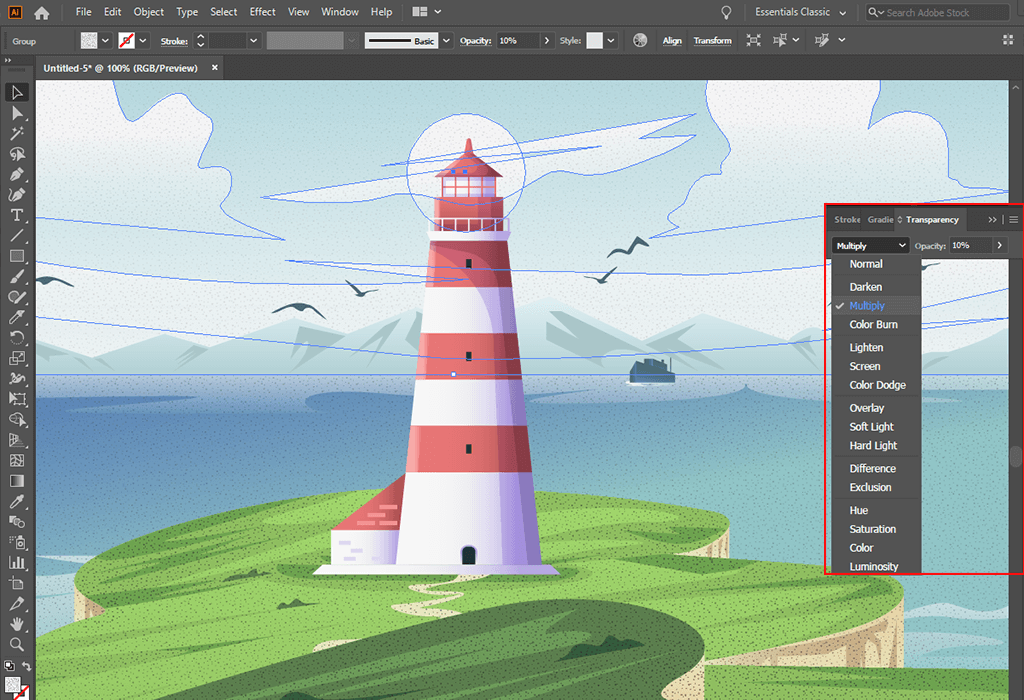
After you created a texture in Illustrator, you can apply it to your image. For a more natural result, experiment with the blending mode and transparency.
The Effects panel is multifunctional. Using it, you can add basic textures through a separate tab with customizable intensity and texture type. There are many Adobe Illustrator tutorials that cover this topic.
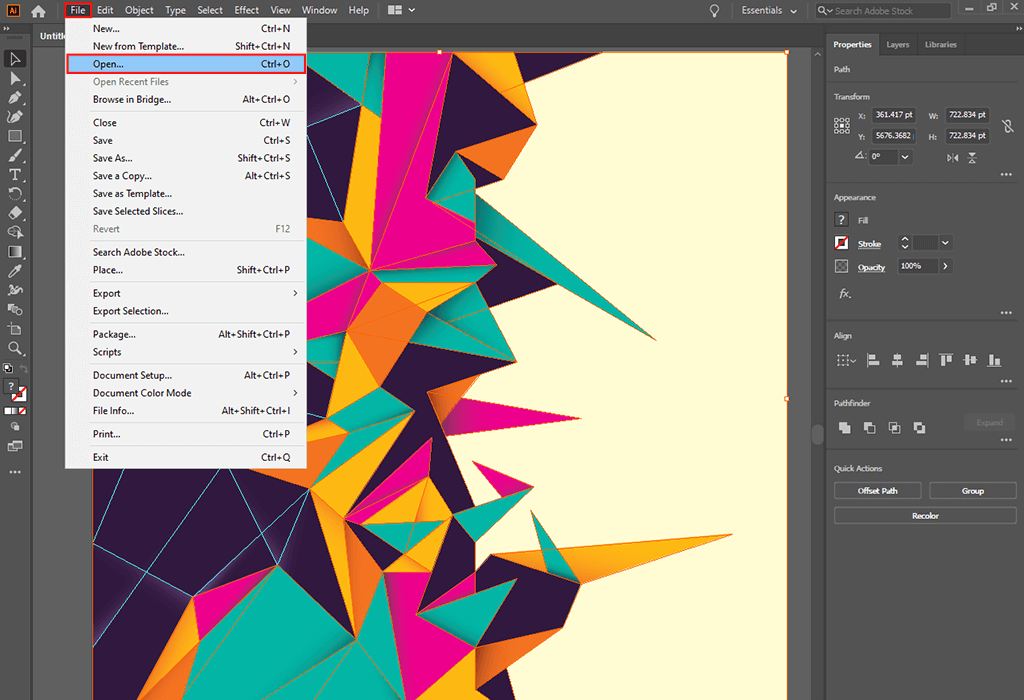
Open the desired image. Keep in mind, that can disassemble vector graphics into objects to apply the effect separately, but it doesn’t work this way with raster graphics.
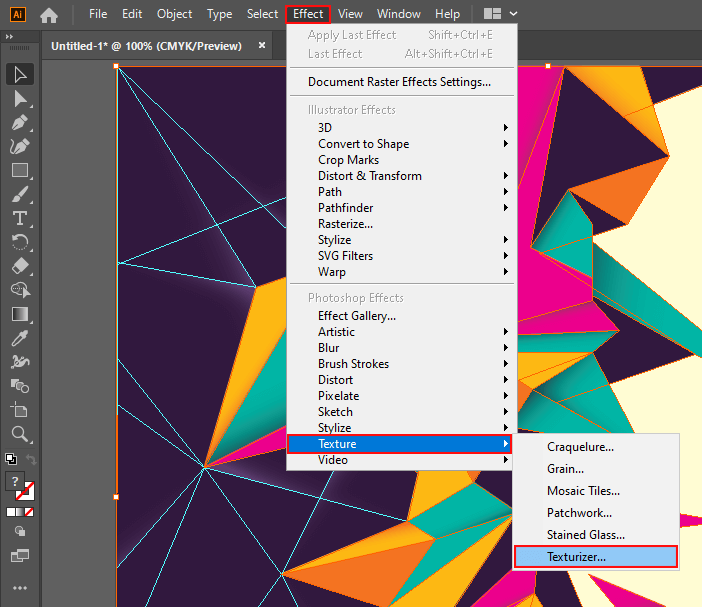
Hover the mouse over the Effects panel and click to open a drop-down list. Find the Texture and move to Texturizer.
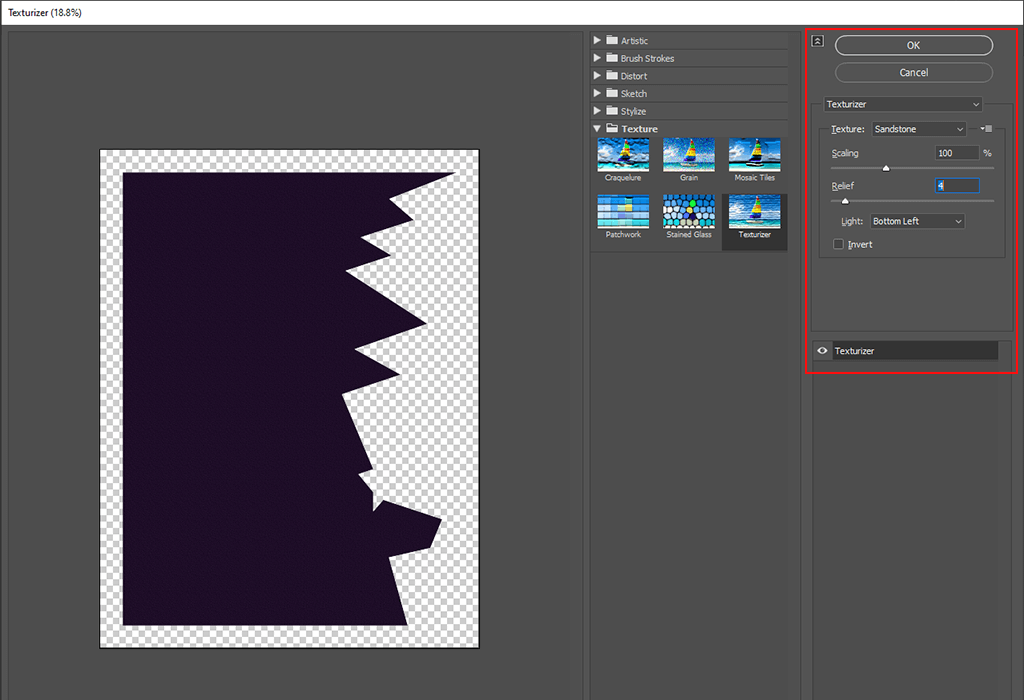
You can adjust the texture parameters with the controls on the right. Once you complete, both fill and stroke of the selected image will appear with texture settings. To save them, press OK.
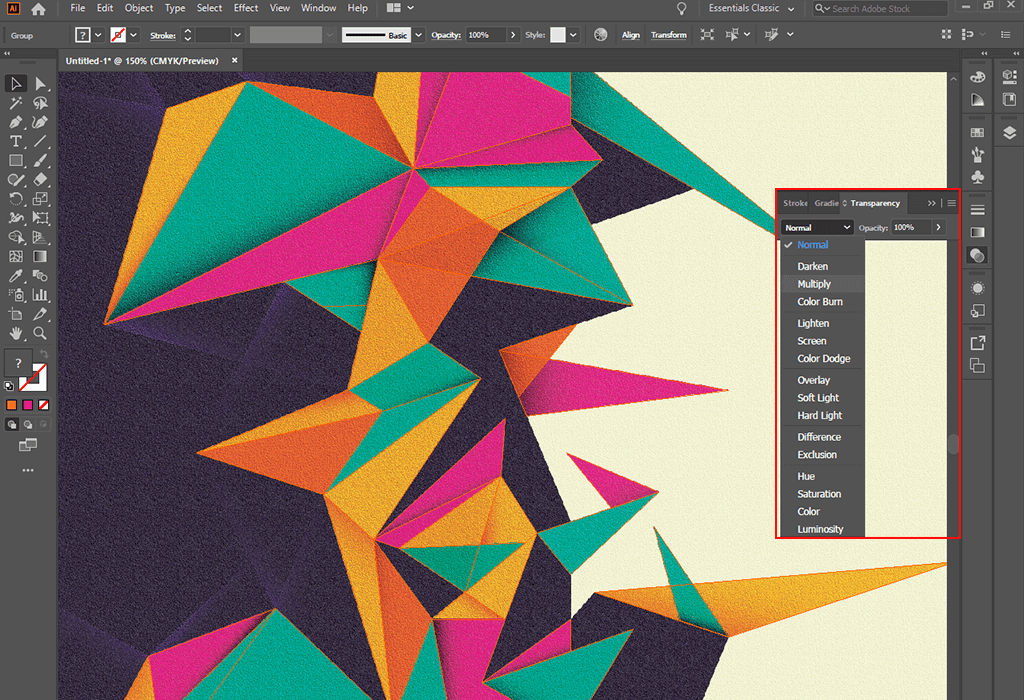
Select a Blending Mode from the drop-down menu and set the relevant mode.
This is one of the easiest ways to work with Adobe Illustrator textures and apply them to any element.
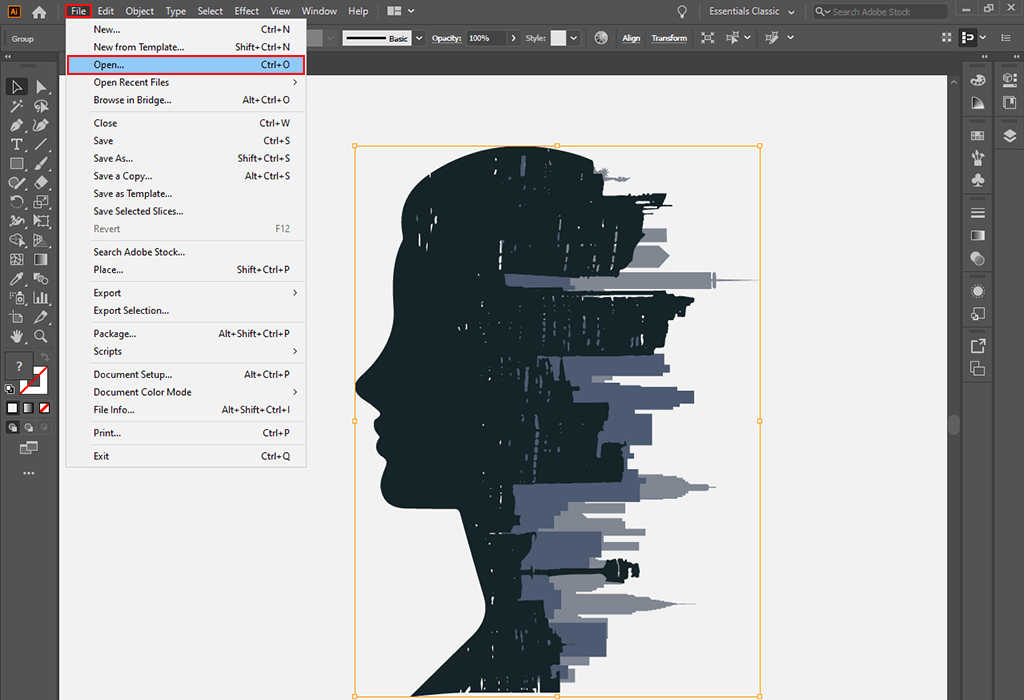
Open the desired object along with the relevant texture.
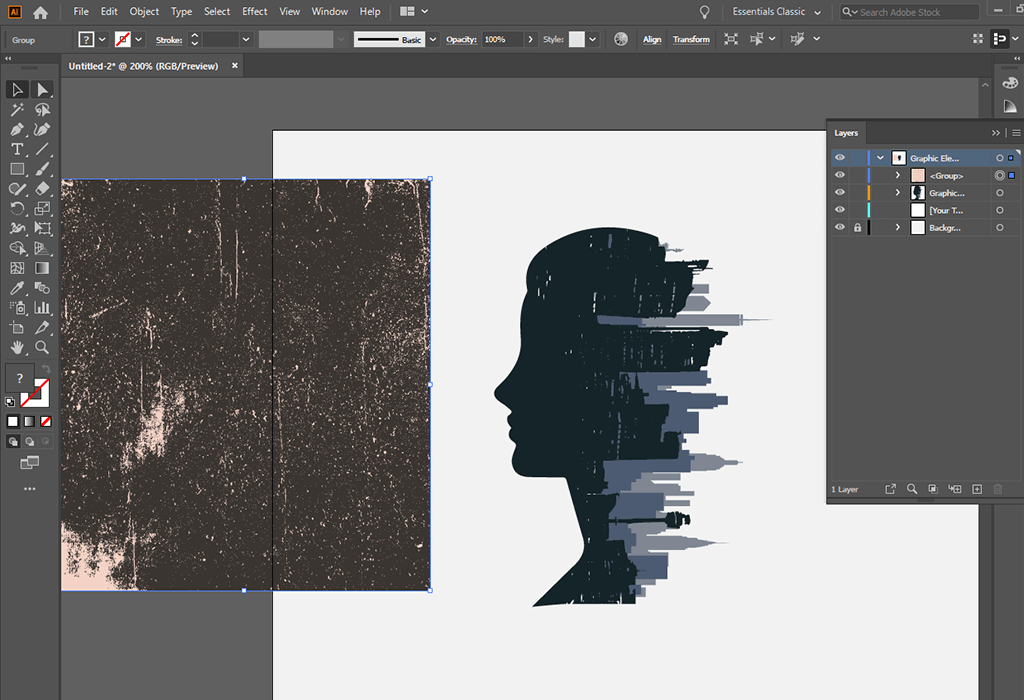
You should use a high-quality picture not to spoil its look when resizing.
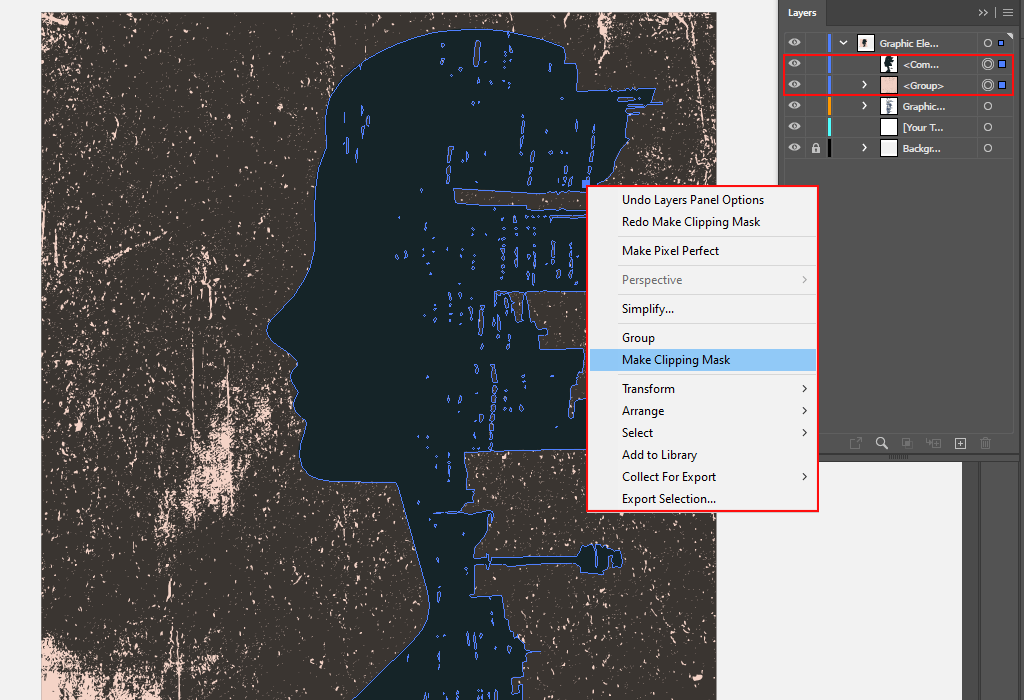
Place the image over the texture. Then select both files and apply Clipping Mask to them. You can either right-click on the selected area or use a command on the Layers panel.
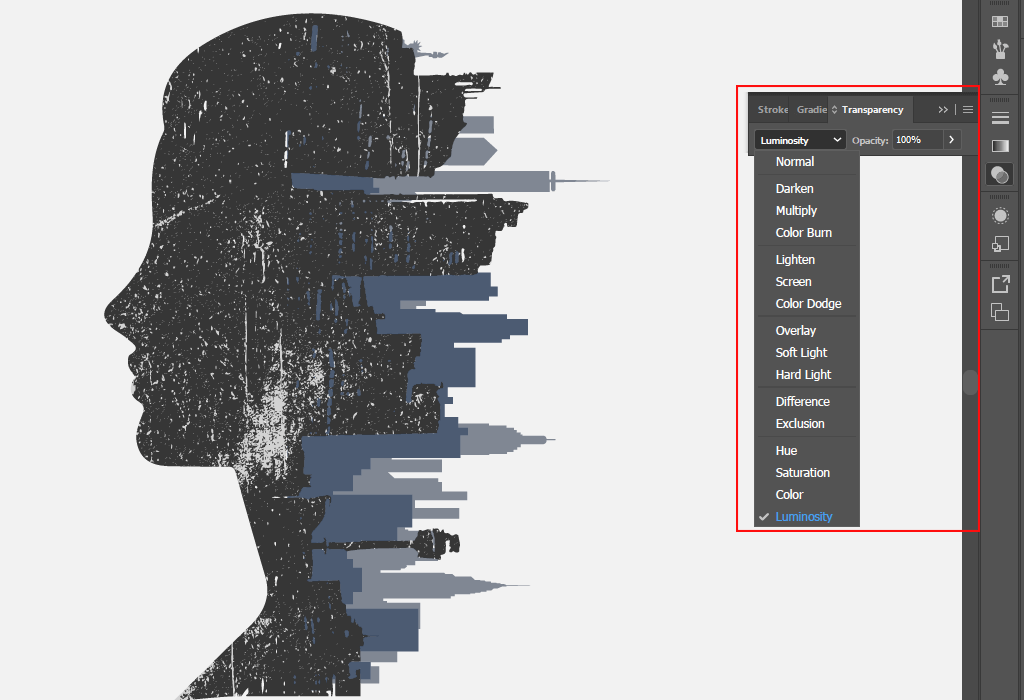
Try different blending modes and opacity to find the proper variant. You can change background color in Illustrator to get a clear and shaded texture.
To speed up your workflow in Adobe Illustrator, use ready-made textures. These free collections are compatible with Illustrator. They will boost your creativity and potential when working with textures.