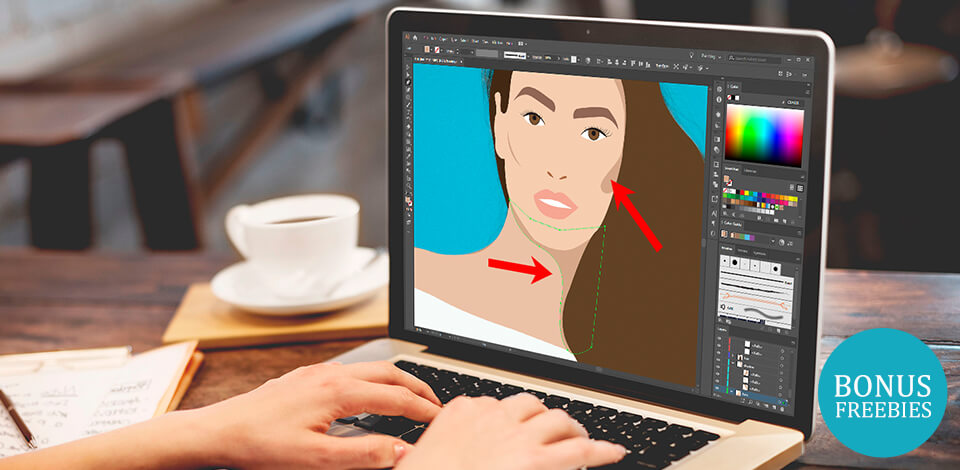
If you are wondering how to draw a face in Illustrator and want to learn how to create anatomically correct human faces, make sure to read this tutorial. By following these 18 simple steps, you can quickly create a portrait in Illustrator with the right proportions of the head and detailed hair, eyes, and eyebrows.
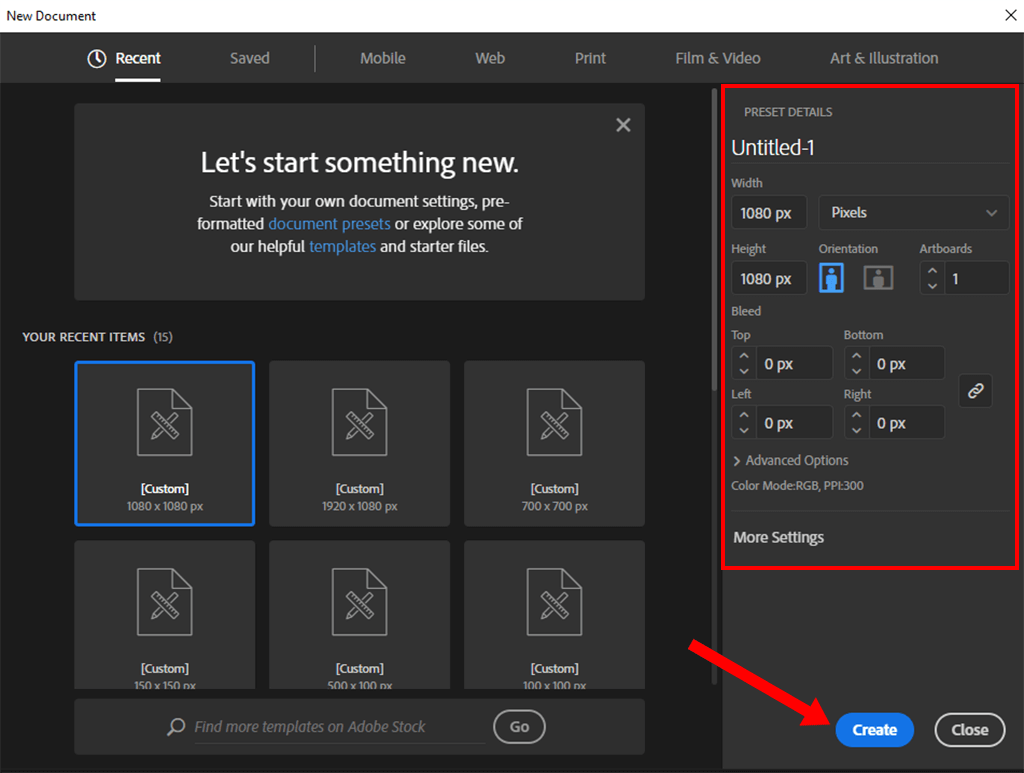
Create a new file in Illustrator (File> New), and adjust Height, Width and other parameters.
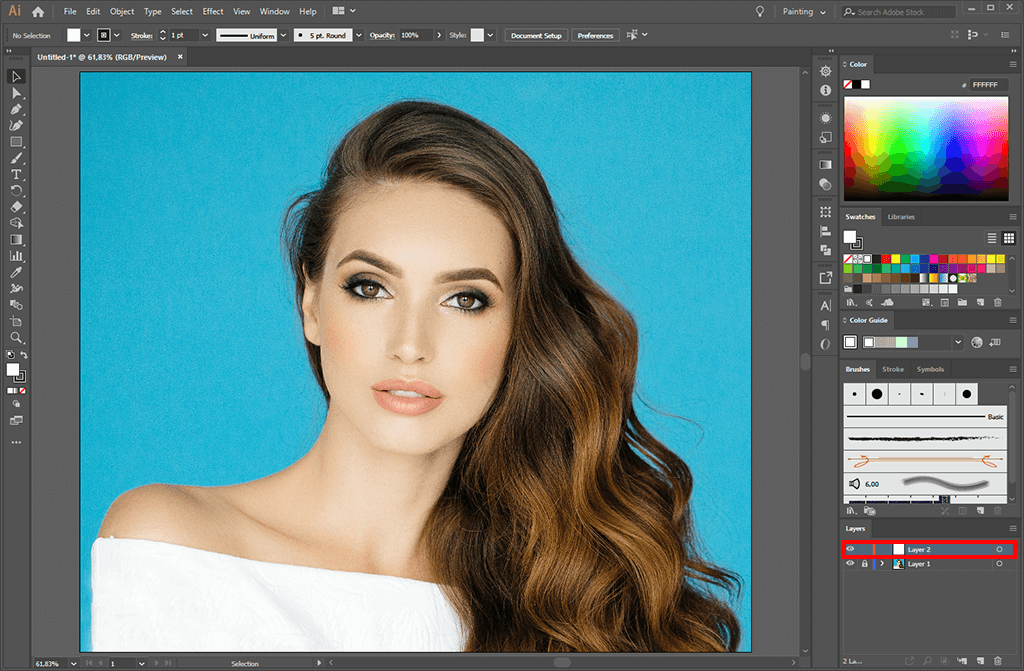
If you are a beginner and want to learn how to draw a face in Illustrator, it’s better to use a photo instead of drawing an image from scratch. Select a suitable portrait photo. Then, you need to create a new layer.
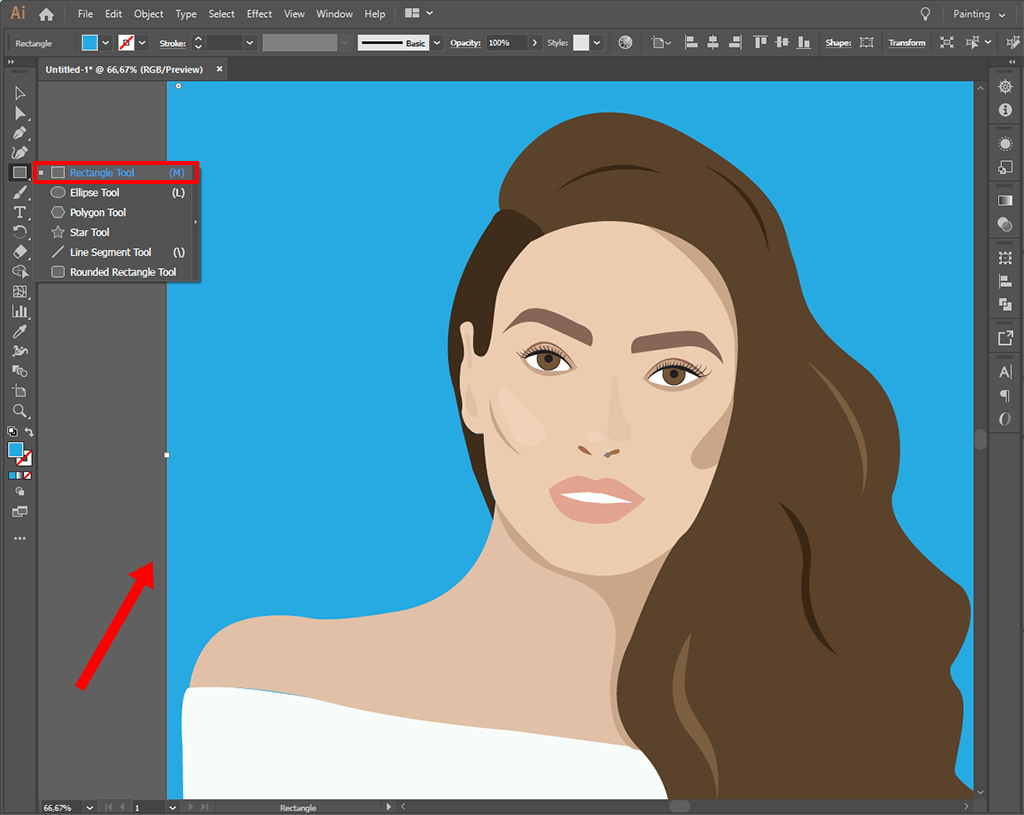
To draw vector portraits, you need to use vertical and horizontal intersecting guides. Use the Ellipse Tool (L) and create a circle with a center on the guides’ intersection. Move the cursor to the intersection and elongate the circle by pressing Alt + Shift.
Set fill to “None” and set a stroke to 1pt. The diameter of the circle should match the width of the head.
Use the Pen Tool while holding the Shift key to draw lines in the left and right intersection points with the horizontal guide. With the Pen Tool, start drawing the outline of the face. To draw eyebrows, create a curve and then create a new art brush to apply it to the curve.
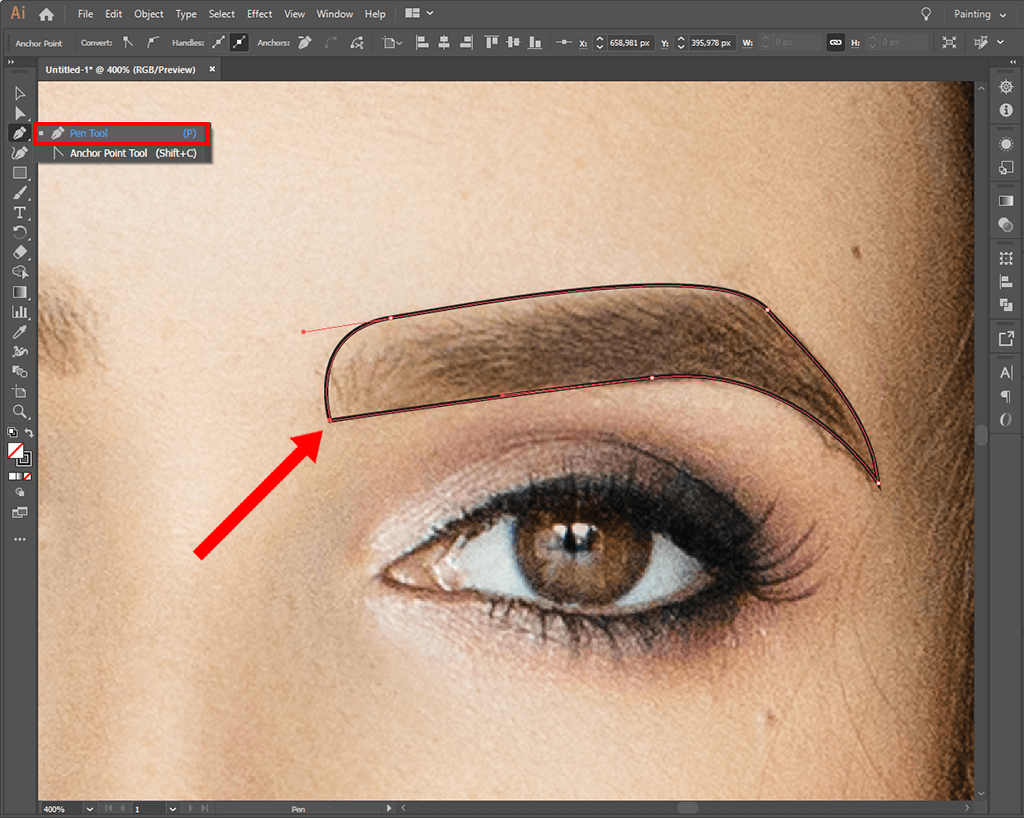
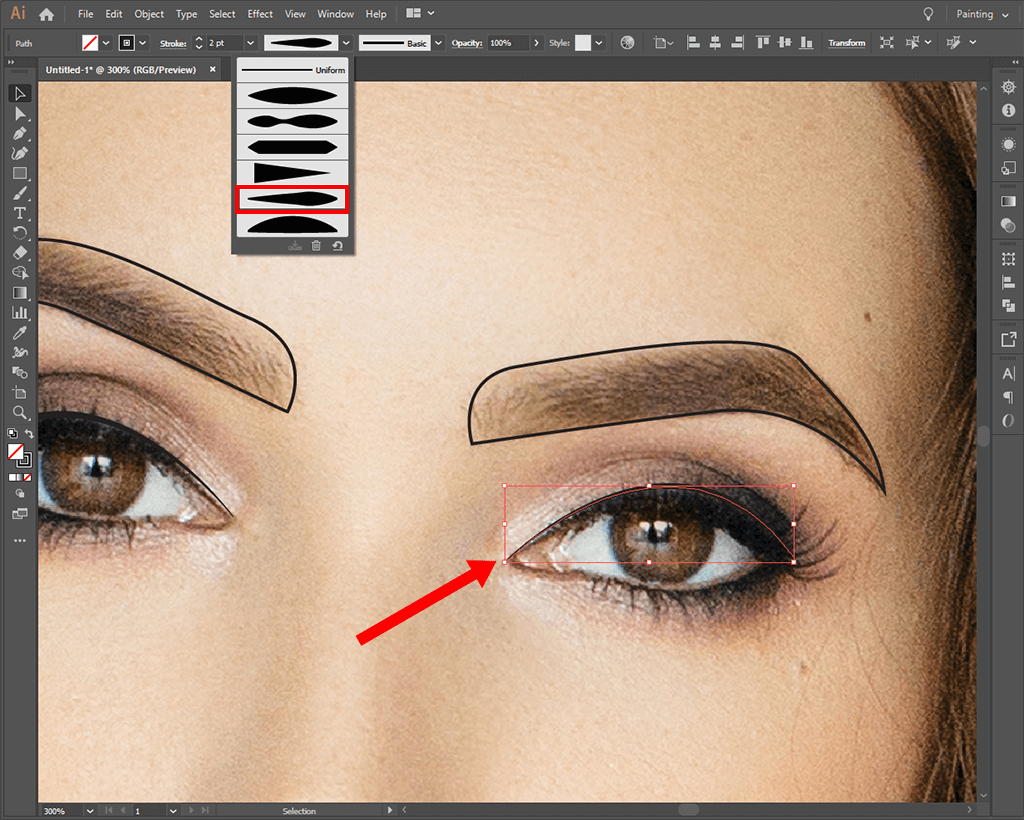
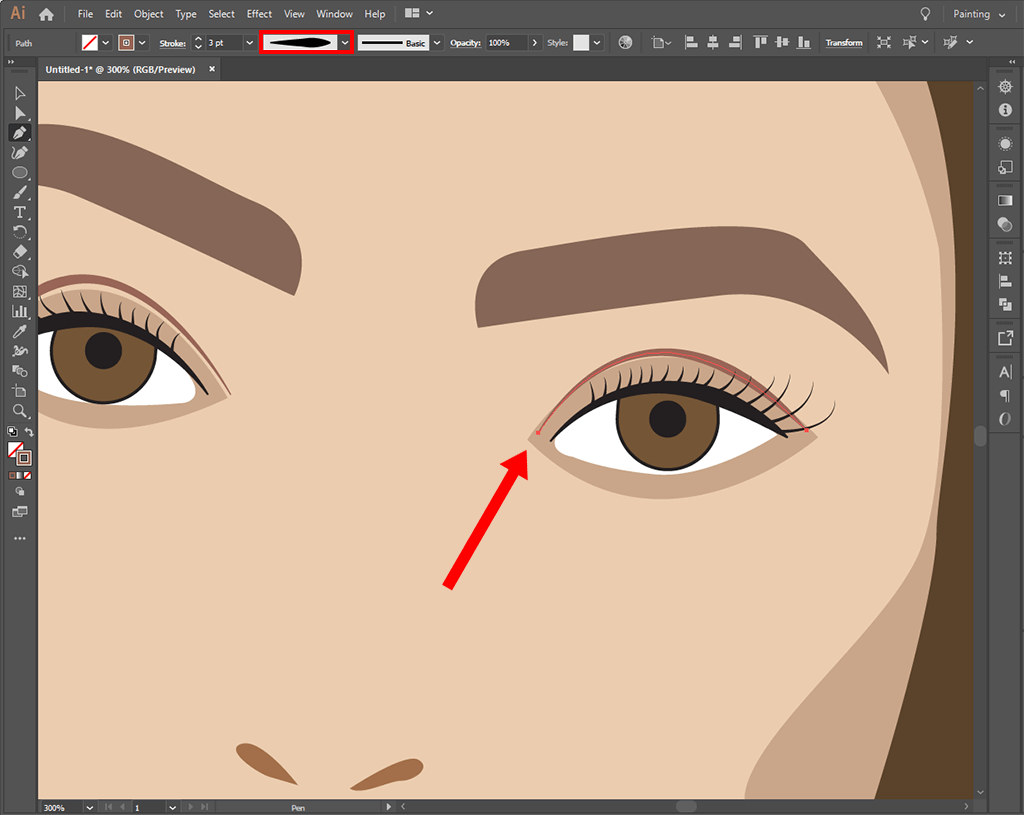
For a more natural result, select the stroke style that suits your needs best. You can find the Stroke panel by going to Window> Stroke. In a drop-down menu, you will see various options.
As you can see in the image, it will help you to change the way the strokes look like. As the result, they will look more natural.
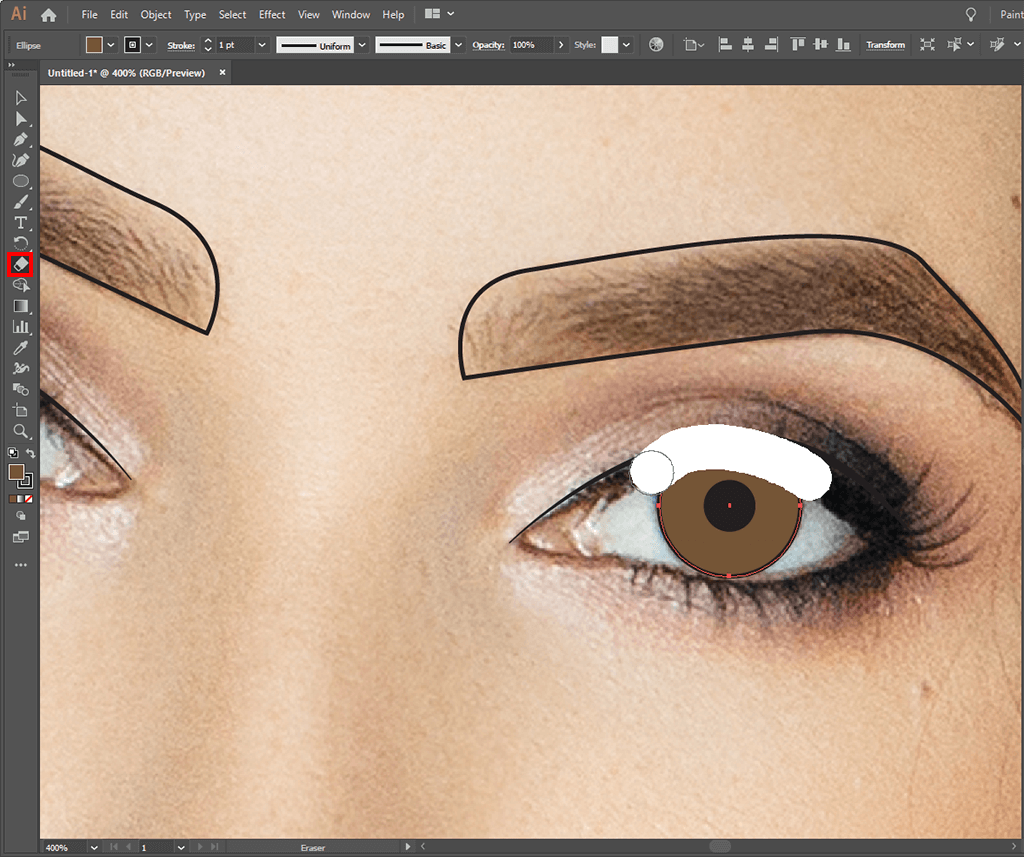
To remove unwanted details, you can also use the Erase tool. Use the Shift + E to erase all the overlapping layers. It will allow you to clean up the image and get rid of unwanted shapes.
When editing Illustrator portraits, you need to remove the unwanted color casts above the eyelashes. Then, move this layer under the layer with eyelashes using Ctrl + [. You can also right-click and select “Send Backward.”
To draw the eyelashes, you can once again use the stroke tool. First, draw several curved lines by using the Feather tool.
Then, using the same method as before, edit the outline by choosing Window > Outline to make it look more realistic. Select the triangle shape, with a wide base that narrows up to a top, as it is somewhat similar to eyelashes.

Now, you need to create a layer with a face. Copy the path from the template and add it to this layer. Then, outline the face.
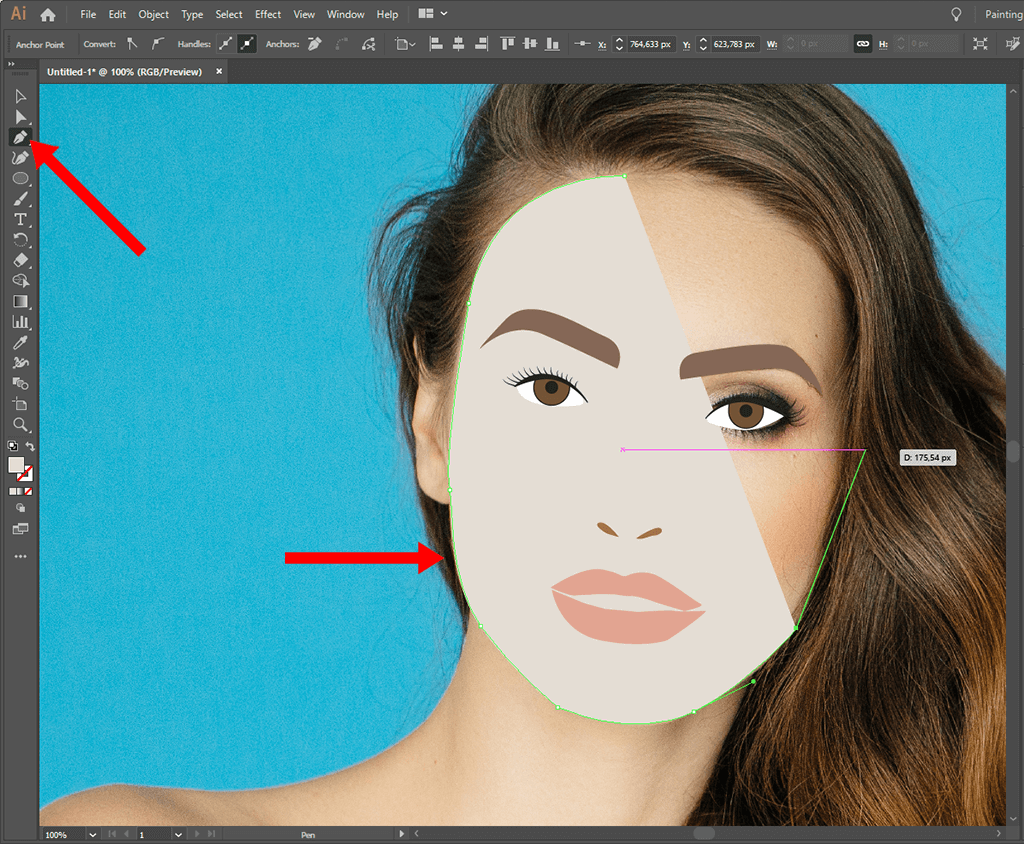
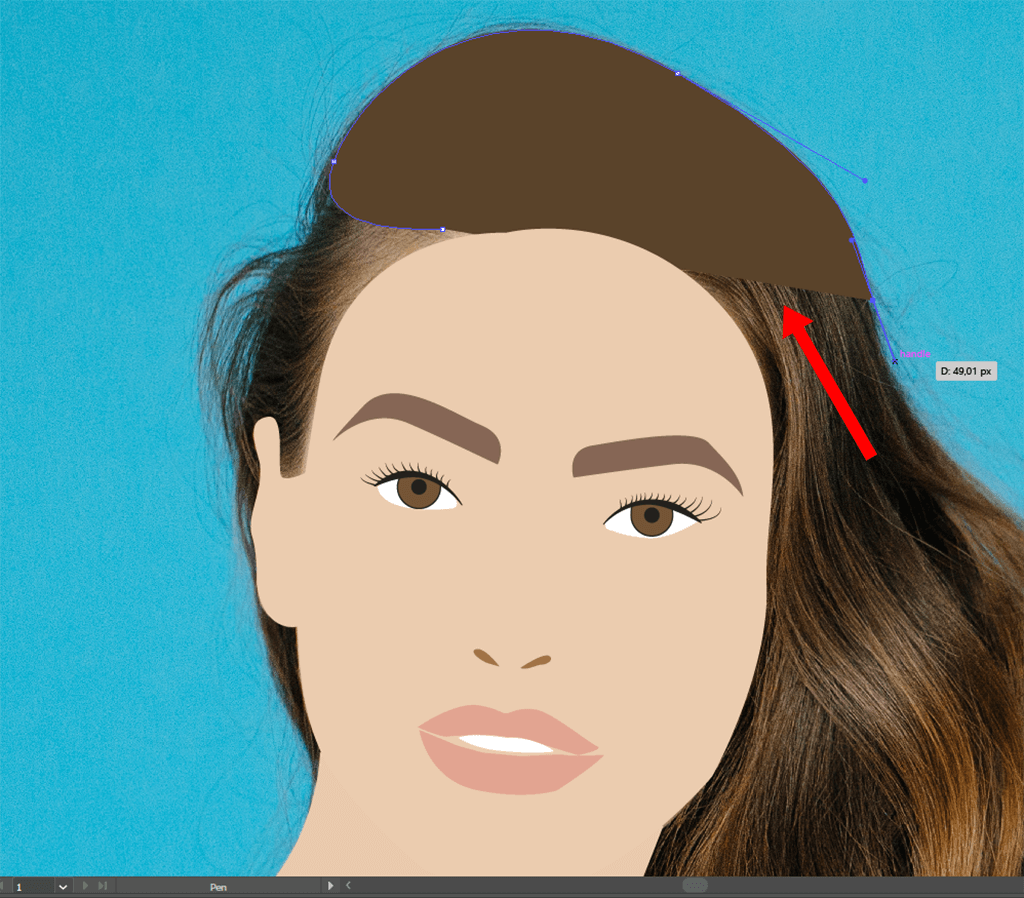
To draw hair, first, create two new layers for the hair in the back and in the foreground. Learn how to merge layers in Illustrator to put the layer with the hair in the foreground above other layers and move the layer with the hair in the back underneath other layers. Then, use the Pen Tool (P) to create the hairline outline.
A tip you'll find in all Adobe Illustrator tutorials is to use shadows since they can make your Illustrator portraits more realistic.
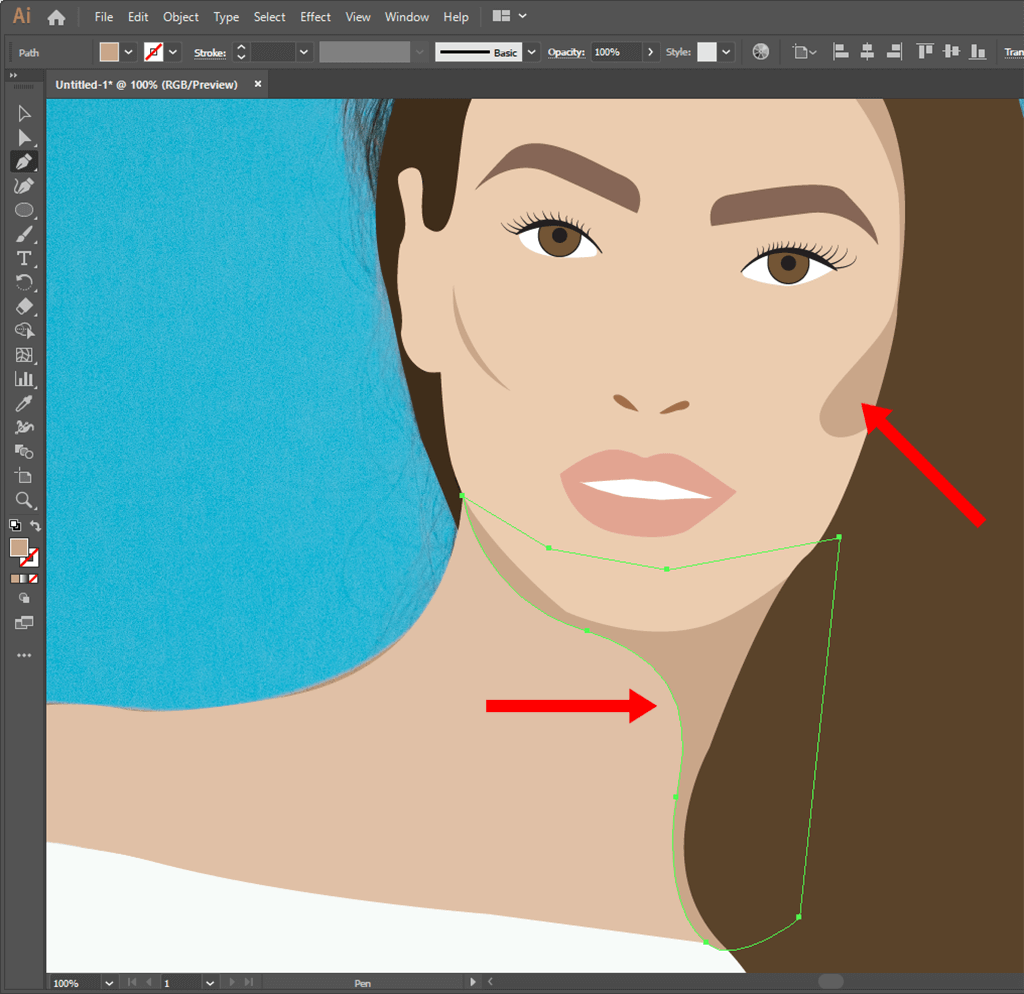
To add them, outline the darker parts of the face by using the Feather tool to create curved lines. It might take a lot of trial and error to find the right place for the shadows, but you can always undo your edits and start anew if you make a mistake.
Start adding shadows. They should be a tone darker than the base background color.
When everything is almost ready, you need to tweak up your Illustrator vector portrait a bit. Go to the layer with the eyes. Fill the irises with a radial gradient, from white to green (C = 57, M = 26, Y = 60 and K = 10).
Use the Eyedropper tool to select the same color for the nose and the area around the eyes. For this, select the area that you want to edit, click on it with the Eyedropper (press “I” on the keyboard) and then click on the area that you want to fill with this color. You can combine various colors when working on the canvas.
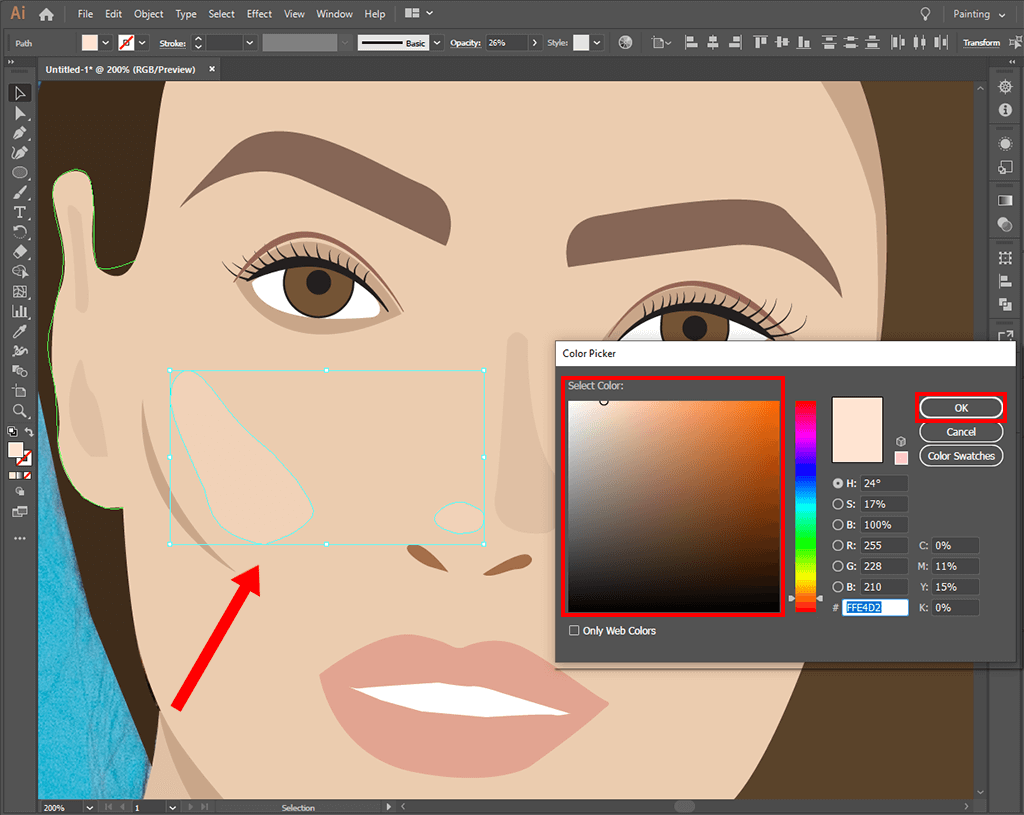
You can add specks of light by using the Feather tool, however, the easiest option to do it is to use the Brush tool. Select the lightest skin tone and manually draw highlights in the selected areas. Make sure to add highlights to the upper part of cheekbones, eyes, and nose.
To add catchlights to the eyes, you need to create an ellipse and fill it with a white color without creating an outline. Fill the lips with a linear gradient, from pink to red, then create a series of white ellipses for adding highlights to the lips. You can also lower the opacity of a selected area.
Draw detailed hair using smooth lines. To make hair look more detailed, you need to adjust mid-tones, shadows, and highlights. The base color should match the color of the hair of your model.
Highlights should be slightly lighter, while shadows should be darker. You can use the Eyedropper tool to select these colors on your source photo and use them for brush strokes.
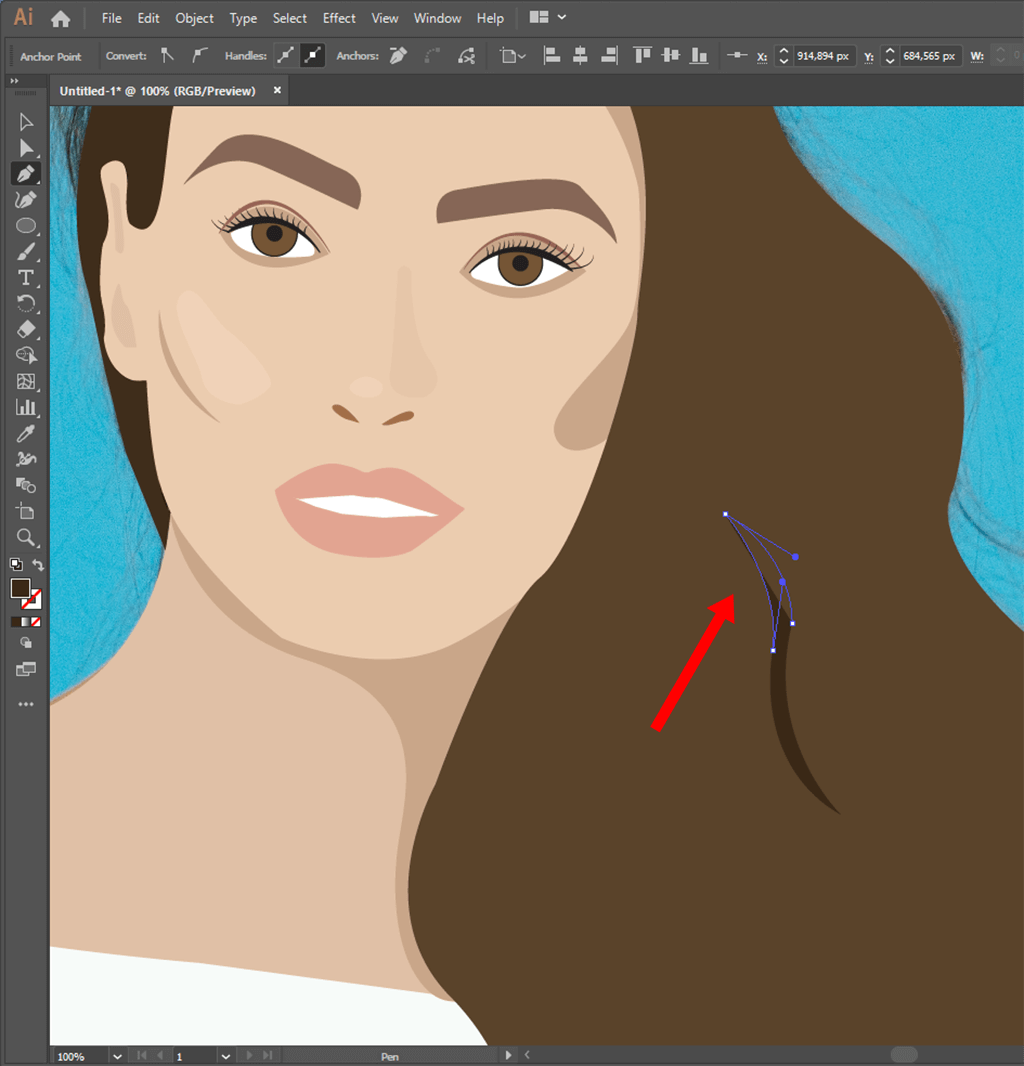
Use the Pen Tool to add shadows to the hair. Go to the Transparency panel and set a blending mode to Darken. Use the Feather brush to draw the strands of hair.
Finally, you can draw the background. Find out how to change background color in Illustrator in a few clicks. Then, you can save the portrait.
If you want to draw vector portraits in Illustrator, try using these free brushes. With them, you can make your images more colorful and visually appealing. They will help you optimize your workflow and create unique patterns.