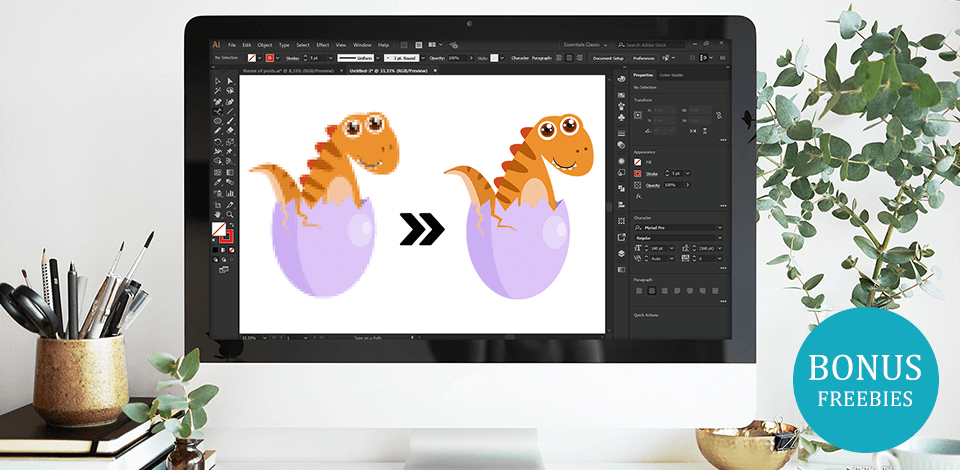
Learning how to vectorize an image in Illustrator is one of the most requested Adobe Illustrator tutorials. Vectorization helps avoid problems with scaling and allows you to use your image in any size without losing quality. Follow this easy tutorial to convert raster to vector in 5 steps.
First, launch Illustrator. Next, find the Window tab at the top. From the dropdown window select Image Trace.
In a newly appeared window, check the Preview box to look at your image in vector format in real-time. It’s ok if your image doesn’t look good right away, we’ll fix this is the following steps.

The next step of learning how to vectorize in Illustrator is choosing the mode. In the Image Trace panel, find the Mode drop down menu, and choose the mode that best suits your design. Modes can be grayscale, black and white, or color.
Once your mode has been set, you’ll have to adjust the color density with the slider below. If the value is low, your image will look too simple, and if it’s too high it will look to complex. Choose whatever fits your image or your unique style better.
Depending on the Mode you selected, you’ll have a different slider, but their functionality is similar:
Colors - in Color Mode
Grays - in Grayscale Mode
Threshold - in Black and White Mode
If you open the Advanced menu below, you’ll see even more options for adjusting the tracing result.

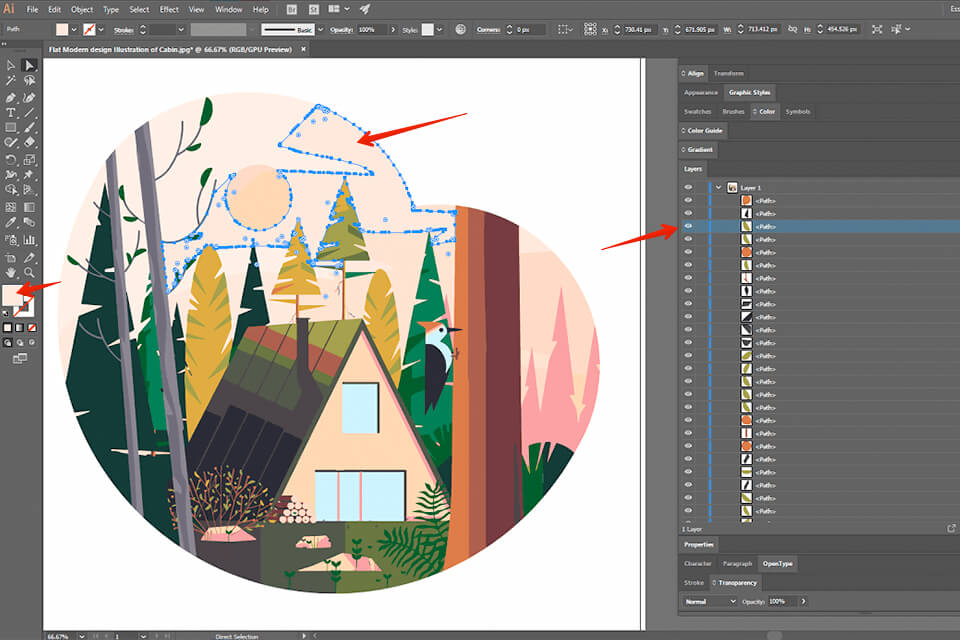
After that right-click on your image. Go to the Object tab and select Ungroup from the dropdown menu. If you like using shortcuts for quicker access, you can also press Shift+Ctrl+G/Shift+Cmd+G key combinations. This action will break down your color shapes into individual elements.

After your conversion has been complete, you can freely edit the image. If there are any color groups you’d like to remove, click on a shape and go to Select > Same > Fill Color.

You’ve successfully converted raster image into vector one and learned how to vectorize an image in Illustrator.


Want to become a famous graphic designer? Save time and make your workflow in Illustrator much more efficient with the help of these high-quality freebies.