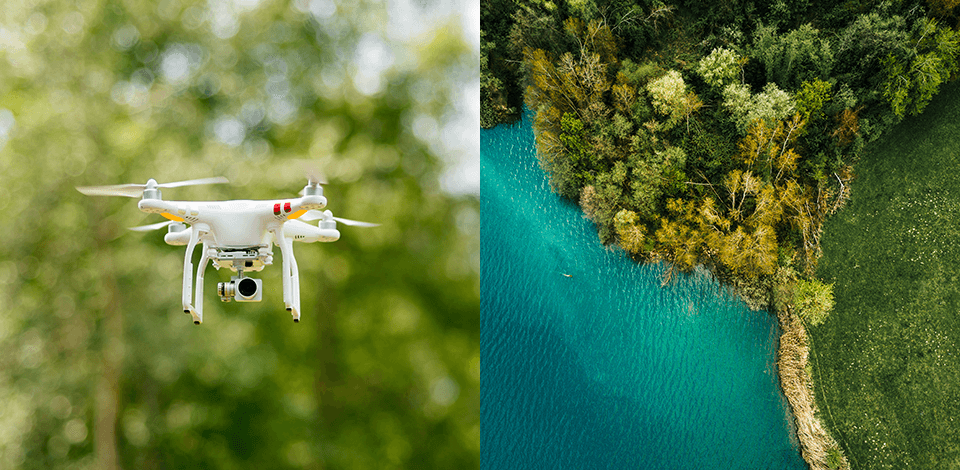
Following basic drone videography tips, even a total amateur can capture landscapes and cityscapes in the most appealing way possible and avoid mistakes that may result in low-quality footage and lead to damaged gear.
In this guide, I will share mine and my colleagues’ favorite techniques that will help you capture pro-level footage. How to prepare for a photoshoot, make drone flights safer, experiment with angles, and enhance your videos using these time-tested methods.

In the U.S., the Federal Aviation Administration (FAA) has created regulations for drone pilots who record footage for commercial use. On the FAA website, you will find the guidelines you should follow. Below, we have outlined the main ones:
Register your drone. If your drone weighs more than 0.55 pounds, you are legally obliged to register it with the FAA. The procedure is quite streamlined, but it’s important to take proof of registration with you when you go to a photoshoot location.
Respect flight restrictions. Stay below 400 feet and avoid flying in restricted airspace without authorization. Use such tips to plan routes for drone videography. The areas around airports are typically restricted, so you won’t be able to fly a drone legally within a five-mile radius without permission. Using apps like B4UFLY (by the FAA) or AirMap, you can check whether there are any restrictions in a specific area and apply for approval.
Avoid crowds and privacy violations. In the U.S., you must refrain from flying over groups of people or moving vehicles. Besides, you can be sued if you capture footage of people without their permission.
Charge batteries and bring spares. Remember that it’s crucial to fully charge your drone, controller, phone, and tablet. The best drones for filming like the DJI Mini 3 Pro and Autel Evo II have excellent battery life. However, when I know that I am going to shoot for several hours, I take extra batteries with me. A drained controller or tablet can make it impossible to continue a photoshoot.
Gimbal and camera calibration. Before each photoshoot, check if the drone gimbal is level. Pay attention to how a camera moves to avoid abrupt movements. I typically perform a quick gimbal calibration if I notice any sign of misalignment. By paying attention to preparation, I avoid capturing shaky footage.
Test the controls and GPS signal. When everything is ready, turn on your drone, connect it to the app, and test the GPS signal. Make sure to perform this check, especially in a new location, as signal strength can differ depending on the area.
When choosing a suitable video frame rate, consider the type of video you are going to shoot and the atmosphere you want to create. When I want to shoot content in the style of classic film, I use a frame rate of 24 FPS. It allows me to achieve a realistic blur effect when shooting landscape videos. I prefer to use this setting when working on cinematic projects.
30 FPS is suitable for situations when I need to shoot cinema-quality content while making my videos smooth. It allows me to emphasize important details and capture footage of waves or moving vehicles from above. When using this frame rate, I can avoid blur and give my videos a realistic feel.
When I want to create a slow-motion effect during post-production or capture subjects that move too fast, for instance, mountain bikers, I set the FPS to 60. Using the high frame rate allows me to make the speed lower without distorting my video. Due to this, I can add a dramatic effect to my action videos.

One of the most useful tips for drone videography is to adjust exposure depending on the lighting. I do not rely on the automated white balance adjustment, as it makes it difficult for me to avoid issues with colors when I fly the drone.
I prefer to lock the WB and select the most suitable configuration depending on the amount of the day’s light. Sunny and Cloud options suit me well, in most cases, but I also use custom settings, as they allow me to make precise adjustments.
Using neutral density filters allows me to maintain the right exposure levels when working on a sunny day. These filters reduce the amount of light that gets to the sensor, which allows videographers to achieve the perfect shutter speed. It’s important to double the FPS rate to capture natural motion blur.
I always follow filters tips for drone videography. When the sun shines brightly, I utilize an ND16 or ND32 filter to use a low shutter speed and capture smooth footage. If the sky is overcast, the ND8 filter might be a better option.
Many widely used drones, including the DJI Mavic series, are compatible with ND filter sets, which allows videographers to select the most suitable filters depending on lighting.

Learning the essentials of creating a well-balanced composition will help you improve the quality of your footage and make it more mesmerizing. Try using the rule of thirds by putting your subject off-center. It will allow you to make your shots more visually appealing. For instance, when using drone apps like DJI GO or Autel Explorer, you will be able to utilize grid overlays to align your shots without any issues.
Symmetry is important for aerial shots — you may focus on reflections or capture a perfectly straight road. Symmetrical shots have a significant impact, especially when they are captured from above.
In addition, leading lines allow you to guide a viewer’s gaze and add some depth to your shots. You can use rivers, roads, and tree lines to show a direction. When I am looking for the best way to frame my shot, I try to find natural lines in the landscape to tell a visually engaging story and draw a viewer’s attention to a specific point.
Using various altitudes, you can achieve different effects. If you want to emphasize details, fly low and approach the subject. It will allow you to showcase textures, capture the beauty of waves, and emphasize the brickwork of a building. Using lower angles, you can create a more immersive feel. Such drone videography tips will help you improve your skills.
If you want to capture wide shots, use high altitudes. It will enable you to include all the details of landscapes and cityscapes and give your audience a sense of scale.
Pan to establish context. Slow panning enables viewers to explore the scene gradually. This technique is used by professionals who specialize in landscape, cityscape, and real estate videography. When I need to use this method, I pan from the left to right or vice versa. It allows me to achieve a strong cinematic feel while showing the scale of the landscape.
Fly over objects for depth. Flying directly over your subject will allow you to achieve a layered effect and add some depth to your shots. This technique is suitable for those who want to emphasize the beauty of a surrounding area. I prefer to use it for long stretches. By moving my drone smoothly over rivers, mountains, or forests, I can showcase all the details.
Orbit for dynamic focus. If you want to capture your subject from different angles, try circling a focal point. This method is suited for capturing lighthouses, mountains, and monuments. Moving a camera along an orbit allows a videographer to achieve a stunning 3D effect. I use the point-of-interest mode to avoid abrupt movements and program my drone to move automatically.
When preparing for a photoshoot, check whether there are any obstacles in the location. Pay attention to trees, buildings, powerlines, or crowds of people. Remember that the slightest movement or a sudden gust of wind can change the trajectory of your drone. Make sure to pay for the drone insurance to protect your equipment and avoid money loss.

It’s also important to learn about basic safety rules. It’s recommended to stay away from objects and people and avoid obstacles. Besides, a videographer should fly a drone at an altitude of no higher than 400 feet in the U.S. to remain compliant. Using control altitude for tips for drone videography, you can avoid breaking the law.
Besides, experienced professionals check weather forecasts. You won’t be able to fly for a long time when winds are high. Battery life might become shorter when it’s too cold outside.
I usually use weather apps like AccuWeather or RadarScope to stay on the safe side.
By capturing a scene from various angles, you can make your videos more engaging. Using popular vary angles tips for drone videography, you can achieve a stunning effect. For example, if you need to film an event or capture a beautiful landscape, use close-up shots taken in a handheld mode or captured with a camera mounted on a tripod and then use your drone with camera to capture a view from above. It will allow you to add a dynamic feel to your footage.
Even if you use a beginner drone, you can learn how to leverage shadows, choose the right lighting accents, and emphasize the scale to make your footage attention-grabbing. Shadows cast by trees, buildings, or mountains add a visual interest to landscape footage taken from above. I often fly my drone early in the morning or late in the afternoon to capture long shadows and add some depth to my footage and achieve the right contrast.
When looking for a suitable option to enhance your footage, choose drone video editing software that will help you optimize your workflow. Premiere Pro and Final Cut Pro are widely used by professionals who need to deploy powerful tools to stabilize videos, perform color stabilization, and edit audio.
If you are looking for a program with more intuitive functionality, use DaVinci Resolve to edit colors at an advanced level. You may also use Lumafusion if you need to edit videos on the go.
If you want to improve your footage, start with simple drone video edits, trim unwanted parts, perform video stabilization, and fix color issues. When working with drone footage, it’s crucial to stabilize a video to give it a smooth look.
If you need to perform color grading, you can adjust contrast and WB to maintain consistency. It’s especially important to tweak colors if lighting changes during the shooting process.
Pay attention to sound, as it will allow you to further improve the quality of your video and fully transform the atmosphere. Background music will help you change the tone of your videos.
For instance, you can add nature sounds or other subtle effects to emphasize movement and add transitions between scenes. It’s better to choose sounds that match the pace and theme to achieve an immersive effect.