30 Conference Photography Tips and Ideas

Taking good conference photography is not an easy task. When working with such type of events, you have to know what and how to shoot, what to pay more attention to, how to capture all the people in the frame.
30 Useful Conference Photography Tips and Ideas
It doesn’t mean that you won’t be able to do conference photoshoot successfully. There are special ways to take interesting and qualitative conference photos. These tips will help you with that.
1. Do Not Bother Participants

Your job at the conference is to take specific photos that your client asked you. However, you should remember that the guests of the conference have to feel comfortable there and don’t have to accommodate you.
- Don’t interrupt the guests while taking photos
- Be polite
- Don’t take photos of people who asked you not to do it
2. Be Prepared in Advance
If you are planning to work with business photojournalism, you should check the location beforehand. Find out what kind of light there is and whether there will be additional lighting during the conference.
Also, discover where accredited photographers will be located, how and where the photographerscan move. In addition, find out if there are the possibility and necessity to work with additional light controlled by an assistant. Organizers should answer all these questions.
3. Get Acquainted with People Whom You Are Going to Photograph

Don’t turn on your camera straight away. Make contact with people, show human respect, smile and say hello.
Don’t behave like a curious tourist with a camera on the neck. Sometimes a minute is enough to establish contact and gain the trust of people.
4. Lifestyle Conference Photos Are Better

While you are taking conference photographs, your goal is to be invisible. Try to catch the moment when people are listening with enthusiasm and attention, naturally smiling, serious or taking notes of something.
Emotions are important. People don't need to pose for you. What for?
90% of people love their informal pictures more than the ones where they pose and look at the camera. In informal pictures, they are natural, relaxed and real. These pictures tell a story, which is the most important thing in photography.
- Read about other types of photography.
5. Pay Attention to the Lighting
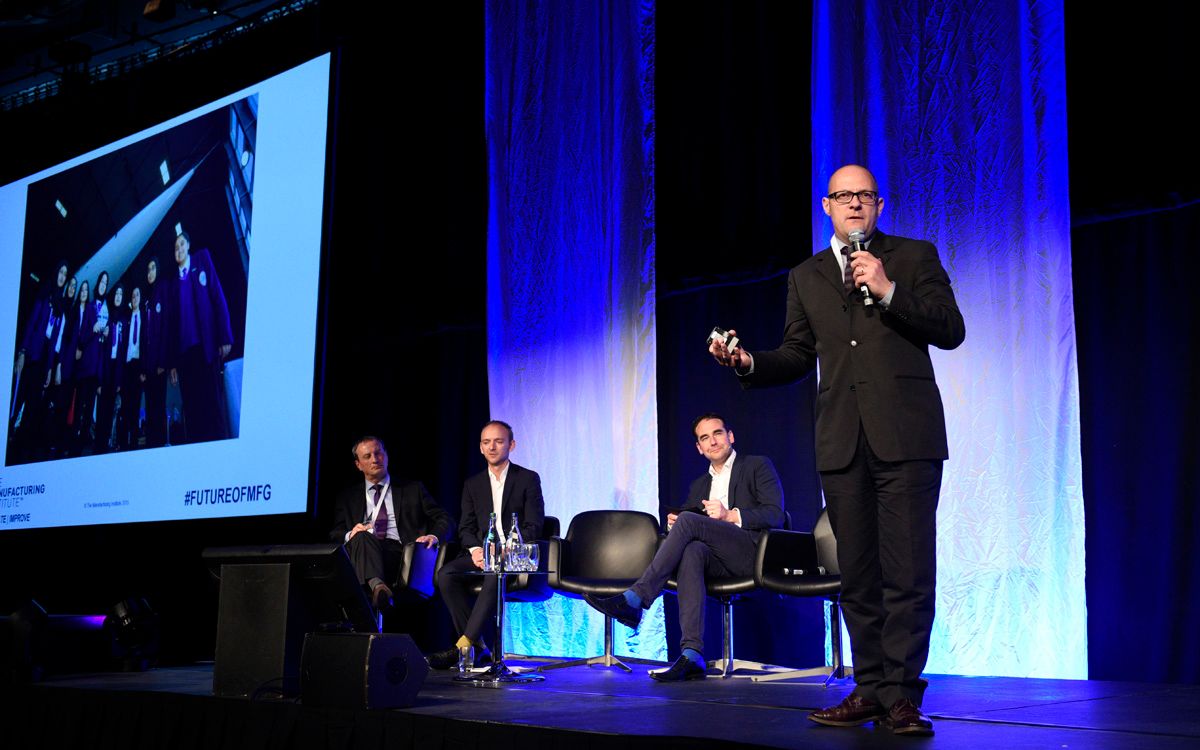
Is there too much sun that comes from the window behind a person? Does one place have bright light and another – dark light? Things like these make it difficult to work with conference photography but you need to try to do everything well.
Backlit photos have a particular quality. With light-dark areas, you can have many variations to shoot. If I am taking pictures in dark areas, I look for places where I can get ready and shoot without the flash.
However, sometimes, you simply have to use the flash. When you turn it down, try to diffuse it with a piece of tape or paper napkin over the flash.
6. Shoot from Creative Angles
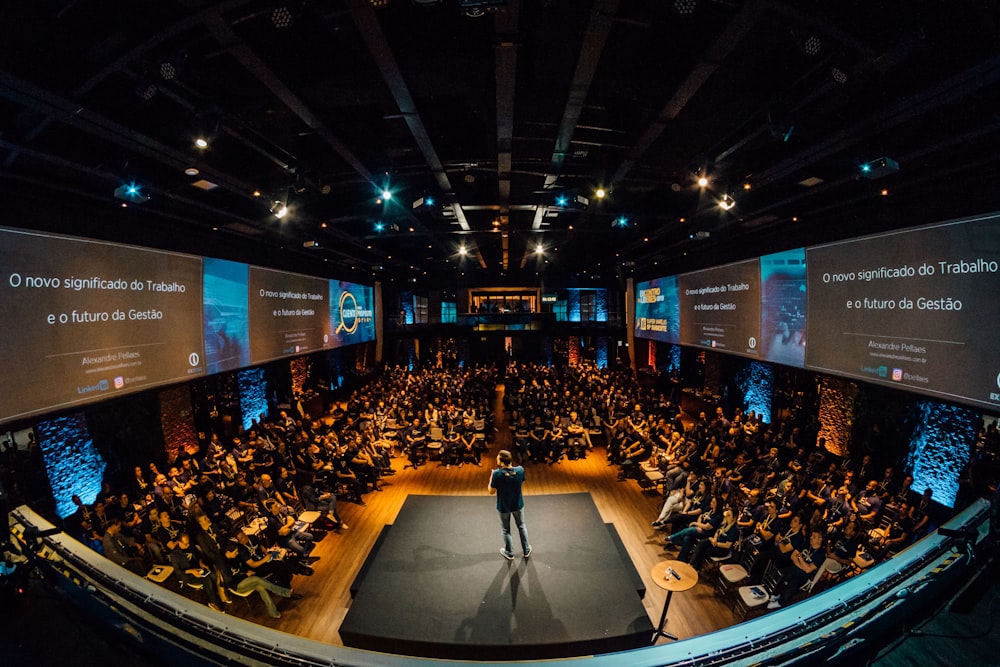
If you are taking conference pictures while all its guests are sitting, you might need to shoot from unusual angles to get diverse photos. To get a broader perspective of this event, try to look at it not only as a participant but as an outsider too.
- Find out how to take portraits.
7. Keep an Eye on the Background
Before shooting, look at the background. Is there any random object behind the person you are photographing? Is there anything unpleasant or distracting? If yes, then stop and change the angle.
8. Use Composition Techniques

Composition rules work for all genres, including conference room photography. Don’t forget the rule of thirds and use it while shooting.
- Learn more about the rule of thirds in photography.
9. Take as Many Pictures as Possible

The special aspect of shooting conferences is that a lot of people are all in the frame. Sometimes, a great photo can be ruined by the twisted face of a person in the background of the frame.
Taking multiple photos of the same composition is the most effective and practically the only way to avoid such an unpleasant moment.
10. Leave Picture Editing to Professionals
In order to achieve the best conference picture, be ready to perform a lot of photo editing in Lightroom or Photoshop. However, if you aren’t inclined to do it, you can address professionals, such as FixThePhoto, who will make everyone and everything in your picture look perfect.
11. Wide Conference Shot
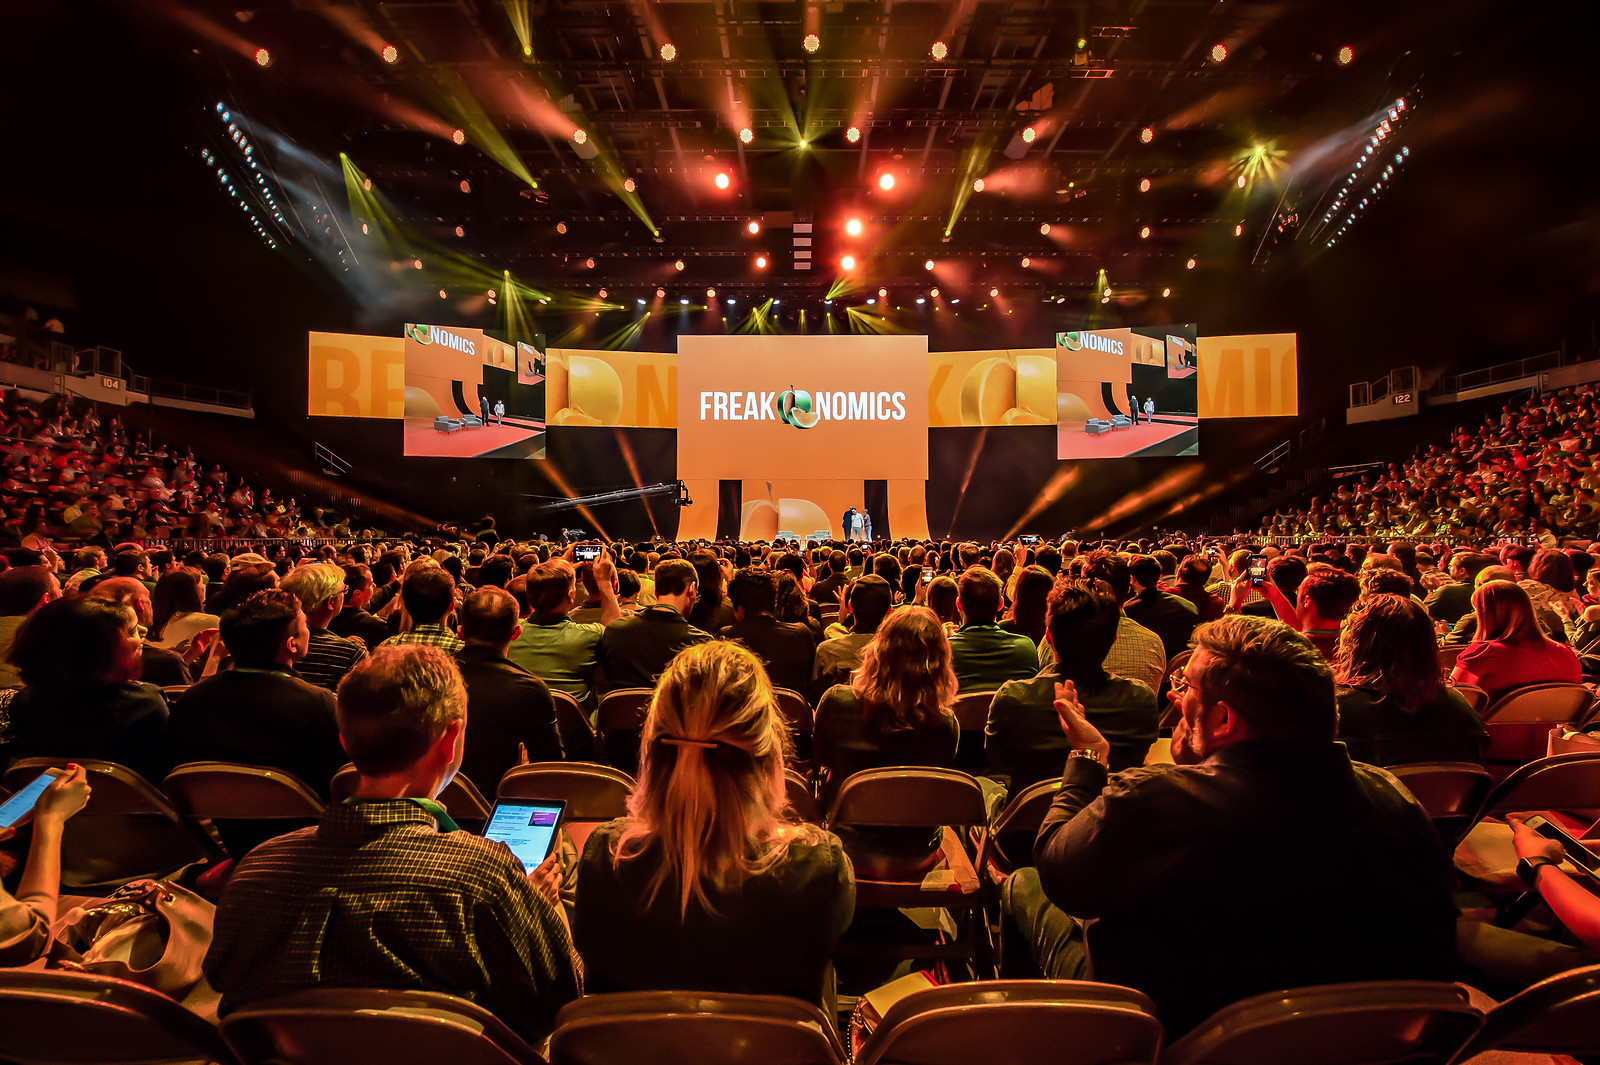
A wideangle will help you capture the whole event and the people in it. It’s a great tip for this type of photography.
12. Photos of Speakers

A conference is a meeting of representatives of one or a few companies to discuss problems or questions in a specific area. Thus, you, as a photographer, should capture the moments when each of the speakers talks about a particular problem.
- Learn about headshot photography.
13. Get Closer
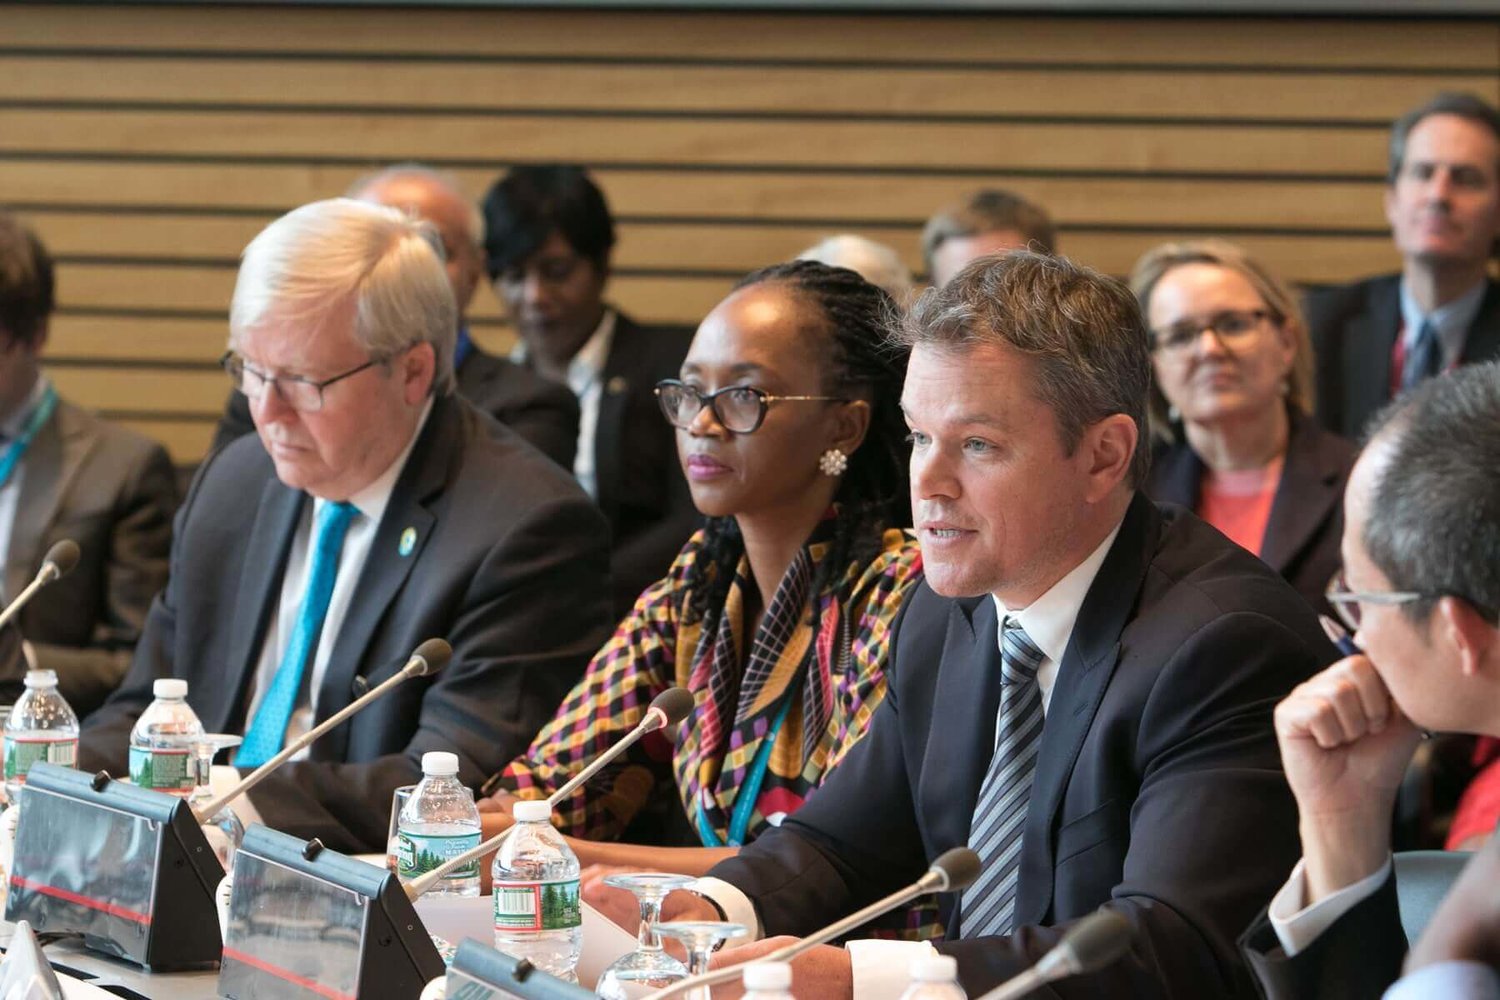
Another great idea for conference photographs is to zoom in and take several close-ups of the guests while they are busy with their activities. In this type of photography, people like their photos in action. That’s why you should take multiple shots and capture a cross-section of people in the room.
14. Behind the Scenes
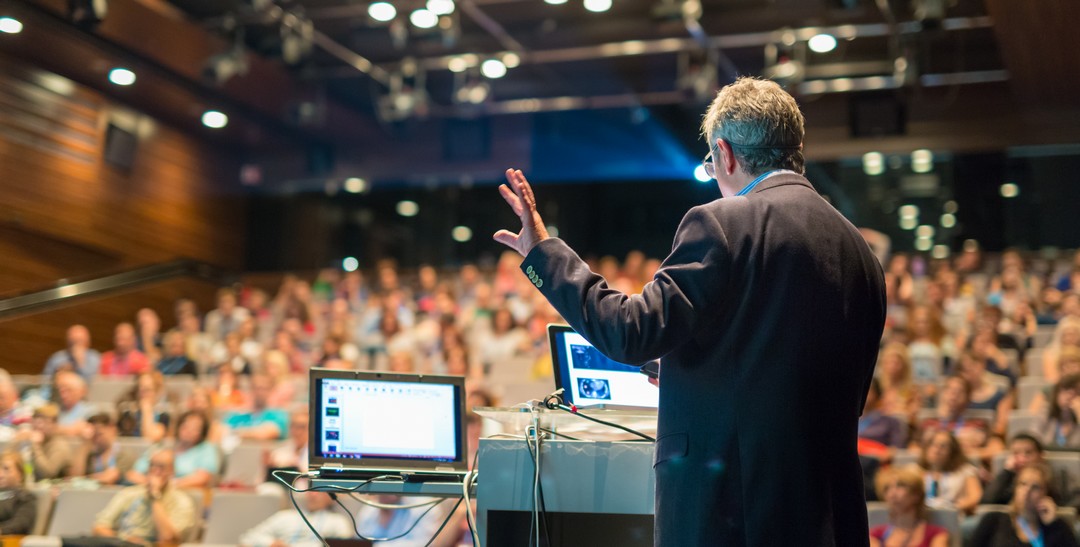
If you have the possibility to shoot what’s happening behind the scenes, you should definitely do it. People are interested in seeing the process of preparing the event. If you are working with a big event, such photos make it seem a bit more personal.
- Check out these creative photography ideas.
15. Characters and Interactions
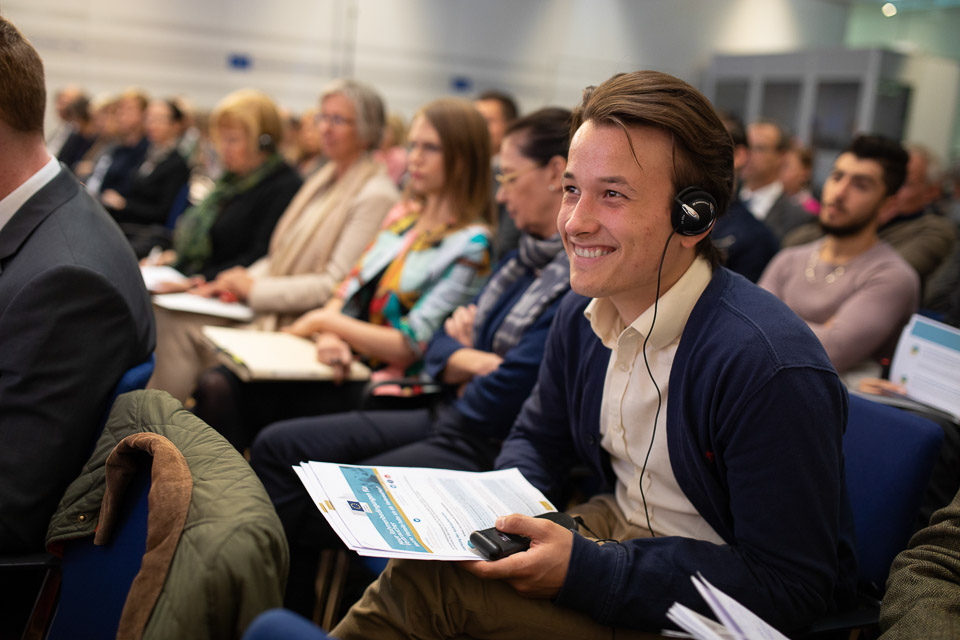
Shooting like a serious documentary photographer is always a great idea. However, remember to capture interesting people and moments too. These moments are frequently random and won’t be noticed by the majority of people. So you have to be ready to catch them!
- Read about these portrait photography ideas.
16. Look for Details
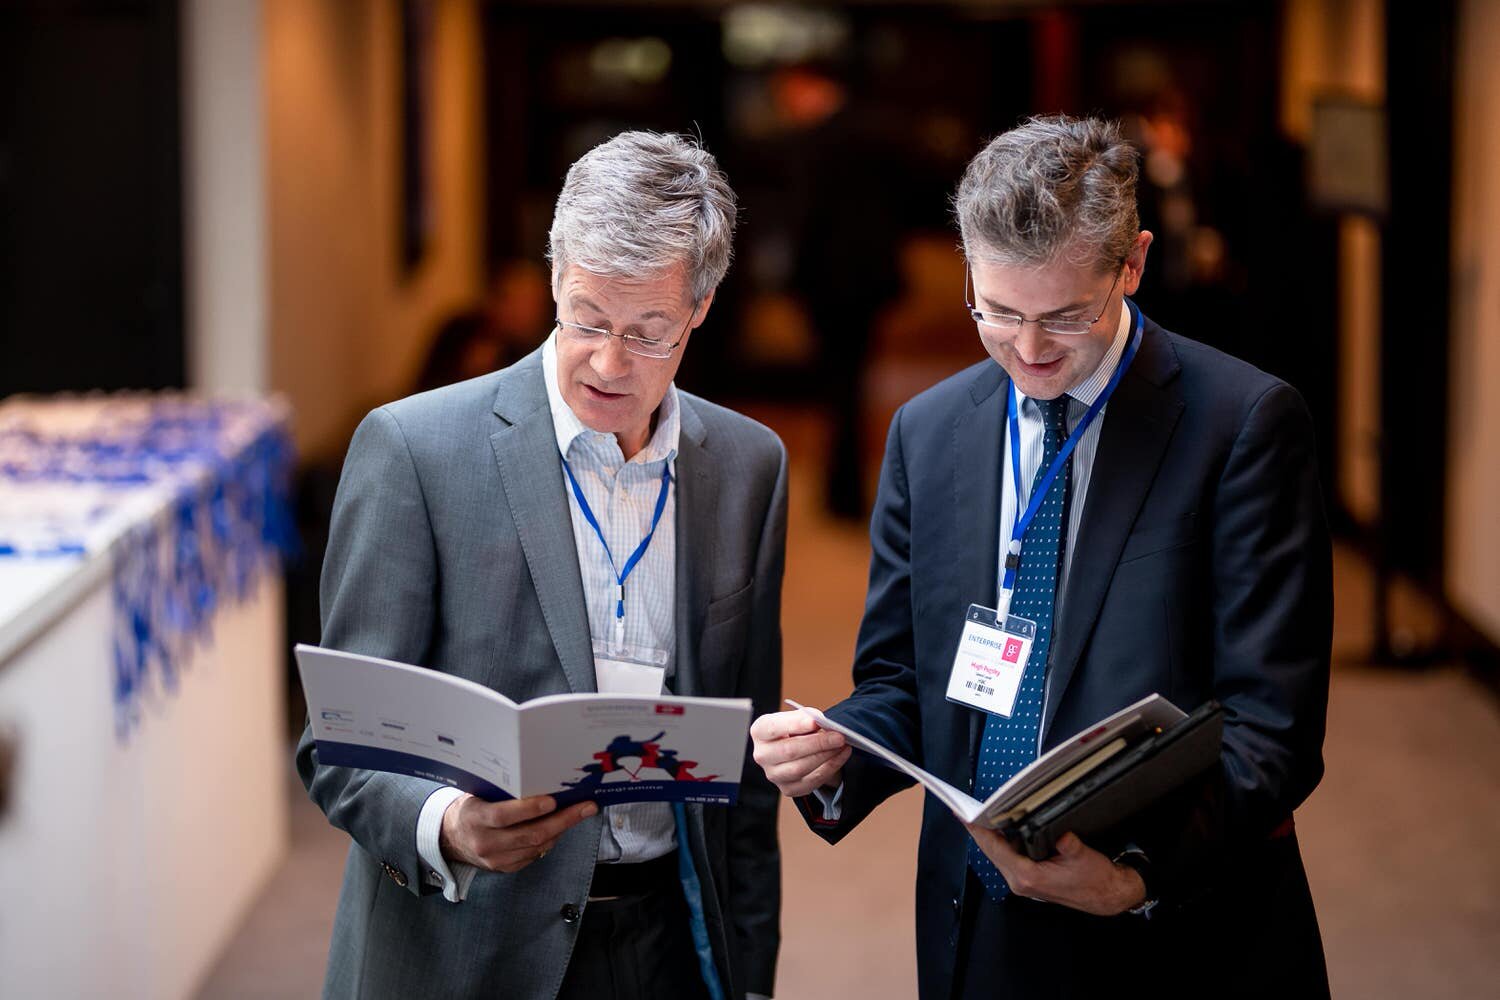
Remember to capture interesting details too. You don’t have to take complex pictures but they will emphasize your story and make it more vivid.
17. Make Group Shots

Another tip for conference room photography is to take group shots. In my opinion, these are the most difficult pictures to shoot, especially if the group is large and the surrounding light is poor. You need to plan such types of photos and discuss them with the organizer of the conference in advance.
- Checkout more group photo ideas.
18. Location

Don’t forget to take several photos that would connect your future reportage to the location of the shooting. Buildings, monuments, objects recognizable to everyone should be featured in these shots.
19. Take Pre-Event Shots

Even though your client may not think of it before the event, the organizer of the conference will appreciate that you have taken photos of the room before the guests arrive. It will be beneficial for them as they can use these pictures to sell their services in the future and catalog the set-up if they have similar eventslater.
20. Capture the Event Name

Try to make sure that your photos conference feature the company logo and the name of the event. It is very important because such a picture will tell the viewer more about the event. In fact, the main task of the photographer is to tell what kind of event it was, where, when and how it happened with the help of photos.
21. Use DSLRs
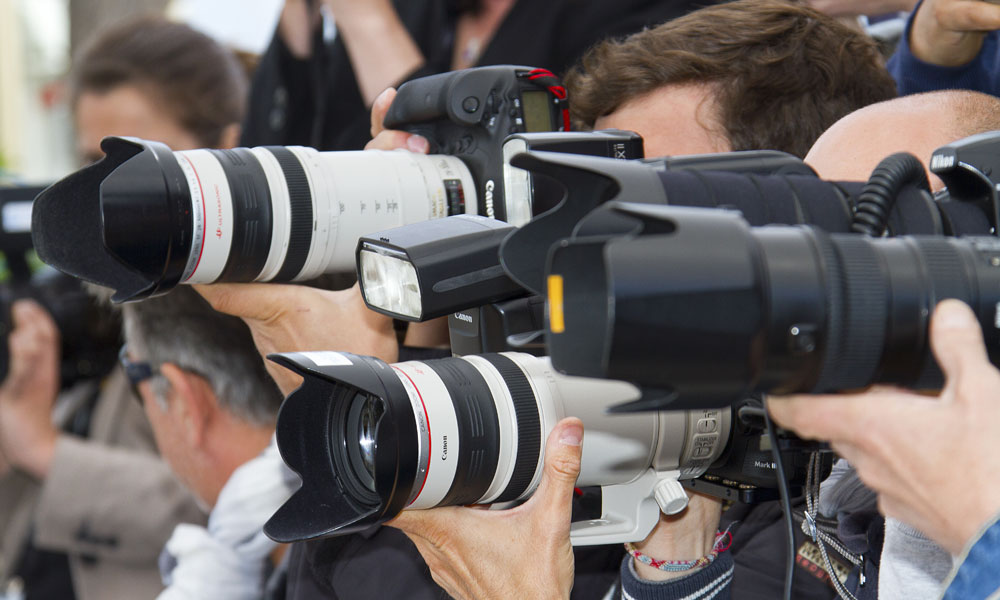
It’s not a secret that you need to have a professional camera to take good photos of the conference. I would recommend you to use a low-noise DSLR camera capable of shooting at ISO 800 and above without creating much noise in the picture.
A lot of professional photographers work with Canon 5D Mark IV as their main camera. It’s a great full-frame DSLR with 30.4 million pixels on its backlit CMOS sensor.
- View more best DSLR cameras.
22. If You Have Money, Use Telephoto
As for lenses, I would recommend high-level lenses that can properly work in places with poor lighting and create a nice bokeh effect. It’s better if you have at least 2 lenses – one for portrait photos and another one for wide-angle pictures (for photographing groups and close-ups).
I like using Canon 50mm f/1.4, Canon 85mm f/1.8 and Canon 70-200mm f/2.8 for event photography.
- Learn more about the best lens for portraits.
23. Use External Flash When Necessary
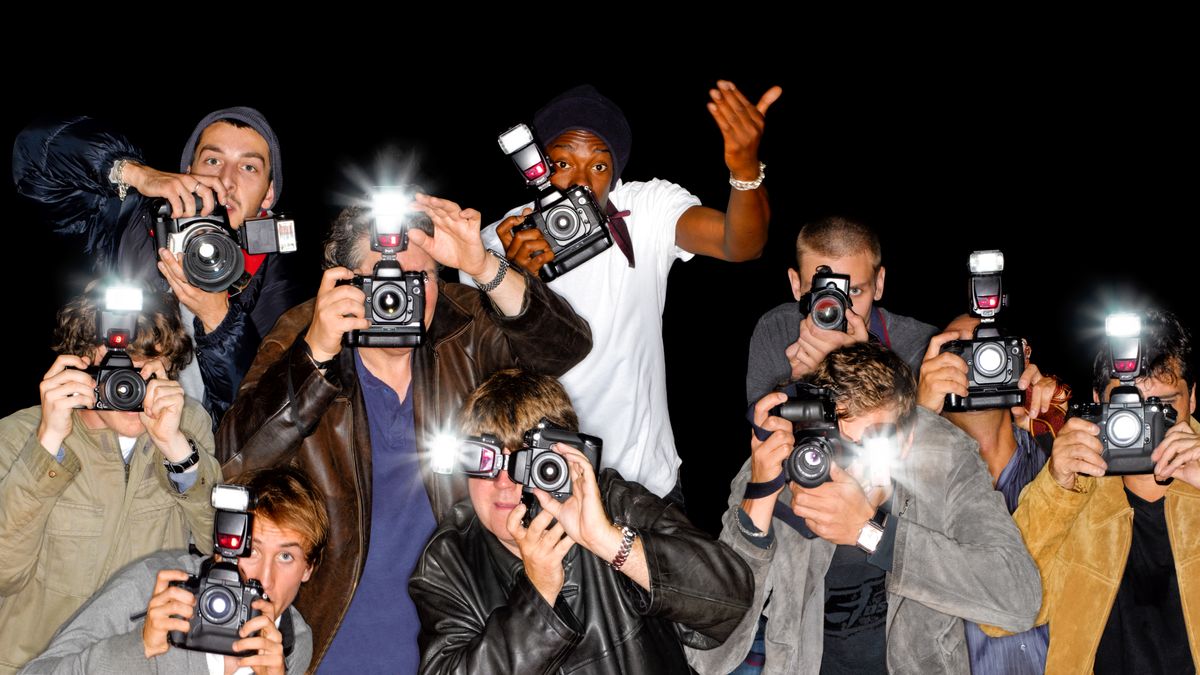
You must use an external flash. The only exception for it is if you are taking photos during the day outdoors. The in-built flash in your camera will not be enough for this type of photography.
With the in-built flash only, there will be unnecessary shadows and bad skin tones. For your external flash, you need to choose the one with an adjustable head.
In this way, you will be able to bounce the flash off white ceilings and walls and create natural light and soft shadows. If you have a Nikon camera, I recommend using the Canon Speedlite 430EX II flash.
- Read about the best camera flashes.
24. Bring All Extra Accessories with You
It may seem quite obvious but there are always people who spend half a day looking for extra batteries, especially before the event. Bring at least one extra set of everything you need. For a DSLR camera, it’s especially important not to forget the charger (it’s even better to invest in an extra battery).
As for a memory card, usually no one fills the entire card during the shooting of the conference, especially in one day. But an extra card won’t hurt. Also, don’t forget about USB-cables.
25. Buy Reflectors and Diffusers
The light from the flash is focused quite hard and narrowly. In order to make it softer and disperse it, use reflectors and diffusers. They will help you take qualitative conference meeting photographs.
I would recommend using Neewer Flash Diffuser Silver/White Reflector. With its help, you will be able to reduce hard shadows in the background and remove an unpleasant red-eye effect.
- Read about reflector boards.
26. Exit the Auto Mode
One of the best conference photography tips is to exit the auto mode on the camera and switch to the manual mode. In this way, you have more control over shooting.
You can adjust flash, white balance, the ISO, aperture and shutter speed. In the auto mode, your photos will almost always look horrible and will not match the event.
There will be bright flash, shallow depth of field or vice versa, grain, etc. For better results, choose the aperture priority mode. It is easier to deal with it and get the necessary angle.
- Learn more about camera modes.
27. Raise Your ISO

If you are shooting at a dark place, don’t hesitate to raise your ISO in order toachieve a better quality of pictures. By raising the ISO, you will add some grain and noise to your pictures. But you will be able to takewell-lit photos in dark locations and have quite a fast shutter speed to give your picturesextra sharpness.
Also, if you are shooting with a flash, a high ISO value will let you expose for the background. The flash will add enough fill on faces of people so that theylook good.
28. Remember About Aperture Settings

There are some trusted shooting techniques that work very effectively. For example, shooting at an aperture of 5.6. This is a versatile aperture value for reportage shooting. With such a value, the depth of field will be enough for a person in the foreground to be fully focused while the background will be defocused and have a nice look.
29. Adjust White Balance

The next conference photography tip concerns white balance. A huge advantage of using manual mode is the ability to adjust white balance. Honestly, I don’t really care about the white balance and keep its default values. Since I shoot in RAW, I correct the white balance at the picture post-processing stage.
However, if you are considerate of lighting and adjust the camera according to the sunlight, flash or fluorescent lighting, this can make your shots better. When you set the white balance, you tell the camera what color temperature the white color will have in this picture. As a result, all other colors will also look realistic.
30. Shoot in RAW Image Format
If you want to achieve top-quality pictures, shoot in the RAW format. It records all data from the sensor and provides you with the best possible quality.
Especiallyin locations with poor lighting, it will be difficult to adjust the JPEG format in Lightroom or Photoshop. With the RAW format, it will be easier for you to fix an overly underexposed and overexposed conference picture.
- Read about RAW image format.
Freebies for Conference Photography
If this type of photography is new for you and you are not sure how to work with it properly, don’t worry. I have prepared a bundle of free picture editing tools that you can use to achieve great pictures.
Skin Tone
If you want to whiten teeth and make ideal skin tone in Photoshop, this action will be perfect for you. With its help, picture will look naturally white without an artificial effect.
Smooth
With this action, you will forget about hours spent in Photoshop trying to cover pimples and different skin imperfections. It will make the skin smooth and preserve its texture.
Cheeks
Using this action, you will create a beautiful and even skin tone. It will be perfect for indoorshots.
Contrast
With this preset, you will be able to smooth out the skin tone of a model, adjust white balance, clarity, brightness and lighting. It will be ideal for conference photos.
Clean Eyes
Here is a nice brush for portrait shots. Use it to make conference photos clearer and sharper.


