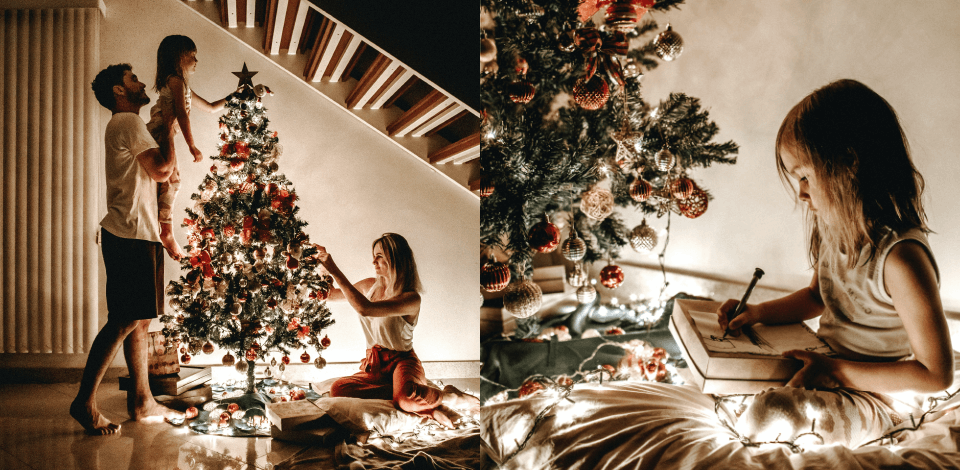
If you want to take pictures with Christmas tree for the festive season, you need to pay attention to many aspects.
Look for an appropriate setting like a decorated living room or some beautiful outdoor space to take ideal images. Prefer natural illumination to refine the atmosphere and pick the complementary colors for your attire.
But actually, your Xmas tree should not be flawless, as even a modestly decorated tree will look gorgeous. Remember, that the Christmas tree is all about creating this magical atmosphere to make every moment special and memorable.

If you want to photograph Christmas tree in its all glow, organize your photo session in the evening.
The most problematic aspect of taking pictures of Christmas lights is defining the correct ISO to avoid excessive darkness in pics.
Camera: Shoot with your flash off. Set your ISO to a minimum of 300. By increasing your ISO, you’ll increase the brightness of your pics to capture great images in darker environments. A shutter speed of around 1/30 to 1/60 is ideal. Shoot several pics at different exposure settings to discover the best combination that works for you.
Phone: Longer exposure with no flash is the most appropriate option as it allows you to capture the glowing lights. If your phone has a night mode, activate it to get the perfect result. Get as close to the subject as possible and avoid using a zoom function as it can deteriorate the quality of a pic.

On camera-flash rarely lets a photographer achieve the perfect look of your Christmas tree. Being too close to the lens, pop-up flashes produce unnatural lighting, which adds a bit of artificial flavor to your photos.
A handheld light meter will let you decide whether a flash is needed or not. If the answer is positive, then opt for an external flash to bounce light off the ceiling and illuminate a subject’s face in a more flattering way.

Shooting moving subjects at a lower shutter speed can result in blurry pics. In this case, you need to stabilize your camera with the help of a monopod or tripod. The latter is an indispensable accessory for shooting a Christmas tree selfie.
Besides, some tripods can serve as support for other shooting equipment like a ring light and light reflectors.
However, it is possible to substitute a tripod with such supports as a chair, countertop, table, or any steady surface. In this case, you should set your camera’s timer or use a remote shutter release.

ISO shows the level of your camera's sensitivity to light. The lower this number is, the sharper photo you will get. Keep ISO on the low level (100 or 200) to minimize the noise.
Camera sensors usually give the cleanest results when you shoot at the camera's default ISO. The ISO base value allows you to get the best signal-to-noise ratio and use a full dynamic range.

Focusing on decorations and Christmas photo props matter.
Small details are just as important as fitting the whole tree in the frame. If the tree is decorated with Christmas ornaments, you might want to capture them as well.

Camera: Feel free to shoot from multiple angles and be creative when you capture those fine details. You can also use macro lenses with short focal lengths (50mm to 60mm) to capture even minor details to produce emotional shots.
Phone: Avoid shooting with cameras fitted with digital zoom, as it may crop and resize images. Optical zoom, which is fitted in a full-blown camera, is much better in this aspect. Another tip is to choose a smartphone with a telephoto lens or you can try a phone camera lens.

Most commonly, to produce HDR pic you need to take multiple images with slightly different exposure settings and combine them into a single composition at the post-processing stage.
This task can be performed manually or automatically using the special settings of many modern cameras. This image type features much detail in any lighting conditions.
Camera: Lightroom and Adobe Photoshop offer a Photo Merge mode for merging several pics into a single HDR composition. Although there are not many options for tweaking the HDR, you can benefit from the auto-align image function. This feature is especially advantageous for handheld sequences. It is also possible to tweak the final exposure. Besides, adjusting the level for the de-ghosting is not a problem as well.
Phone: Commonly, a user can activate HDR mode on their smartphone in the built-in camera application. Pay attention to the fact that it can have different names depending on the model of your phone like “Rich Tone”, “Dynamic Tone” or even “Drama.” There are also third-party applications for producing HDR such as ProCamera, HDR Plus+, Ultimate HDR Camera, etc.
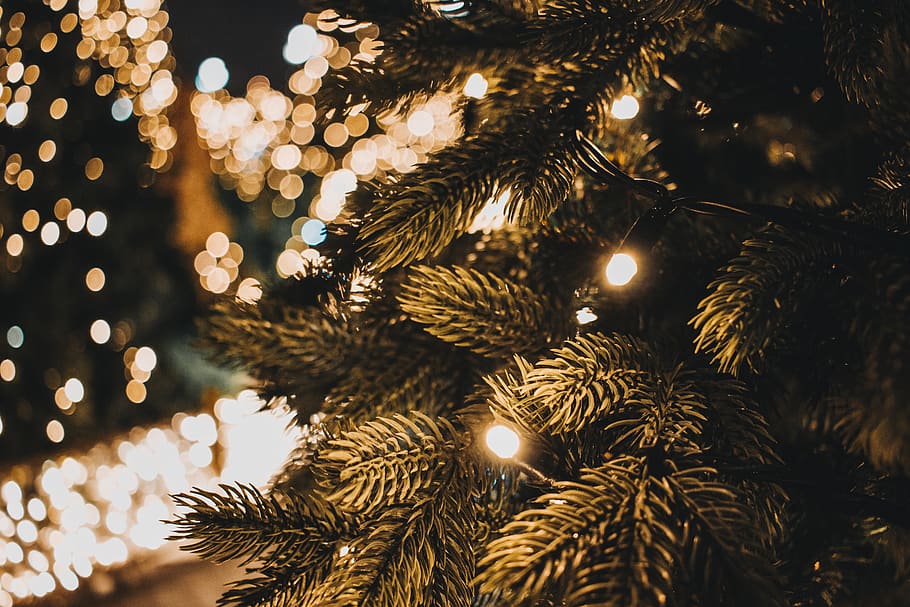
As your tree is likely to be decorated with garlands, one of the most convenient ways of creating beautiful bokeh photography is to come closer and focus on the ornament or some other detail of the tree keeping the ambient light out of focus.
Another way of taking a stunning Christmas tree photo is to experiment with the front bokeh by raising strings of light in front of the lens to create fuzzy glowing balls throughout the image.

Camera: To achieve a fantastic bokeh effect, you should shoot with a wide aperture keeping its number low (ideally around f 1.4 – f 2). Such settings let more light penetrate into the camera, making the lights on the tree blurred.
Phone: Top phone models from Apple, Google, Samsung, or other brands are fitted with dual lenses, meaning that they can produce amazing bokeh images even without a special app. But if you own a single-lens smartphone, do not get desperate, as to blur pics you just need to download an application like Bokeh Camera Effects, AfterFocus, etc.
You can also take advantage of Ps bokeh overlays of different sizes, hues, and layouts to add a special mood to your photography. They are easy to use, so you can apply them to your project without paying much effort. This makes the collection a perfect choice for sprucing up Christmas tree portraits.

Do not be afraid of being creative and experimenting with your composition in Christmas baby photoshoot. Use different perspectives, angles, and compositional rules to capture the cozy atmosphere of a holiday in your home.
Another interesting idea is to capture only a part of the tree and the lights cast from it on the models’ faces. Ask your kids to pose on the side of the tree instead of between you and the tree to produce impressive pics. Shooting through some accessories like Christmas 3D glass is another interesting idea.

Adding a human element to your Christmas pics is a great way to make them more emotional and personal. Too much staging should be avoided in this case, as your main focus will be on sincere emotions and candid moments, which are only possible in a laid-back atmosphere.
Capture such scenes as decorating a Christmas tree, having a meal together, and presenting gifts to your nearest and dearest.
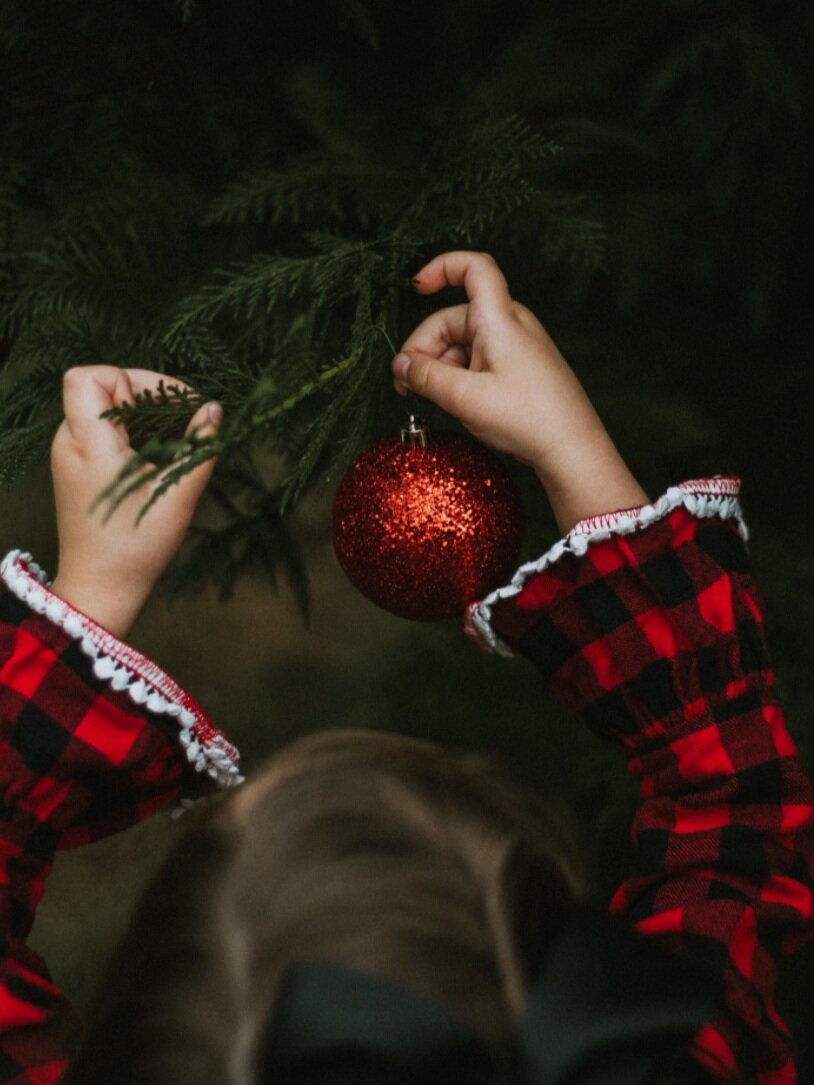
Bring the focus on a person’s hands when he/she hangs Christmas tree toys, stringing lights, or wrapping presents. Note that warm lights will add a welcoming atmosphere to a room.
Pet owners can invite their furry friends to take part in a photoshoot. Cute animals will definitely make your Christmas tree portraits livelier and more amusing.

For every family, their Christmas tree is unique and special. The decorations, lighting, and furniture, people are different. So, you won’t need to pay much effort to capture the unique image. Focus on various parts of the room.
You can shoot either on the whole setting or its specific elements like the couch, fireplace, Christmas photo booth, or other pieces of furniture near the Christmas tree. Bring an accent on presents beautifully wrapped and arranged under the tree. Position them in different ways to tinker with the composition to get amazing results.

Shooting a Christmas tree is not the only way to capture the festive atmosphere. Try photographing a Christmas bouquet, which you can make on your own, by the way.
Gather some winter foliage, and get pine branches, holly, mistletoe, and other evergreen plants. Try to stick to a traditional Christmas color scheme, which includes green, red, and white.
Adorn the bouquets with colored ribbons, pine cones, or ornaments to make it look more festive.

The location plays a crucial role when conducting such a photoshoot. It should be associated with winter. A decorated living room, a park covered with snow, and other similar settings work equally well.
Tinker with different angles and perspectives to shoot winter bouquets. Take a close-up photo to capture every detail and a wider pic to snap the entire scene.

Pro tip: Photographing from different perspectives allows for the achievement of original compositions. Remember that naturalness is above all. Such scenes as decorating the tree or admiring the bouquet are candid and make your photos more authentic. Adding such original accessories as red socks will also complement the overall atmosphere.

The photo above was shot by Tonya Teran. This is one of the pics from her Christmas Tree Farm mini sessions. If you like this Christmas photo idea, visit your local Christmas tree farm full of scenic places.
Golden hour is the most appropriate time for conducting such a photo session. In the early morning or late afternoon, the lighting is soft, so the pics will look attractive and even magical.
Try to capture candid moments like looking for a perfect Christmas tree, smiling at each other when walking through the rows of trees, and enjoying the festive atmosphere.

Pro tip: At the post-production stage, devote some time to refining photos by correcting colors, contrast, and saturation. Apply a warm filter, as warm colors make the atmosphere cozy and welcoming, which is a characteristic of a festive season. Make sure that the composition is well-balanced and the tree farm looks beautiful and authentic.

Capturing the charming and original holiday decorations displayed in the store windows is one of the classic Christmas tree photoshoot ideas. Visit the central shopping district in your city or any other area that attracts people with its fabulous festive decorations.
Conducting a photoshoot in the evening allows for highlighting the beauty of lights and creating a sense of festivity. Experiment with different distances and heights to showcase the beauty of the place from various perspectives, focusing both on the overall scene and finer details.

Pro tip: Reflective surfaces such as glass windows or even puddles can be beneficial in this case. They allow adding depth to your photos making them more interesting. In such a way, you won’t have trouble creating dynamic and appealing compositions.
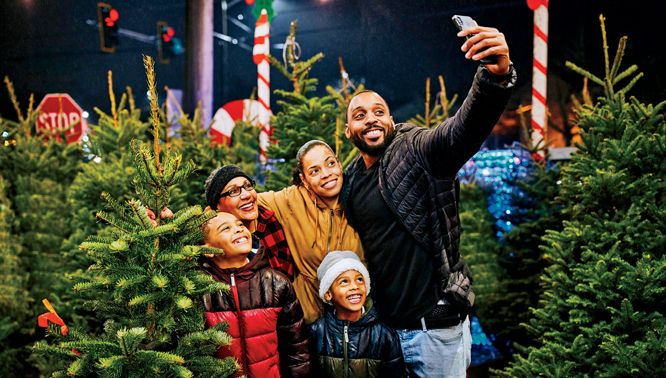
Posing against the backdrop of a Christmas tree allows for creating stunning portrait photography. Thus individuals will stand out in the foreground, highlighting the joy and warmth of the holiday season.
Position yourself near a beautifully decorated section of a tree or some original ornaments, making it your focal point. In such a way, your background will look beautiful and interesting but the main focus will be still on the subjects.

Make sure that the colors of clothes complement the overall atmosphere and match the color theme of a Christmas tree. Prefer red, green, and white colors to create a sense of balance with the seasonal background.
Pro tip: When it comes to posing, behave as naturally as possible. Candid poses will let you convey the cheer of the holiday season. A Christmas tree selfie is a great way to show how joyful and pleasant these special moments are.

A rotating stand is great for achieving a stunning spinning effect. Besides, you can turn off the lights, place the camera on a tripod, and shoot a tree spinning in the dark at a slow shutter speed.

If you want to get professional high-quality shots, try using this package of overlays. This set contains a variety of effects for refining the color scheme or adding softness and blur to your photos. They will help you create a bokeh effect and make your photos brighter with a couple of clicks.