Cosplay stands for costume play and allows people to dress up as their favorite characters from popular movies, comics, etc. Cosplay photography is perfect for those who enjoy wearing eye-catching outfits and want to impress their friends with attention-grabbing photos.

Whether you need to take photos of amateur or experienced cosplayers, it’s important to learn how to create a well-balanced composition and process your images. When shooting and editing cosplay photos, you need to consider several things that will allow you to capture characters and the atmosphere.

When cosplaying movie, book, or comics characters, make sure to do thorough research. In some cases, you might need to re-watch a movie or re-read a book to decide which scene to use. It will allow you to set up lighting and achieve a more realistic result.
Besides, it will help you find inspiration and come up with unique ideas for your photoshoot. You can also use photos taken by other photographers as samples. I recommend you to follow famous photographers, especially those who take cosplay photos: Ellen Lily Photo, Vestiige Photography and Hiryuu.
In some cases, you can take photos in an empty studio. When it’s necessary, you can also add extra props to create the right surroundings for your character. Follow these tips to select the right photography location:
Pro tip: To emphasize all the details of your location, take photos using a small aperture, such as f/11. However, avoid using the smallest aperture since your photos might acquire an unnatural look.

To ensure that you look well in your cosplay photos, use posing tips that will help you feel more confident. Make sure to follow these rules:
.jpg)
While JPEG files may be convenient to work with, you might lose a lot of details during post-processing. This is why it’s better to edit RAW photos since this format stores a lot of image data.
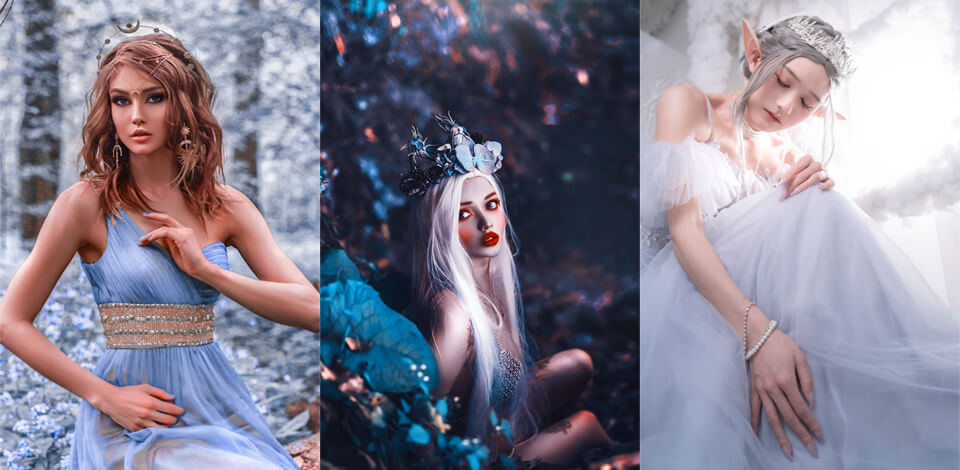
After selecting a location, you can create a well-balanced composition in the frame using a variety of props and effects. For instance, you may use fake butterflies or snow to make your photos even more eye-catching. Avoid using too many props if you don’t want them to look cluttered.

You can also further enhance your photos during post-processing. For instance, you may add a bokeh effect or colorful powder from color dispensers.
To make your photos even more visually appealing, you may use a variety of creative techniques. Find a source of inspiration in children photos ideas. They will come in handy when you need to take photos of kids, adults, animals or natural elements. Use a double-exposure effect, add heart-shaped bokeh or use panning to give your cosplay photos a unique look.

If you take interior photos, keep in mind that artificial light is hardly suitable for a pro-level photoshoot. Make sure to avoid it especially if you need to take photos during various events.
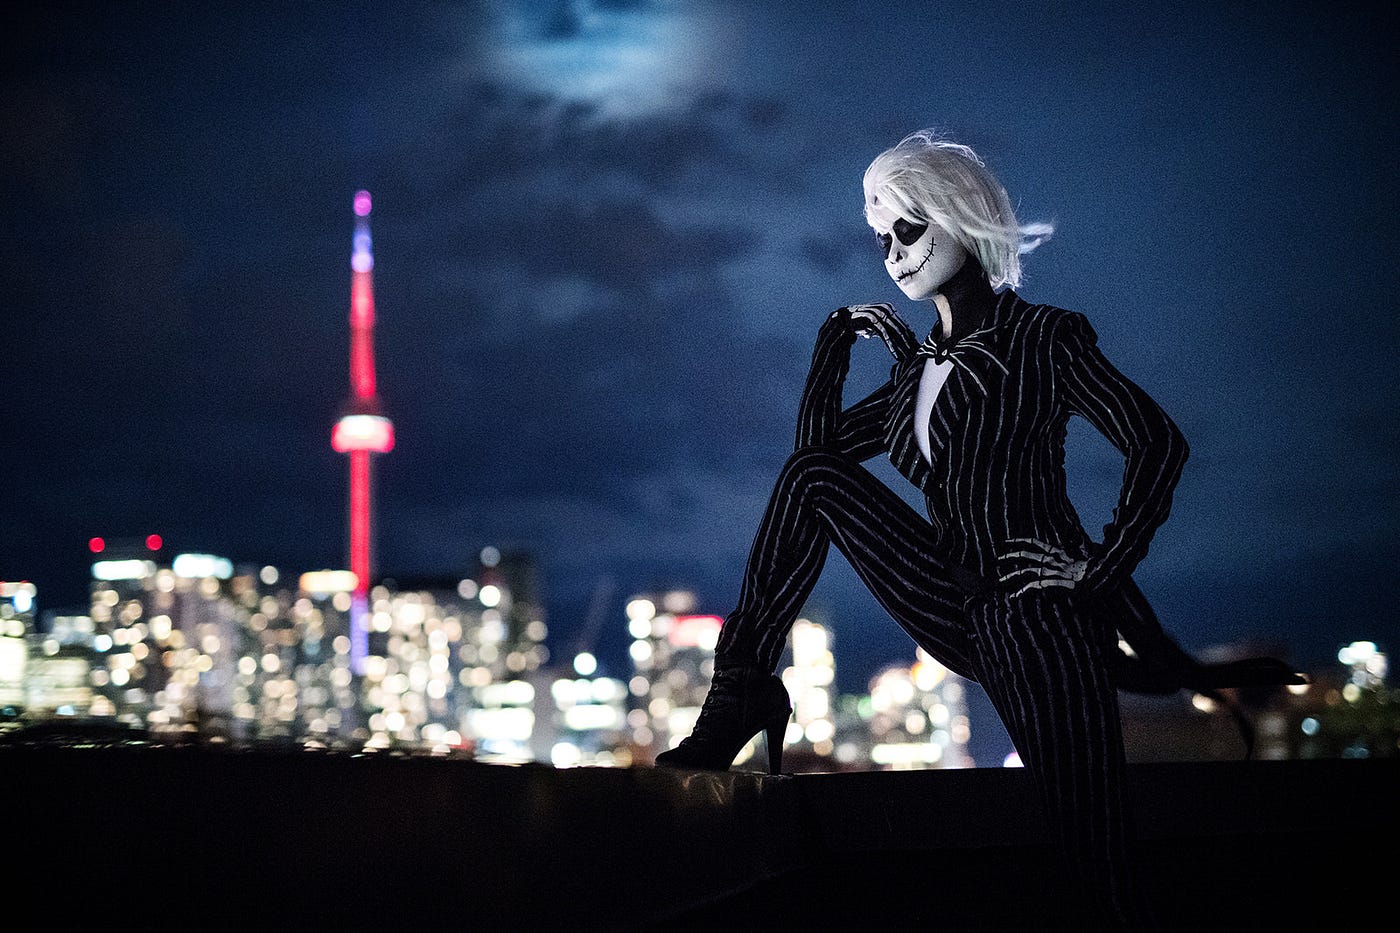
When shooting photos, it’s better to use natural light that looks especially beautiful in the afternoon and during the golden hour. This is the last hour before sunset and the first hour after sunrise. To create a moody atmosphere, try taking photos during the blue hour. It starts 20–30 minutes after sunset and before sunrise.
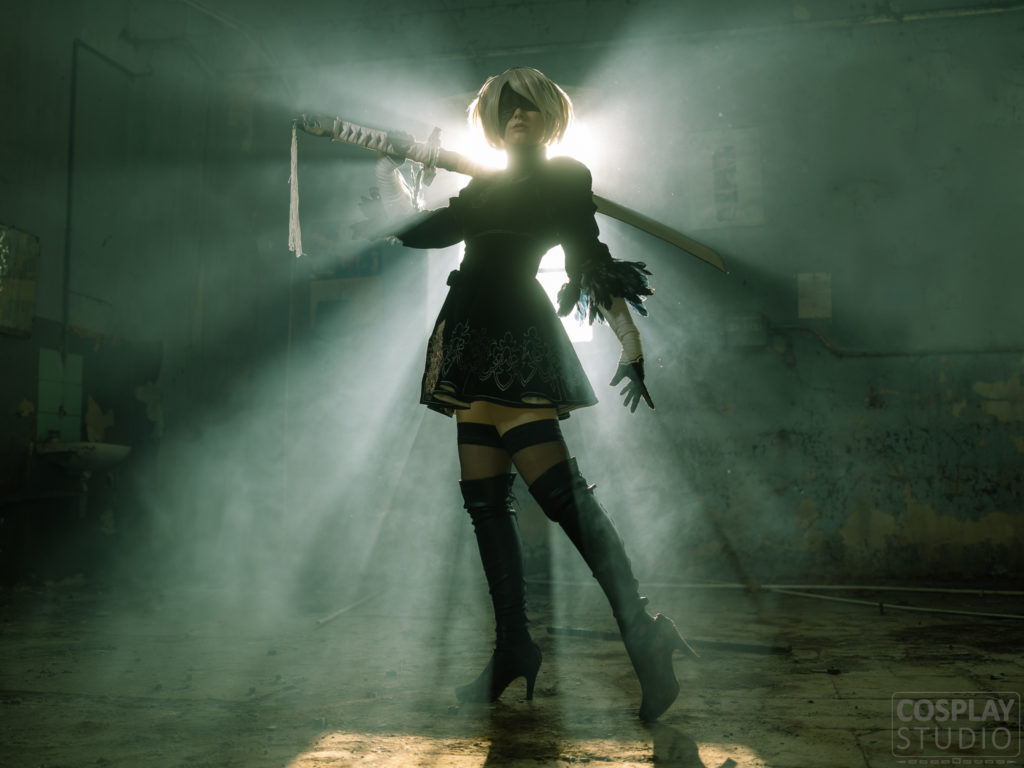
When taking cosplay photos, use a creative approach. For instance, you may use various lighting techniques to give your images a more eye-catching look. Some photographers use light flares or overexpose their photos to give them a softer look, or use harsh light to emphasize textures.
Besides, you may use a shoot-through umbrella to ensure that your subject is well lit. Thanks to this accessory, you can even emphasize the background using soft light that doesn’t produce harsh shadows. Photographers also use the strip softbox when they need to illuminate a specific part of the frame or emphasize the main subject.
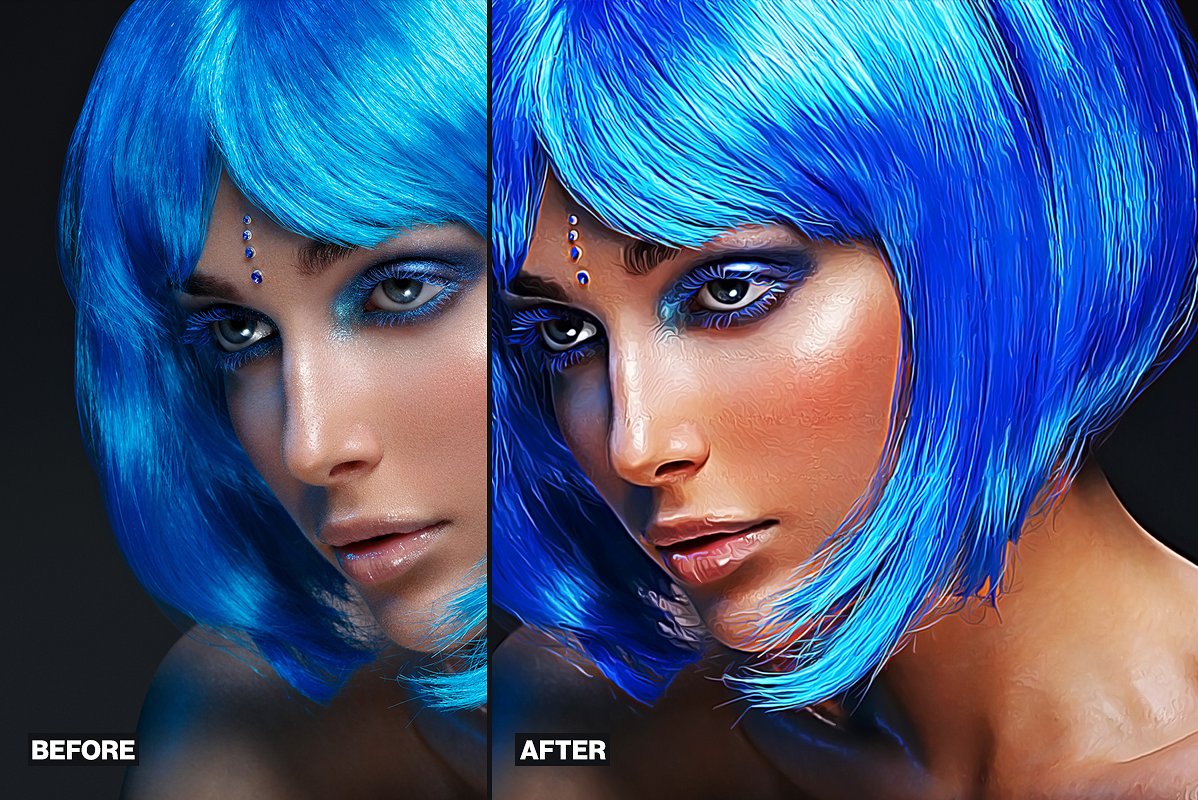
Many people are still wondering: “Do we need retouching or not?”. However, I believe that by editing cosplay photos, you can give them a more unique look.
Professional photographers know that carefully retouched photos look much better. If you take a look at the history of photo editing, you will see that modern retouching techniques have been significantly improved over time.
To edit my pictures, I use Photoshop. With the help of this software, you can replace the background, tweak colors, cut out or add objects, etc. All the tips described below will come in handy for those who decide to use this photo editing software for beginners.
In addition, when I need to enhance photos taken with my phone, I use one of the following photo editing apps:
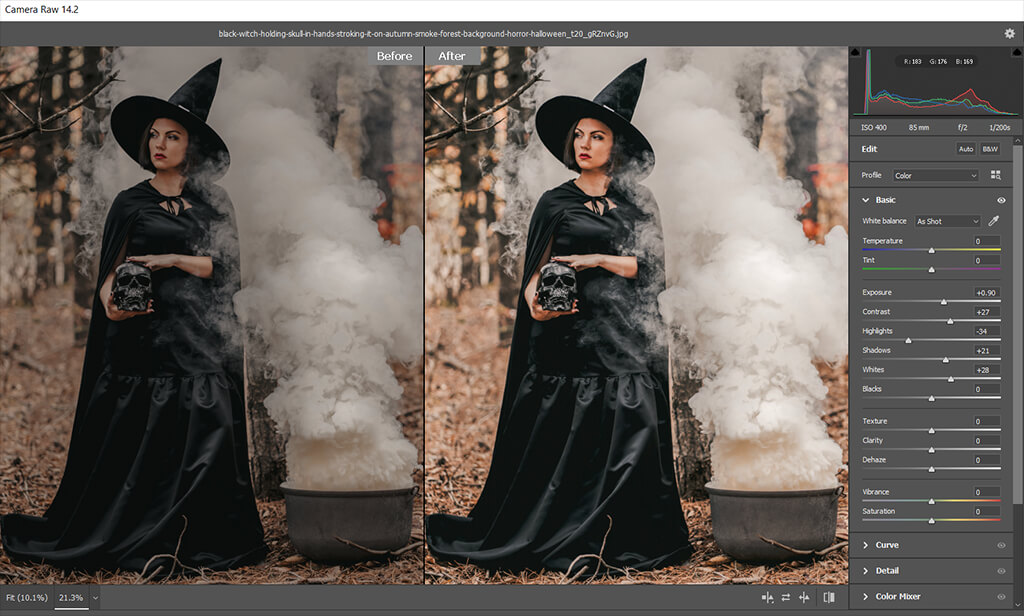
If your photo looks overexposed or underexposed, there is no need to drastically increase saturation and tweak colors. Make subtle edits instead to facilitate further editing.
You can fix exposure issues without increasing the saturation or making colors look unnatural. To do it, use such tools as the Exposure adjustment layer, Levels, and Curves.
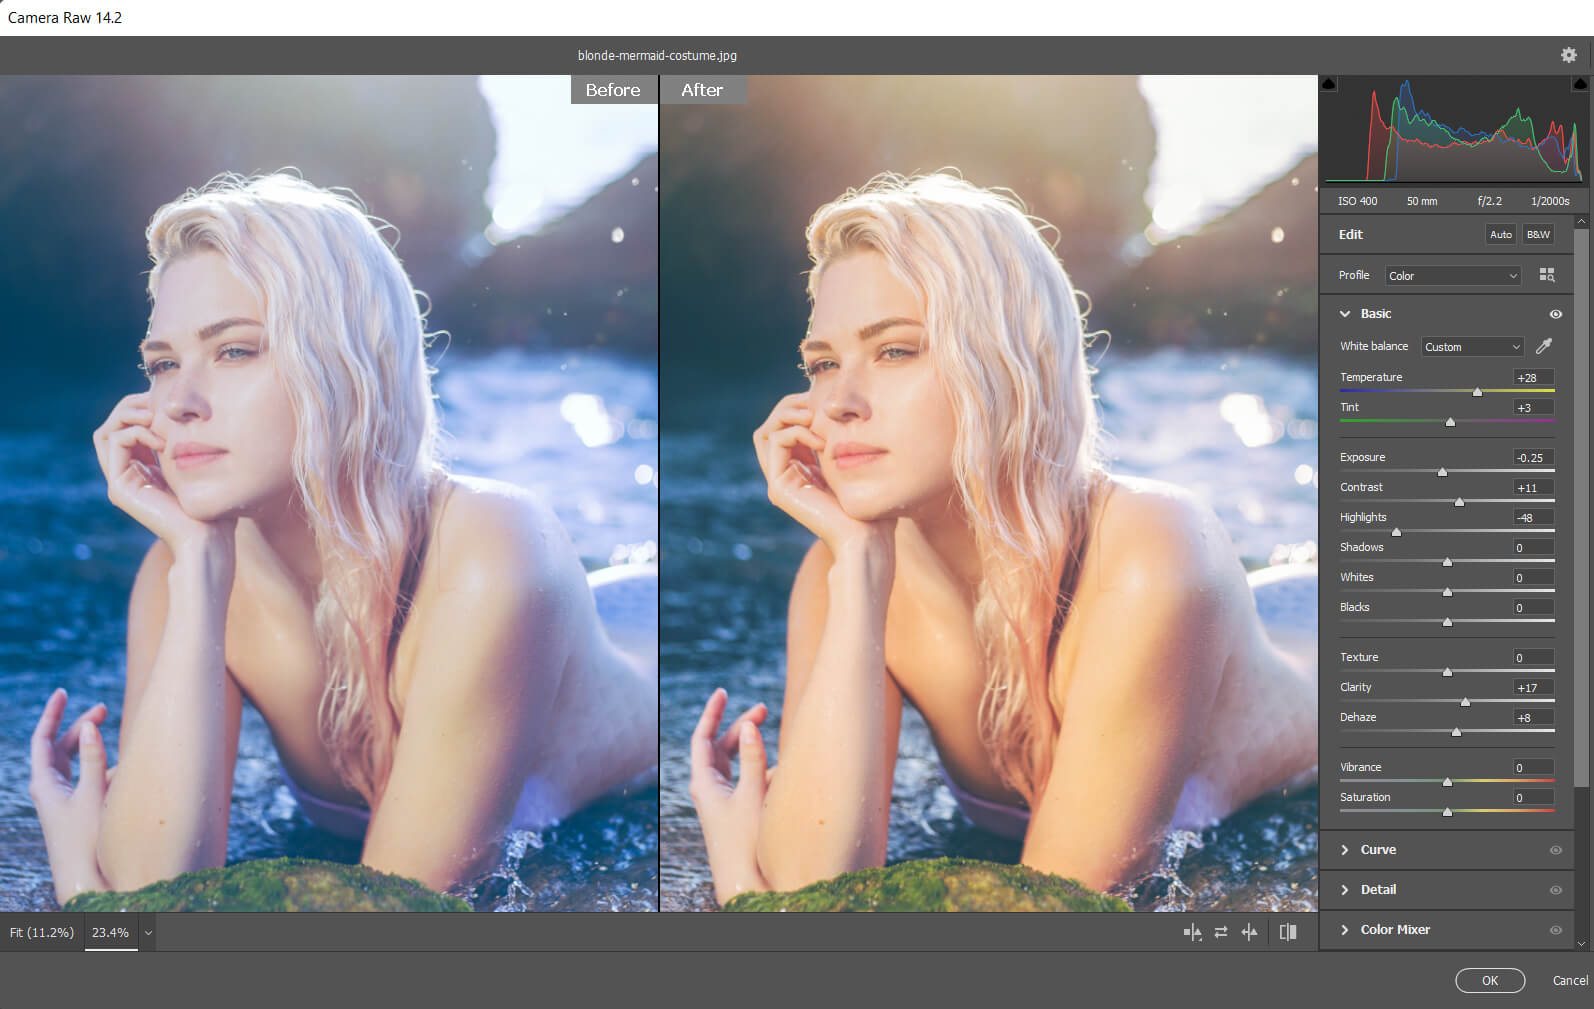
If after taking photos you see that they have some issues with light, start by adjusting the WB. It will help you reduce the yellow tint caused by poor lighting. To improve the white balance, create a blue layer and set its opacity to 10-20%. Use the overlay blend mode. Besides, you can create a color balance layer. To do it, go to Layer > Adjustment layer > Color balance and add cyan and blue tones.
In addition, you can quickly customize the darkness or brightness of your photos with the Levels (Layer > Adjustment layer > Levels) in Photoshop. While this tip is quite easy to implement, it will allow you to make your pictures more attention-grabbing in a few clicks.

To make your image sharper, you need to increase contrast. Open Photoshop, select the Zoom tool in the Tools panel and set its value to 100% before adjusting sharpness. Then, go to the Filter menu, select Sharpen > Unsharp Mask. In the new dialog window, adjust the intensity and width of the effect. Using the Threshold slider, you can ensure that the grain in the sky and other elements won’t be sharpened.
I prefer using the following settings:
Besides, you can adjust sharpness only for one area of the face, for instance, the eyes. To do it, add a black layer mask to the desired area. With the help of the Color Burn and Color Dodge tools, you can give your photos a more expressive look. Click on the Color Dodge tool and set light tones and exposure to 25%. With it, you can make the eye iris whiter. Make sure not to overdo it, otherwise, your photo will look strange.
With the help of the Color Burn tool, you can make your pupil darker and edit the makeup and lashes to give your face a more expressive look.

You can change the shape of your chin to make your face more attractive. Besides, you can edit your pictures with the help of the Liquify tool that can be found under the Filter tab. It makes it easier to make people slimmer and taller.
Select the Warp tool to subtly extend some areas of a photo without making them look overly edited. To make your body look fitter and reshape your curves, you can use the Pucker or the Bloat tools.
If you need to get back in shape quickly before going on vacation but don’t have enough experience when it comes to editing cosplay photos, you can install and use apps to make you look skinny. Using one of these convenient applications you can get professionally edited shots within the shortest time possible. The editors will make you look slimmer and more beautiful. The apps are compatible with iOS and Android devices.
To remove skin imperfections, you may need to use the Spot Healing Brush. You can find it in the toolbar. Set it to the Content-Aware mode. Then, click on skin imperfections with this brush to delete them. The software will quickly edit out the blemishes by replacing them with the pixels from adjacent areas.
To smooth the skin, try applying the High Pass filter available in Photoshop. You will find it in the Filter menu. The High Pass filter allows you to emphasize edges, and the Radius feature at the bottom of the dialog window allows you to select the "thickness" of the edges. If you need to enhance a portrait photo, it’s better to select a 24px radius.
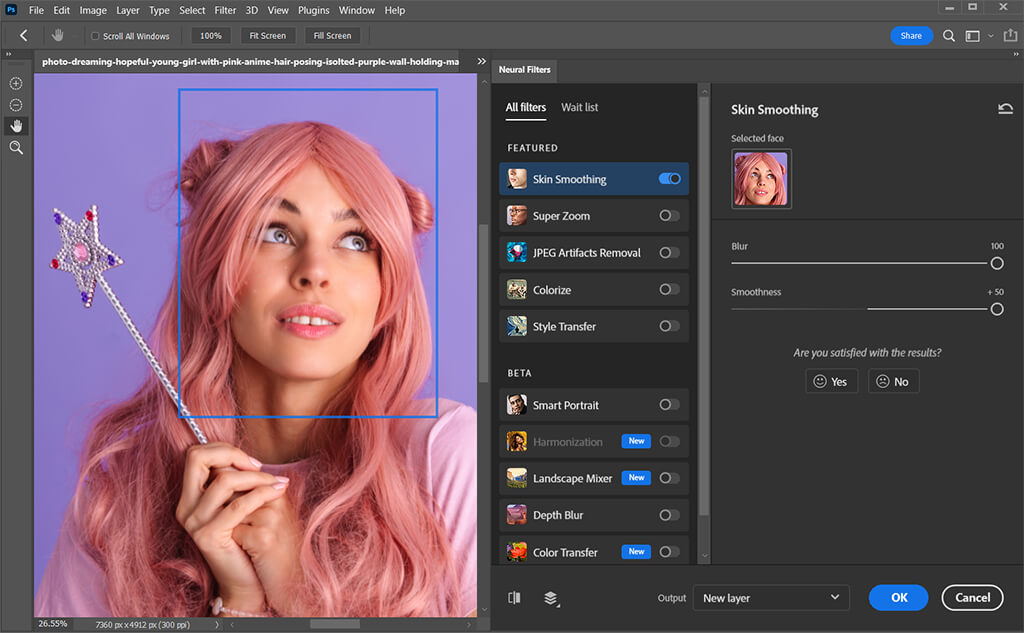
Another skin retouching tip involves using Neural filters. Select Neural filters from the Filter menu. If you see a cloud icon next to the filter, it just means that you will need to download it before applying it to your photos. Click on the circle icon to use the Skin Smoothing filter. You can customize the result by moving sliders. Then, save your edits to the Current Layer, Duplicate Layer, Duplicate Layer Masked, New Layer, or Smart Filter.
If you don’t want to waste a lot of time on cosplay photography editing, try using automatic skin smoothing tools in Photoshop Elements. Go to the Enhance menu and select the Smooth Skin option. In a new dialog box, you will see that the face of your subject is already selected. If you need to edit a group photo, the program will automatically select all the faces. Click on the one that you want to edit and move the Smoothness slider to achieve the desired result.
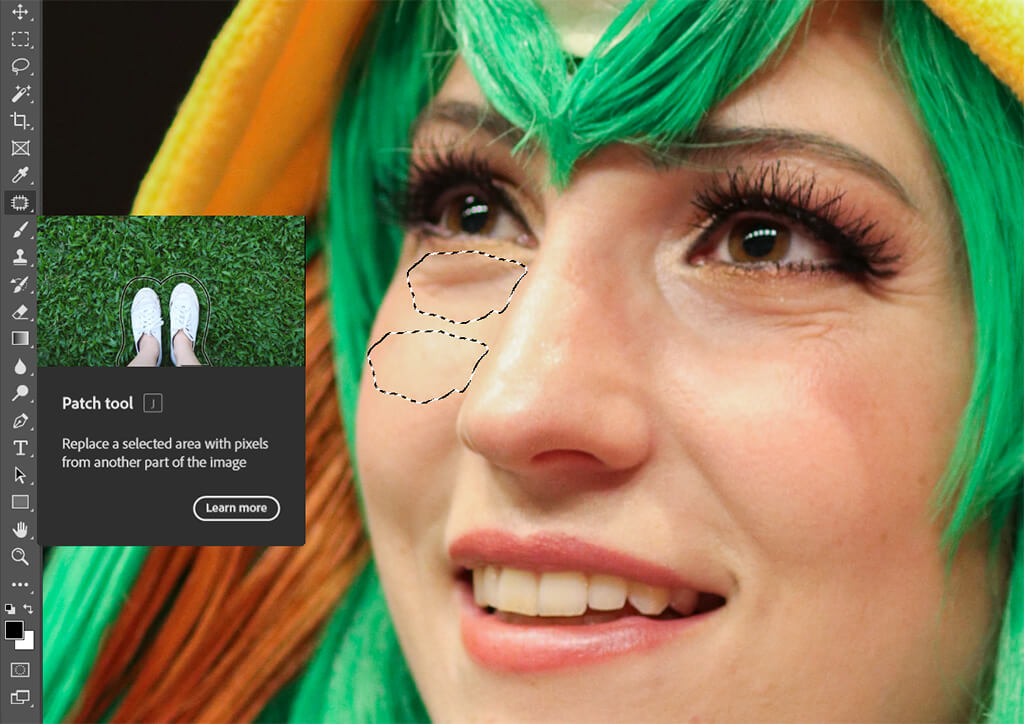
To remove shadows from different areas of the face, you may use the Patch tool in Photoshop. Before using it, create a copy of your main layer by dragging it to the dedicated icon. Then, select the area and drag the part that you want to edit towards a lighter area.
You can adjust the opacity of the layer. To achieve a more natural result, set it to 50%. You can also merge the layers by using the CTRL + E key combination. If you don’t want to affect the original layer, make sure to create a duplicate layer first. The same method can be used for removing skin imperfections.
Photoshop allows you to perform makeup retouching, change the hair color or transform the shape of the face. To add color shadows, you may need to use the Polygonal lasso tool. You will find it on the left toolbar. Use it to draw over the eyelids. Then, click on the selection that you have created and left click on the Fill option.
Go to the Use menu and chose the Color option from the drop-down list. It will allow you to select the most suitable color for the eyeshadow. Then, right-click on the selection and left-click on the Deselect option. After doing this, go to Filter > Blur > Gaussian blur. It will allow you to make the eyeshadow blurrier.
If you have made all the steps described above, the color shapes that you have created should be quite similar to real eyeshadow. However, because of the blur effect, they might be too big. To solve this issue, you can smudge them using the Smudge tool.

To add some eyeliner, you will need to use a soft black 2px brush. Use it to create a line along the edges of the eyelids with the help of the Pen tool. It’s better to start drawing it from the point where the eyelashes start. After creating a line, right-click on it and select Stroke path.
When everything is done, right click on the path that you have created and left-click on it to delete it from the menu. You can do it by selecting the Delete path option. Then, make sure to add some blur to ensure that the eyeliner looks natural.
To add lipstick, you may also use the Pen tool. With its help, you can draw an accurate line around the lips. When everything is ready, right-click on the line and choose the Make selection option in the pop-up menu. Then, go to the Make selection menu and set the feather radius to 0. The last step involves creating the Hue/Saturation layer for making further adjustments. You can change the color of the lipstick using sliders.
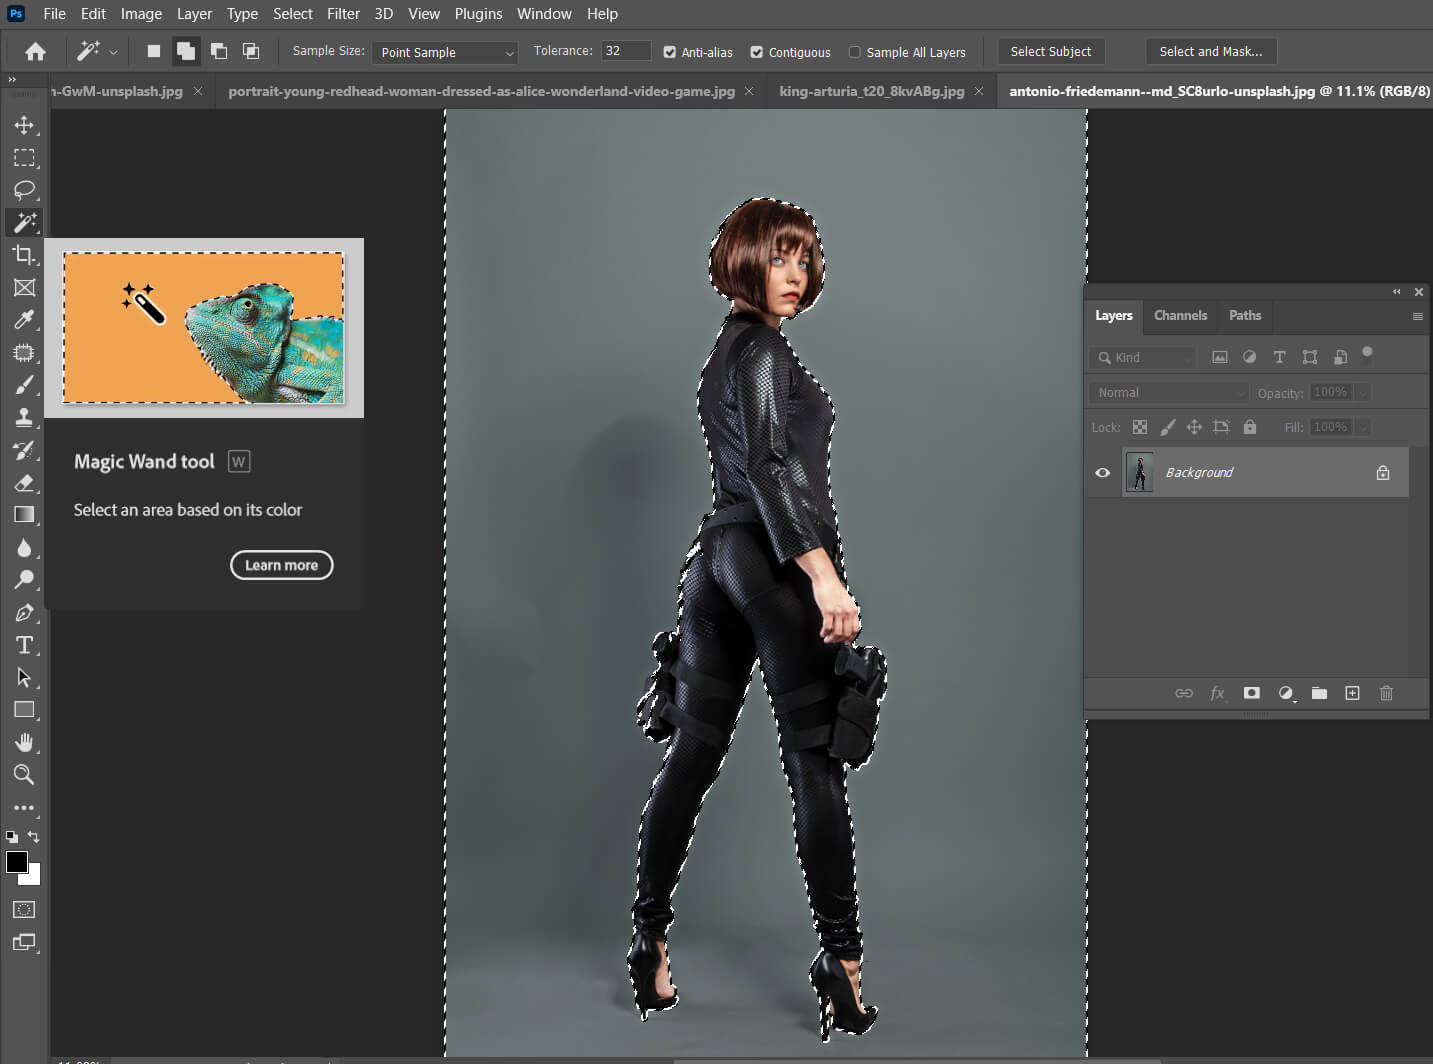
If you took a photo with a solid-color background, you won’t face any difficulties when cutting out your character from it. Just use the Magic wand tool. When editing shoots with a complex background, you may use other cosplay photography editing techniques that enable you to delete a background in Photoshop. For instance, you can use a manual lasso, magnetic lasso, manual brush, etc.
Pro tip: If you need to seamlessly blend your character with a new background in Photoshop, use a green screen or a solid-color background when taking photos. In most cases, I just use a white wall, which allows my subject to stand out. It enables me to take great portrait photos and close-up pictures. Besides, such backgrounds are perfect for full-body photos as well. However, keep in mind that a part of the floor might be visible in the frame.
Besides, you can select a suitable green leaves photography backdrop if you want to organize a photo shooting in the studio instead of a park or forest. You can also buy a background support system with color backdrops, lighting and the background stand system.

After cutting out a model from a photo, you may add a new background. For instance, you can use a cosplay photography tutorial and a variety of stock photos to make your subject stand out. You can find them on such free stock platforms as Vecteezy, Unsplash, Pexels.

If you want to give your family photo or any other image a realistic look, you need to perform several other manipulations. Make sure to check whether the subject and background match well. Besides, you need to pay attention to the lighting. To achieve a better effect, use color balance tools, curves, and adjustment layers.

If your photos look unimaginative and boring, try using one of the popular photo manipulation ideas. I like adding light streaks to my pictures to give them a dynamic feel. To do it more quickly, you might need to use ready-made overlays. However, avoid adding too many effects. Besides, pay attention to the direction of the shadows to achieve a more natural result.

With the help of overlays, you can add dramatic details to your photos, such as raindrops, sparks of flames, wisps of smoke, specks of dust, etc. Avoid adding excessive details. If you add a lot of light, your photo may look overexposed. In this case, you will need to edit shadows and tweak colors.
You can fix contrast issues with the help of the Curves tool available in Photoshop. It will help you fully transform the atmosphere in your photos. Besides, you can adjust colors using the Color balance layer (Layer > Adjustment layer > Color balance). It allows you to tweak colors in highlights and emphasize shadows.
Another way to achieve a similar effect involves creating the Selective color layer (Layer > Adjustment layer > Selective color). With it, you can adjust a selected color range, for instance, reds, yellows, greens.

To speed up your workflow, you can add pro-level Lightroom presets or Photoshop actions to your photos. Many of these effects were created by professional photographers. Using them, you can enhance your images in a few clicks.