ARCPanel
Verdict: Using the ARCPanel, I moved to a new level of handling deep shadows, blending, and details. I used to spend lots of time doing standard operations and manually setting masks in Photoshop. Now, using professional luminosity masks, I can devote more time to photography.
Unlike other masks I tested, ARCPanel luminosity masks work fast and are amazingly easy to use. They are suitable to enhance photos of various genres, from landscapes to street shots.
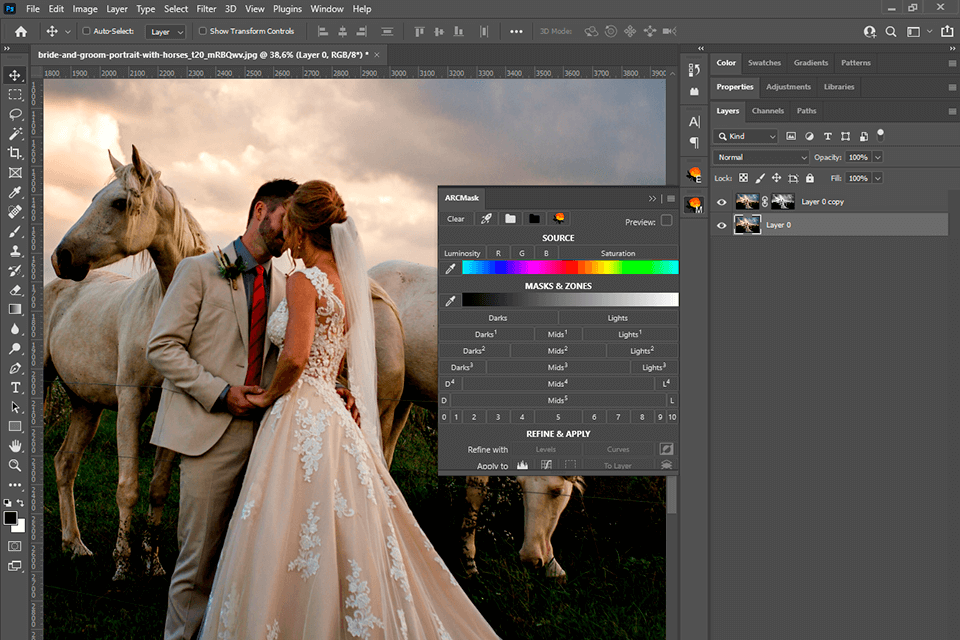
Free ARCPanel luminosity masks can improve exposure and colors in Photoshop. Moreover, built-in tools simplify work with Dodging, Burning, and Frequency Separation.
You don’t have to create luminosity masks manually or record an action. Mask panels are custom-designed to flawlessly perform such operations in a quick way. Besides, they include many retouching instruments.

ARCPanel is a free Photoshop extension that allows applying luminosity masks and correcting colors. It is compatible with Adobe Photoshop CC 2021 and newer versions. The tool was designed by a photographer and programmer with more than 10 years of experience, who was aspire to help his colleagues.
First of all, you should download and install the panel. Then, you need to open a photo in Photoshop and launch the panel. If you don’t see it in your toolbar, you can enable it by choosing Window - Extensions.
Unlike creating mask in Photoshop, you don’t have to take numerous manual steps. First off, pick a source for your future mask. To do that, choose among Luminosity, Red, Green and Blue channels, or Saturation. For instance, if you choose Saturation as a source and click Light-2, you will produce a mask for light saturated tones.
Next, you should hover over masks or areas until you are satisfied with the preview. Click the button to create a mask. If you need to fine-tune the mask, find the Refine section and use Levels, Curves, or Inversion. You can apply the created mask to a new Level or Curve adjustment layer, show mask as a selection, replace the existing layer mask, or produce another adjustment layer.
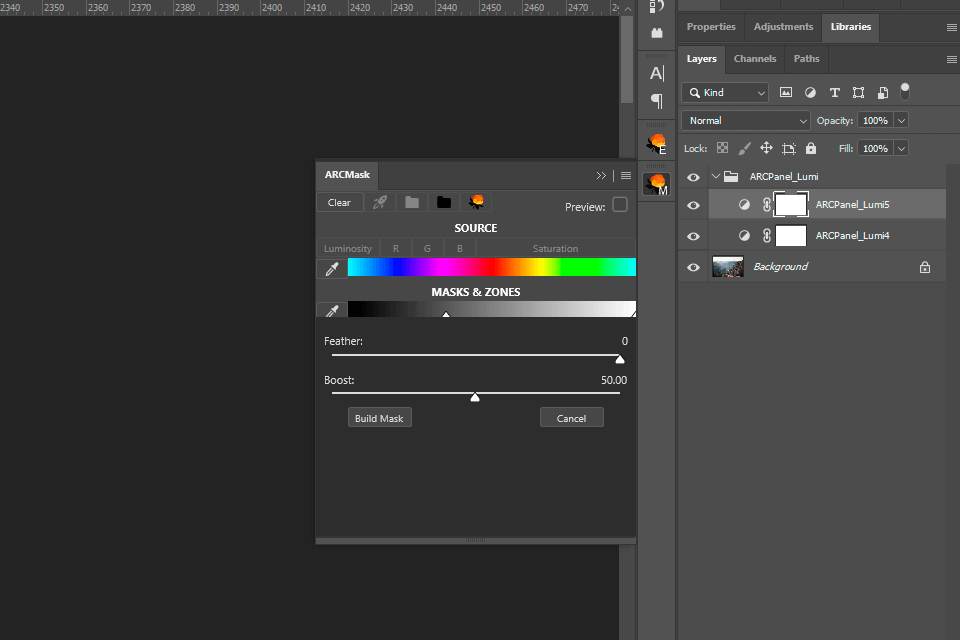
The panel includes two tabs. One of them is called the Mask tab. It has all the necessary tools to create, improve, and apply various ARCPanel luminosity masks.
A free version offers 5 Dark, 5 Middle range, and 5 Light luminosity masks. Apart from standard masks, ARCPanel offers 11 Adam’s Zones for professional projects. The Adam’s Zone “cuts” the shot into several luminosity zones, while the gradient gives you a hint of which area of the luminosity range will be selected.
ARCPanel has a very useful function called the Infinite Colors. Each time you press this button, the extension produces a set of grading layers using luminosity masks with accidental color combinations. The program chooses colors that match each other.
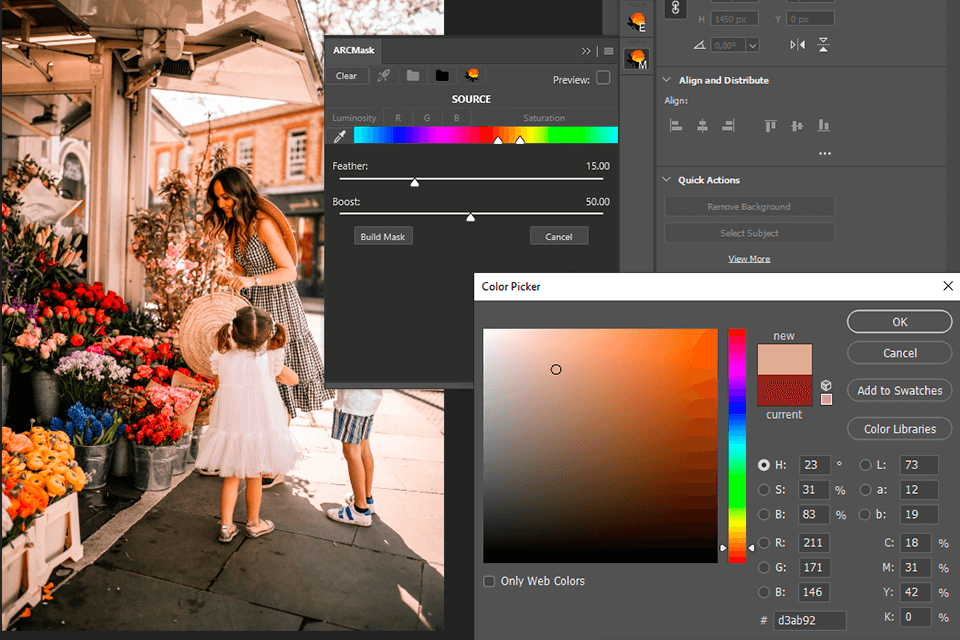
ARCPanel contains an effective tool to choose any range of colors called Color Mask. If we compare Color Mask with the Photoshop Color Range tool, you will see that the former is better. The point is that Color Mask doesn’t limit you to one color. You can use any color range you like. The colors are picked based on the chosen source options ‒ Luminosity or Saturation.
The Luminosity source option is activated by default, so colors are combined based on the luminance values. If you choose Saturation, a color slider will be changed based on the color saturation values.
What’s more, you can change the Color Mask by using other masks. In other words, you can choose the range of colors from a photo based on their Saturation values and then select the brightness of them choosing Lights-3 on Masks.
If it’s difficult for you to improve a color gamut of a photo, you can approach professionals. They will help adjust shadows, tones, white balance, and other color settings.
There is also the Color Picker tool that is needed to choose a color from a photo to create a color mask.
The Color Slider allows selecting a range by clicking anywhere on the slider and modify it by dragging handles. To apply or cancel a color mask, click Build Mask or Cancel.
Feather and Boost sliders are for precise control over the selection.
Thanks to the Preview On Hover function, you can preview your masks by hovering over buttons. If you click on the button, you will select the mask and can fine-tune it. Preview works even when you choose various sources. However, this option is available only in ARCPanel Pro version.
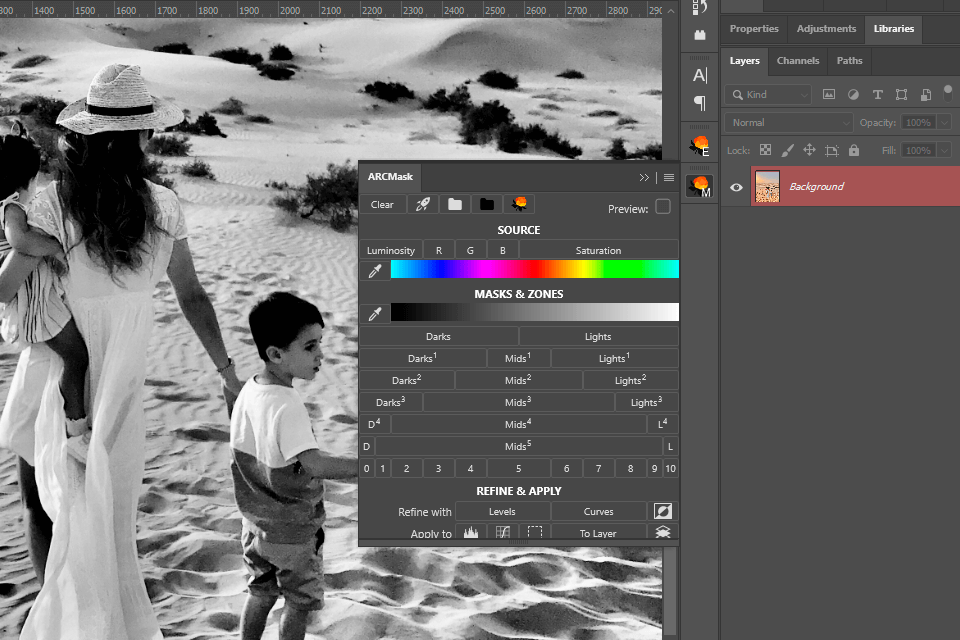
ARCPanel Pro includes Any Range Lumi Masks, which you can easily select moving a slider. The extension provides almost the same capabilities as the Range Masks in Lightroom. However, it’s still more powerful and flexible since Photoshop offers layers to work with.
I’ve tested the tools and was truly satisfied with the following experimental options:
Range Picker ‒ you choose a luminosity from an image while the slider picks the appropriate values.
Lumi Slider ‒ you select any range you need by controlling two sliders. For example, if the right-most slider is completely on the right, the image will become lighter. If the left-most slider is fully on the left, it will become darker. In case both sliders are in the middle, you will have mid-tones.
Feather and Boost ‒ you get more control over the selection moving Feather and Boost sliders.
Using the ARCPanel luminosity mask, you can remove the sky, add realistic sun rays, and soft shadows.
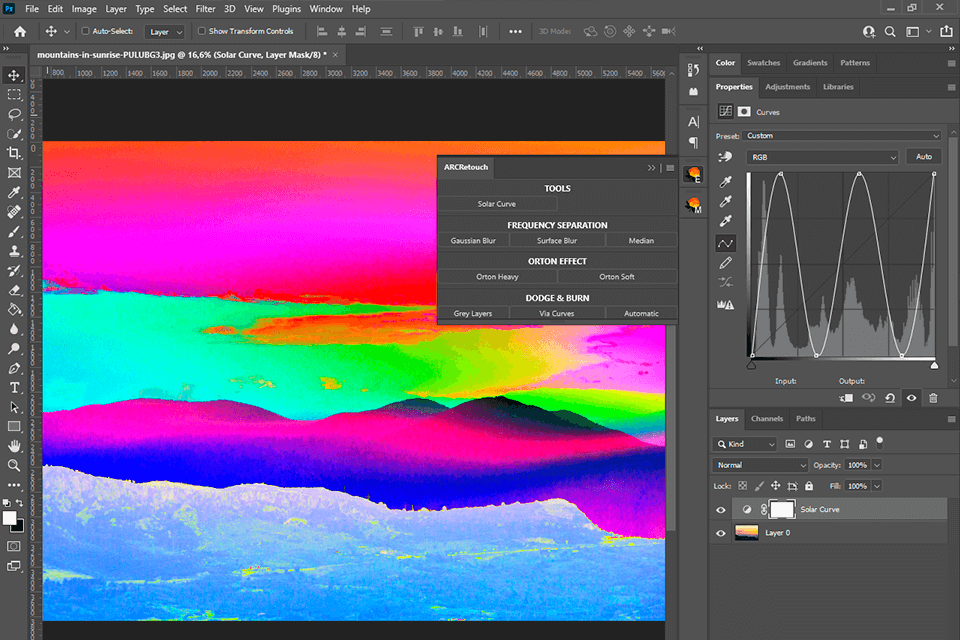
The second tab on the panel is called ARCRetouch. It includes a range of the most popular refinement tools. The ARCPanel Pro version also contains advanced ARCRetouch tools. Using the Solar Curve, you can quickly spot dust, scratches or issues with the Clone Stamp in the photo.
The Frequency Separation tool is suitable for portrait editing. It separates the texture from the color. This way, you can smoothen skin in portrait shots and fix lens flares in landscapes.
Orton Effect adds pleasant soft lighting to an image and creates a slight surrealistic effect. You can choose one of 2 ways to produce the Orton Effect and preserve darks if needed.
Dodging and Burning tools make pieces of an image darker or brighter. You can use 5 ways to Dodge and Burn:
Together with a free version, you will get a training guide. This way you will faster learn how to work with panels and apply masks. This course was created by a program developer to teach a novice to use ARCPanel luminosity masks and correct colors.
You will find out about all types of masks in Adobe Photoshop, and figure out how to use them. The basic part of the course is dedicated to practical examples. You will understand how to work with lights, darks, and mids luminosity masks. Plus, you will understand how to choose the most suitable mask for different photos. Dodging and Burning are covered in the last lesson since it is a more difficult technique.
ARCPanel is available for free. You will also get a free course called “Luminosity Masking Basics”, professional 16-bit luminosity masks, 5 types of sources, including Saturation, 6 Lights, Darks and 5 Mids masks, 11 Zone masks, and Apple M1 support.
You can expand the options by getting a Pro version that costs €39.95. It includes all tools of the free version plus any range of color masks and lumi masks, infinite color for grading, quick white and dark group shortcuts, and ARCRetouch tools.