When you are just starting your path of a photographer, you need to use all available means to make people know about your services. The most efficient method, in this case, is building an online gallery with all your works presented.
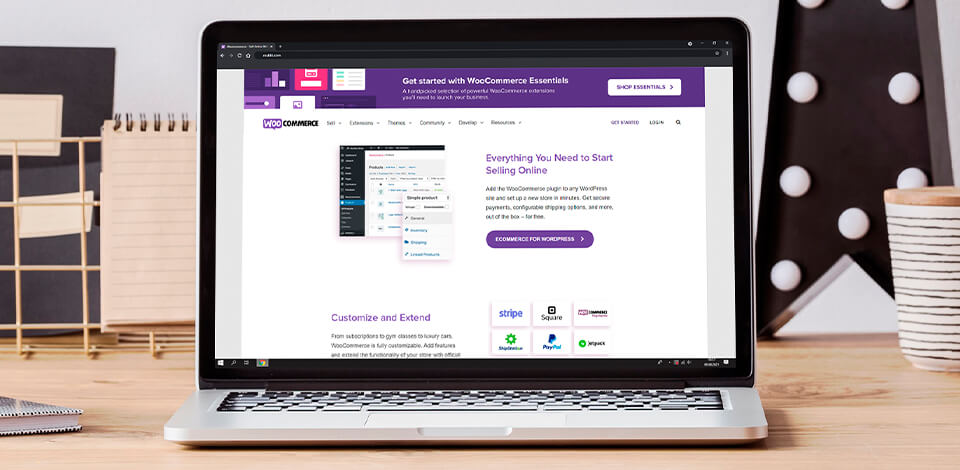
There are many eCommerce solutions that can come in handy for this task, and WooCommerce is a go-to option for many newbies creating a photography website.
WooCommerce is a reputable platform with all features a modern photographer needs for creating a website.
While using this service, photographers can easily boost their online presence without performing complicated manipulations. Besides, there are numerous templates that are suitable for building a professional website optimized for desktop and mobile devices.
Unlike BigCommerce, OpenCart and Shopify, here you get total control over theme customization, so creating a personalized feel is a no-brainer.
To create a WooCommerce photography website, you actually need to set up a WordPress site. Once you are done, switch to WooCommerce home page and get down to customizing it.
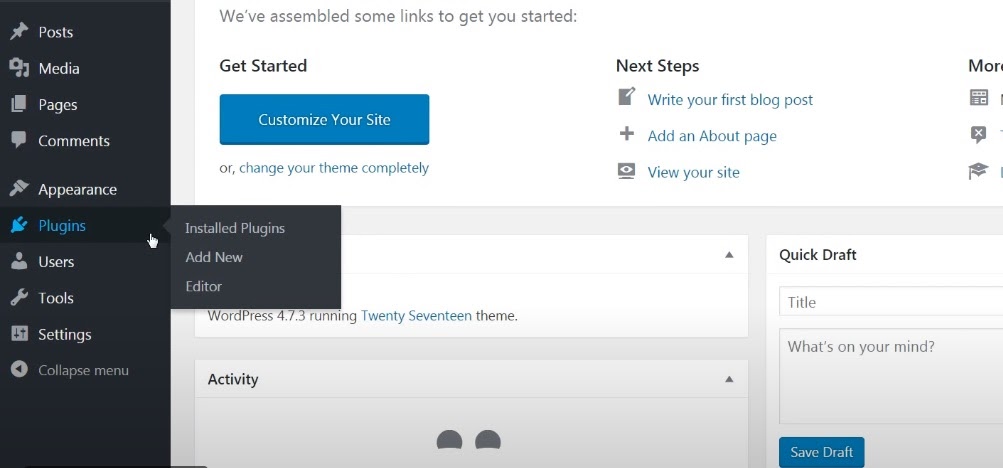
Open the WordPress dashboard and follow the steps below:
Open Plugins > Add New
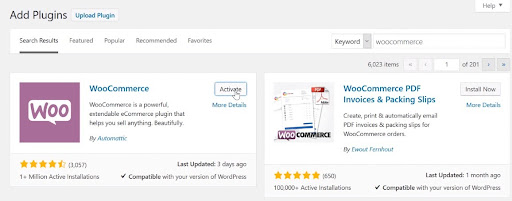
Search for WooCommerce
Click Install Now > Activate
After the plugin has been activated, you will instantly get to the WooCommerce Setup Wizard. Here you need to fill in such info as business details, payment methods, and shipping address to get your WooCommerce store ready for work.
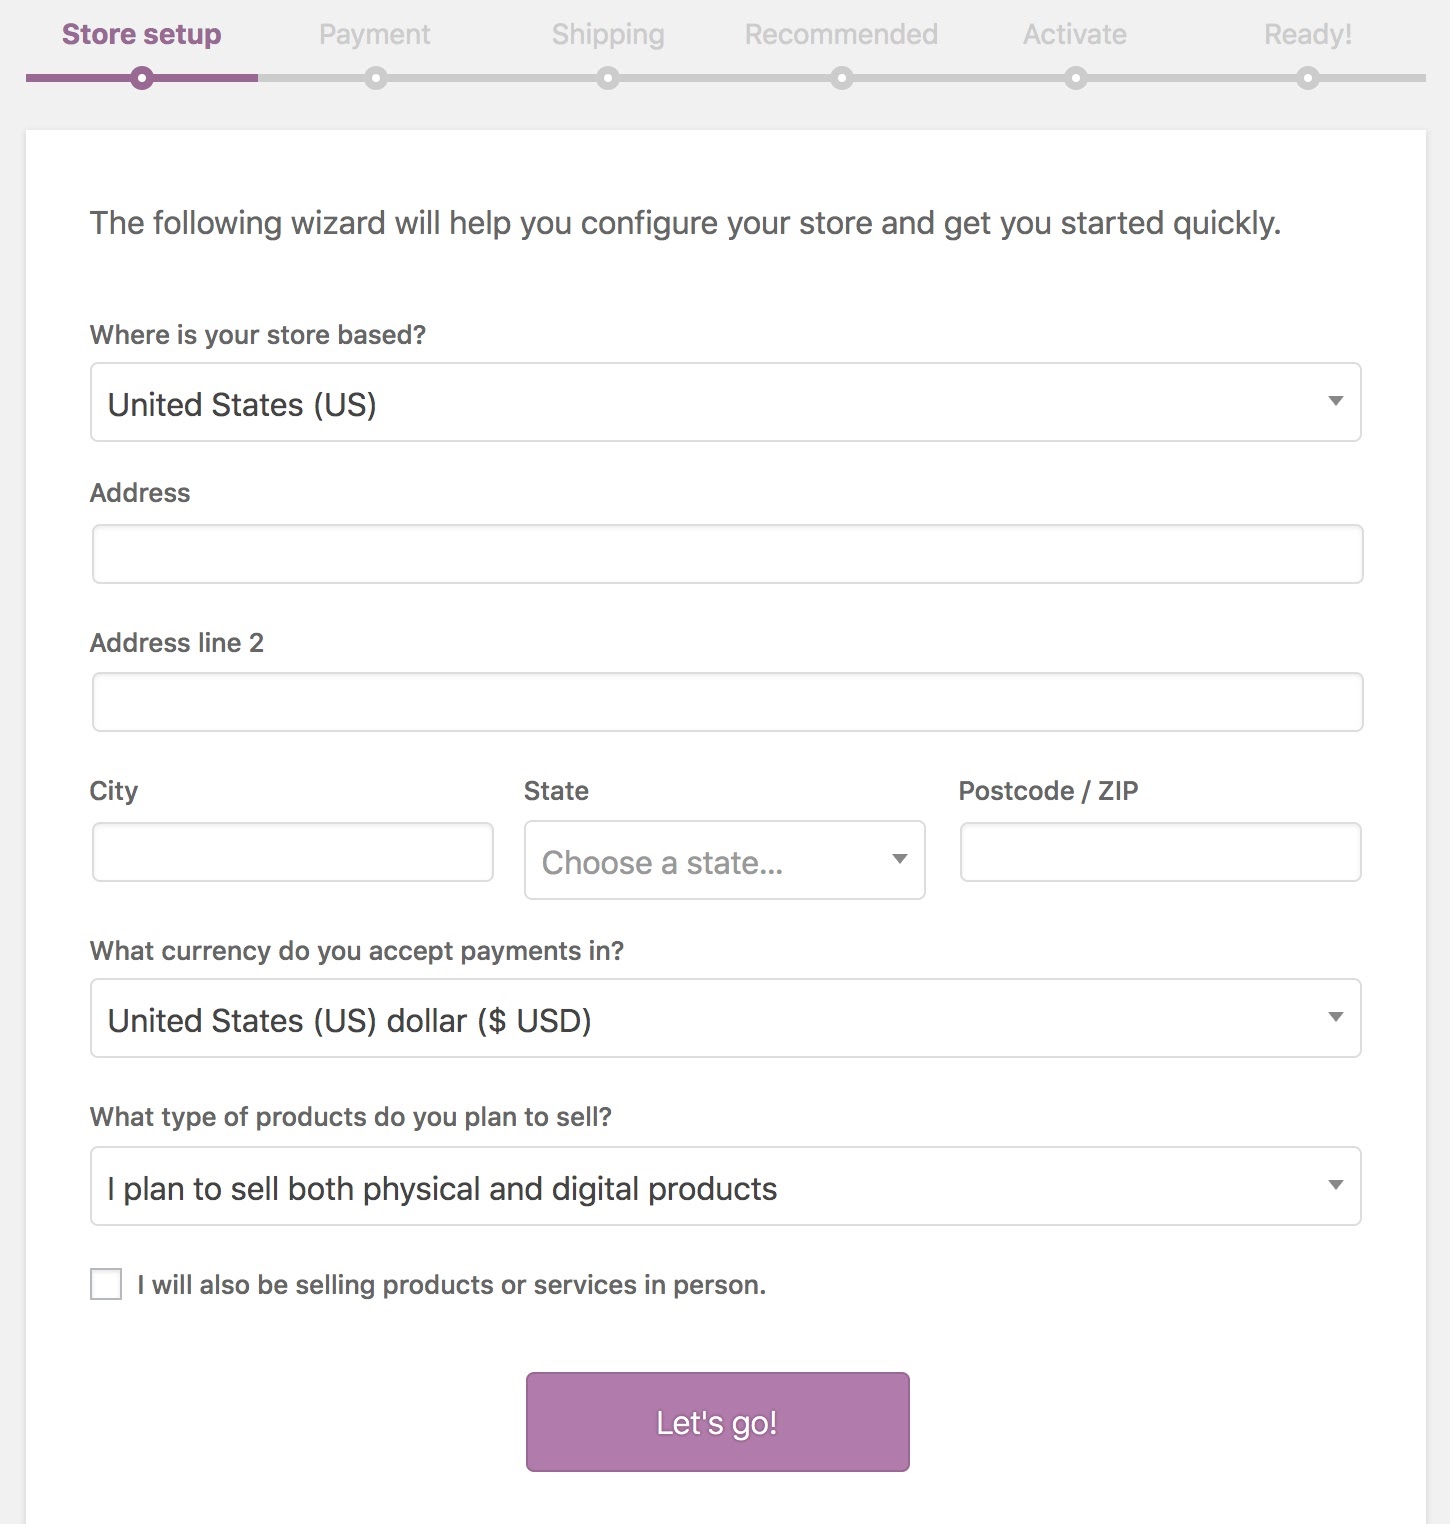
Since you want to sell images, you need to choose the “digital” type of product. That’s the initial move, but you may further decide to expand your business by selling different photography gifts, including photo magnets, keychains, pictures, etc., so it may be better to select “I plan to sell both physical and digital products” from the list.
When the tweaking stage is over, you need to upload your photos and start selling them. You can import files either manually or with the help of a plugin (automatically). The first method is suitable for users with a moderate collection of photos.
Moreover, it is completely free, which may be decisive for users with limited funds. If you can afford to pay for the plugin, don’t hesitate to do it. This way, you can instantly upload lots of files in one go in a trouble-free manner.
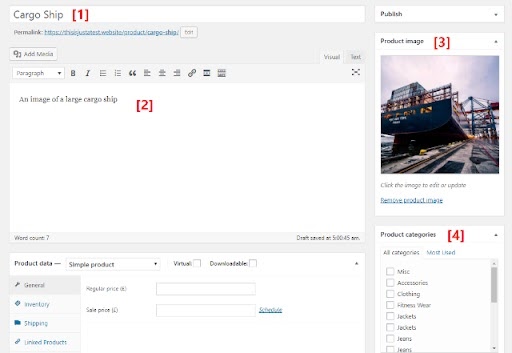
Open Products > Add New in the dashboard. At this stage, you need to:
Type in the name of a photo in the Title box
Add the description (optional)
Upload photo to the Product image box
Select categories and add tags for quick photo arrangement
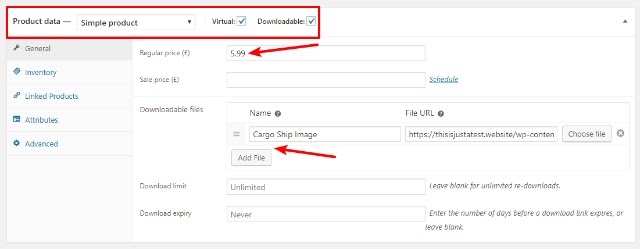
Remember to indicate the price for every image. Clicking the Add File button, you can upload a full-res file.
When everything is over, click on Publish. Take the same steps for every image.
If the method described above seems too cumbersome for you, take advantage of a special plugin. This way, you can upload bulks of photos in virtually no time. The whole process of using WooCommerce Photography plugin is very intuitive, while the result is amazing.
Install & activate the plugin
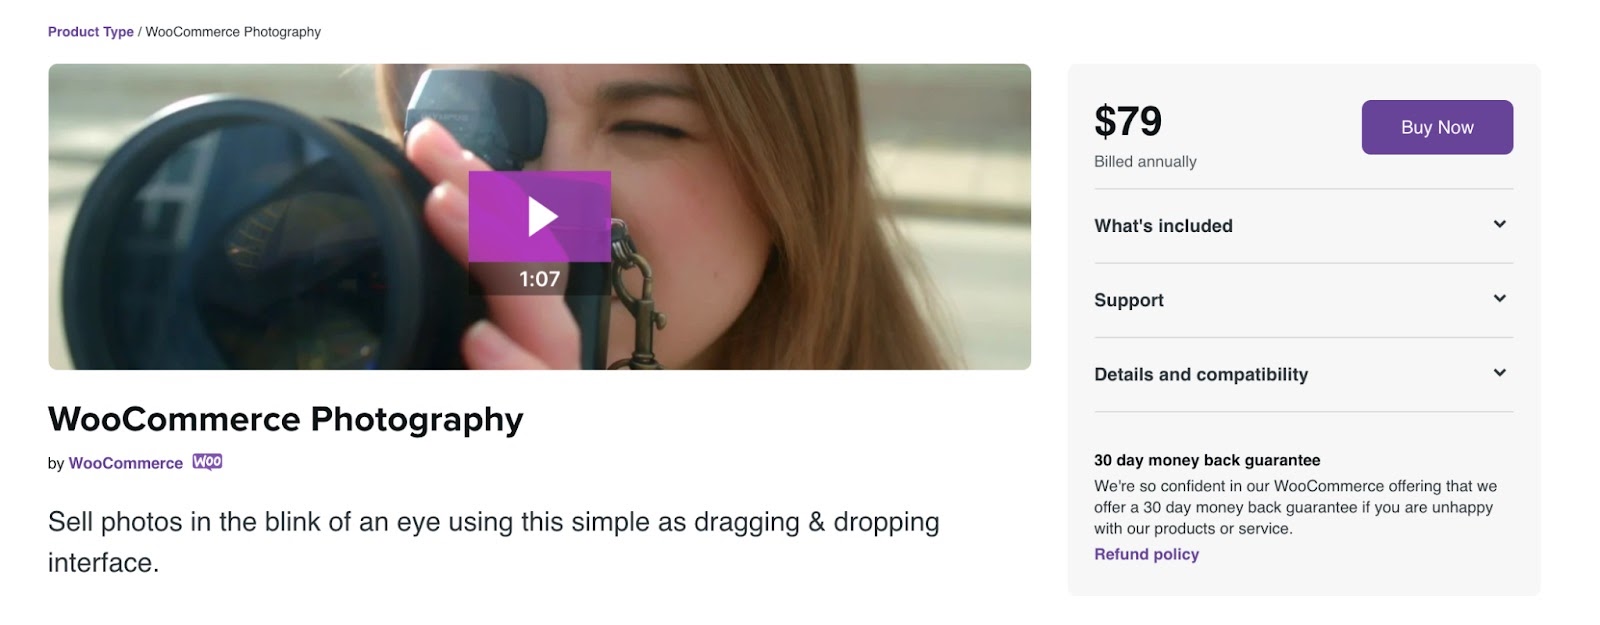
Open the plugin marketplace, find the needed plugin (initiate search by a name) and click Buy Now. It costs $79/year and comes with a 1-year extension update, 1-year support, and a 30-day money-back guarantee. Pay for the plugin and it will be automatically installed on your WooCommerce photography store.
Make collections
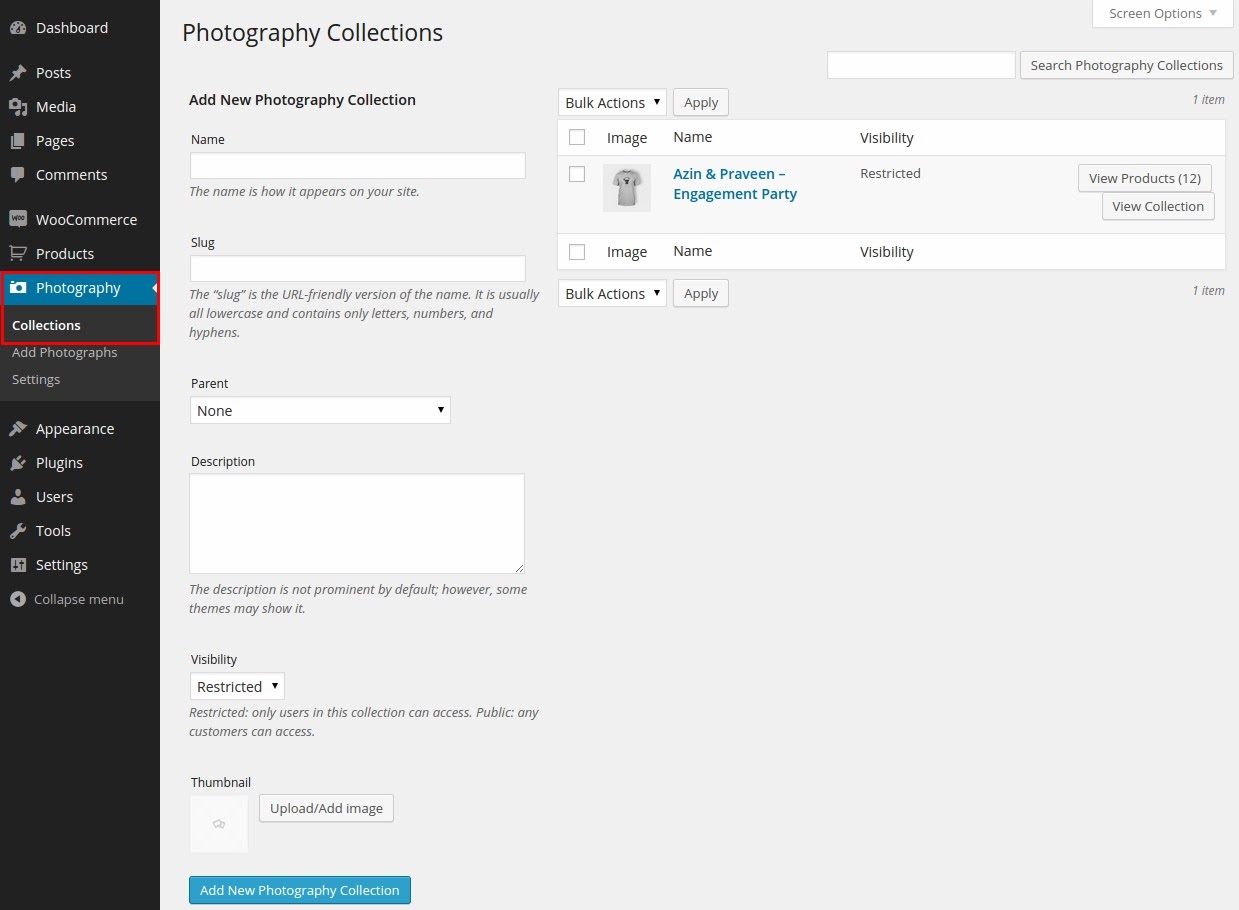
Go to Photography > Collections. Here you need to specify a name and a slug. A Description section is optional to fill in. It is possible to create parent collections and then extend them with new Collections, but that may be confusing if you are a first-time user. If you want, add a thumbnail image.
Upload images
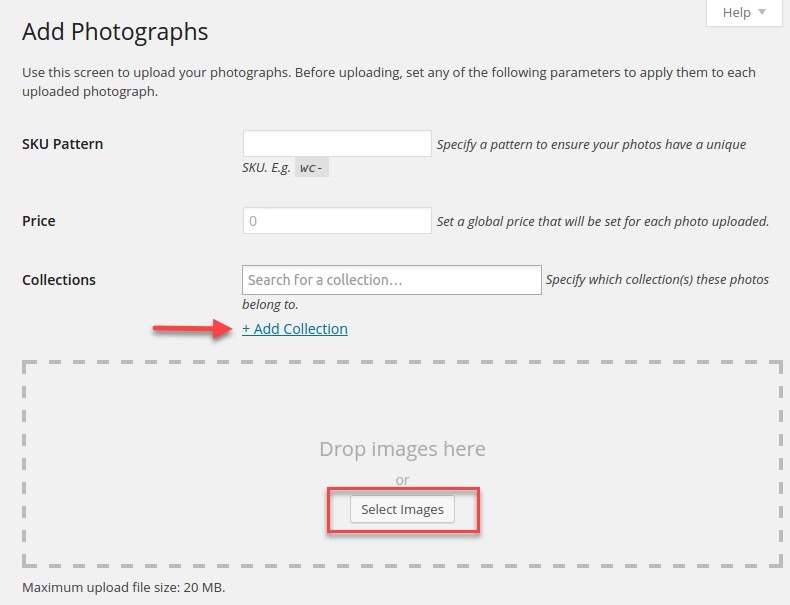
Open Photography > Add Photographs. Add as many images as you want. You may define an SKU Pattern and a global price for your products. If you skipped the previous step for some reason, you can make a collection right now.

Professional photographers never share their clients’ images with third parties. It is like an unwritten rule to deliver images right to clients, respecting their privacy. WooCommerce for photographers offers some tools specifically for secure image sharing. For instance, you can create a separate profile for your client by clicking Users > Add New.
At this point, assign your client to Collections. Thus, every person you cooperate with has a separate collection of photos you’ve taken for him/her. Your client can quickly access the photos through a profile you’ve created earlier.
In general, there are several strategies you can use to make your website popular.
You never get the second chance to make the first impression. This is absolutely relevant for your website, so you need to choose its design thoughtfully. Too flashy and menu-filled website is likely to scare off clients, so most of them will choose your rivals.
Not to face such a problem, you should carefully study the library of available WooCommerce themes and choose the one in line with your current business aesthetics. You can also look through third-party resources, like 8theme, to find an ideal theme. Photographers, who managed to find a place in this tight niche, also recommend looking for professional assets on WooSkins as the collections there are frequently updated.
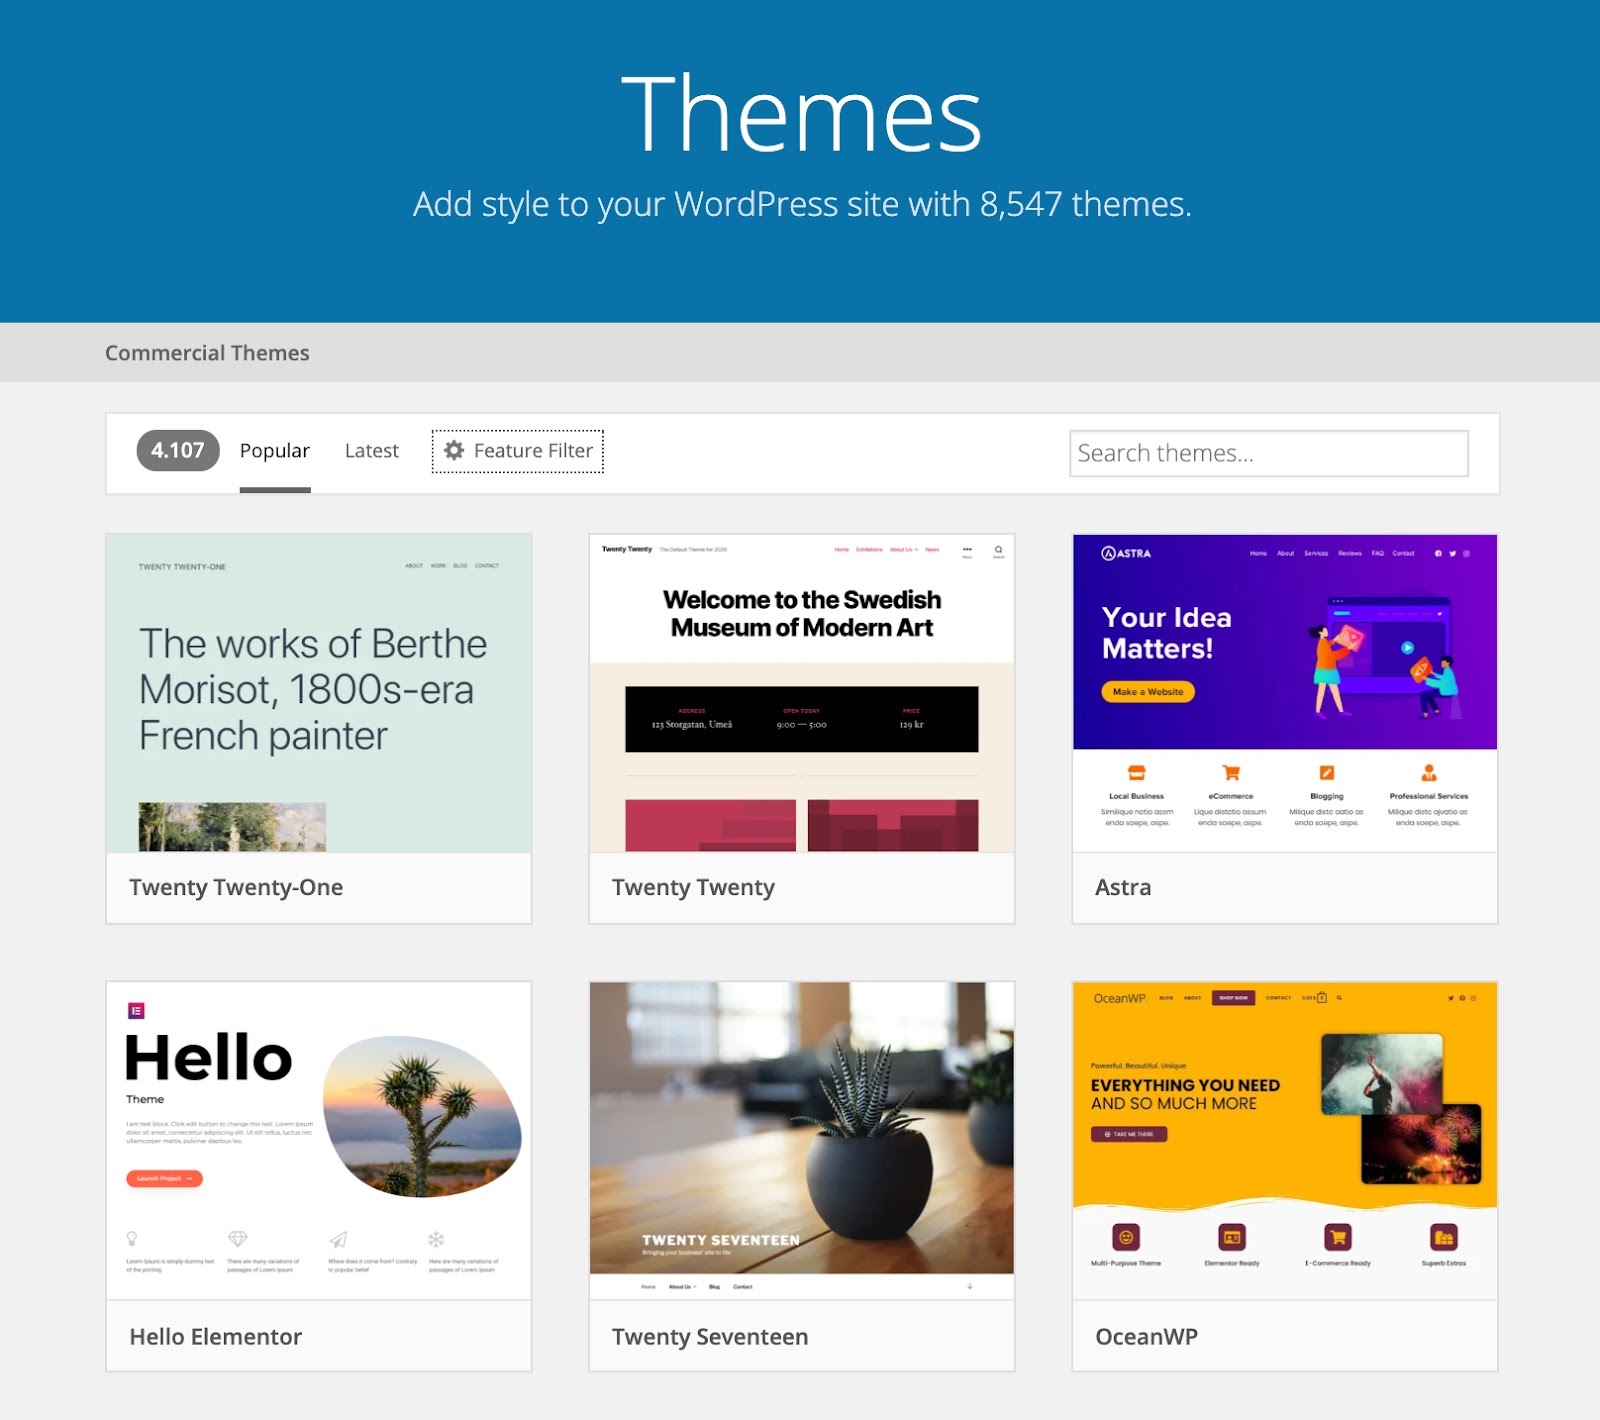
Thanks to the joint nature of WooCommerce and WordPress, you get over 8K WordPress themes at your disposal. In most cases, you can choose any theme you like from the package and it will work flawlessly with WooCommerce.
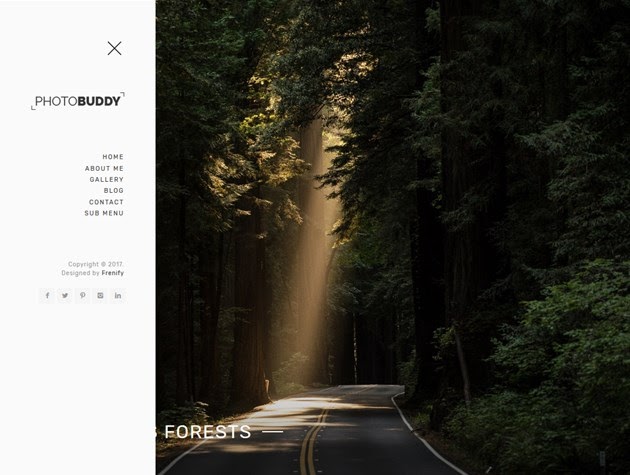
It doesn’t really matter whether you specialize in portrait, wedding or any other photography genre, you can find a suitable template on this platform.
However, since you are primarily interested in photography-related themes, there are some nuances to remember about:
If you’ve got lost in the plethora of beautiful themes, learn about the best WooCommerce themes currently favored by pros.
Getting in the top position on Google is impossible without using proper optimization tactics. Those choosing WooCommerce photography service can rest assured their online photo gallery will occupy high positions because every store comes equipped with advanced optimization features. You can tweak alt text, slugs, meta description, and other elements if you want.
The optimization potential of social media websites is hard to overestimate. In fact, you can start by using email marketing, Google Ads, and multichannel plugins to inform a vast audience about your services. In order to reach even more potential clients, it makes sense to integrate your online store with social networks, e.g., Instagram, Facebook, etc.
Nowadays, people are used to scrolling through Instagram or FB feed for hours in a row, and though this seems like a bad procrastinating habit, you can use this tendency to your advantage. When users come across beautiful images you posted, they are likely to visit your personal account to see more. Besides, if they like your style and vision, they can even jump to your website, so make sure to include a link in your bio. Everything seems obvious, but still not all photographers can trace this Instagram & WooCommerce website relations.
The only thing to keep in mind is that all your photos must be of high quality and contain a brief accompanying text. Otherwise, your posts will get lost in a whirl of content.
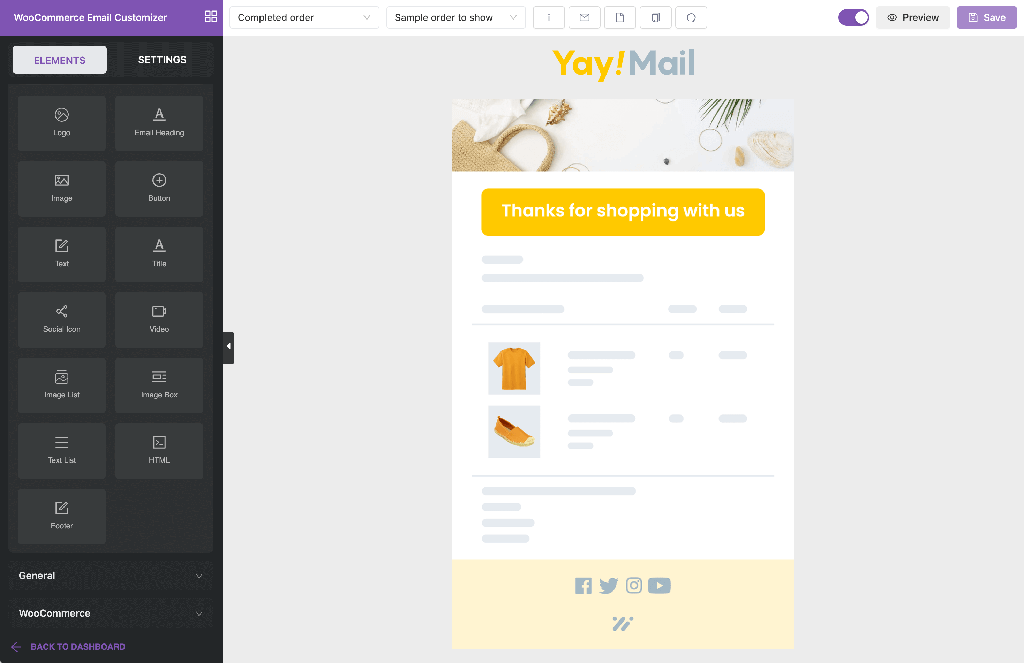
Be sure to showcase your photos on product pages as well as in order confirmation emails with YayMail - WooCommerce Email Customizer.
No matter how hard you try to promote your WooCommerce photography website, all your efforts will go in vain if your photography skills (which actually means the quality of your works) leave much to be desired.
In order to become an expert in your field, you need to attend professional workshops, cooperate with peers, and keep tabs on the latest photography trends. Collecting a kit of decent shooting equipment is also important.
You need to practice as often as it is possible. However, don’t blindly click the release button. You have to take a shot, scrutinize it skeptically, think about defects you need to fix, and then take another photo. Every next image should be better than the previous one.
Photographers choosing WooCommerce for their business development, get lots of handy instruments to make their dreams come true. You can experiment with numerous WordPress themes available on Laborator or other platforms, adjust available elements, and create a really praise-worthy online store.