Making a podcast is like choosing your own adventure book. Each process can be done in many different ways and with varied tools. Ironically, most Indie Podcasters make their podcast in their free time, which is usually limited. So how to produce a podcast of great quality without spending many hours in a row? Actually, it is possible. Follow these 5 steps and impress your audience with interesting podcasts.
The old adage “garbage in, garbage out” is relevant when it comes to audio quality. Your podcast doesn’t have to sound like a network show. Your audience deserves to hear you without strain. The only way to achieve such quality is to invest in reliable equipment.

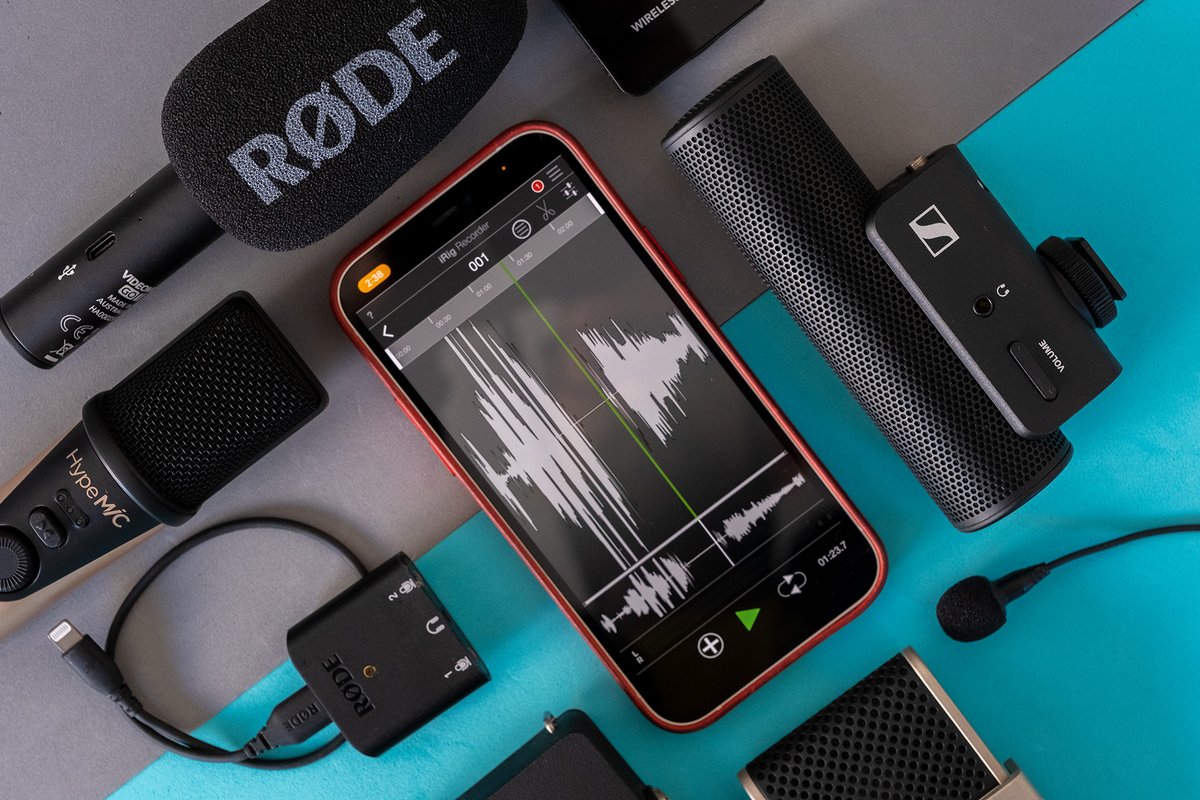
If you and/or your guest(s) have an iPhone, then you already have a good chance to receive crisp audio. This tip will surely elicit a collective groan from the OG podcasting community but it’s true: iPhone mics are very good. I discovered how efficient they were while I interviewing one of my guests. I even asked her what microphone she was using because it was that good. She laughed and said it was her iPhone. This has become a go-to question I ask guests now when they do have microphones.
There are many reasons why you may not want to use this as your sole mic for your podcast but at the beginning, for your guests and in a pinch (like when you forget to bring your mics to interviews), this is a perfectly fine choice. Don't let anyone else's tech snobbery convince you otherwise.

Podcast Producer and Vocalist, Jeni Wren Stottrup shared a musician’s hack for gearing up. She claims that it is OK to buy used equipment instead of looking for the best camera for podcasting, especially if you are just starting out. “Used gear is far less expensive and readily available on the market. It’s also a pro move for the environment. Electronic waste is a growing issue.” Jeni learned this hack 15 years ago and saw it in action when she worked in pro audio sales for a while after that. Not only will you save money, but you can even experiment with some higher quality microphones, if you want, without paying a lot for them.
Jeni & I agree that the Samson Q2U is absolutely suitable for a basic pod mic. Your voice will sound clear and you will a lovely deeper sound than what other mics in the same price range produce. And it comes with a USB and XLR cable.
This hack applies to all recording equipment, from audio interfaces to digital recorders. Besides, you don’t have to invest in the best noise cancelling microphone software from the get-go, but can use something cheaper and more beginner-friendly. Jeni's favorite online spaces to buy used equipment from are Reverb, eBay, and Guitar Center.

New podcasters often buy a condenser microphone but not all of them know how to use it properly. It’s not their fault. These mics are really challenging to use correctly and the podcaster’s voice sounds like it’s in a box. I can see you shaking your head because we've all heard episodes with these mics. It's so easy to avoid this mistake.
Basically, a condenser mic picks up everything in the room equally. In other words, your voice does not get priority unless you align your mic placement. But a dynamic mic, like the Samson Q2U, focuses on what is closest to it. So, when producing a podcast, it is best to record with your mouth near a dynamic mic (within a fist's distance). Thus, you’ll come in loud and clear. There are plenty of other budget mics on the market too. But whatever you do, be kind to yourself and get a dynamic mic.
Unfortunately, despite the high quality of these budget mics, they often come with these comically short mic stands. It’s the equivalent of you wearing a child’s shoes: it just doesn’t work. A boom arm allows you to position your microphone precisely where you use it. When you mount a microphone on a boom arm, it isolates the mic from vibrations and movements of the table or desk. This isolation helps reduce handling noise, such as the sounds of tapping or bumping the table, resulting in cleaner audio recordings. Besides, using a boom arm allows you to position the microphone at the ideal height and angle, making it more comfortable for you during long podcast recording sessions. This can help reduce strain and fatigue.
Besides, by suspending the microphone in mid-air, it will minimize handling noise and structural vibrations that may otherwise affect the recording. This results in cleaner and more professional audio recordings.

Keeping it simple is one of the most helpful podcast production tips applicable not only to buying equipment. Tevin Sudi, the Sound Designer and Editor for the AfroQueer Podcast, has a similar piece of advice when it comes to making a script or outline. “I would advise guys to start with the simplest form, bullet points of the main points the episode is putting across, then add other elements with necessity.”
Tevin has advice for the speaking, sound effects and music parts of a script/outline. All the examples below are taken from AfroQueer’s “Our Husband, The King” episode, which is a narrative episode. However, these tips can be easily applied to interviews and other types of podcast episodes.
Tevin’s ways to simplify your script/outline:
In the above sound effects and music examples, it’s important to point out that the order of the added features is important. The SFX starts before Nakisanze speaks, so it shows up first in the script. Whereas in the second example, Aida’s speaking and the music start at the same time. In case you are looking for ways to further improve your podcasts, you may take a closer look at the HookSounds collection which includes a variety of royalty-free sound effects
The speaking is the main part, and the music is in the background. That's why the voice-over comes first in the order. Although how you mark your scripts/outlines can vary (underline, caps, italics, etc.), this time-order connection can help avoid making mistakes when you are just learning how to record a podcast.
Using a script or outline can help you organize your podcast before it’s recorded and using an editing template can help you organize your audio files after it’s recorded. The advantage of having a template is that once you set a template and save it, you can use it whenever needed. Think of it as the muffin pan of podcast audio editing.
Audio Engineer Allyson Holley has been using templates for years. She started using them in school while working with multi-track music sessions. They set up the music tracks before the musicians arrived because it saved studio and recording time.
Allyson now uses editing templates in Logic Pro for podcast production. Her podcast editing templates include the host(s) track(s), theme song, and any normal extra tracks (mid-roll/announcement, outro, etc.). Her template helps her keep an eye on all audio files. Knowing this, she can reach out to her client early and get the needed file(s). This saves a lot of time. Even a missing 30-second intro can set you back days if it’s not caught early enough.
Another podcast production tip she wants to share with podcasters is to be flexible. Build your first template but allow yourself to make changes when needed. “Give yourself a few minutes after you edit the first episode to think about what might be useful to include in that template going forward. No one sees your templates, there won’t be an exam.”
The good news for folks who’re completely new to podcasting is that tools and software are becoming much more accessible, too. There are loads of different audio recording and editing programs on the market these days, but the more traditional options can take a lot of time and patience to master.

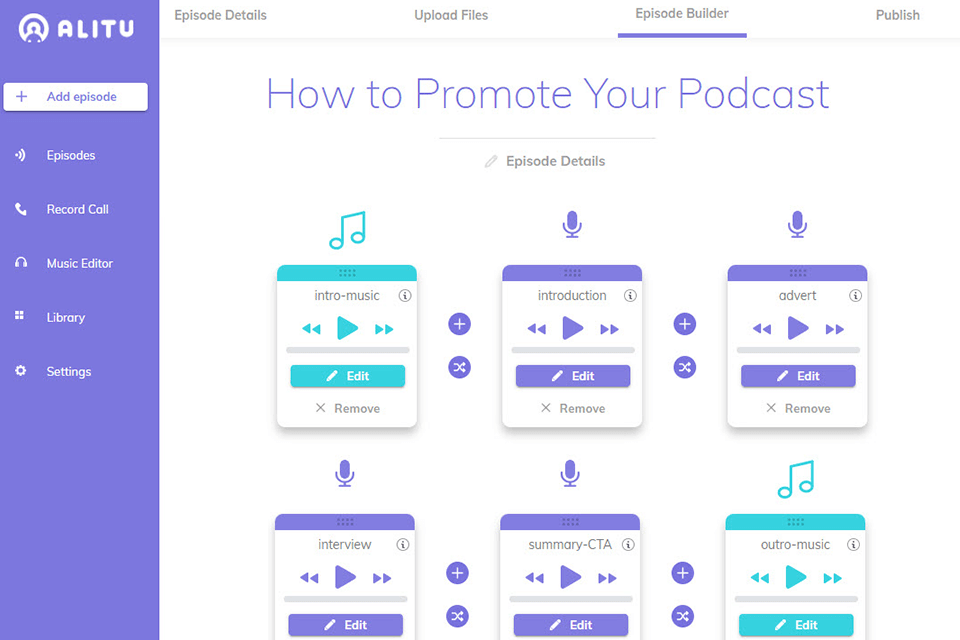
With that in mind, the ‘Podcast Maker’ tool named Alitu was developed to record, edit, produce, and publish your podcast in the easiest way possible. The ‘Episode Builder’ is a simple drag-n-drop interface, whilst all the complex audio processes like EQ, Compression, and Noise Reduction are handled behind the scenes for you, automatically.
If you nail this, your podcast will begin to gain momentum, enabling you to achieve your goals. Whether that´s earning a decent income, or simply having an impact in your topic or field, you´ll never reach either stage if you quit due to overwhelming. So, keep it simple!