These days, anyone can start a website. And plenty of people and businesses have done just that. In fact, whether your website is the main part of your business, or if you use your site to complement your mortar and brick business, being online is no longer a luxury.
But while it’s easy to start a site, the hard part is creating an online presence. So how do you stand out from the crowd? Using images and eye-catching visuals is an important part of getting noticed. And if you have a WordPress website, the best way to do this is to use a photo gallery.
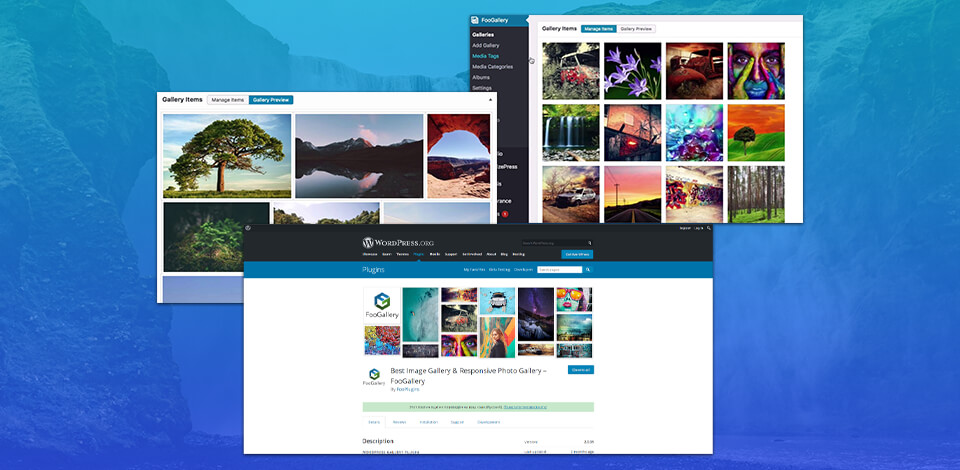
We’re going to look at some of the reasons for, and benefits of, using a photo gallery on your WordPress site. Plus, we’ll take you through the process of doing this, using a gallery plugin, like FooGallery. (You could use the built-in WordPress gallery, but read on to find out why we don’t recommend doing so.)
We all know why you need to use quality photos and eye-catching images on your site. They grab your visitors’ attention and help your site stand out. They’re also great for building brand awareness and promoting your business.
So why use a photo gallery?
A gallery of photos has the advantage of collating your images into what is essentially a photo wall on your site. In other words, it makes an even bigger impact than a single image. Plus, it’s easier to view your images this way, allowing people to take in everything at a glance, before scrolling through full-size photos one-by-one.
Photo galleries generally work by displaying image thumbnails as the gallery, as in the image below. Then, when a user clicks on the thumbnail, a full-size image opens in a lightbox above the page. This means that users can view larger images that they want to see, without navigating away from the page.
If you have a lot of photos, then a gallery is a great way to organize these images (rather than pasting images one after the other). You can sort photos into galleries, or use gallery filtering, to help your visitors find the images that they want to see. If you need to take this organization to the next level, you can use albums to further group your galleries.
Photo galleries are generally better for page performance, which is an important consideration when it comes to SEO. Gallery thumbnails are smaller than individual, full-size images, which makes for a faster page loading time. Many gallery plugins also employ lazy loading, so images in the gallery only load when scrolled to. This also reduces your page load time, as not all images load when someone first arrives at the page. Coupled with pagination for larger galleries, using a gallery plugin can really help improve your page performance when you’re using lots of images.
Galleries have the added advantage of styling and customization that you don’t get with individual images. You can style captions, add hover effects, customize the thumbnail borders, and more. Many gallery plugins also include different layouts, giving you the opportunity to create a unique look and feel for your site, just by adding a photo gallery.
You might think that setting up a photo gallery is complicated. But if you have a site created using the best website builder such as WordPress, it couldn’t be easier. We’re going to show you how to do this, in just a few simple steps.
But first, let’s talk about why we don’t recommend using a built-in WordPress gallery. Quite simply, it isn’t versatile enough to satisfy your needs. The main point of using a gallery is to showcase your images in an eye-catching manner. For this, you need to be able to customize and style your gallery so that it stands out. While the WordPress gallery allows you to do the basics, it doesn’t give you as much flexibility as a gallery plugin would.
This is why we recommend using a plugin to create your galleries. This still gives you enough gallery layouts and customization options for you to create unique galleries for your site.
To help you get started, here’s a simple step-by-step guide to setting up a gallery on your WordPress site, using the free version of FooGallery.
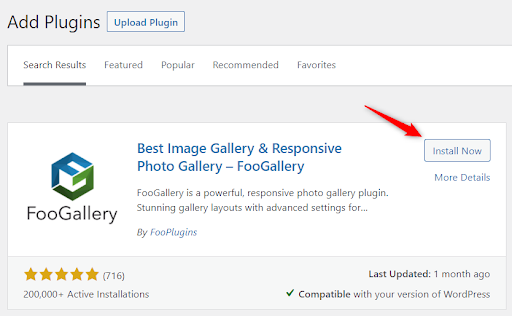
The first thing you need to do is install and activate your gallery plugin. If you’re using a free plugin, then simply go to your plugin page on your WordPress site and click on Add New.
You can then search for your plugin and click on Install Now. Once installed, you’ll be able to activate it.
You can now start creating photo galleries for your site!
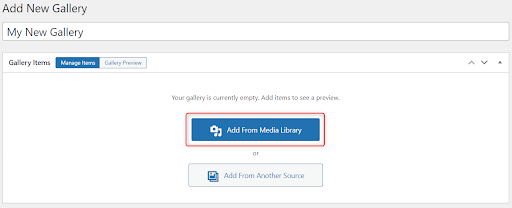
With FooGallery, you can start creating galleries straight away. To do this, look for FooGallery in your WordPress menu and find the Add Gallery button. Clicking on this will open a new gallery page, and you can start by naming your gallery.
Next, you’ll want to add your media. FooGallery uses the built-in WordPress Media Library, so you can add any images already available in your library. Alternatively, you can upload images for your gallery (these will also now be available in your library).
To add photos, click on the Add From Media Library button. You’ll now have access to the photos in your media library, or you’ll be able to upload images directly to the gallery.
If you’re using a premium gallery plugin, like FooGallery PRO Expert, you can also upload videos or create dynamic galleries from sources like Media Tags or Server Folders.
You can add more images to the gallery, or remove them, at any time. You can also drag and drop to change the order, or use the gallery sorting feature to do this.
The next step is the fun part: customizing your gallery. It’s a good idea to use a style that works with your website, and to use a consistent style across your galleries. (FooGallery has a handy feature that lets you set up a default gallery style. Simply create and style a gallery that works for you, and set it as the default gallery in your settings. All your future galleries will now use the same settings as that gallery.)
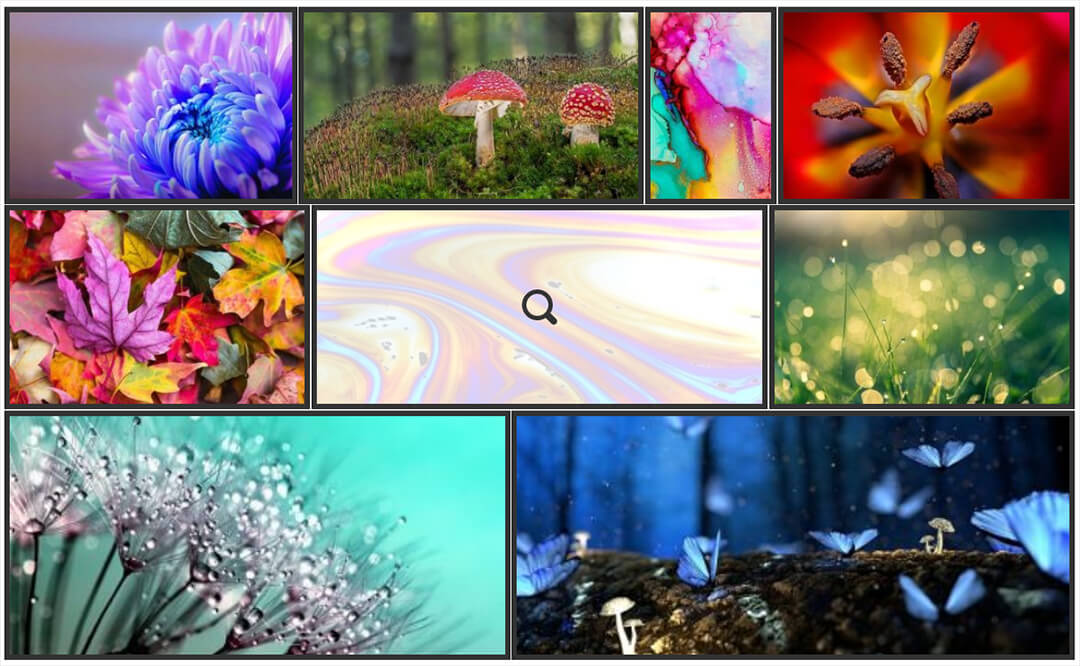
Styling your gallery starts with choosing your gallery layout. FooGallery, for example, has a number of different gallery templates, including a justified gallery. Every template comes with default settings, but these can be easily tweaked to suit your needs.
Here’s how a justified gallery and some of the settings that can be applied to the thumbnails in the gallery look. The thumbs have slightly rounded corners and a small drop shadow. On hover, the image gets darker and zooms out, and there’s a hover icon showing you can click on the image to see the full-size photo.
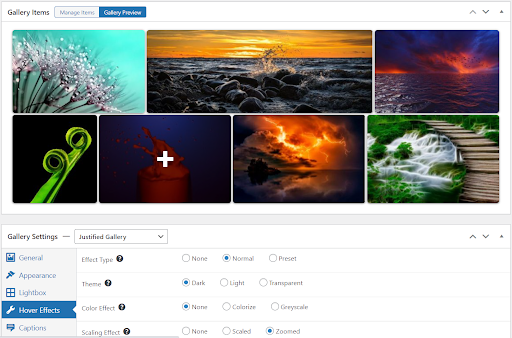
As you can see in the above screenshot, FooGallery includes a handy feature: an instant gallery preview. This reflects changes as you make them, so you can test and adjust settings without having to publish your gallery first or leave your gallery page.
Using other settings, you can choose your captions and descriptions, choose a loading icon, and adjust your thumbnail borders. For larger galleries, you can implement pagination, which means that users don’t have to load or scroll through hundreds of images all at once.
Depending on the plugin you choose, you may also get more advanced features, to help you create more advanced galleries. FooGallery PRO Expert, for example, includes gallery filtering and lets you add videos to your gallery.
As we mentioned a little earlier, photo gallery plugins work with a lightbox, allowing you to open your gallery thumbnails in a panel above the screen. You can then scroll through the full-size images. FooGallery free works with a number of lightbox plugins, including FooBox; the premium version of FooGallery comes with a built-in lightbox - so this will depend on the plugin that you choose. You can also style and customize the lightboxes, giving you added control over how your images are displayed.
Once you’ve set up your gallery, all that’s left to do is publish it! You can then insert it into your page or blog post, where it will work, impressing your visitors.
Most photo gallery plugins include a gallery block, so you can insert your gallery by selecting this block in the Gutenberg editor. Alternatively, you should be able to use a shortcode to place the gallery on the page.
If your site is image-heavy, it can slow down your page speed, which can have a negative impact on its performance. For this reason, it isn’t a good idea to use high resolution images. You can optimize your images before uploading them with the help of the best image optimizers, or you can use plugins to help once you upload your images.
Many gallery plugins will make use of lazy loading to improve your gallery performance. But you can always help your site’s performance by using an image optimizer as well. This reduces the file size of your images, which improves your overall page speed. There are plenty of good image optimizer plugins available.
Your website needs to stand out from the rest, and using a gallery plugin is certainly a good way to start. But you need to use your gallery to make an impact. You can do this by customizing your gallery - add borders or drop shadows, choose an interesting layout, use a zoomed hover effect. Anything to make your gallery pop. If you want to save time and money, you can use free WordPress themes to give your gallery a professional look.
While it’s possible to open your full-size images in a new tab or window, this isn’t recommended. This takes your visitors away from your site, and it could mean that they won’t come back.
The better alternative is to use a lightbox. This opens the full-size photo on the same page as the gallery, so visitors don’t navigate away. If your gallery plugin doesn’t come with a lightbox, you can use a separate, compatible lightbox plugin that works with the gallery.
Features and performance are both factors that you should consider before using a gallery. You need a gallery that makes your photos and your site stand out and make an impact. So, look for a plugin that comes with plenty of features, even if it is free.
If you have the budget for a premium plugin, choose one that comes with the additional extras you need. FooGallery, for example, comes with three premium plans, designed to suit various needs. You can first opt for the FooGallery Starter plan if you need just a few more customization options. Later, upgrade to an Expert plan for additional features, like video, filtering and custom captions, or a Commerce plan, aimed at people who want to use their galleries to generate revenue.
One of the most important factors for your gallery plugin, though, is performance.
There are over 1.8 billion websites out there! So, getting noticed is no easy task. But you can make it easier for yourself by using a gallery plugin on your WordPress site.
There are two things you need to remember when choosing a WordPress gallery plugin:


