Ensuring the pics meet the needed MLS photo size is of paramount importance for me as a real estate photographer. Usually, the platforms have strict rules regarding the dimensions, file size, and formats of photos to ensure that all listings are consistent and visitors get the best possible user experience.
The best size for MLS photos depends on a specific MLS platform, but the most common ones are:
So, real estate agents should specify local MLS requirements to make certain that the image size is suitable and that the pic will look great on the site.
MLS, or Multiple Listing Service, is a database created by realtors where they provide descriptions of properties for sale. It is a really important tool for realtors, as it allows collaboration and access to detailed listings of different types of properties.
This centralized system provides real estate agents with a resource that contains all the needed property details like descriptions, photos, and pricing, which can be viewed by other agents and potential buyers.
MLS platforms are crucial for building a successful real estate marketing strategy, as they are used to distribute listings across different websites and social media platforms.
The size and resolution of MLS pics influence the perception of properties by potential buyers. Pixelation and distortion are two common problems clients experience when enlarging too small images. However, too large photos are not good as well, as they are slow to load, irritating clients and making them jump to another ad. Thus, a proper balance of quality and size is crucial.
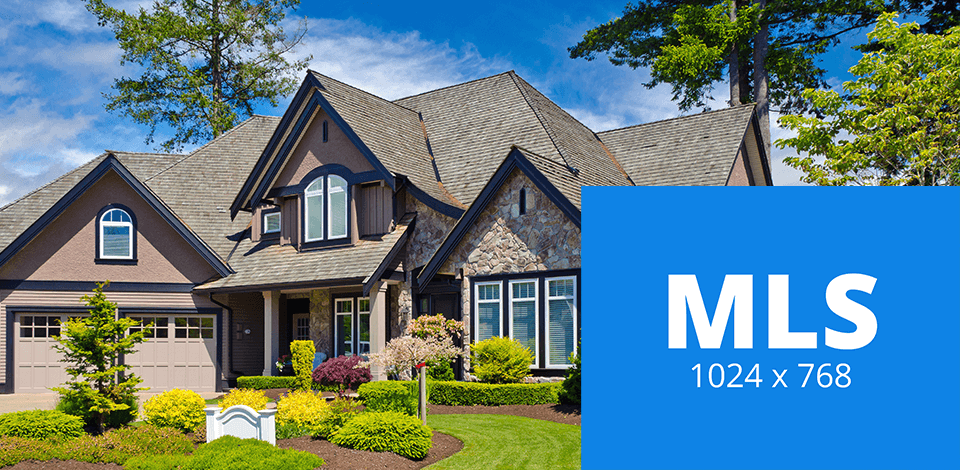
The standard photo size required by most MSL platforms are 1024 x 768 pixels or 2048 x 1536 pixels. They not only maintain clarity but also are quite quick to load. As a real estate shooter, I know well that pics with higher resolution look crisp when displayed on both a phone and a desktop computer.

MLS real estate photo size is not the only criterion I should pay attention to. To make sure my images meet all the standards, they should also satisfy other requirements.
✔️ File format. A photo you are going to publish on the MLS platform should be in JPEG format. This is the most common format, thanks to which one can compress high end real estate photography without deteriorating the quality.
✔️ File size. Many MLS platforms also limit the photo upload size to 6 MB or less. Larger files can slow down the upload process, limit the number of images that can be displayed, and reduce the speed at which potential buyers can view properties online.
✔️ Aspect ratio. As for aspect ratio for MLS pics, the platform supports 4:3, 3:2, and 16:9. Two main aspects impact the ideal aspect ratio, namely the property and the intended use. For example, it is better to choose a wider aspect ratio like 16:9 for a landscape photo showcasing the property’s outdoor features. On the contrary, a portrait-oriented photo will benefit from a narrower aspect ratio such as 3:2 to demonstrate the height of the space.
✔️ Number of photos. Usually, MSL platforms limit the number of pics a photographer can upload to a listing to 25 to 50. As a real estate photographer, I always prefer displaying the most important rooms like the kitchen, living room, master bedroom, different exteriors, as well as focus on some unique features like pools or fireplaces.
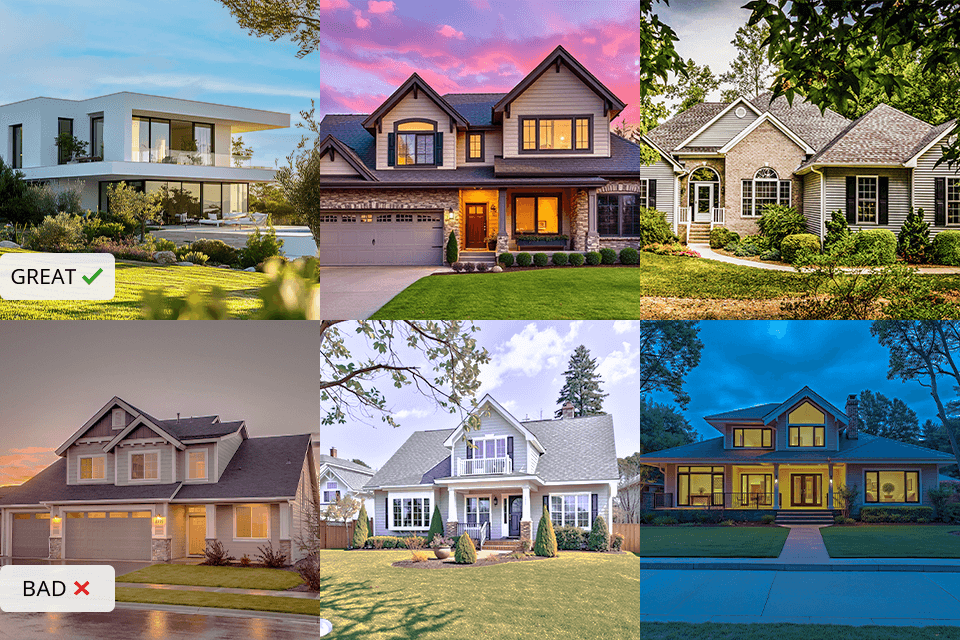
✔️ Clear and well-lit photos. Bright and clear pics can represent the property in the most flattering light and make buyers feel like they walk through the rooms in reality. Natural light is the greatest option, and in darker spaces professional lighting or flashes are a must. Pay attention to the fact that blurry pics make the property less appealing and decrease the chances of closing the deal.
✔️ Rights to use the images. Before publishing the pics on the MLS platforms, it is pivotal to ensure that you have all the needed rights to do this. When cooperating with a photographer, check the agreement first to make certain that you are allowed to use the pics in your marketing campaigns. Using copyrighted images without permission is against the law and your listing can be even deleted from the MLS platforms.
❌ Do not include people or pets. Images should only feature the property you are going to list to provide buyers with a clear and natural image of the advertised place.
❌ No personal information or branding. MLS photos should solely focus on property, so make sure that they do not contain any personal branding, watermarks, or logos. Thus, you can better turn the clients’ attention to the real estate and meet MLS guidelines.

These handy real estate photography tips will be useful for taking pics for MLS that will represent the property in its best light.
✔️ Use a wide-angle lens. Shooting with a wide-angle lens attached allows a photographer to capture more space in a single pic, creating the illusion of a bigger and more inviting room. I usually work with lenses for real estate photos between 14mm and 24mm, which is suitable for shooting rooms of different sizes.
✔️ Leverage natural light. Make sure to plan the photo session during the day to benefit from natural lighting. Late morning or early afternoon is just perfect, as there is enough soft sunlight during these hours.
Before the start, open all the curtains to let the light illuminate each corner of the property and turn in the indoor lights to add extra warmth. In cases when the natural light does not provide sufficient illumination, I install professional equipment to brighten the space and achieve a perfect color balance.
✔️ Find the right angles. The ideal position for capturing the whole room is from the corner, a bit angled toward the center. This technique allows adding depth to photos and makes the area seem larger. Shooting from chest height will provide you with a natural perspective and the ability to capture the space without distorting its proportions.
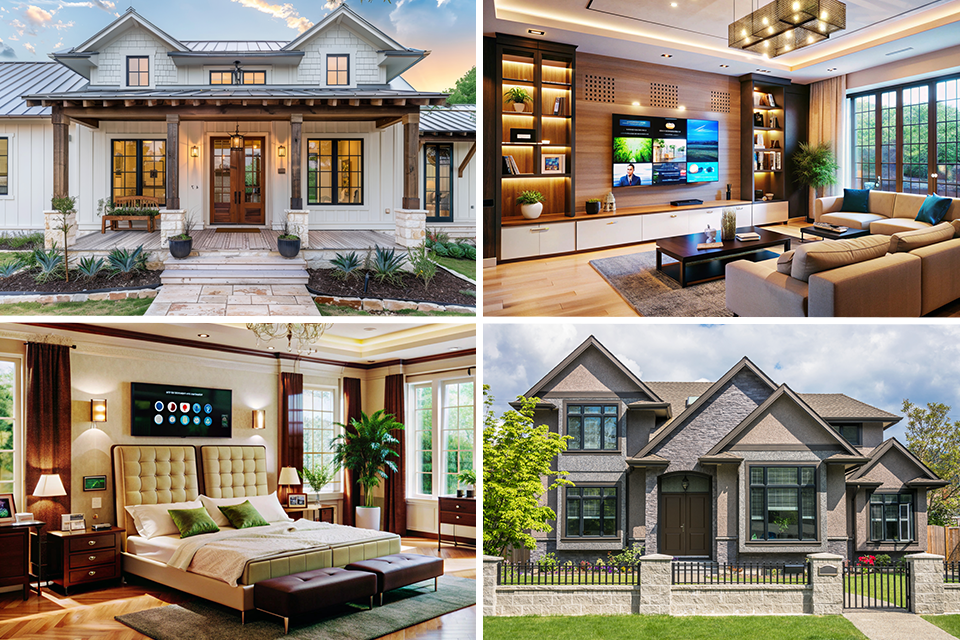
✔️ Declutter before shooting. Before taking a shot, make certain you’ve removed any personal items, excess furniture, and any unnecessary objects. A minimalist image of the advertised property will allow potential buyers to imagine themselves living here. The homeowners should take kitchen appliances, personal photos, and kids' toys away to organize a photoshoot for MLS.
✔️ Capture detail shots. If the property boasts custom cabinetry, designer light fixtures, or beautiful tile work, make sure to capture every detail of such features. Pay attention to the fact that a wide-angle image cannot represent these room’s highlights properly.
✔️ Use a tripod. Using a tripod is an effective way to ensure the stability of the equipment and get crisp images. This accessory is indispensable for conducting a photo shoot in low lighting conditions, where slower shutter speeds usually result in blurry pics if handheld.
✔️ Highlight outdoor spaces. A spacious yard, patio, or pool is the selling point of any property, so a photographer’s task is to capture such spaces, which should be tidy. Ask the homeowners to mow the lawn, trim hedges, and nicely arrange the furniture before a photoshoot. And a photographer should take pics from different angles to represent these outdoor attractions properly.
✔️ Edit for a natural look. Clean and natural edits are okay. I usually adjust brightness, contrast, and colors with real estate photography software like Adobe Lightroom, Adobe Photoshop, and Canva. Do not overdo it with editing to avoid artificial and unappealing images.
Such photos typically look distorted, blurry, and pixelated, which is absolutely inappropriate for property listings. Some services may refuse to publish the image or ask for adjustment.
Although you can upload pics of different sizes to the platform, it is better to check the recommendations. Smaller photos may lack clarity, while larger files are often compressed losing crucial details. Check the guidelines first to ensure excellent display.
Take advantage of popular image editing tools like Adobe Photoshop, Lightroom, and web-based services such as Canva and PicResize. The procedure is fast and intuitive: select and open the needed pic, set the dimensions to 1024 pixels on the longest side, and export the result. Note that by resizing images you can decrease the image quality, so use only reliable and trusted tools for this purpose.
Editing is a great way to improve brightness, contrast, and color balance. However, you should avoid over-editing in order not to misrepresent the home. For example, over-saturated images, which may look perfect on your screen, can appear garish on other devices. When enhancing brightness and contrast, do not forget that all the details in the shadows or highlights should be preserved.
Paying attention to colors is the only way to achieve a consistent look of your pics across all mediums. The hues need to be accurate and look as crisp and clear on both computer screen and paper. Proper calibration of your PC screen and high-quality printer are essential as well.