If you have found a better Adobe Creative Cloud alternative and want to stop using Adobe software but failed, there are several easy-to-perform methods to do it manually, using Adobe uninstaller and CCleaner.
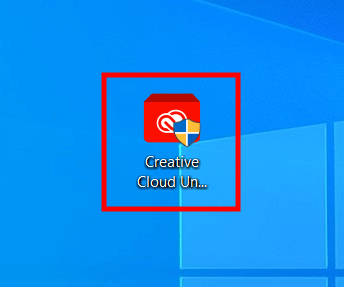
The next step is to extract the files from the archive by double-clicking Creative Cloud Uninstaller.app. file.
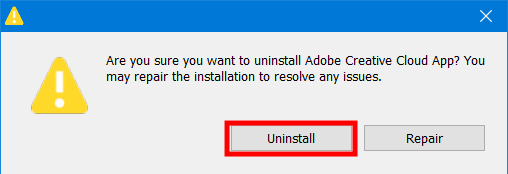
Next, the Adobe Creative Cloud uninstaller will open a window asking you to confirm the removal of the Creative Cloud desktop app. Click Uninstall to remove the tool.

Wait while the program is being uninstalled. When the process is complete, click Close to close the window. You’re done – Creative Cloud has been removed from your PC.
To get started, open the Creative Cloud desktop application.
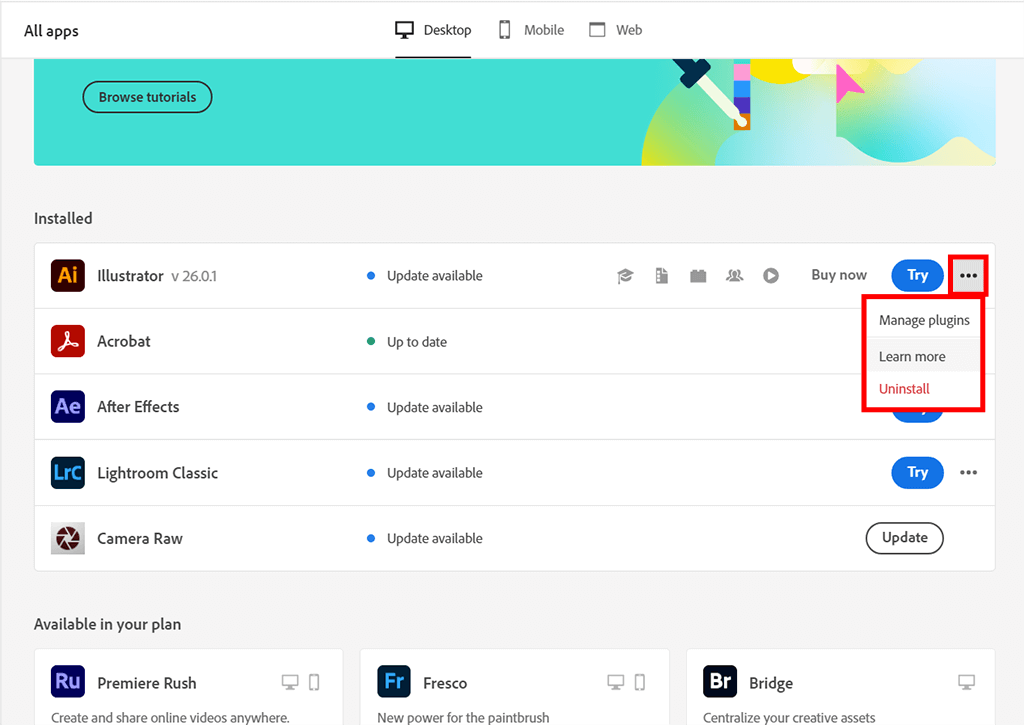
Make sure you are on the All Apps page. In the list of applications, find the one you want to remove.
At the end of the line you will see the More actions icon, click on it. A drop-down menu will open in front of you, where you need to find and click Uninstall.
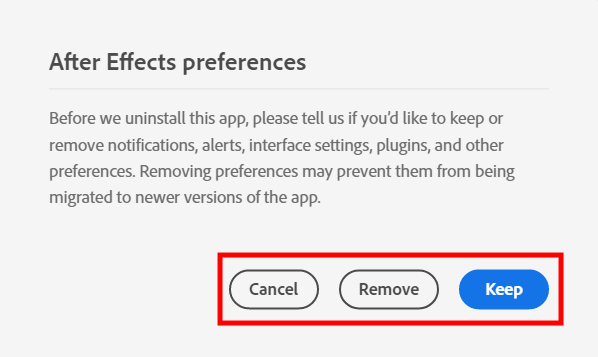
Depending on your goals, click Cancel, Remove, or Keep.
“Cancel” cancels the program removal process.
“Remove” will remove all program data, including notifications, alerts, interface settings, plugins, etc.
“Keep” will leave all program data intact, including those listed above.
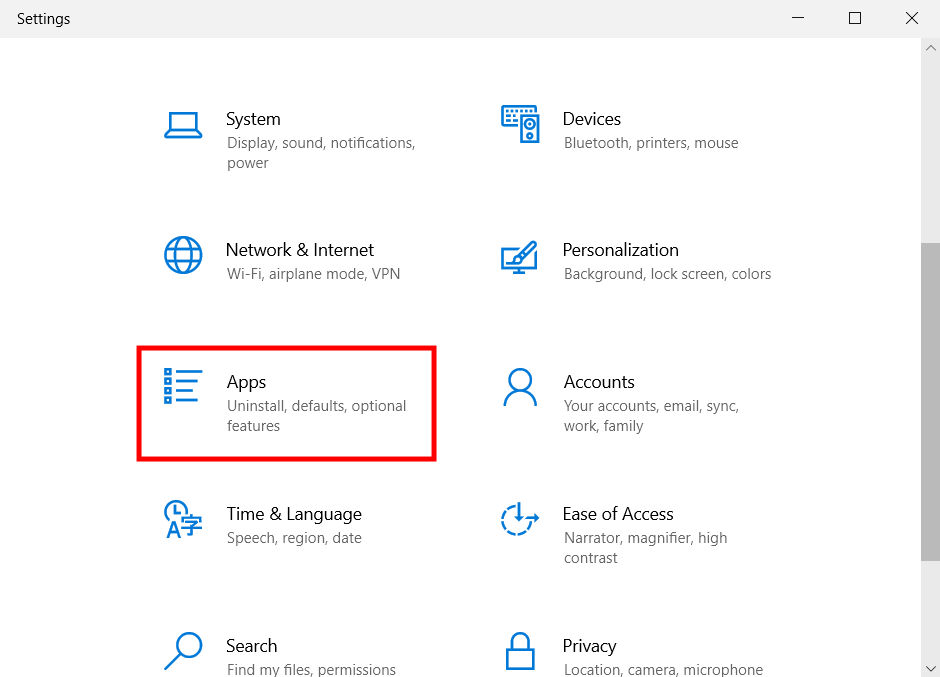
After removing all Adobe applications, proceed to uninstall Adobe CC desktop software. To get started, go to the Windows menu, and then to Settings.
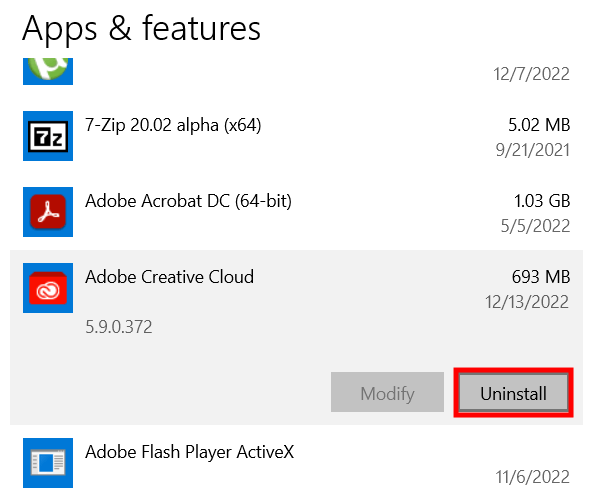
Find Creative Cloud and select Uninstall by clicking on it.
The tool will ask for your confirmation, after which the removal process will begin. You will see a green progress bar.
When the removal is complete, click the Close button. If after this some product components remain unremoved, repeat the described process for them.
If the above methods seem confusing or unreliable to you, use CCleaner. It is often used to clean up and uninstall the drive, clear cookies, disable unnecessary startup software, fix the registry, clean up the browser, and so on.
Available in 57 languages, the program is compatible with any version of Windows. You can use it for free or buy the plan from $29.95 per PC.
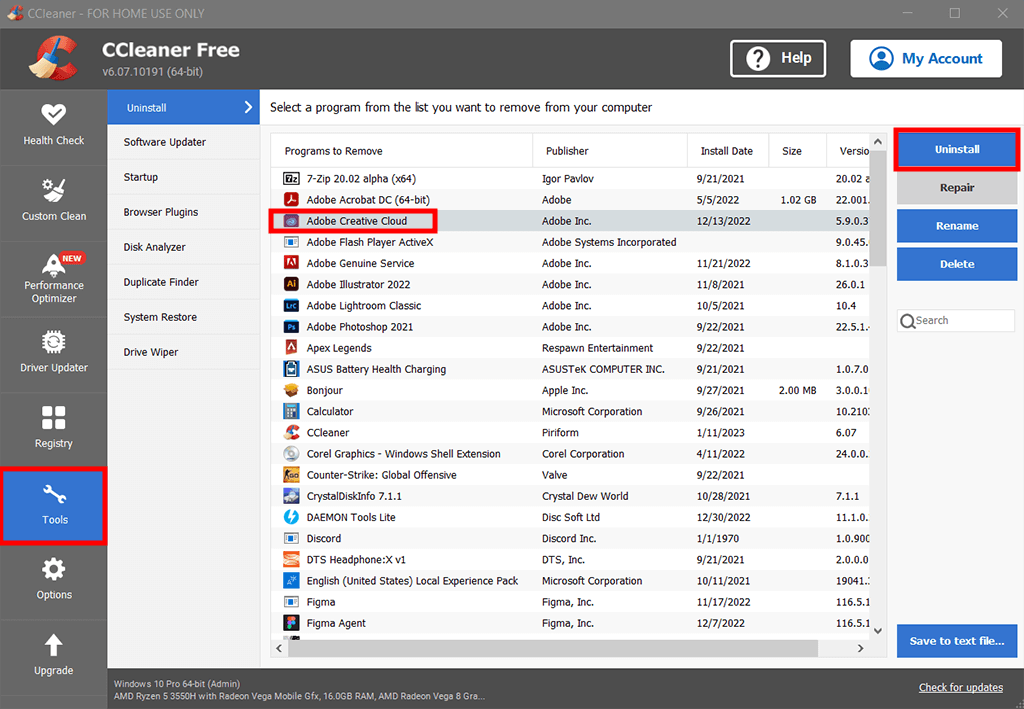
To get started, you need to download CCleaner and sign in. Open the main menu and navigate to the Tools section. Next, open the Uninstall tab and look for the Adobe desktop app.
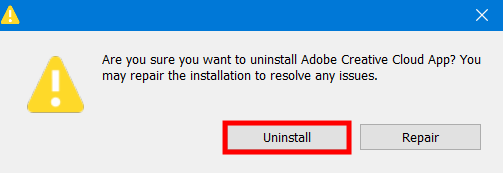
Once you have selected the Adobe desktop app, click on the Uninstall button in the upper right corner. Next, a window will appear in front of you where you need to confirm that you want to uninstall Adobe CC.

Wait about half a minute for the software to uninstall. As a confirmation of the end of the removal, you will see a window where you will need to click Close.
By uninstalling Adobe Creative Cloud, you thereby remove all applications installed through it. At the same time, all your files created in these applications and saved on your PC will remain untouched. You may think that uninstalling Adobe CC is tricky, but it’s not. Before you get started to use Adobe Creative Cloud uninstaller or another uninstaller, make sure you no longer really need Adobe software and that you have found a worthy alternative to these products, such as Final Cut Pro or Capture One.
Once you have obtained a license, you do not need to reinstall Adobe CC. Just visit Adobe website, enter your NUSNET ID, and wait for authentication. Upon completion, your PC will update the subscription dates.
The purpose of uninstallation is to remove the software and related files from your hard drive. Unlike an efficient and safe uninstall that gets rid of all relevant files, a deletion removes only a portion of the software or one specific file.