PDF docs have long become an integral part of the workflow of almost every company – they store confidential information, share it with clients, etc. This document format supports both text and image editing when done through Adobe Acrobat on your computer. Scan the document if you don’t already have a digital version and read my article to the end to learn how to redact PDF in Adobe Acrobat. Hiding bank card data, social security data, and all other personal information – all this can be done with your PDF documents in this program.
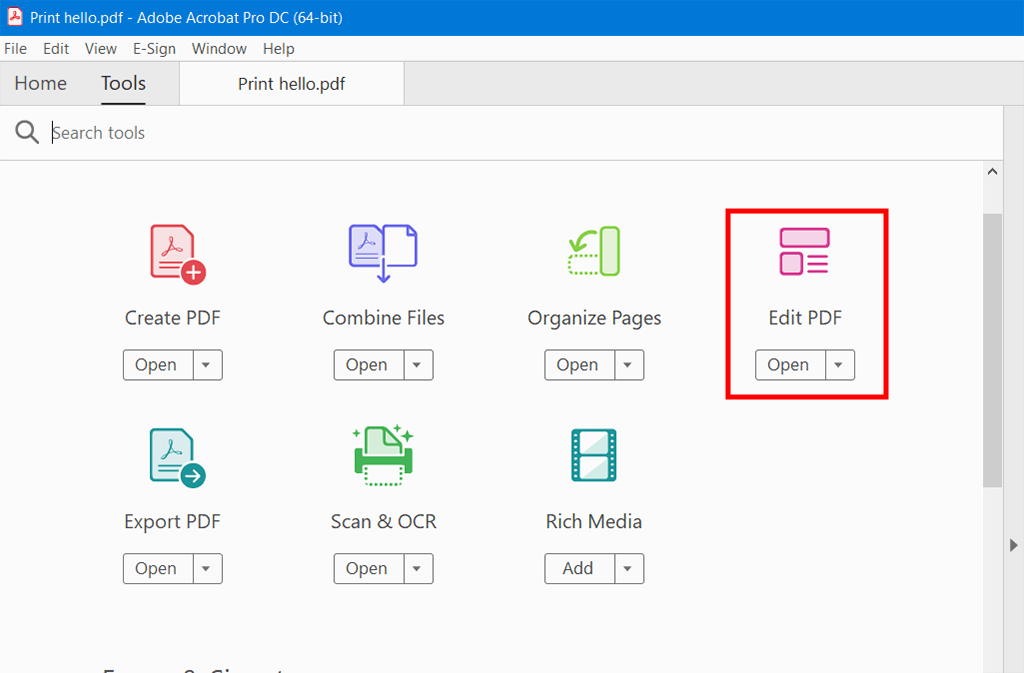
Download Adobe Acrobat and open it. Next, find the Tools menu to choose Edit there and click.
The Edit tool allows permanent removing text and images from your doc. I advise you to first copy the document so as not to inadvertently delete what you need to keep intact and proceed with the redacting process, which I have described in detail below.
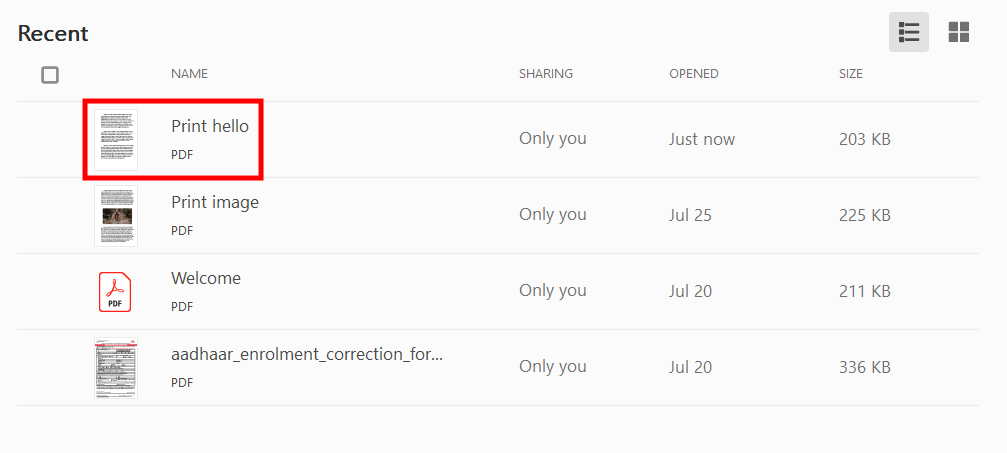
Select Choose File and find your PDF file.
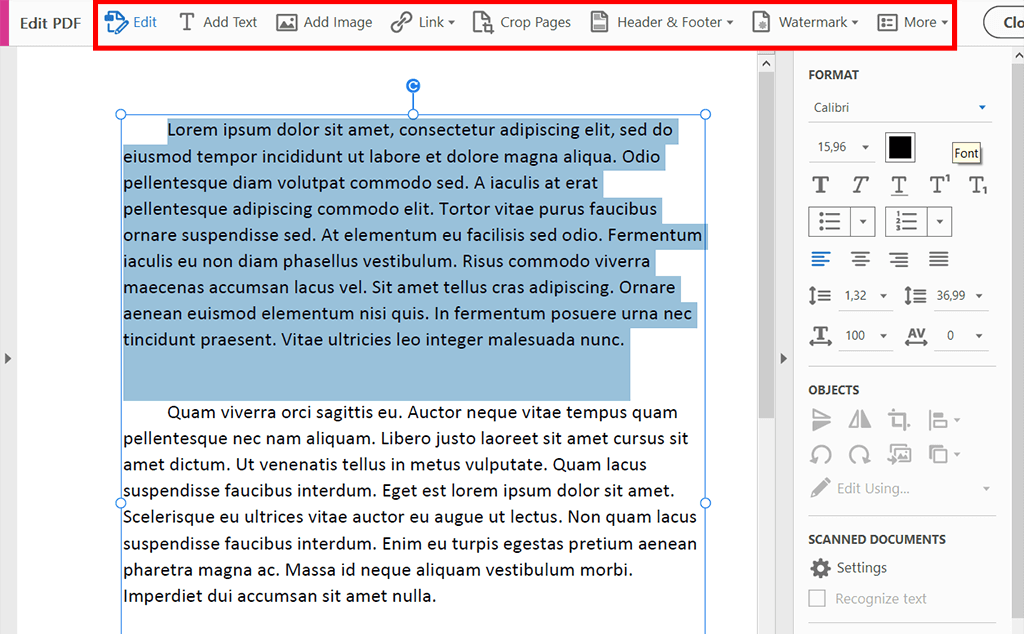
Find the Mark For Redaction drop-down menu and select the appropriate redaction type there. The Text & Images option is for processing texts and illustrations, the Page option is for blacking out entire pages, and Find Text is used to find defined words and sentences. You need to select Text & Images to start to redact PDF in Adobe Acrobat.
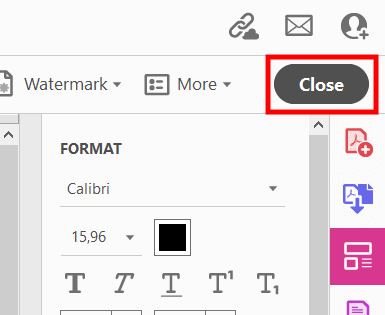
Using crosshair draw rectangular areas over the text or illustrations you are about to permanently delete. If you have Windows OS, then press Ctrl + Z, and if MacOS, then Command + Z – mistakes are fixed. When finished redacting in Adobe Acrobat, click Close. You will see a pop-up window notifying you that all the data you have redacted will be deleted permanently after you click OK.

Don’t forget to save your PDF as a separate new file. In this way, you will keep the original document intact, which will come in handy if you accidentally deleted the data you need using the Redact tool.
This can be done in many ways. Scanning a paper document can be done through Tools > Create PDF in Adobe Acrobat. You will see the Create a PDF from any format window. Click Scanner and you will see options to choose from. Select Autodetect Color Mode and click Scan. If you need to scan multiple pages, you can use Scan More Pages, Scan Reverse Sides, or Scan Is Complete. After all settings, click OK. Choose Settings if you need multiple docs scanning. It shows the Custom Scan interface. Check the option that says Prompt to scan more pages. You can also scan PDFs using the free Adobe Scan app for Android. This is a great tool for your smartphone that does a great job of scanning docs to PDF and automatic text recognition. With it, capturing and converting docs, forms, business cards, and any other surface containing text into top-quality PDF files – is a no-brainer task. After these simple steps, you can open these docs in Acrobat, whether on a PC or smartphone, and do whatever you need – sign, annotate, and even redact PDF in Adobe Acrobat.
To do this, select the Redact tool, highlight the information you want to remove, and right-click. Select Repeat mark across pages. In the dialog box, write the page numbers on which you want to remove information. Click OK and Apply.
Yes, you can. To do this, select the Redact tool, click on the arrow to the right of Redact Text and Images, and in the list that opens, change this option to Redact Pages. In the dialog box, set the Page Range or select the option to change only the page you are viewing. When ready, click OK and Apply.
To find and remove a phrase or data from a document, open Redact and select Find Text and Redact from the list of tools. With it, you can quickly redact PDF in Adobe Acrobat if a text search is available. Search the current PDF file or all PDF docs in another location using a Search dialog box. You can choose to search by single word or sentence. In this case, you just need to enter a word or several in the field. Another search option is multiple words or phrases. With Words selected, enter the desired words one at a time in the New Word Or Phrase field, then click Add. This option also allows importing a file containing the list of words you want to find. You can also search by patterns, such as phone numbers, card numbers, addresses, and dates. Choose the appropriate option. Changing the display language of patterns occurs in Edit › Preferences if you have Windows OS or Acrobat › Preferences if you use macOS. Having dealt with the search options, select Search & Remove Text. By clicking on the (+) next to your PDF title, you can view all occurrences of the desired word or phrase and select the ones you need. By clicking Apply, you will delete everything that is selected. After that, you can also crop PDF file in Adobe Acrobat, resize it, change the page order, and so on.
Yes, you can do this in Acrobat Pro DC. Select Tools > Redact. Next, click on Redact Text & Images. In the menu that opens, click Properties. You will see the Redaction Tool Properties dialog box. Click the Appearance tab to set the modification options. Click OK. Click on Redacted Area Fill Color to select a fill color from the palette. This color will fill in the areas where the deleted elements were located. You can also choose not to select a color and simply leave the space blank by choosing No Color. To apply custom text or redaction code options, click Use Overlay Text. Here you can also set the style by choosing the font, its size, and other text design options. With Custom Text selected, simply enter the caption that will be in place of the redacted area. Choose Redaction Code, then either choose a code from an already defined set or click Edit Code to create a new code or code set. Once in Redaction Mark Appearance, select Outline Color and Fill Color, or one of the two, whichever suits you best. Here you can choose the color that will mark the redactable elements. This color can be made semi-transparent by adjusting the corresponding slider or left blank by clicking No Color.