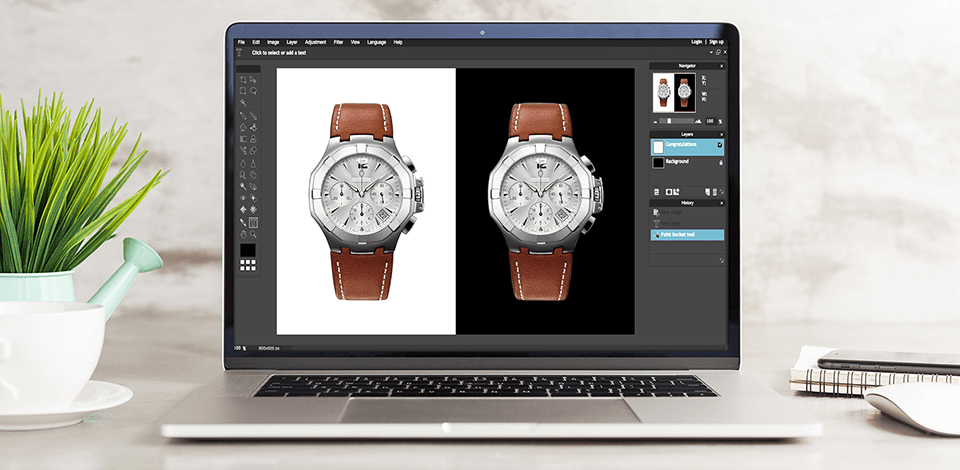
Want to make the background of a picture black without advanced Photoshop skills? I’ll show you how to do this quickly and easily. Follow the steps below to replace the background of any photo in Apowersoft, Paint 3D, online Photoshop, and Pixlr.
Go to free online Photoshop and open the image from your computer.

Choose the Magic Wand (W) from the toolbar to the left and click on the background of the image. This will create a selection around the object.

Open the “Select” tab from the top bar, and navigate to “Inverse”. If you prefer using Photoshop keyboard shortcuts to save time, use the Shift+Ctrl+I/Cmd+Opt+I key combination.

The next step of black background photo editing is making sure the selection contour is accurate. To do this, right-click the image and select “Refine Edge.”

You’ll see the Refine Edge window appear. Drag the slider to the right to make the background transparent. Click “OK.”

Inverse the selection again by going to Select>Inverse, or using the Shift+Ctrl+I/Cmd+Opt+I shortcut.

Choose the Brush Tool from the toolbar, and select the black fill color. At the top menu, choose the blend mode and the opacity.

After that, start carefully painting the background black.

Go to Select > Deselect to remove the selection. You can also use Ctrl+D/Cmd+D hotkey.

Good job! Save the image to your computer. You can now easily create black background images.

Open the best free background removal software - Apowersoft. Next, upload the image. The import section is divided into 3 parts: for portraits (with face recognition on); for products, clothes, animals, cars; and for seals, signatures, logos.
Depending on the type of image you’ll be using, choose the section that fits it the most. Since I will be using a product image of a watch, I will select the second option.

The online tool will process the photo automatically and quickly. Once processed, click the “Edit” button for you to be directed to another interface. Position the image and click “Change Background.”

You’ll see a color palette appear. Choose the black color, and you’ll see the changes automatically apply.

Once you have done that, hit “Save” to download your image.

Now you know how to make the background of a picture black in Apowersoft in 4 simple steps.

The first step is importing the desired photo.

Click the Magic Select Tool from the upper menu. This is an intelligent tool that makes cutting out images fast and easy.

Drag in the corners or the sides of the box to show the software what to focus on.

Selection is an important part of black background photo editing. That’s why you’ll have to make your selection more accurate by masking any unselected areas to add them to your cutout. In order to do this, use the “Add” and “Remove” tools. Once you’ve refined the cutout, click “Done.”

Open the “Brushes” tab, go to “Fill”, and select the black color.

Save the final work. You’ve successfully learned how to make the background of a picture black in Paint 3D in 6 steps.

You can also learn how to remove background in Paint 3D using the same tools.

Go to the Pixlr website and open the image.

You’ll be redirected to the working area. The layout is similar to Photoshop.

Select the fill tool from the toolbar. It is a simple and easy way to fill whole areas with the same color.

Use the color picker to choose the fill color. Once you have found the black color, click “OK.”

Next, change the Tolerance to 0.

Then mouse over the canvas and click to fill the background with black.

Finally, download the finished result. In order to do this, click the blue “Save” button at the bottom right corner of the interface. The File Saving window will pop up, and you’ll be able to rename your black background image, as well as choose the file type for output and the size of the photo.

Good job! Now, you are a pro at black background photo editing.
