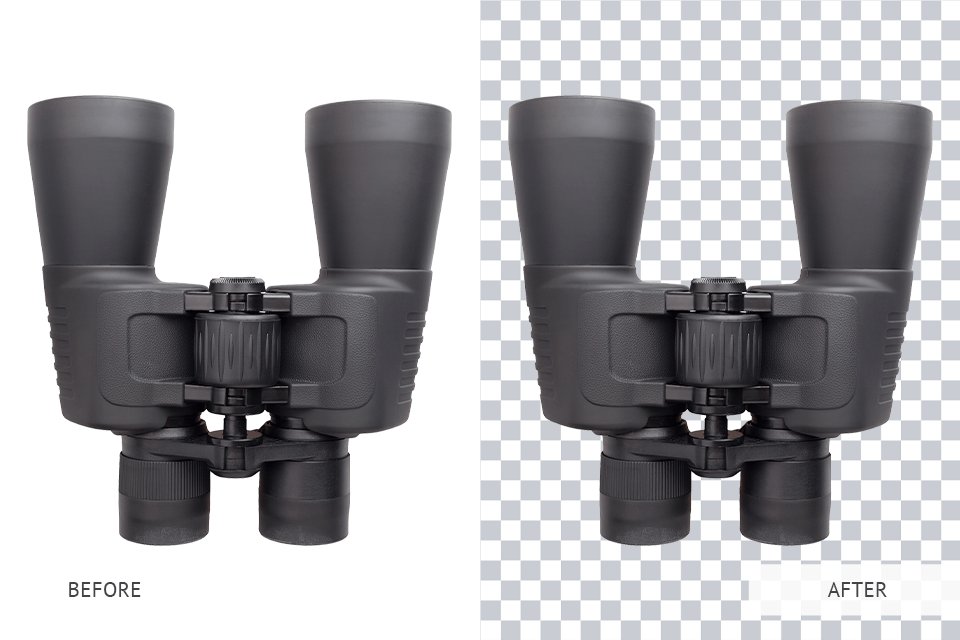
You may need to edit just a part of a photo or to remove its background. Many people prefer Photoshop for this purpose but GIMP is also a great option for people, who need a free photo editor. Read this guide and find out how to cut out an image in GIMP using three methods.
GIMP allows you to do even more, and if you master it well, it can even replace Adobe software. Learn more about the program from GIMP tutorials, which describe in detail how to do edit your pictures with this editor.
This method involves drawing the edge of a selection by hand or in straight lines. Use it to select both complex and simple shapes.
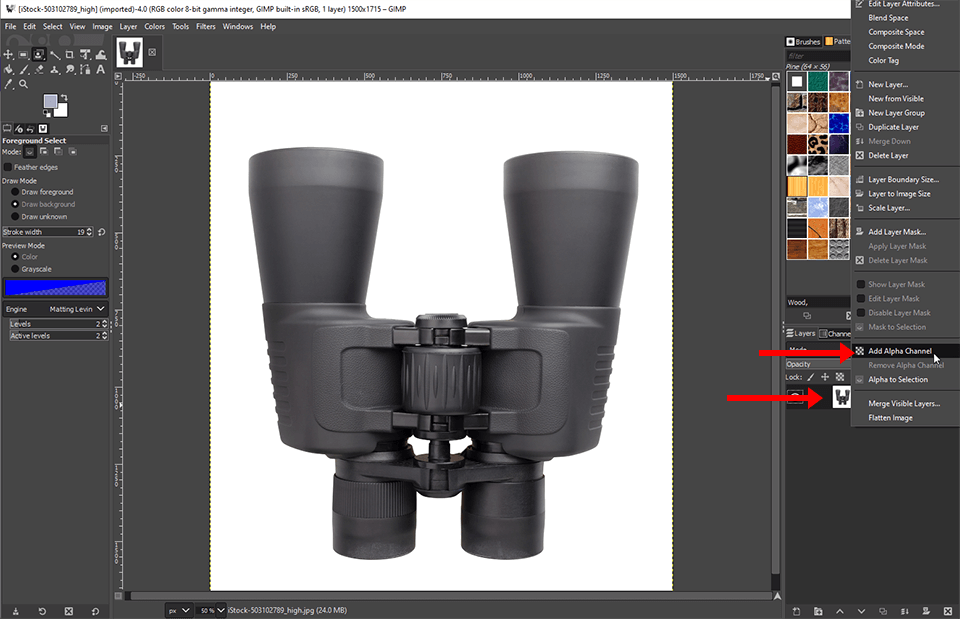
Load a photo to the program. Click on Layer > Transparency > Add Alpha Channel. There will appear a transparency layer underneath your main image. Thus, you will see the transparency effect after you remove the background.

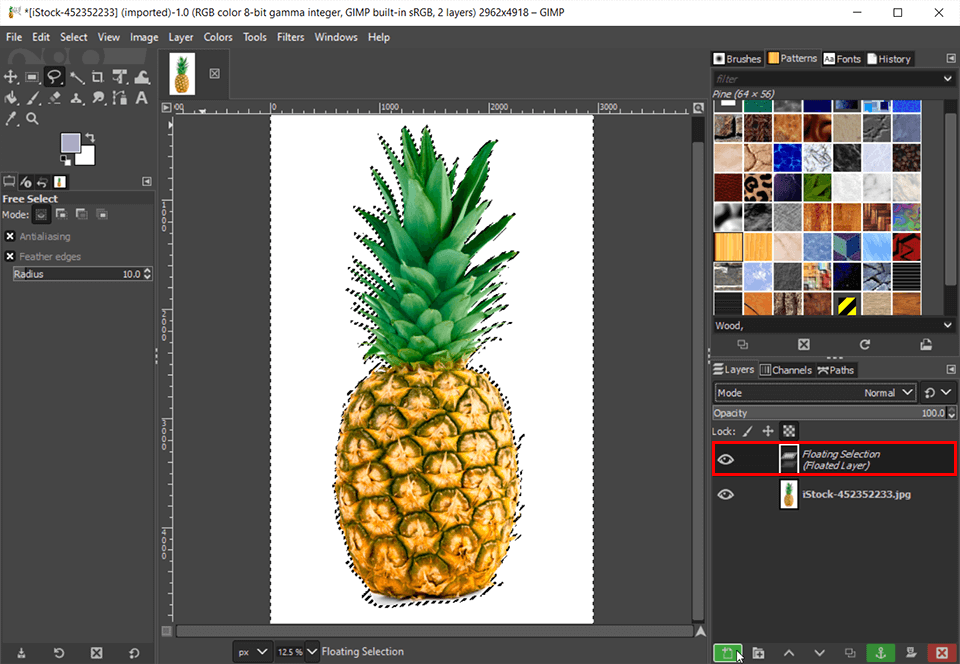
Activate the Free Select tool on the toolbar. Using LBM, put the first point from any convenient place on the path of the object. Then, change the position of the mouse cursor along the path, click LMB, and add points. To complete the selection, go to the first point and click on it.
In most versions of this program, you have to press the Enter key for the selection to appear after clicking on the first point. In the latest version (2.10.18), it’s enough to just close the path by clicking on the first point.

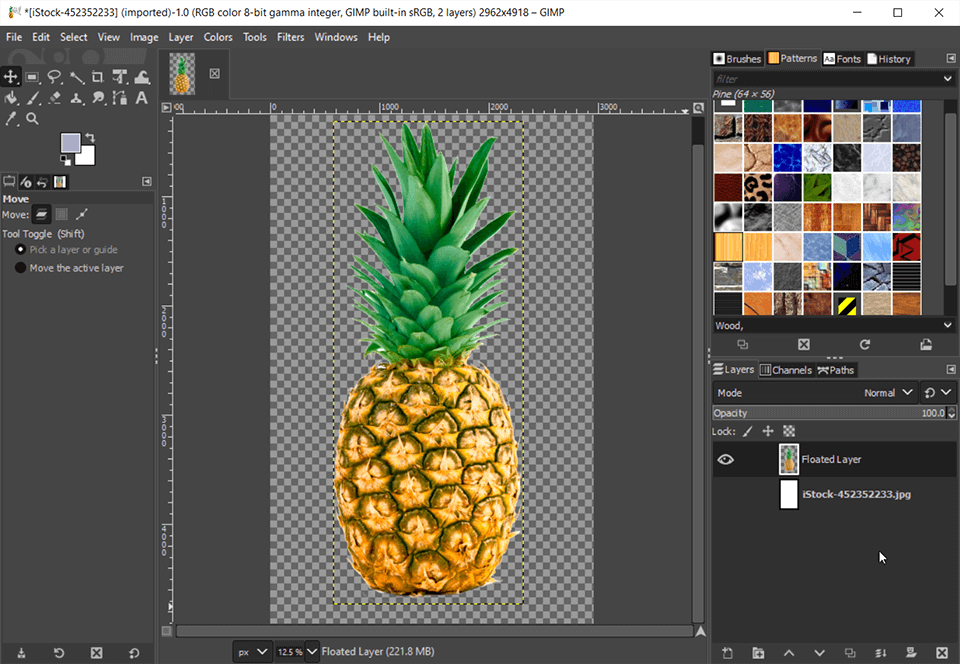
A Floating Selection (Inserted Layer) will appear in the toolbar above the layer. In order for the layer to become normal, click LMB on the icon for adding a new layer. Turn off the visibility of the original object layer by clicking on the eye icon next to the layer thumbnail.
After removing the background, you may have some of its fragments on your object. It's easy to get rid of them with Eraser.
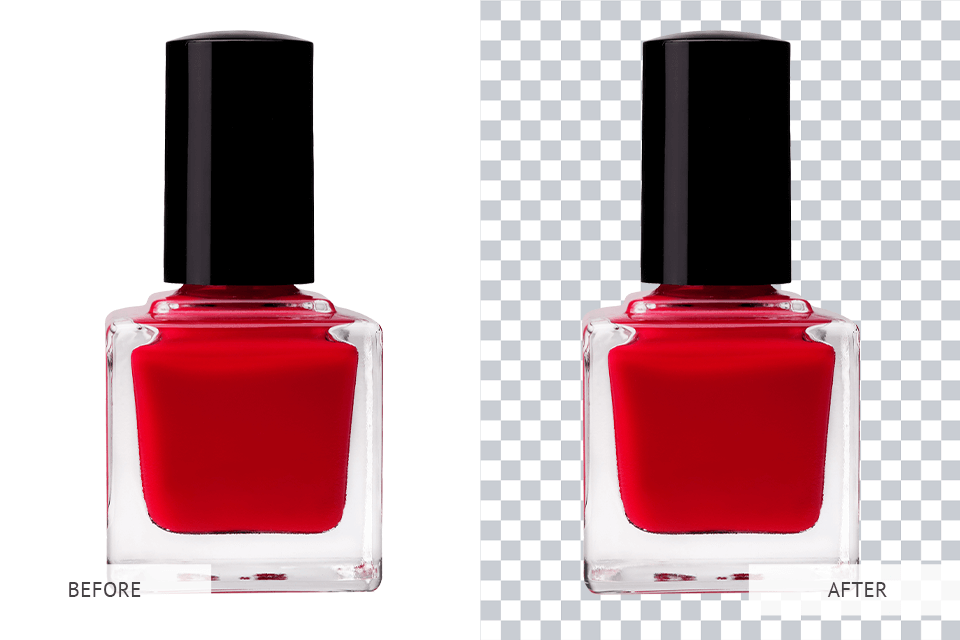
This method implies distinguishing a foreground object from a background and creating a selection area around it. It’s very accurate, which is perfect for pictures with a clear separation of the background from the subject (including blurred ones).
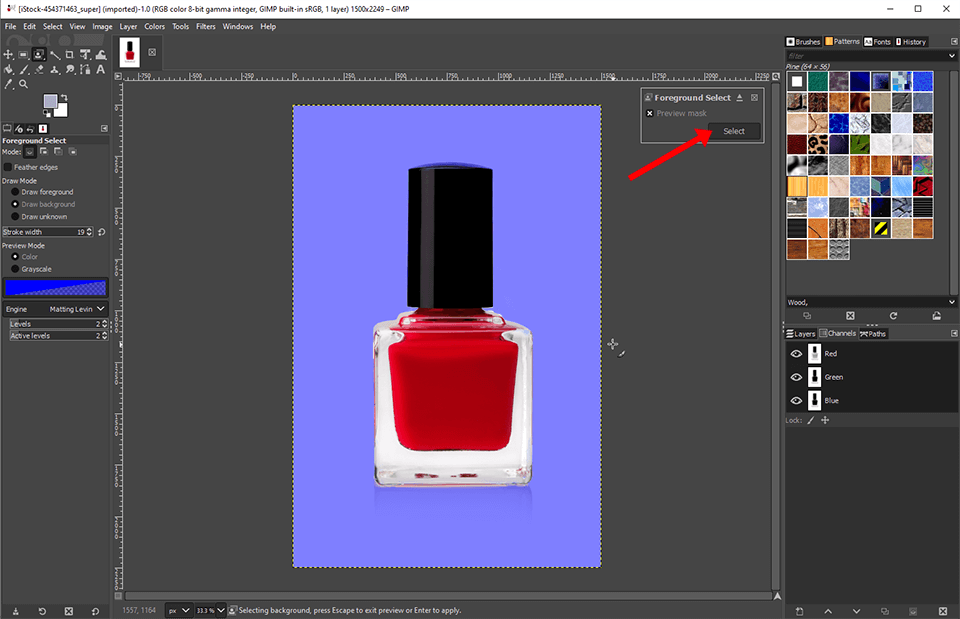
Choose the Foreground Select tool from the toolbar. Draw a rough path around your foreground subject. You don't need to be very precise as the algorithm of the instrument can figure out where the actual line is between the foreground and background objects.
Make sure you set the endpoint of your path to the original start point to create a full loop around the foreground object. Press “Enter”.

Everything inside your path should be highlighted in dark blue, and everything behind it - in blue. A mouse pointer will also look like a brush. Use it to paint inside a foreground object, and the tool will understand that it's everything you paint. Press “Enter” on your keyboard when you're done.

After a few seconds, the light blue area that marks the background of your photo should separate the background and foreground object more clearly. If after this there are still blue areas, you can paint over them with a brush.
When you get rid of most blue elements inside the foreground object, press the “Enter” key again.
You can still see some missed selections. To get rid of them, go to Select > Remove Holes.
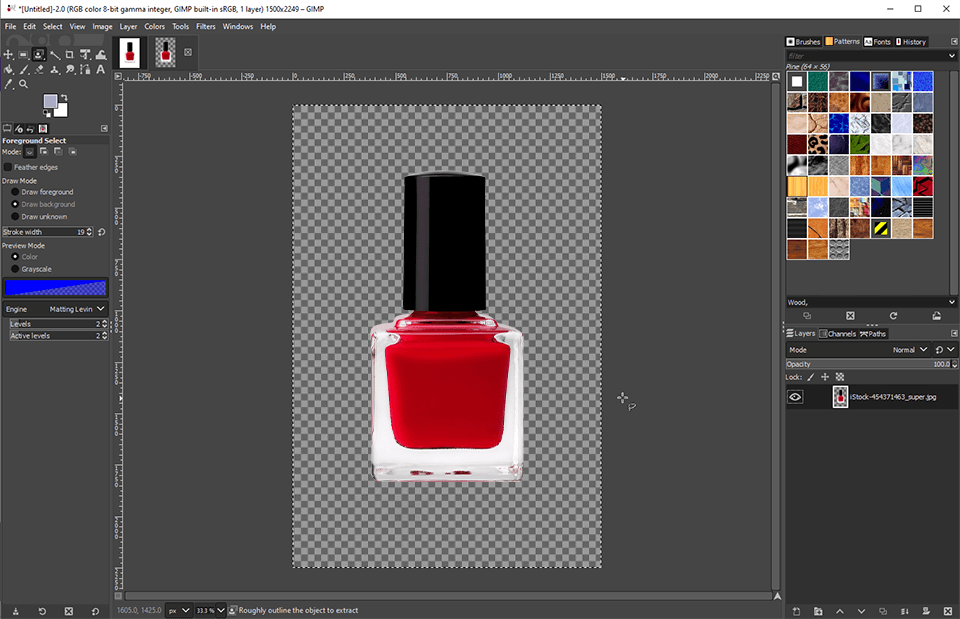
After that, press Ctrl + I (Command + I) to invert the selection, or go to Select > Invert. Your background should be selected. Press the “Delete” key to remove it. If you see a solid color and not a transparency checkerboard, make sure you add an alpha channel to the main layer.
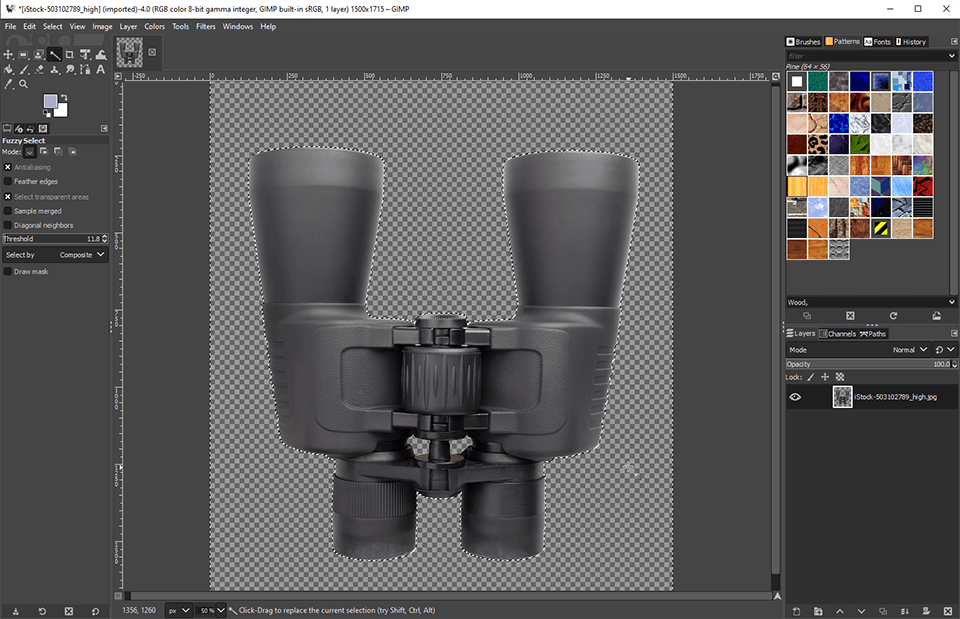
This tool allows selecting an uninterrupted area based on color. In other words, you can click on a color in your picture, and as long as the color is “continuous” or mostly not interrupted by another object or color, it will select all that color. This is a great way to cut out an object from a solid background, however, it won't work for more complex ones.
Right-click on the base image layer on the “Layers” panel and go to “Add Alpha Channel”.
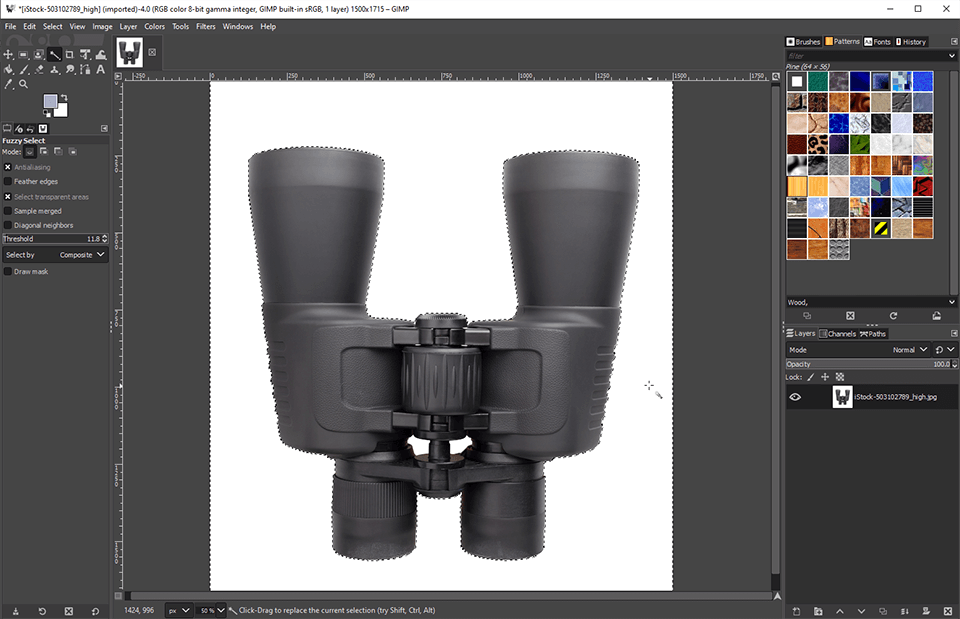
Choose the Fuzzy selection tool and click on the solid background. You will see a selection area that surrounds your model (you can always say if there is a selection area because black and white lines called "marching ants" will move along it).

You can set the parameters for the Fuzzy selection tool. It will be mainly the “Threshold” parameter to adjust the severity with which the selection works. A higher threshold value means that the tool will be less restrictive, and a lower threshold value will make it more restrictive (this means that it will not select pixels, ANY color of which is different from black).
When you have selected your background, press “Delete”. It should become transparent. You will probably notice that there is still a slight trail of black in your photo along the outer edge of your model.
This is because the Fuzzy selection tool is not perfect. However, you can fix this by keeping to adjust the threshold value with the slider or by checking the “Feather edges” box and experimenting with the value.