14 Best GIMP Tutorials in 2026
When you purchase through affiliate links on our site, we may earn a commission. Here’s how it works.

These easy and short GIMP tutorials are exactly what you need to make free photo editing real. I have selected the most useful GIMP basics tutorials that will teach you how to deal with any task in GIMP Editor.
Top 14 Best GIMP Tutorials
You do not need much time to learn GIMP, it’s quite simple but there are few tutorials, videos and forums. Below, you will find the best GIMP tutorials for beginners and handy photo editing tips that will help you in many different cases.
- Check out my Complete GIMP Review.
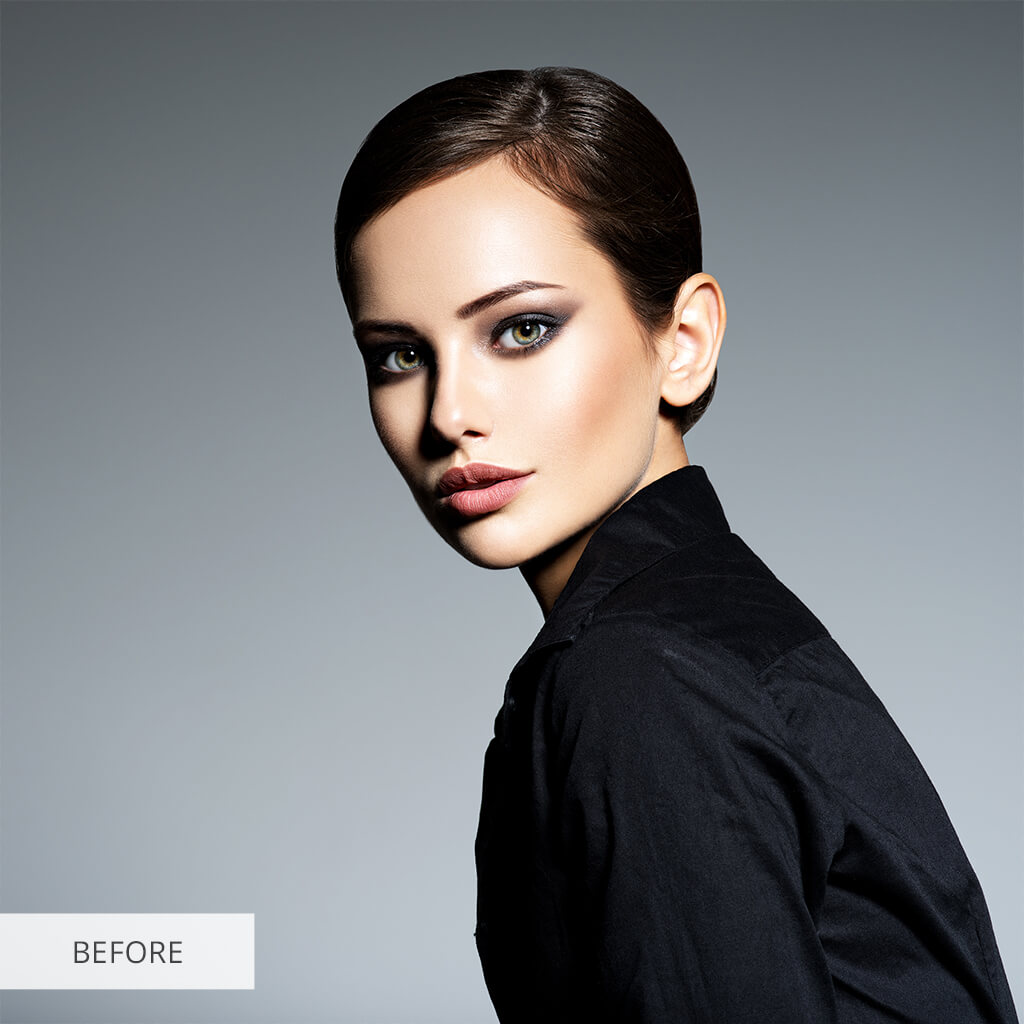
1. Remove Skin Blemishes GIMP Guide
1. Duplicate Layer: Layer - Duplicate Layer.
2. Select the Healing tool (H).
3. Press and hold down Ctrl, click on an area of clear skin.
4. Click areas you need to retouch, all the blemishes and spots will disappear.
2. Select the Healing tool (H).
3. Press and hold down Ctrl, click on an area of clear skin.
4. Click areas you need to retouch, all the blemishes and spots will disappear.
2. Dodge & Burn GIMP Tutorial
1. Create a new layer.
2. Fill it with gray (# 808080).
3. Switch layer mode to Grain Merge.
4. Use Dodge tool on highlights you want to look brighter.
5. Use Burn tool on shadows you want to look darker.
6. These actions should be performed on the gray layer.
2. Fill it with gray (# 808080).
3. Switch layer mode to Grain Merge.
4. Use Dodge tool on highlights you want to look brighter.
5. Use Burn tool on shadows you want to look darker.
6. These actions should be performed on the gray layer.
- See my detailed GIMP vs Photoshop comparison.
3. Frequency Separation in GIMP
1. Create two copies of the original layer.
2. Low-frequency layer: Filter - Blur - Gaussian Blur.
3. High-frequency layer: Filters - Enhance - High Pass.
4. Switch the Blend mode into Linear Light.
5. Use the Healing Brush.
6. Smooth out skin imperfections on the low-frequency layer.
7. Use high-frequency layer to soften up the image.
2. Low-frequency layer: Filter - Blur - Gaussian Blur.
3. High-frequency layer: Filters - Enhance - High Pass.
4. Switch the Blend mode into Linear Light.
5. Use the Healing Brush.
6. Smooth out skin imperfections on the low-frequency layer.
7. Use high-frequency layer to soften up the image.
4. Whiten Teeth on Portrait in GIMP
1. Click Layer - New Layer - Set Transparency as a Layer Fill Type.
2. Paintbrush Tool - Choose the round fuzzy brush.
3. Set the new layer mode to “Saturation”.
4. Hold the Ctrl key and use the mouse wheel to zoom in on the teeth.
2. Paintbrush Tool - Choose the round fuzzy brush.
3. Set the new layer mode to “Saturation”.
4. Hold the Ctrl key and use the mouse wheel to zoom in on the teeth.
5. How to Cut Out an Object
1. Go to Layer - Transparency - Add Alpha Channel. 2. Click the Lasso tool.
3. Click and Drag to pick the part of the image you want to remove.
4. Slide it to the starting point, then click it.
5. Go to Select – Invert.
6. Remove the background (Ctrl + X).
7. Save it in PNG format.
3. Click and Drag to pick the part of the image you want to remove.
4. Slide it to the starting point, then click it.
5. Go to Select – Invert.
6. Remove the background (Ctrl + X).
7. Save it in PNG format.
6. Cartoon Effect in GIMP
1. Select the Path Tool (B).
2. Layer - New Layer – Transparency.
3. Draw a Path around the subject.
4. Right-click inside the Image - Select - From Path.
5. Fill the selection with the subject's skin color.
6. Then select the facial features and fill them.
7. Use the Bucket Fill Tool.
8. Add Alpha Channel to the source layer.
9. Change layer mode to Overlay.
- Learn the proper way to get GIMP for free.
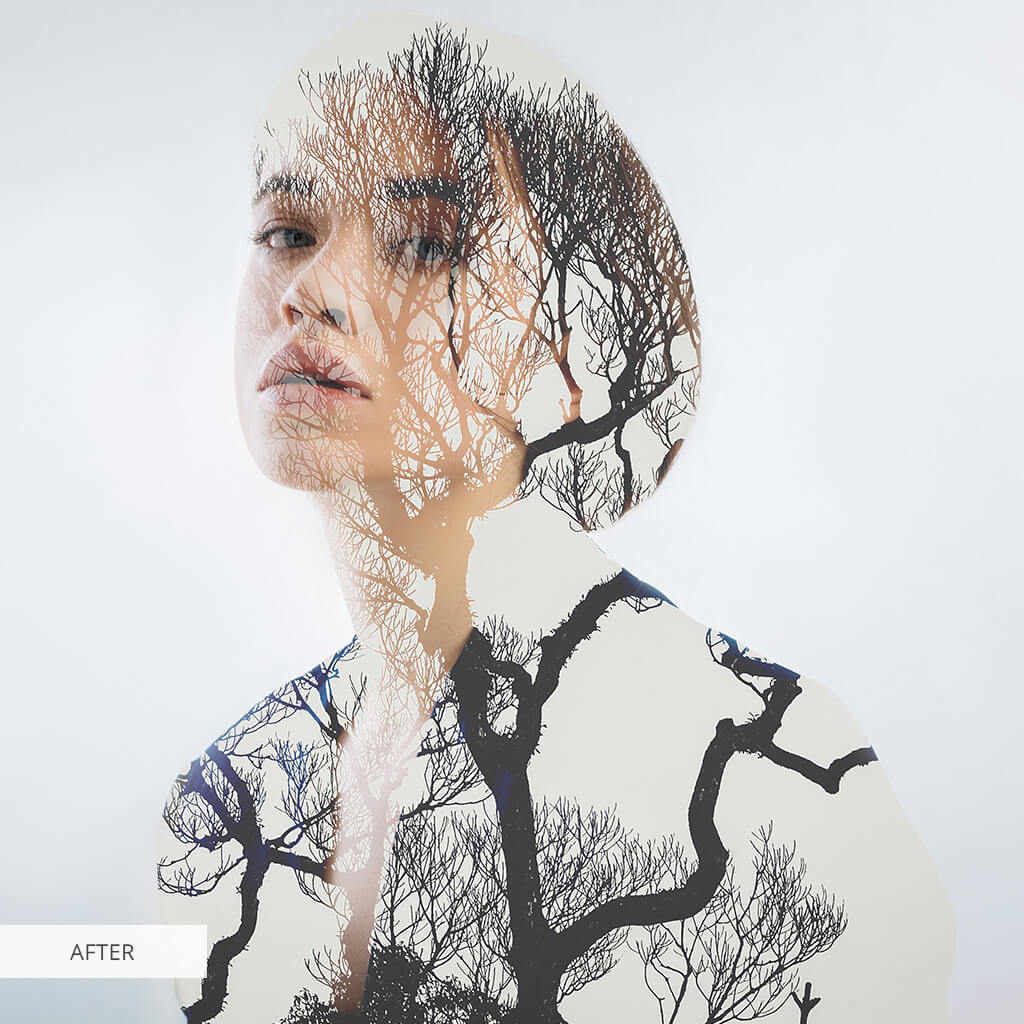
7. Double Exposure Effect in GIMP
1. Open photos in separate windows.
2. Select and copy one of the photos, then do Paste as - New layer on the other one.
3. Select the top layer, pick a blend mode and opacity for it.
4. Set Blend mode to “Normal” and tweak opacity till you get the desired effect.
2. Select and copy one of the photos, then do Paste as - New layer on the other one.
3. Select the top layer, pick a blend mode and opacity for it.
4. Set Blend mode to “Normal” and tweak opacity till you get the desired effect.
8. Change Color in GIMP
1. With Paths Tool selected, create selection points by clicking around the object.
2. Press Enter.
3. Right-click - Select - From Path.
4. Make a new Layer with Transparency type.
5. Seleсt the New layer - Layer Mode – Overlay.
6. Pick the Paintbrush Tool and select the color you want.
7. Paint the object.
2. Press Enter.
3. Right-click - Select - From Path.
4. Make a new Layer with Transparency type.
5. Seleсt the New layer - Layer Mode – Overlay.
6. Pick the Paintbrush Tool and select the color you want.
7. Paint the object.
9. Change Eye Color GIMP Tutorial
1. Duplicate layer.
2. Select the eye retina.
3. Select the Bucket Fill tool (Shift + B).
4. Change Layer Mode to “Overlay”.
2. Select the eye retina.
3. Select the Bucket Fill tool (Shift + B).
4. Change Layer Mode to “Overlay”.
10. Photo Mosaic Collage in GIMP
1. Create a New Image: File – New.
2. Create a mosaic – an image that consists of a lot of image tiles making up a single bigger image.
3. Insert the images that will be your tiles: File - Open as Layers.
4. Open your main image.
5. Use Tools - Paint Tools - Bucket Fill (Shift + B).
6. Fill the layer with mosaic pattern.
7. Desaturate the main layer, change the Blend Mode and Opacity.
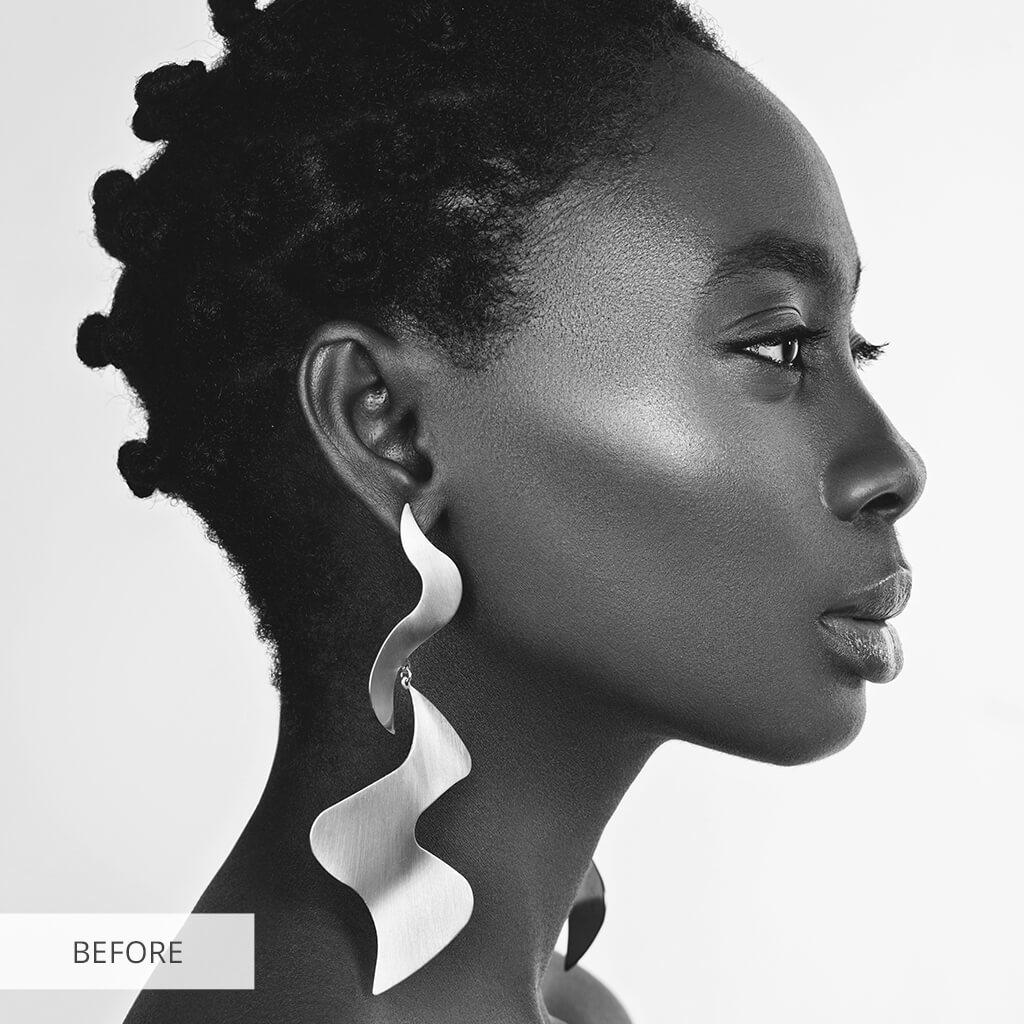
11. Black and White Portrait in GIMP
1. Go to Image - Mode – Decompose.
2. Select RGB or HSV mode.
3. The image will be decomposed in layers, so you can hit Ctrl + L.
2. Select RGB or HSV mode.
3. The image will be decomposed in layers, so you can hit Ctrl + L.
12. Advanced Color Correction in GIMP
1. Use Color Pick Tool to click on the area that should be white.
2. Select the foreground color, set the Saturation (S) to 100 and the Value (V) to 60.
3. Create a new layer and fill it with the foreground color.
4. With the colored layer active, go to Color – Invert.
5. Change the blend mode to Overlay.
2. Select the foreground color, set the Saturation (S) to 100 and the Value (V) to 60.
3. Create a new layer and fill it with the foreground color.
4. With the colored layer active, go to Color – Invert.
5. Change the blend mode to Overlay.
13. Turn Photos into Logos GIMP Guide
1. Desaturate the photo, use curves to make the shadows more intense.
2. Create a new partially-transparent layer on top of the photo. Trace the outline of the object or person with the paintbrush.
3. With smaller brush size, trace the shadows inside the image.
4. Use Bucket Fill to fill the shadows.
5. Change the opacity to 100%. With the Threshold feature, make the image black.
14. Glitch Text Effect in GIMP
1. Create a New Image, go to File – New.
2. Add your text.
3. Switch to the Rectangle Select Tool.
4. Select the lower part of your text.
5. Ctrl + X then Ctrl + V.
6. Move the selection slightly to the left or right.
7. Add Alpha to the selected layer with text.
8. Add a New transparent layer.
9. Fill the selection with color.
10. Hide the original text.
From creating stunning visual effects to enhancing photos with advanced techniques, these tutorials provide a valuable resource for both beginners and experienced users looking to elevate their GIMP skills and produce captivating artwork.


